To create fur, start with a piece of geometry and use the ![]() Add Fur tool on the Hair Utils shelf. By default, two nodes are created:
Add Fur tool on the Hair Utils shelf. By default, two nodes are created: ![]() Guide Groom and
Guide Groom and ![]() Hair Generate.
Hair Generate.
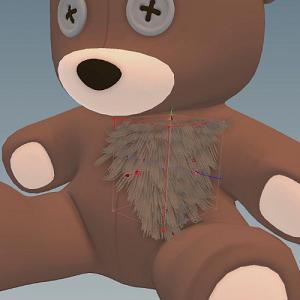
The red curves in the viewport represent guide hairs that you can style. You can use the tools on the Guide Process tab to style the fur. Typically the first thing you’ll want to do is set the direction of the fur by using the ![]() Initialize Guides tool. You can then use the Wind Direction parameter to set the direction of the fur and the Lift slider to create an initial look.
Initialize Guides tool. You can then use the Wind Direction parameter to set the direction of the fur and the Lift slider to create an initial look.
Next you can use the ![]() Set Guide Length tool to lengthen or shorten the hairs. Turning on the Randomize checkbox will give the fur more varied length, creating a more natural look.
Set Guide Length tool to lengthen or shorten the hairs. Turning on the Randomize checkbox will give the fur more varied length, creating a more natural look.
You can also create bends in the straight fur by using the ![]() Bend Guides tool on the Guide Groom shelf. This allows you to determine where the hair will curve using the Curve Mask Ramp (for example just at the tip of the strand) as well as the Angle at which it will bend.
Bend Guides tool on the Guide Groom shelf. This allows you to determine where the hair will curve using the Curve Mask Ramp (for example just at the tip of the strand) as well as the Angle at which it will bend.

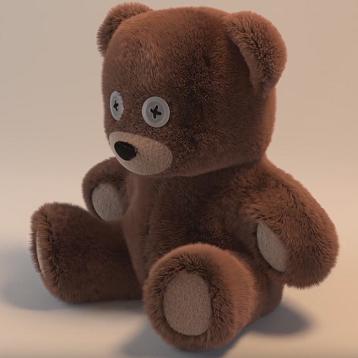
Once you're finished styling the fur you can turn off the display flag on the ![]() Guide Groom object. The
Guide Groom object. The ![]() Hair Generate object takes the guide curves and generates hair from them.
Hair Generate object takes the guide curves and generates hair from them.
Tip
You will need to render the ![]() Hair Generate node, not the
Hair Generate node, not the ![]() Guide Groom node. However, the
Guide Groom node. However, the ![]() Hair Generate node pulls its data from the
Hair Generate node pulls its data from the ![]() Guide Groom node, so you will need to turn the display back on before rendering.
Guide Groom node, so you will need to turn the display back on before rendering.
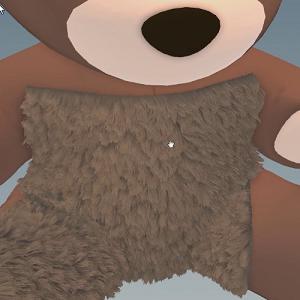
There is checkbox called Limit to bounding box on the ![]() Hair Generate object that allows you to focus on a patch of fur instead of having to wait for the entire surface area of the fur to cook as changes are made.
Hair Generate object that allows you to focus on a patch of fur instead of having to wait for the entire surface area of the fur to cook as changes are made.
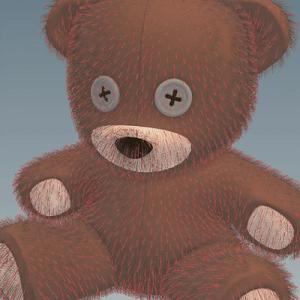
You can the change things like the Thickness and Density until you get the look you want.
Tip
If you can’t see the generated hair properly, turn on ![]() High Quality Lighting form the Display options toolbar on the right side of the viewport. Also click
High Quality Lighting form the Display options toolbar on the right side of the viewport. Also click ![]() and make sure Ambient Occlusion is enabled.
and make sure Ambient Occlusion is enabled.
You can also dive inside the ![]() Hair Generate object and click the
Hair Generate object and click the ![]() Clump Guides tool on the Guide Process tab to add clumping to the fur. You can adjust the Clump Size and Iterations on the Fractal Clumping tab to make the look of the clumping more natural for your model. Turning on Curling will also give your fur a more natural look. By default the Amplitude is set to
Clump Guides tool on the Guide Process tab to add clumping to the fur. You can adjust the Clump Size and Iterations on the Fractal Clumping tab to make the look of the clumping more natural for your model. Turning on Curling will also give your fur a more natural look. By default the Amplitude is set to 0 so you don’t see any changes initially.