| On this page |
Overview 
There are a few ways you can use the ![]() Sky Field node to create either 2D or 3D high altitude sky cloud patterns above your scene.
Sky Field node to create either 2D or 3D high altitude sky cloud patterns above your scene.
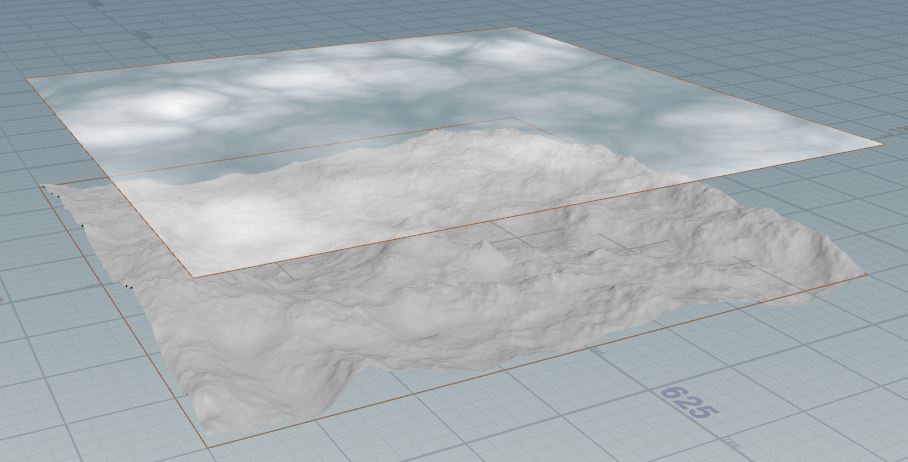
For example, you can use the Sky Field node to add a sky above the terrain in your scene:
-
Create a
 HeightField node in your scene.
 -
Add a
 HeightField Noise node.
 -
Wire the HeightField node into the HeightField Noise node and display the HeightField Noise node. This creates a mountainous terrain.
-
Follow the How to make 2D clouds with the Sky Fields use case to add the Sky Field node.
Warning
If you append a ![]() Sky Box node to a network that includes the HeightField node, the HeightField will no longer appear in the view. Houdini stores volume properties in the detail level, and merging the Sky Box’s fog volume with the HeightField’s volume hides the HeightField volume.
Sky Box node to a network that includes the HeightField node, the HeightField will no longer appear in the view. Houdini stores volume properties in the detail level, and merging the Sky Box’s fog volume with the HeightField’s volume hides the HeightField volume.
As a workaround to see the HeightField and Sky Box in the view, you can ⌃ Ctrl + ![]() the Template flag of the HeightField node or its latest connected node.
the Template flag of the HeightField node or its latest connected node.
How to make 2D clouds with the Sky Fields 
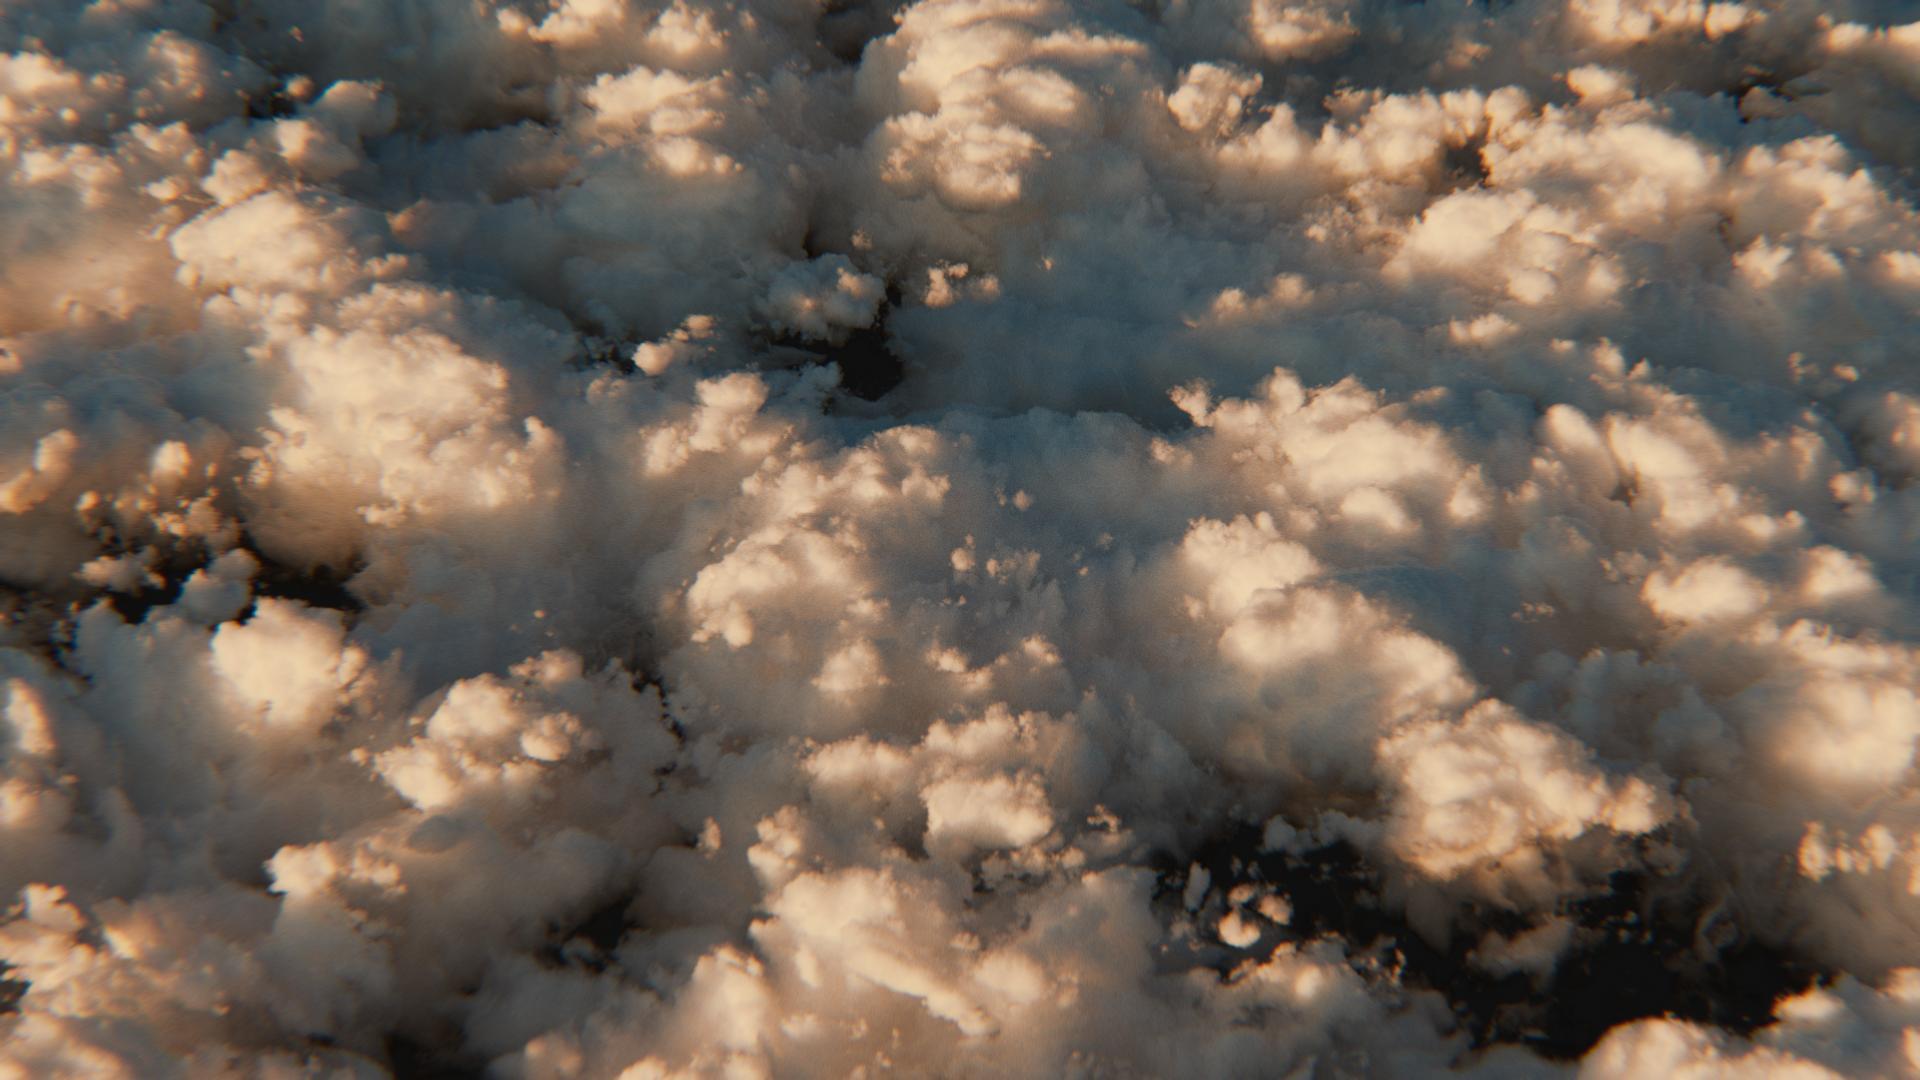
Use the Sky Field node to create 2D cloud patterns.
-
Create a Sky Field node in your scene.
-
Set the Voxel Size, Size, and Center parameters.
-
Turn on Vertical Offset to raise the Sky Field. Adjust the slider with the desired height (in meters).
-
Add one or more of the following nodes to configure the 2D high altitude sky cloud pattern:
-
 Sky Field Noise adds noise to create a wispy or billowy cloud element.
 -
 Sky Field Pattern adds preset cloud patterns.
 -
 Sky Field from Map imports an image.
-
How to make 3D clouds with the Sky Fields 
Use the Sky Box node with the Sky Field node to generate 3D clouds from a 2D volume. The Sky Field influences certain properties of the Sky Box.
Note
You can also use the Sky Box node on its own, independent from the Sky Field.
-
Create a Sky Field node.
-
Set the Voxel Size, Size, and Center parameters.
-
Turn on Vertical Offset to raise the Sky Field. Adjust the slider with the desired height (in meters).
-
Add the Sky Box node and wire the Sky Field’s output into the second Sky Box input. Set the Sky Box’s display flag.
-
On the Sky Box node, various parameters have a pop-up menu controlling how the parameter is set. The default, Set Uniform, uses the Sky Box’s parameter values. You can change this to Use Sky Layer to use the related parameter from the connected Sky Field node.
For example, set the Sky Box’s Altitude parameter to Use Sky Layer and then turn on and configure the Sky Field’s Altitude parameter. This influences the Sky Box’s altitude.
-
Select and configure the Sky Field node to manipulate the Sky Box.
Tip
Wire one or more of the following Sky Field nodes into the second input of the Sky Box node to further configure the sky cloud pattern:
Notes 
-
When you first create the Sky Field node, the default is very large (1km by 1km) and the volume is pure white, so it will likely fill the viewport with white. You can zoom out to see the whole volume, and add cloud noise nodes to create detail in the volume (see above).
-
Like HeightFields, Sky Fields can be very large (the default is 1km by 1km), so they fill the camera view in the distance. Houdini will automatically set the near and far clipping planes based on the size of the scene. If you're only working on a small part of the scene, you may want to manually set the near and far clipping planes (in the display options) to just that part of the scene.
| See also |