| On this page |
Overview 
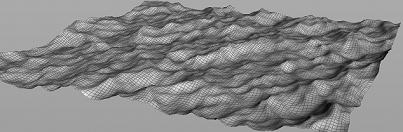
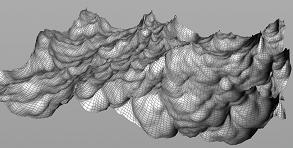
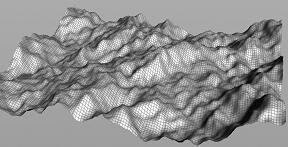
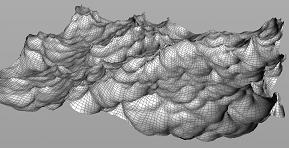
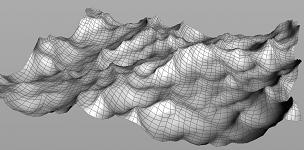
This tool is useful for creating an ocean like surface. However, it is not a simulation, it is a deformer that does not use DOPs at all. You can scrub through the timeline and watch the ocean evolve without any simulation. For a simulated ocean, use the ![]()
![]() Wave Tank tool on Particle Fluids shelf tab.
Wave Tank tool on Particle Fluids shelf tab.
Using Small Ocean 
In the Oceans shelf tab, click ![]() Small Ocean.
Small Ocean.
The tool will create and wire the ![]() Ocean Spectrum and
Ocean Spectrum and ![]() Ocean Evaluate nodes necessary to control the shape and movement of the ocean. It will also create an Ocean Surface shader and attach it to the newly created
Ocean Evaluate nodes necessary to control the shape and movement of the ocean. It will also create an Ocean Surface shader and attach it to the newly created ocean_surface object.
The animation is driven by the Time parameter on the ![]() Ocean Evaluate node. The default expression is
Ocean Evaluate node. The default expression is $T (the current time). You can edit this expression to change the animation direction and speed (for example, $T * 2 to make the ocean move twice as fast).
Tip
Change your shading mode to Smooth Shaded Mode to get a better view of the deforming ocean surface.
The ocean_preview node is used to preview your ocean surface in the viewport. The ocean_render node is used by the Ocean Surface shader at render time.
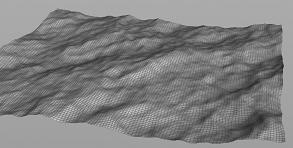
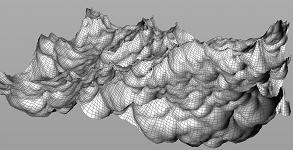
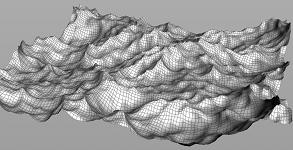
The ![]() Ocean Spectrum node has all of the tools for changing the look of your ocean. For example, on the Wind tab, the Speed will affect the amplitude of the waves, the Directional Bias lets you create waves that move more or less in one direction, and the Chop which allows you to create the sharp peaks on the waves. The Wave Amplitude tab also has some very useful parameters, such as the Scale which controls the size of the waves.
Ocean Spectrum node has all of the tools for changing the look of your ocean. For example, on the Wind tab, the Speed will affect the amplitude of the waves, the Directional Bias lets you create waves that move more or less in one direction, and the Chop which allows you to create the sharp peaks on the waves. The Wave Amplitude tab also has some very useful parameters, such as the Scale which controls the size of the waves.
Tips 
-
For rendering, this tool creates a
 fetch node at the output level which is connected to the compositing network inside of the
 ocean_rendernode. If you would like to generate displacement maps at render-time, you can connect this node to the input of a Mantra node. If you use the Render button on this Mantra node, you will cause the
  Ocean Evaluate node to generate the texture maps required by the Ocean Surface shader for the specific frame you are viewing.
Note
It is important to remember to use the Reset Simulation button on the
ocean_rendernode to make sure your ocean preview and ocean render nodes are synchronized. -
This tool also adds a Karma Ocean LOP on stage level for rendering the ocean in Karma CPU.
-
To generate spectrum geometry, click the Save to Disk button on the
save_spectranode in theocean surfacenetwork.Note
Spectrum geometry will have to be re-generated if you alter the wave parameters.
-
For motion-blur at render-time you can add a
velocityattribute. Go theocean_previewnode’s Geometry tab, and turn on Point Velocity. The information is stored on the points of your input grid. If you feel that the motion-blur is not accurate enough, you can change the rows and columns on your grid to increase the number of points. Keep in mind that drastically increasing the point count on your grid could negatively affect the speed of your renders. -
If it is important for your scene to have information below your ocean surface, you can still optimize your renders by adjusting the Volume Step Rate and Volume Shadow Step Rate settings on the Sampling tab of the
Mantra node. Often the volumetric element of the ocean is used for a general sub-surface scattering and attenuation effect and does not necessarily need to be highly detailed. -
If the space below your ocean surface is not important in your final image, you could disable refraction on the Ocean Surface shader and turn off visibility on the
ocean_interiorobject. This will reduce the length of your render significantly. -
Lowering the Frequency on Ocean Surface shader > Foam > Streaks subtab will create a more broken up effect of the foam.
Changing the look of your ocean 
| To... | Do this |
|---|---|
|
Set the height of the wave |
Navigate to the This value is multiplied by the Speed parameter on the Wind tab.
|
|
Set the direction of the waves |
Navigate to the This controls how many frequencies are moving in the same direction as the wind. Increasing this value will cause more frequencies to travel in the same direction, which is useful for creating shoreline effects. You can also try increasing the Directional Movement parameter. This will dampen the waves moving in the opposite direction of the wind, leaving only the ones moving in the same direction.
|
|
Control the height of the peak |
Navigate to the Increasing this parameter creates sharp peaks on waves. However, if this value is too high waves, may invert on themselves.
|
|
Add more detail to your ocean |
Increase the Resolution Exponent parameter on the Note The Resolution Exponent parameter will not only determine the quality of your ocean, but also the size of the texture maps that you will eventually write out.
|
|
Create a large ocean |
Use the |
| See also |