


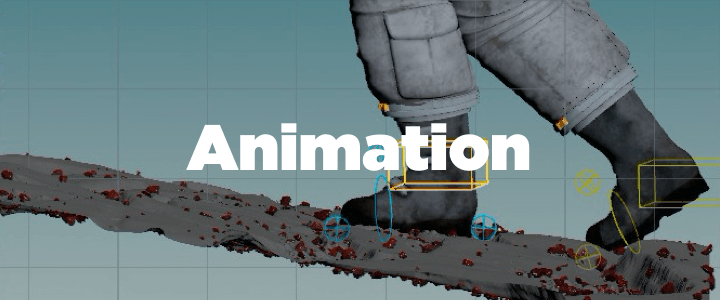
Houdini 18.5 introduces KineFX, a character toolset designed to provide a procedural foundation for retargeting, motion editing, and in future releases, rigging and animation. Set in the geometry context, these new workflows make rigging a fast, plug-and-play experience with unlimited flexibility and caching capabilities.
+ More Info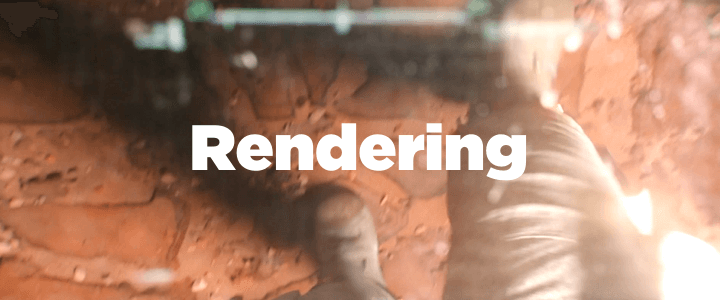
Houdini 18 introduced Solaris to Houdini in support of lookdev, layout and lighting. The initial focus was on establishing the framework for USD-based pipelines. With Houdini 18.5, the focus has evolved to creating tools that establish an artist driven workflow.
+ More Info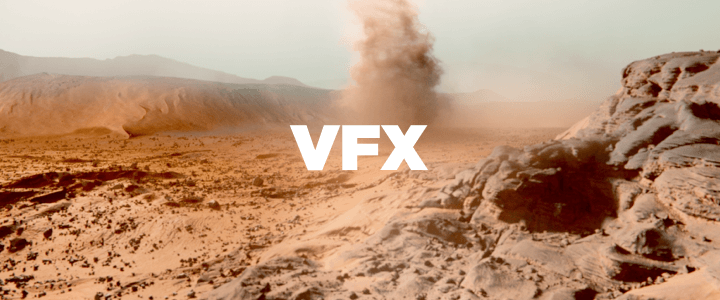
A key initiative for VFX in Houdini 18.5 is the introduction of high-level tools to make it easier for artists to achieve production-quality results. By making it easier to set up and execute VFX, artists will be able to make more iterations in support of the creative needs of each project.
+ More InfoAkmal Sultanov
I'm a Vancouver based FXTD with 10 years experience in Houdini. I worked in studios like Sony Imageworks, MPC, Mr.X, DNEG, Digital Domain. I love playing with fluid sims and various solvers and Houdini is perfect playground for all these experiments
Attila Torok
Attila Torok is a London based FX TD working for SideFX. He has started out as a SideFX internship student after which he worked for DNEG on projects like The Hunger Games: Catching Fire, Godzilla. Before coming back to SideFX he spent 4 years at ILM, where next to a list of movies like Doctor Strange, Avengers: Infinity War, Ready Player One, Star Wars: The Rise of Skywalker, he was building and maintaining tools for particle simulations, deformable and tearable rigid body simulations and for pyro used throughout the company.
Bogdan Zykov
Bogdan Zykov is a traditionally trained 2D Artist and 3D Generalist who lives in Ukraine. He mainly works on creating art for games. In particular, Bogdan works in the field of digital art creation automation using Houdini and Python.
Bruno Peschiera
My name is Bruno Peschiera, I'm a Brazilian character artist working in the video games industry. I went to school for game design but switched to studying digital sculpting and focused on the discipline as a career. For the past 7 years that has been my job and I had the opportunity of working with great people, on varied projects, on titles like Street Fighter V and Marvel vs. Capcom: Infinite.
Daniel Siriste
Daniel Siriste is a 3D artist who started out with 3D manuals written in a language he did not understand at the time. Nowadays, his English has improved and he freely expresses his thoughts in words and, as well as in visuals. He enjoys getting paid for his work and eating food that is delicious.
Emily Fung
Emily Fung is a Houdini FX artist with a generalist background. Since graduating in 2018, Emily has been working as a 3D artist in the UK, and has since moved to Canada, with the most recent experience as a Technical Artist at SideFX.
Fianna Wong
Fianna is Technical Marketing Lead at SideFX. The rest of this text is really just filler, since she doesn't like talking about herself nor describing what she does. She just enjoys what she does daily and loves the world of computer graphics since the time of The Abyss and Terminator 2.
Kyle Climaco
I am a recent intern at SideFX and a graduate of the University of Central Florida where I studied Character Animation. I have a passion for art, technology, and problem solving and I wish to create visually compelling effects in the film and animation industry.
Nikola Damjanov
Nikola is a Generalist 3D Artist with over ten years of diverse experience. Working for the past eight years at Nordeus, Nikola has been actively improving his artistic skills, exploring new tools and adopting them as early as possible. He is a game artist by day, and a procedural tinkerer by night.
Olivier Orand
French electronic music producer, composer, Olivier Orand has been mostly influenced by the early “IDM” UK scene. His music, mixing strength and sensitiveness, is focused on feels and pictorial connections. After his first album, “Human”, he pushed his expression through his last sound explorations on a new album, based on “unstructured” vocals and sharper sound design, to be release in late 2020 / early 2021.
Steven Stahlberg
Swedish Australian started working as an illustrator 1984, 1995 in computer graphics (in Hong Kong), then moved to USA, then to Malaysia, where I now live and work creating toy figures and comics.
Nathaniel Larouche
Throughout the past 14 years of working in VFX and animation, Nathaniel has lent his talents to motion graphics, honed his asset skills through modeling and texturing, and worked primarily as a CG generalist and supervisor. During the day, Nathaniel devotes his time on-set and in-house at Pixomondo creating imagery for a multitude of media. During the night, he experiments and collaborates with other creatives around the world. These collaborations result in creating unique content like Necronomicon, Baby Deer, Soft Rain, and now the short film Dawning.
Akshay Dandekar
Akshay is an eternal learner; curious about everything related to moving pictures. He is a self-taught colorist with over 5 years of experience. He demonstrates strong knowledge of executing the color pipeline in a VFX workflow. His favourite pastime apart from work is sculpting his bonsai tree.
Simon Atkinson
Simon Atkinson is a professional Modelmaker and Illustrator, for over 40 years now. His work has been used in Film/TV, Aerospace, Motorsport, Architecture, Product Design, and more. He is currently Course Organiser/Lecturer HND Modelmaking for the Creative Industries City of Glasgow College.
Cinemotion Crew
Rossy Kostova is a Junior Character TD at Cinemotion. She is a graduate from Bournemouth University, where she took a Bachelors Degree in Computer Visualisation and Animation.
Milovan Kolev is a Senior Character Animator. From 1998 to 2006, he worked as a 2D Animator. After that, he worked as a 3D Animator in games, commercials and films - doing both cartoon and photo-realistic animation.
Victor Trichkov created Cinemotion 22 years ago and is active across the studio where he serves as VFX Producer, VFX Supervisor and leads the creative vision of the studio.
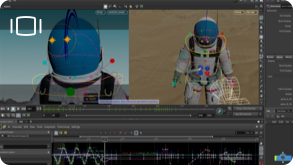
Character Animation Walkthrough
by Cinemotion
Scattering Rocks in Houdini 18.5
by Emily Fung
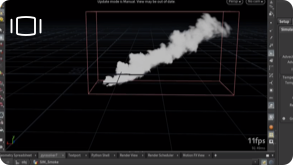
Large Smoke Plume: Approach and Challenges
by Attila Torok
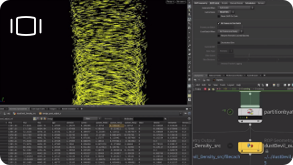
Directing PDG Wedges and Creating Dust Devils
by Kyle Climaco

The Dawning Shot Breakdowns and Process
by Nathaniel Larouche
Crafting terrains for The Dawning
by Nikola Damjanov
-

Scatter
by Emily Fung
-

Sand
by Kyle Climaco
-

Terrain Strata
by Nikola Damjanov
Scatter Tutorial

1. Obtain your geometry
In this example, we are scattering some rocks onto a terrain. There are various ways we can generate our rock geometry within Houdini, If the geometry is not already provided. The approaches I explored included the normal houdini procedural modelling workflow, as well as 3D scanning, using the AliceVision plugin in the SideFX Labs Toolset.
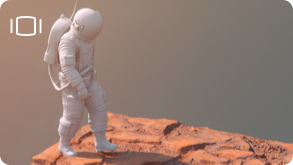
2. Generate maps in COPs
For the procedurally generated rocks, I have gone on to generate some simple texture maps using COPs. Here I layered some cracks and imperfections onto some noise patterns, we can obviously bring this further and add more complexity to it, but since the rocks are quite far from the camera, I didn’t end up spending too much time on the textures.
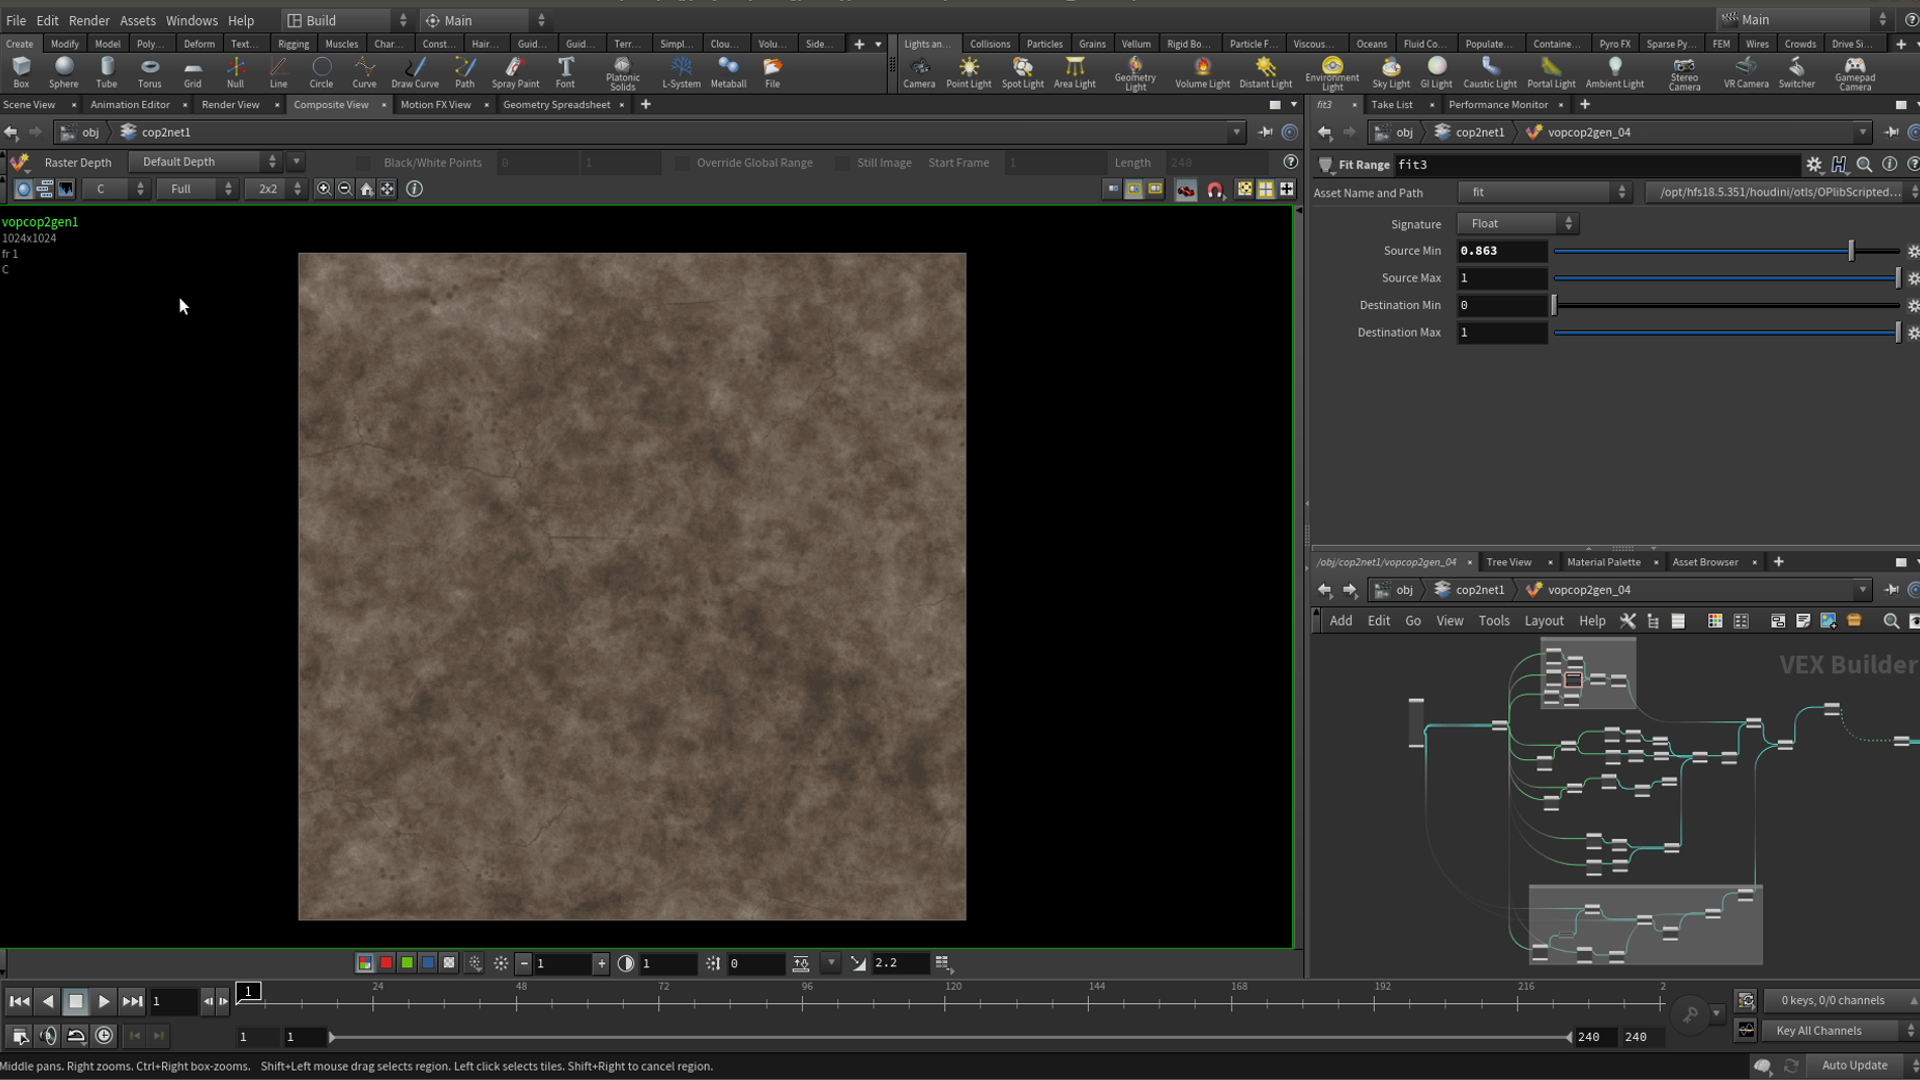
3. Preparing your geometry to make it scatter ready
We have a terrain geometry to be scattered on, the geometry is dense and includes multiple parts, which is not ideal. We can simply remove any unwanted areas, then polyreduce the whole mesh so that it’s easier to work with. Next we can perform different boolean operations to clean up any geometry needed to prepare for the scattering attributes.
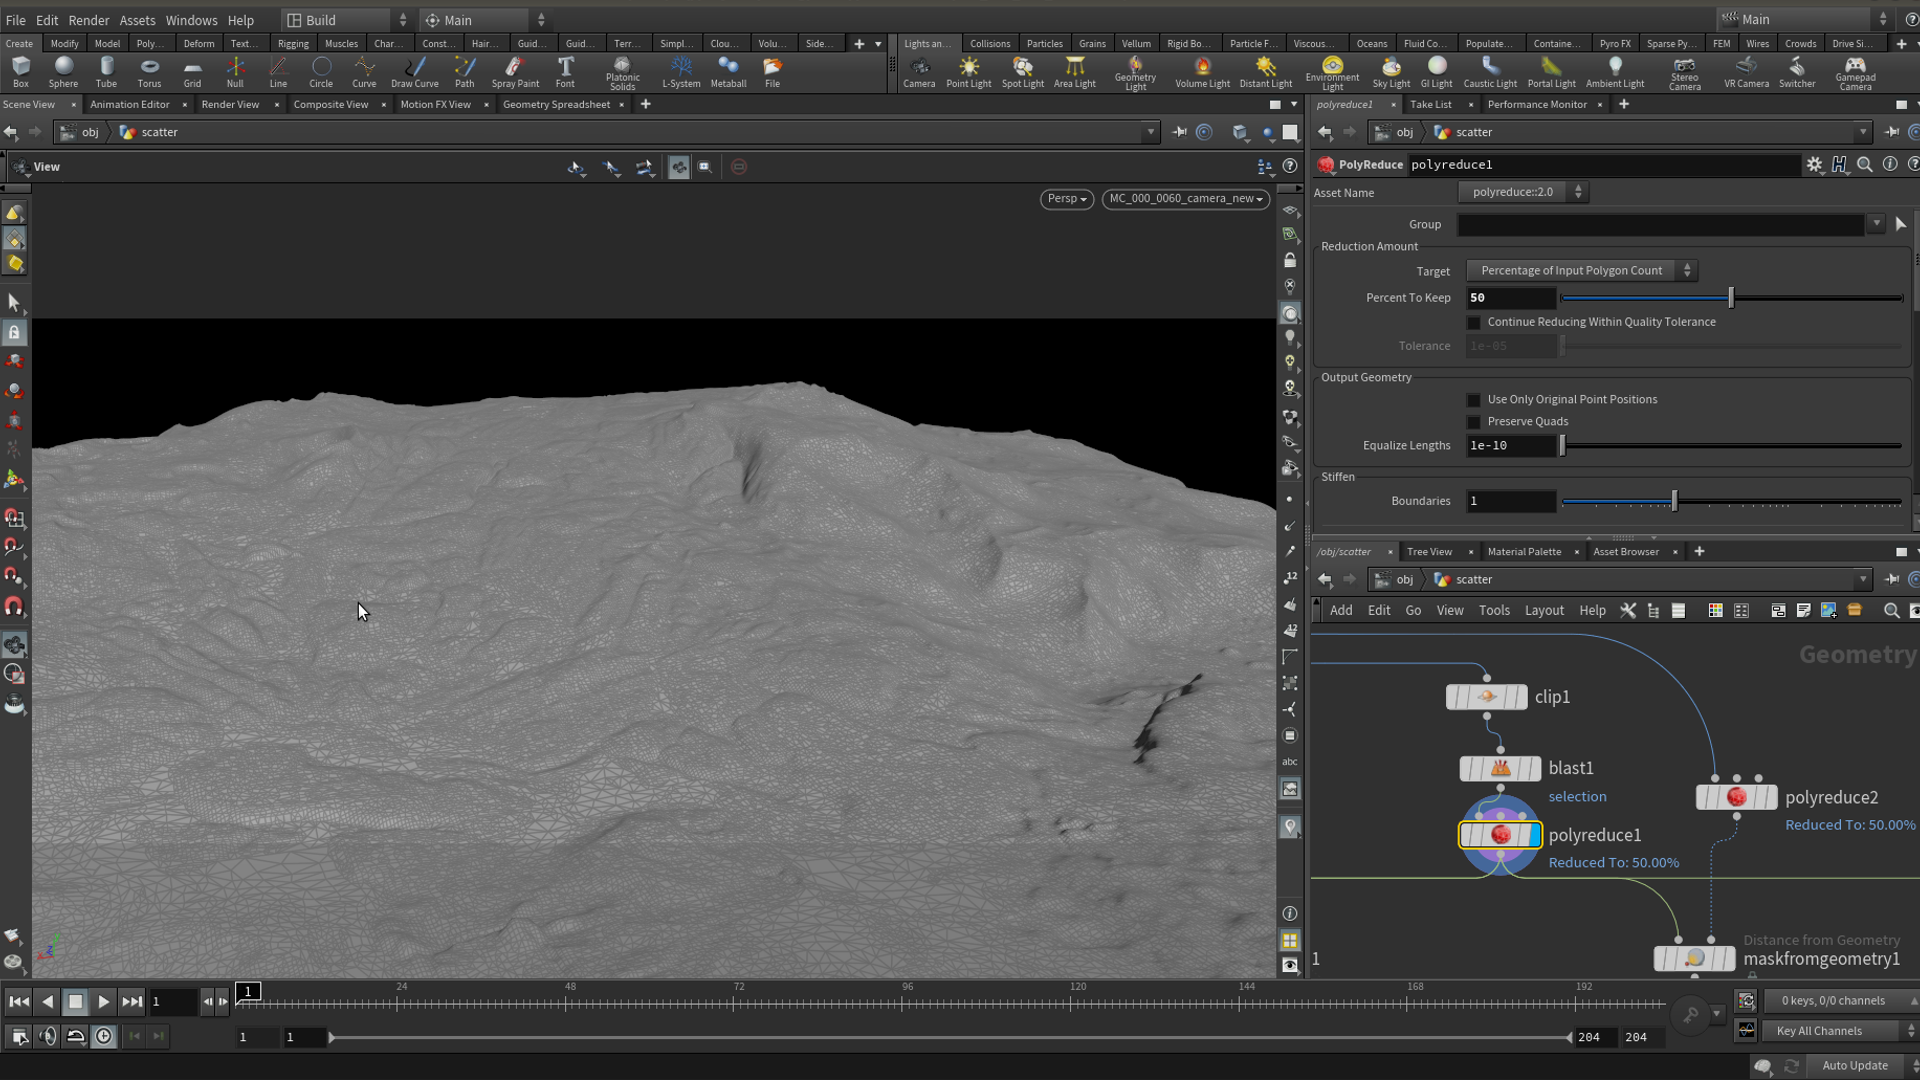
4. Preparing masks / scatter attribute
We can now add different attributes and masks for scattering. We can achieve this by using VEX/VOPs normally. However, the mask by feature node that was introduced in Houdini 18.5 covers lots of nice features and allows us to get good masking results conveniently.
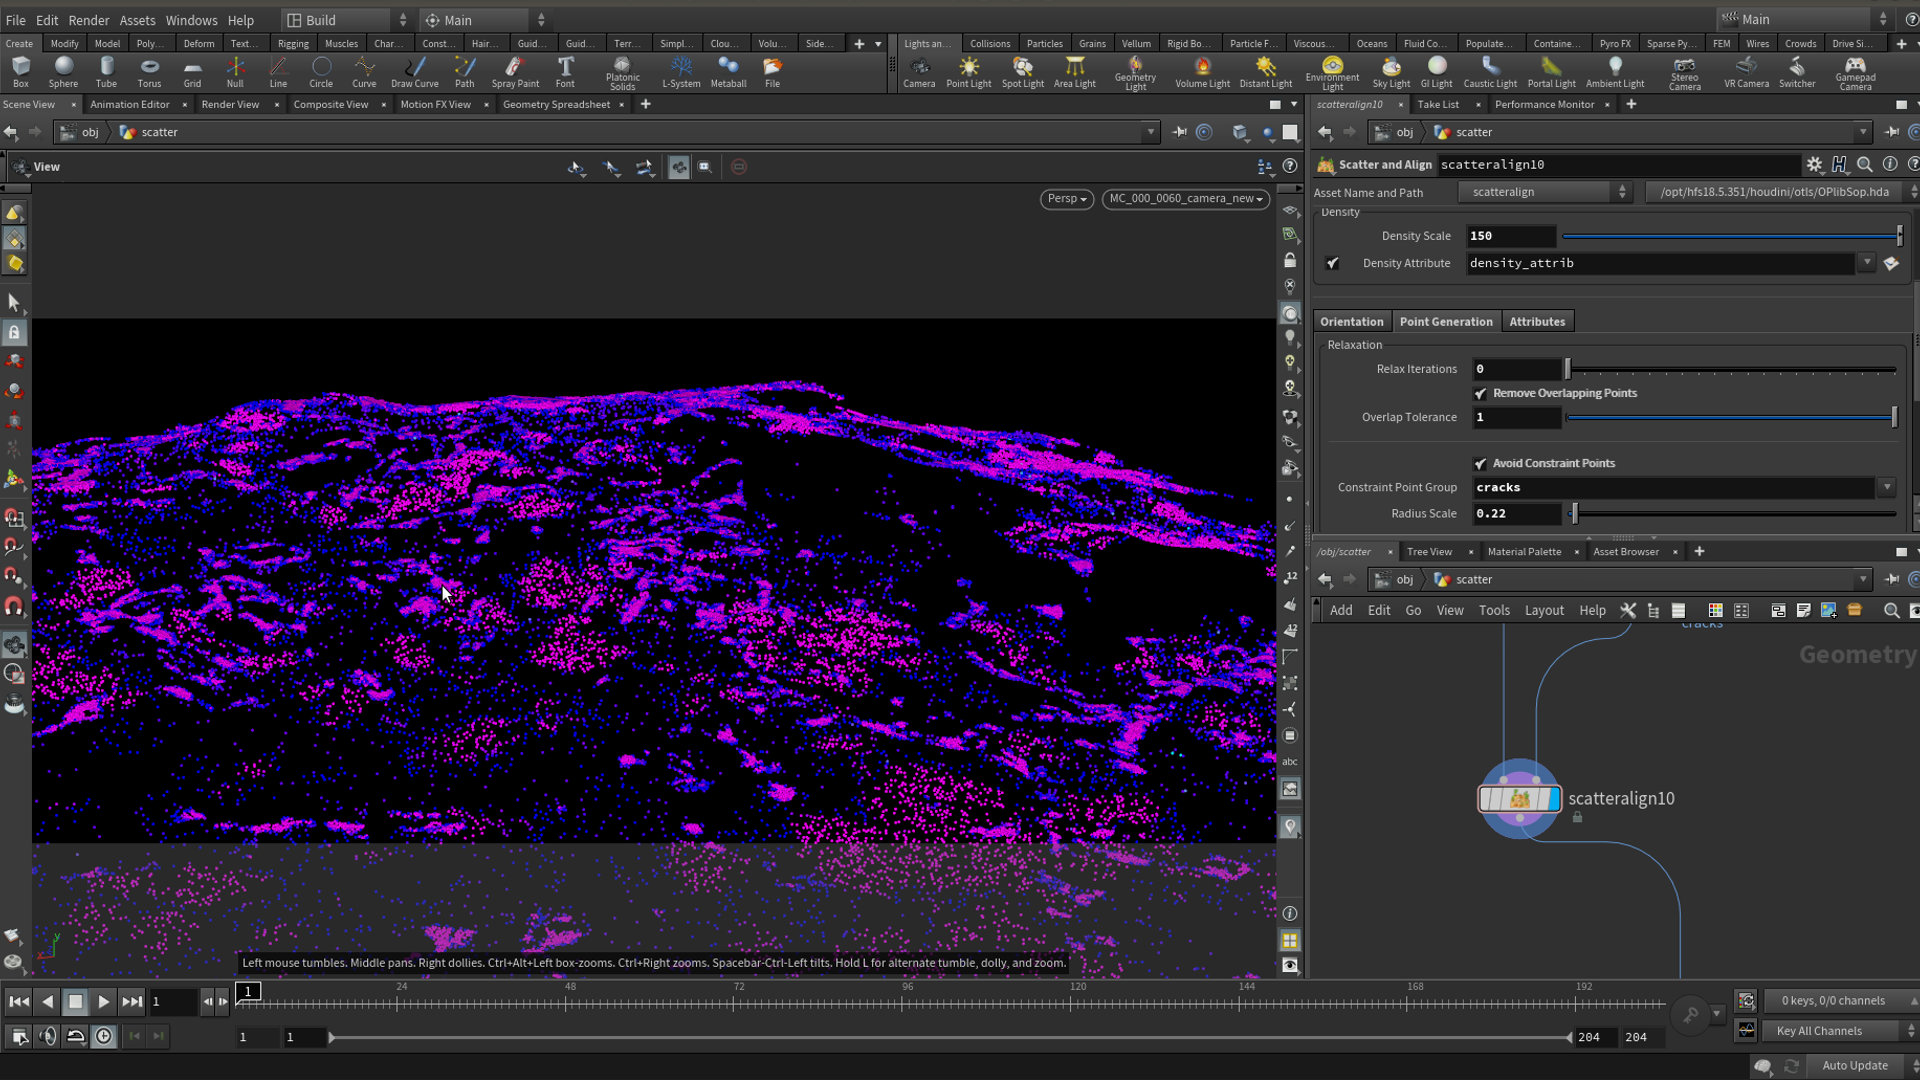
5. Scatter and align
The new scatter and align SOP in Houdini 18.5 is a high-level scatter node that allows you to control the variations of the points such as orientation and scale. It also has features such as removing overlapping points, which is very handy. We can use our maps to customise density or coverage.
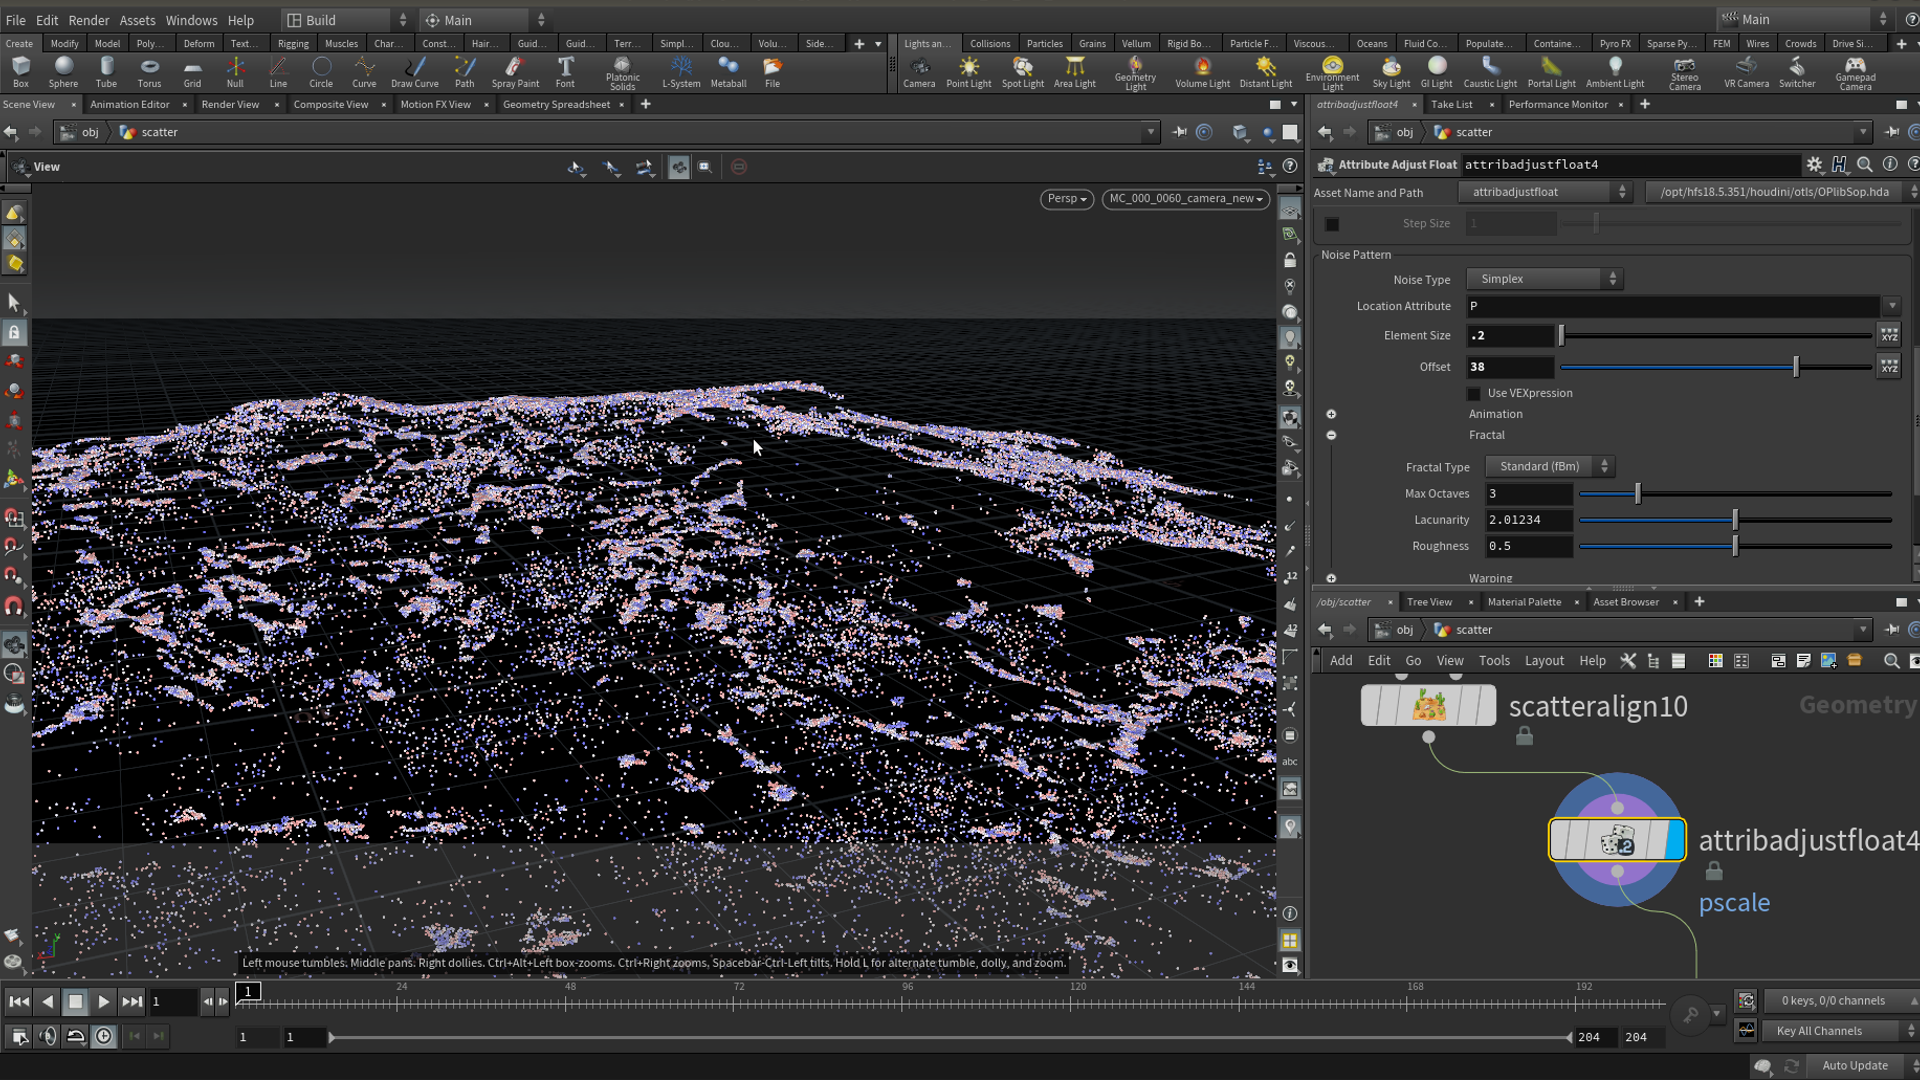
6. Additional point attributes
Although you can generate various attributes using the scatter and align SOP, we can always add additional changes to them after the points have been created. We can use the new attribute adjust float SOP. It works similar to the attribute randomise SOP but with some additional features that are very useful.
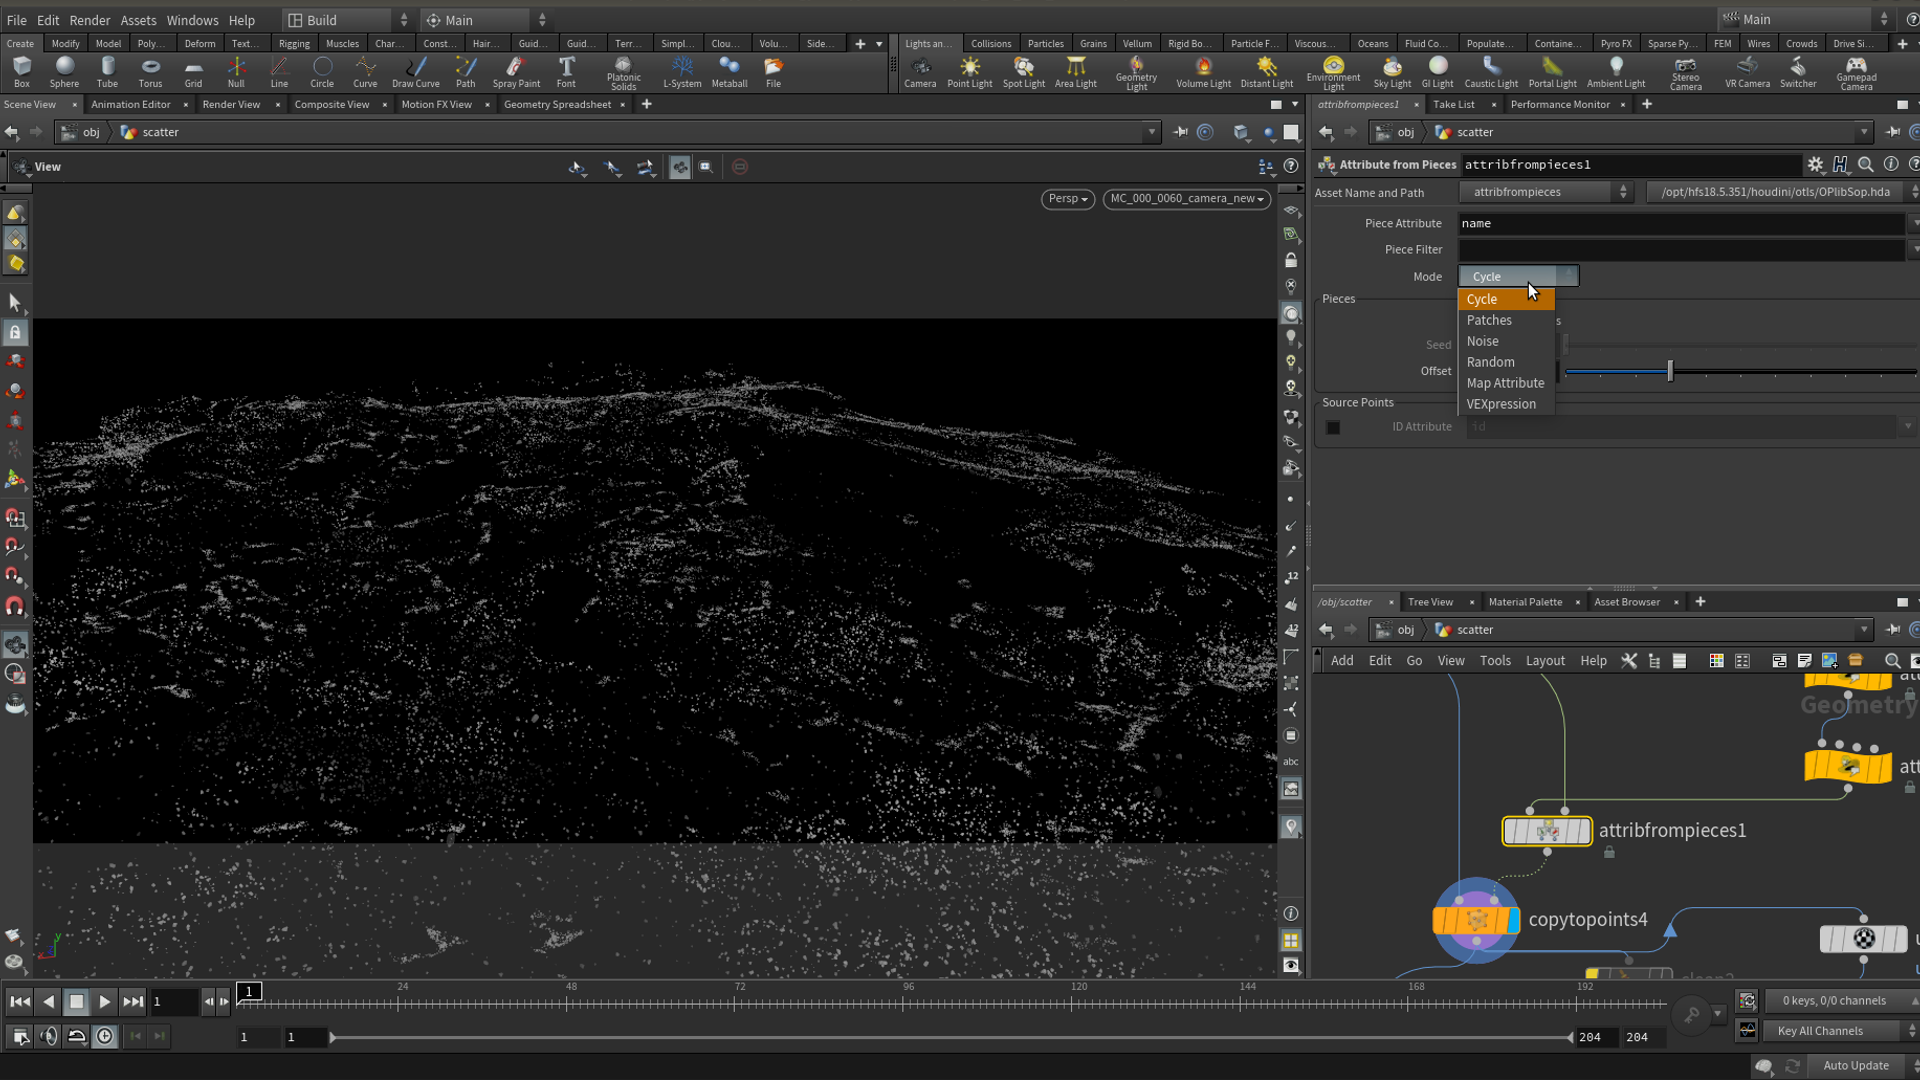
7. Copy Geometry
Now we can use the new attribute from pieces SOP in Houdini 18.5 to specifically assign attributes to the points which we want the models to be copied to. We can easily set rules to customise our scattering, this is extremely helpful when we want to scatter different pieces to specific points. In this example, we have 2 sets of geometry, using this node, we can randomise which pieces are scattered onto the points. We can also copy different geometry according to the distance from the camera (LOD).
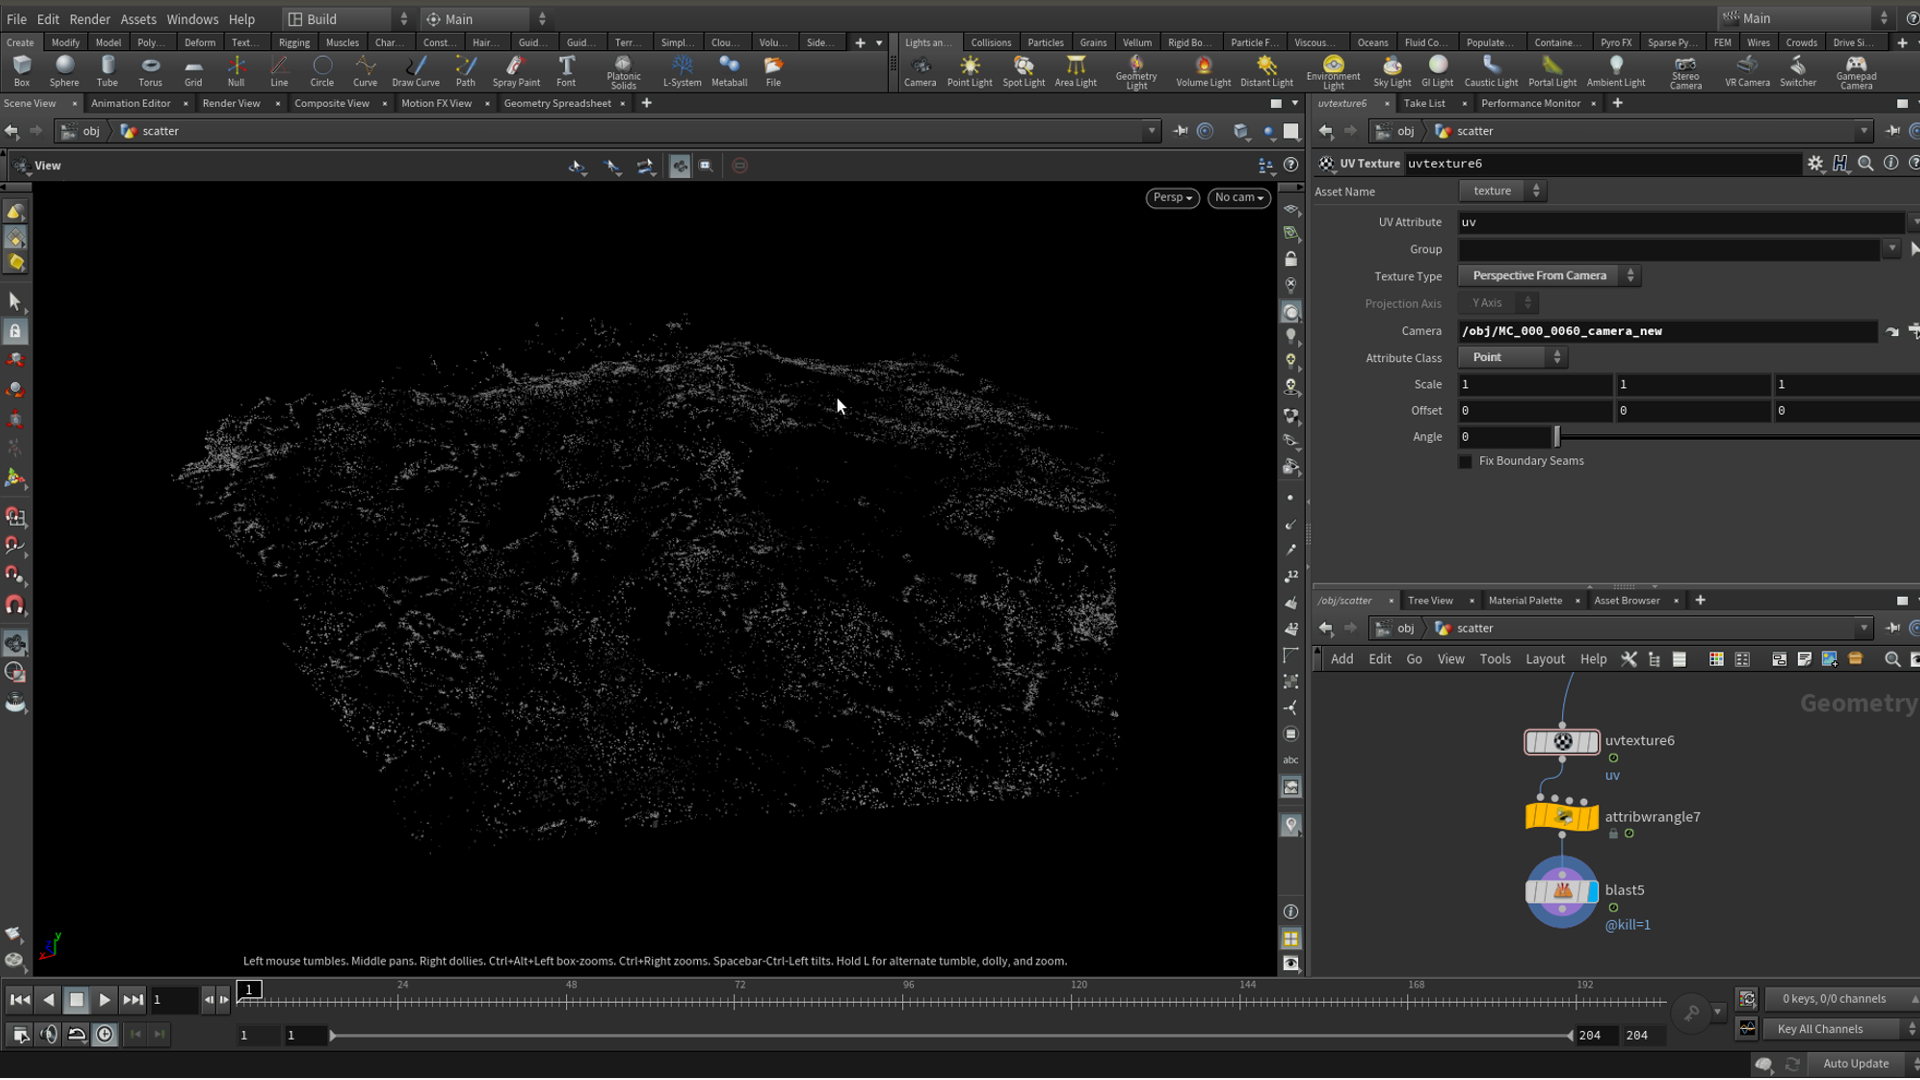
8. Clean up and Optimisation
We have our rocks now and can clean up and optimise it by removing any rocks that are not in camera, I did this by getting uv attributes from the camera, and culling points using this information. We can also achieve this using volume.
9. LOPs approach - scattering
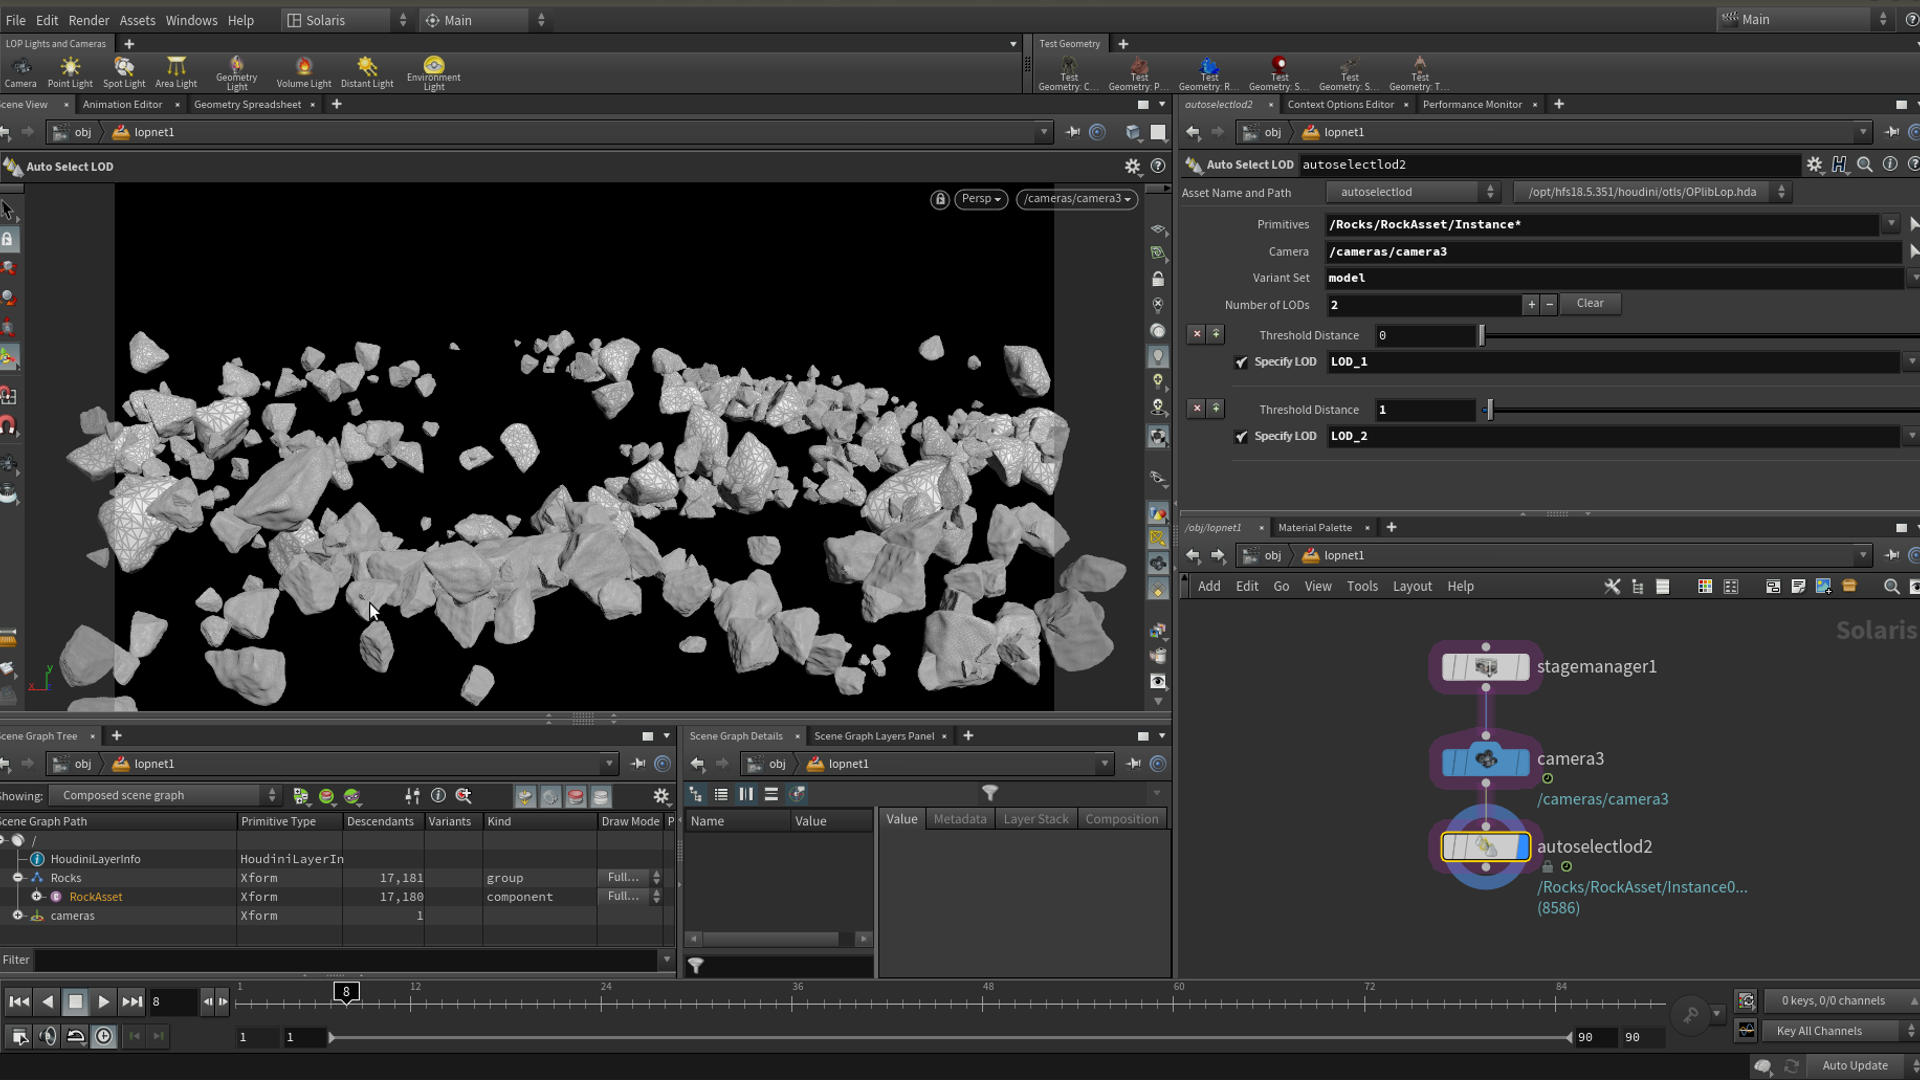
Being quite new to USD and its concept, I have experimented with some LOPs approaches for scattering. In this case, I have tried to generate LODs for the rocks and store them as variants using the create LOD LOP, and then we can simply instance our rocks onto the imported points. This will work well later on when we add the Auto Select LOD, which selects the variant based on camera distance.
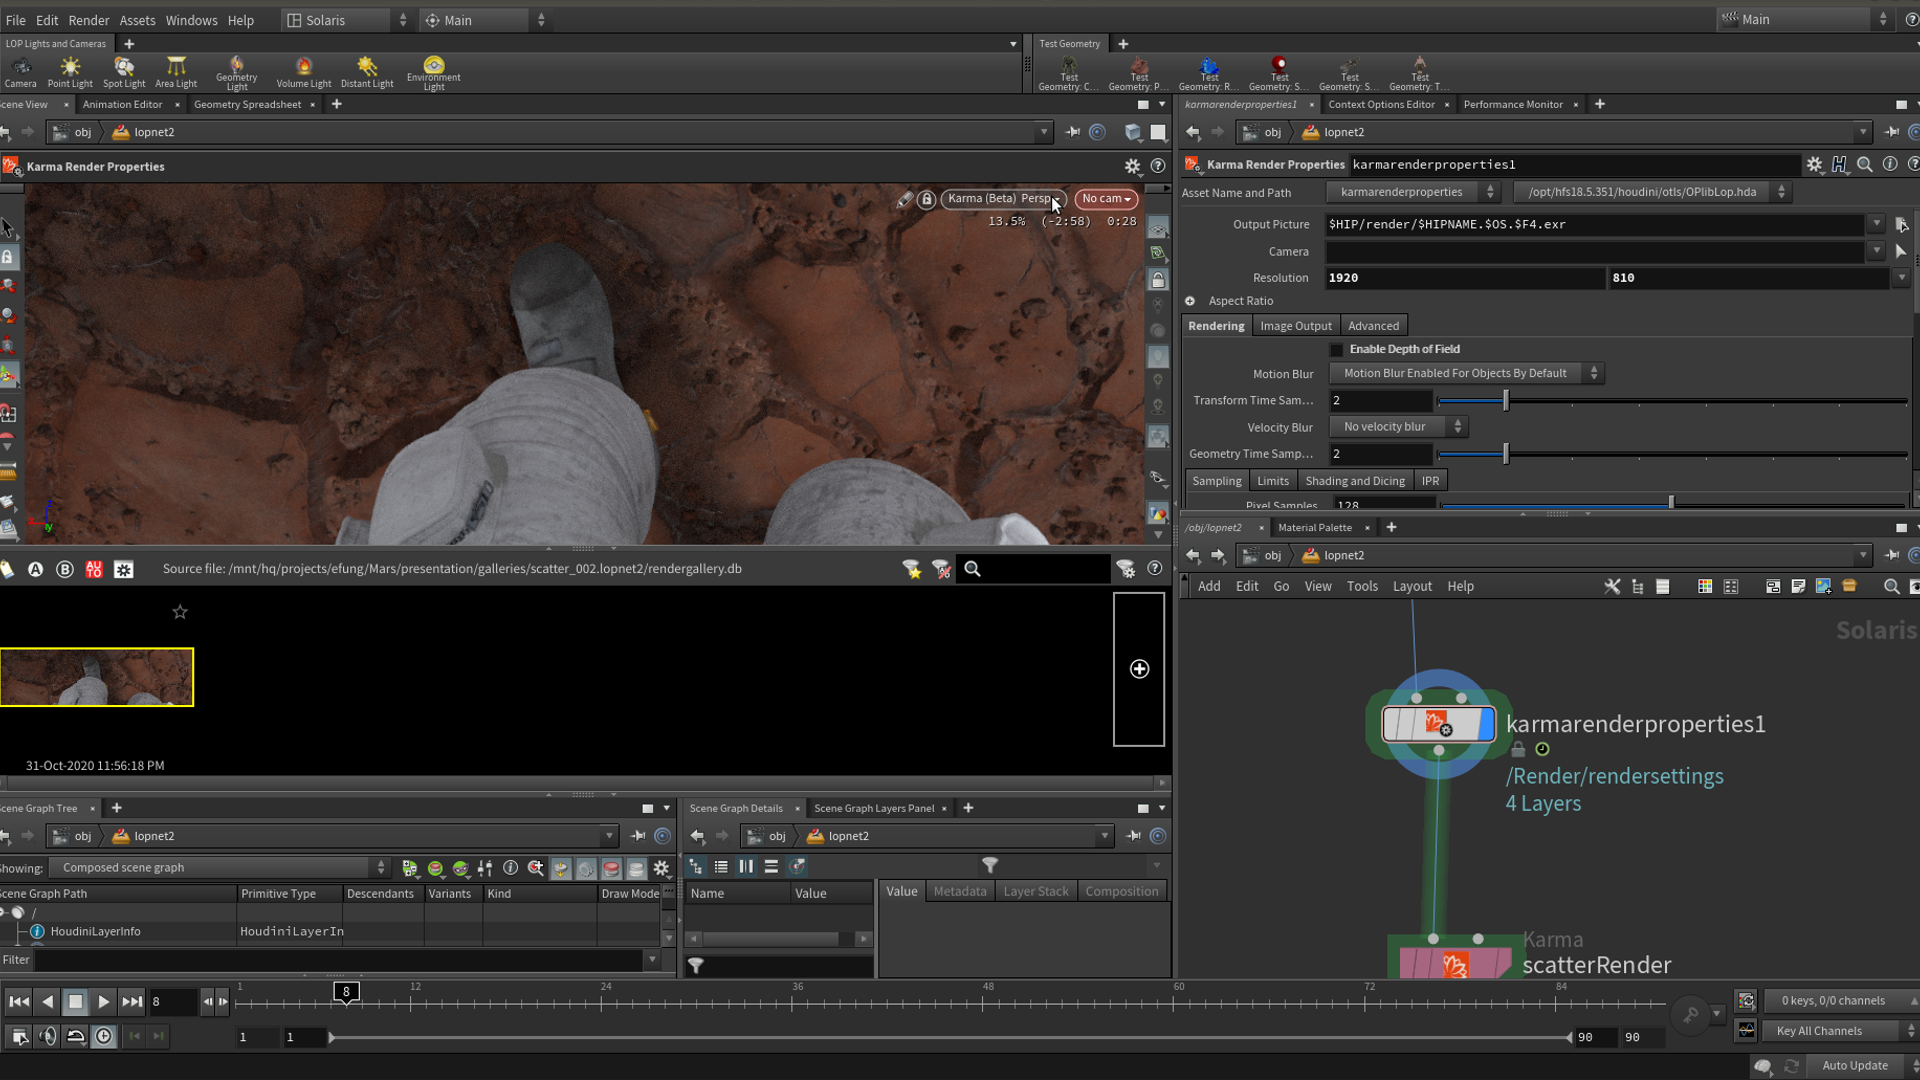
10. LOPs approach - rendering
Lastly, I experimented with rendering using Karma, I didn’t do anything fancy here. There are lots of cool new solaris features in Houdini 18.5 which I have yet to explore, and I will certainly be spending the future reading up on more USD concepts!
Sand Tutorial
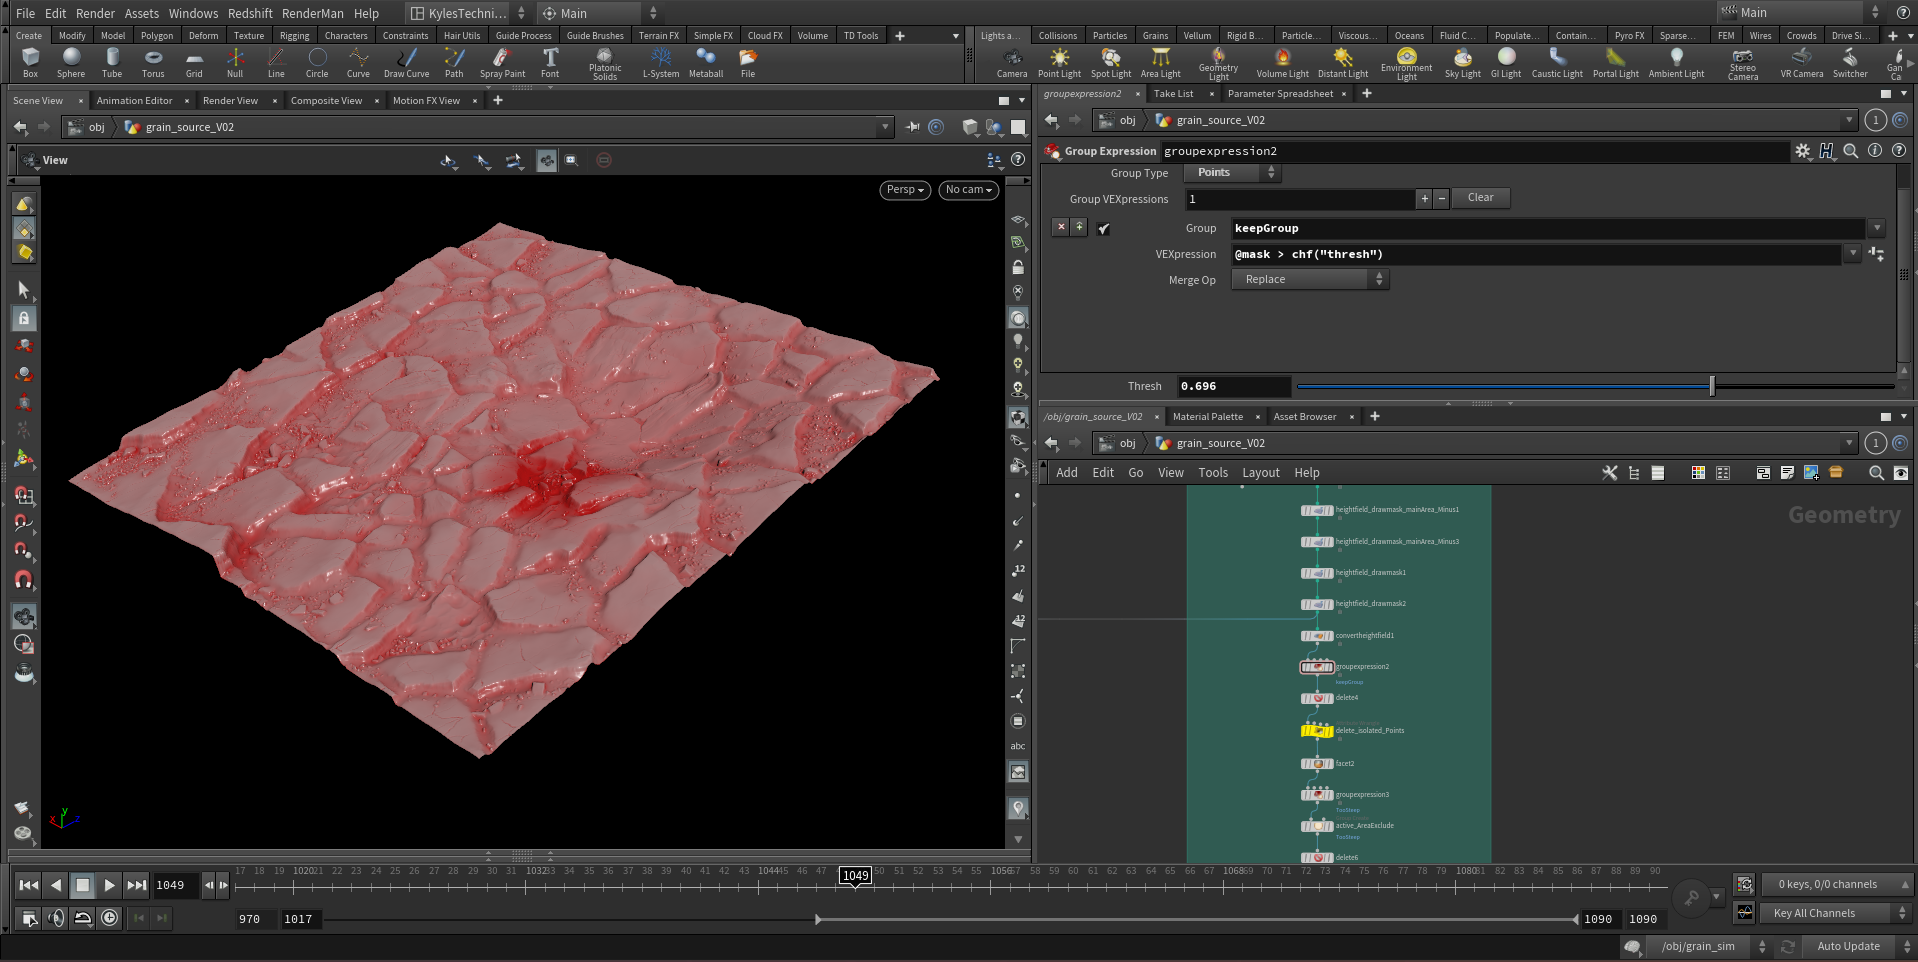
1. Working With Terrain
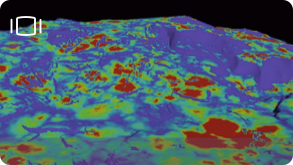
When looking at real life references, sand tends to fill between the cracks of rocks and coincidentally occlusion gives us exactly what we need. The flat open areas have lower mask values and the cracks give us higher mask values. I converted the geo into a heightfield, used the mask by occlusion node and used the draw mask node to art direct the mask adding more occlusion where I wanted more sand. Then I converted it back to geo, grouped the points that are over certain occlusion in this case the value is .696 and then deleted the rest.

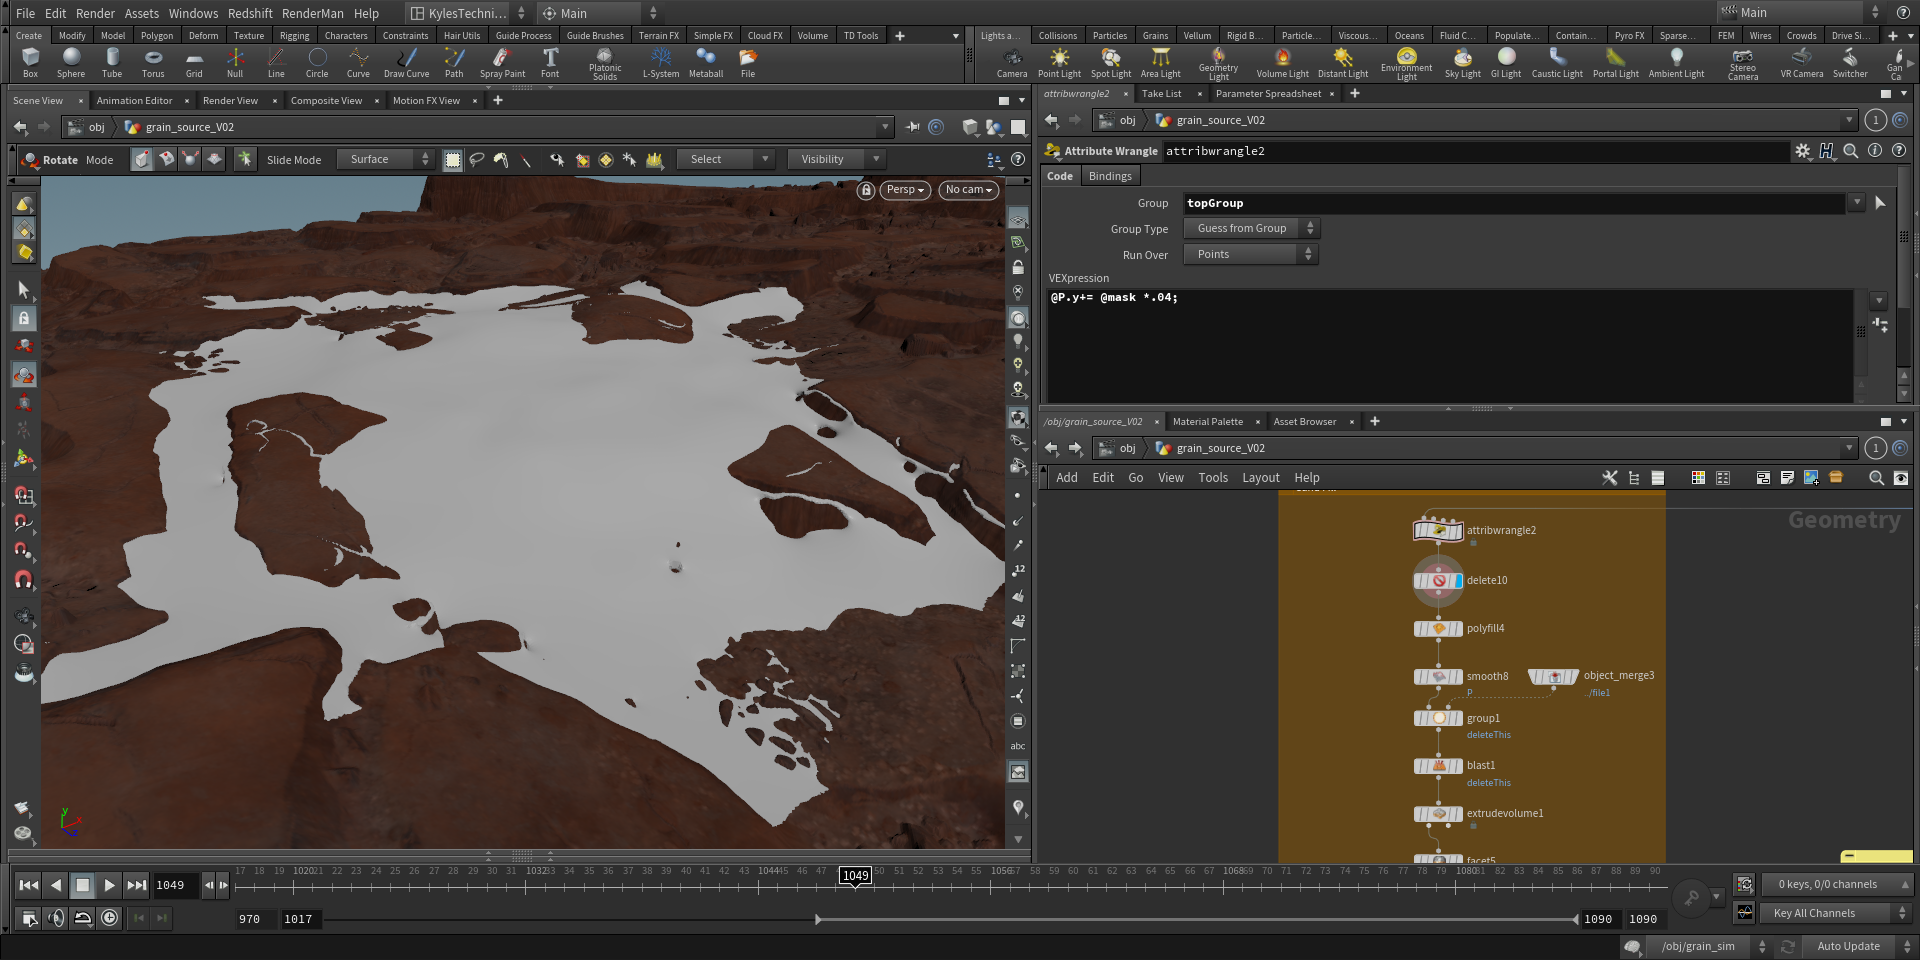
2. Creating depth
Its important to be efficient with grains so I group painted the geometry that can be seen with the camera and deleted the rest. Right now the geo is flat and grains need a solid, closed surface. I scattered millions of points converted to VDB then back to geo to get the whole geometry. Then I grouped the points by normal using this expression “@N.y >= 0” to get the top faces. I then used a very aggressive smooth on the top facing group and to flatten out the surface. The templated geo is the top of the geometry and what is displayed is the bottom geometry.

3 Manual Sculpt
This step is pretty straight forward, I manually painted the geometry and used that value to raise the top surface. The resulting geometry was very uneven but was close to what I wanted so I used another smooth to blend the sand mound back with the rest of the geo.
4. Sand Fill
I used a group paint node to control what part of the geo is the active area and deleted the rest of the geometry. When working with grains there tends to be plenty of points under the surface that don’t really contribute to the final look of the effect and only make the simulation slower. I used the same method as before but instead I raise the top group by a smaller value and source this geometry as a collider for the simulation. With this method I brought the active area from 25 million points to only 7 million points.
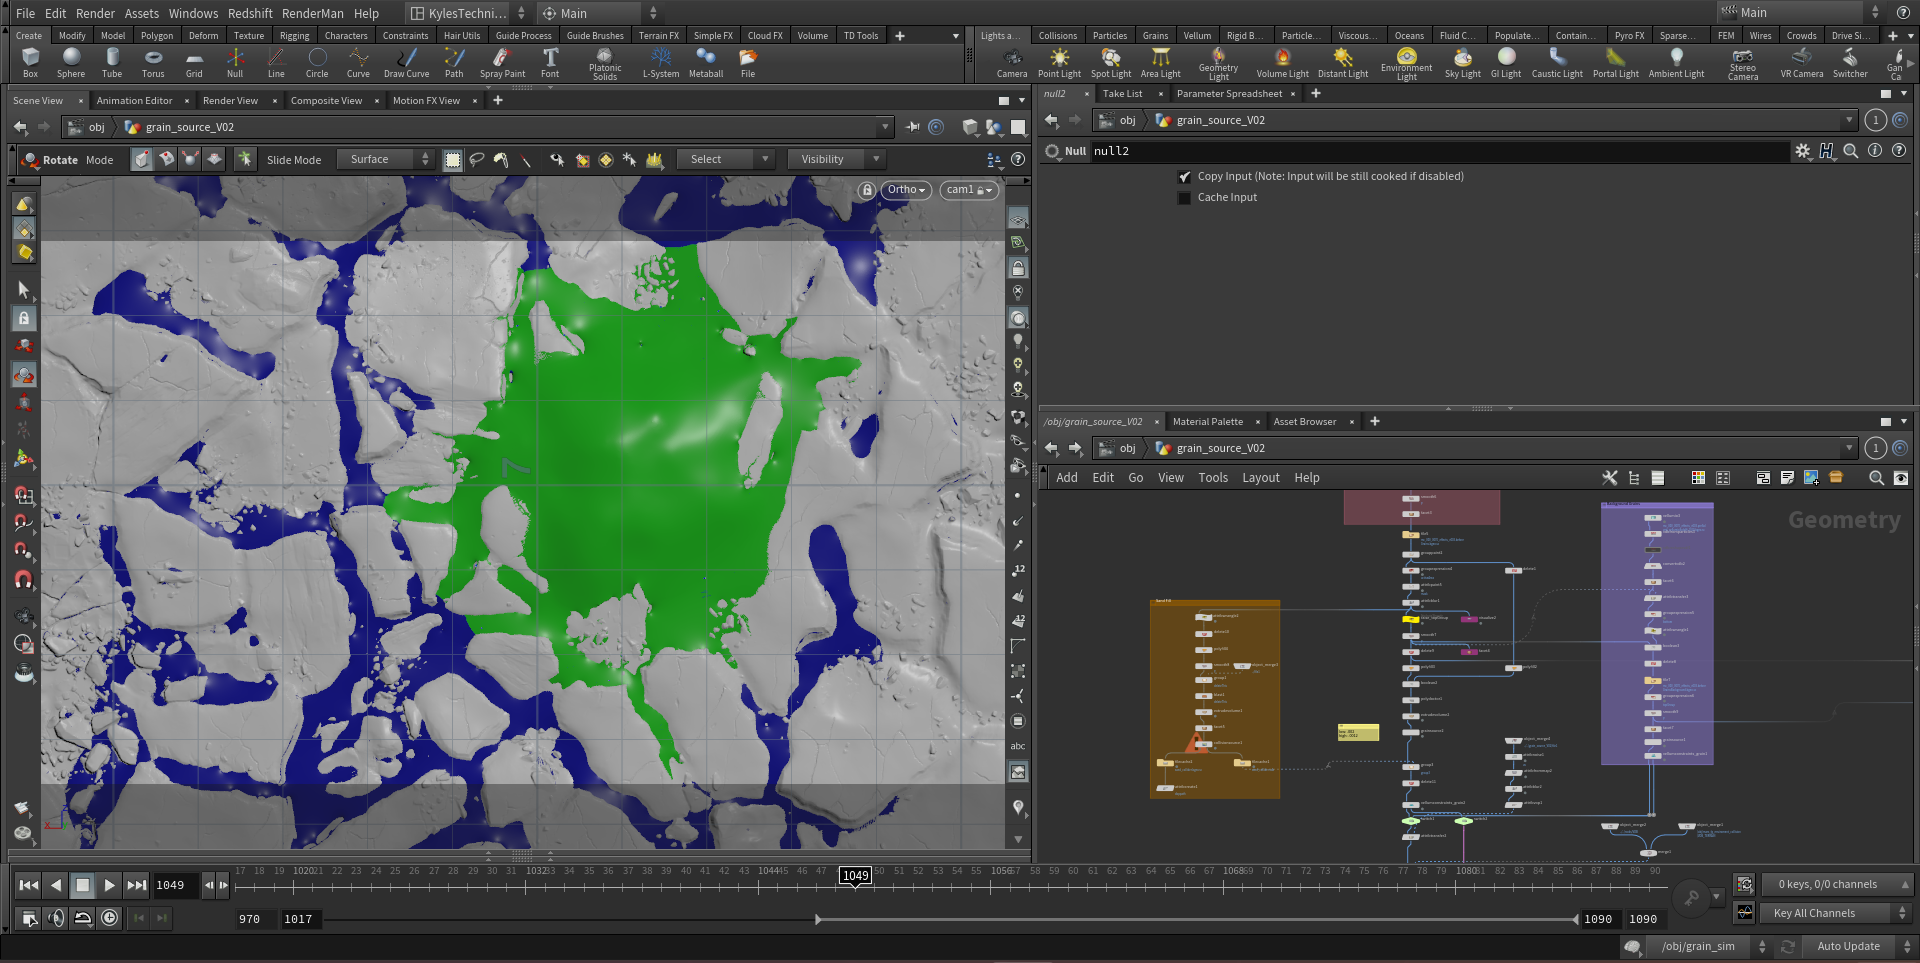
5. Splitting It Up
Green is the active grain source and blue is the background static grain source. I know this looks like a spaghetti of nodes but to explain it simply, I boolean the sandfill geometry with the old geometry and delete what isn't in the active area group. To get background static geometry I boolean the active grain source geometry from the original geometry.
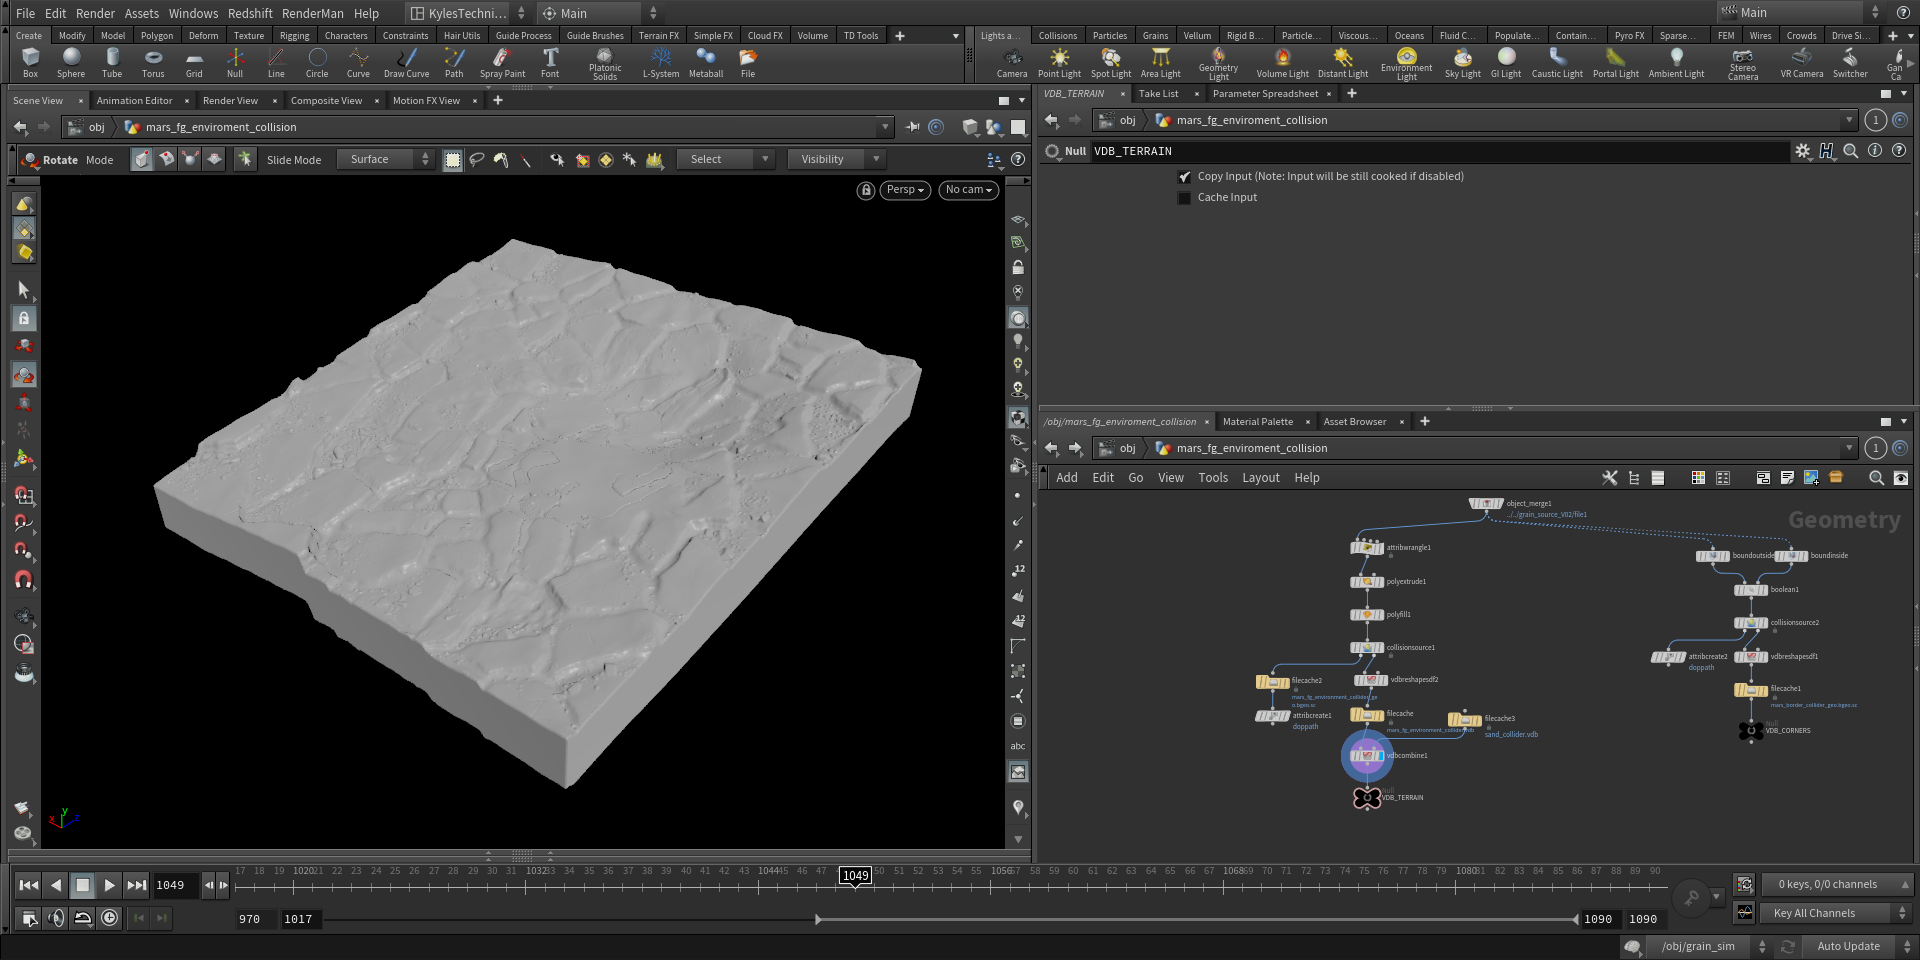
6. Setup Collisons
To make sure the geometry makes a proper VDB surface volume I extruded the edges and used a poly fill. I also combined the sand collider VDB created from the previous step with the environment. For the Astronaut all we need is the feet so I just delete the top half, saving a lot on data and calculations.

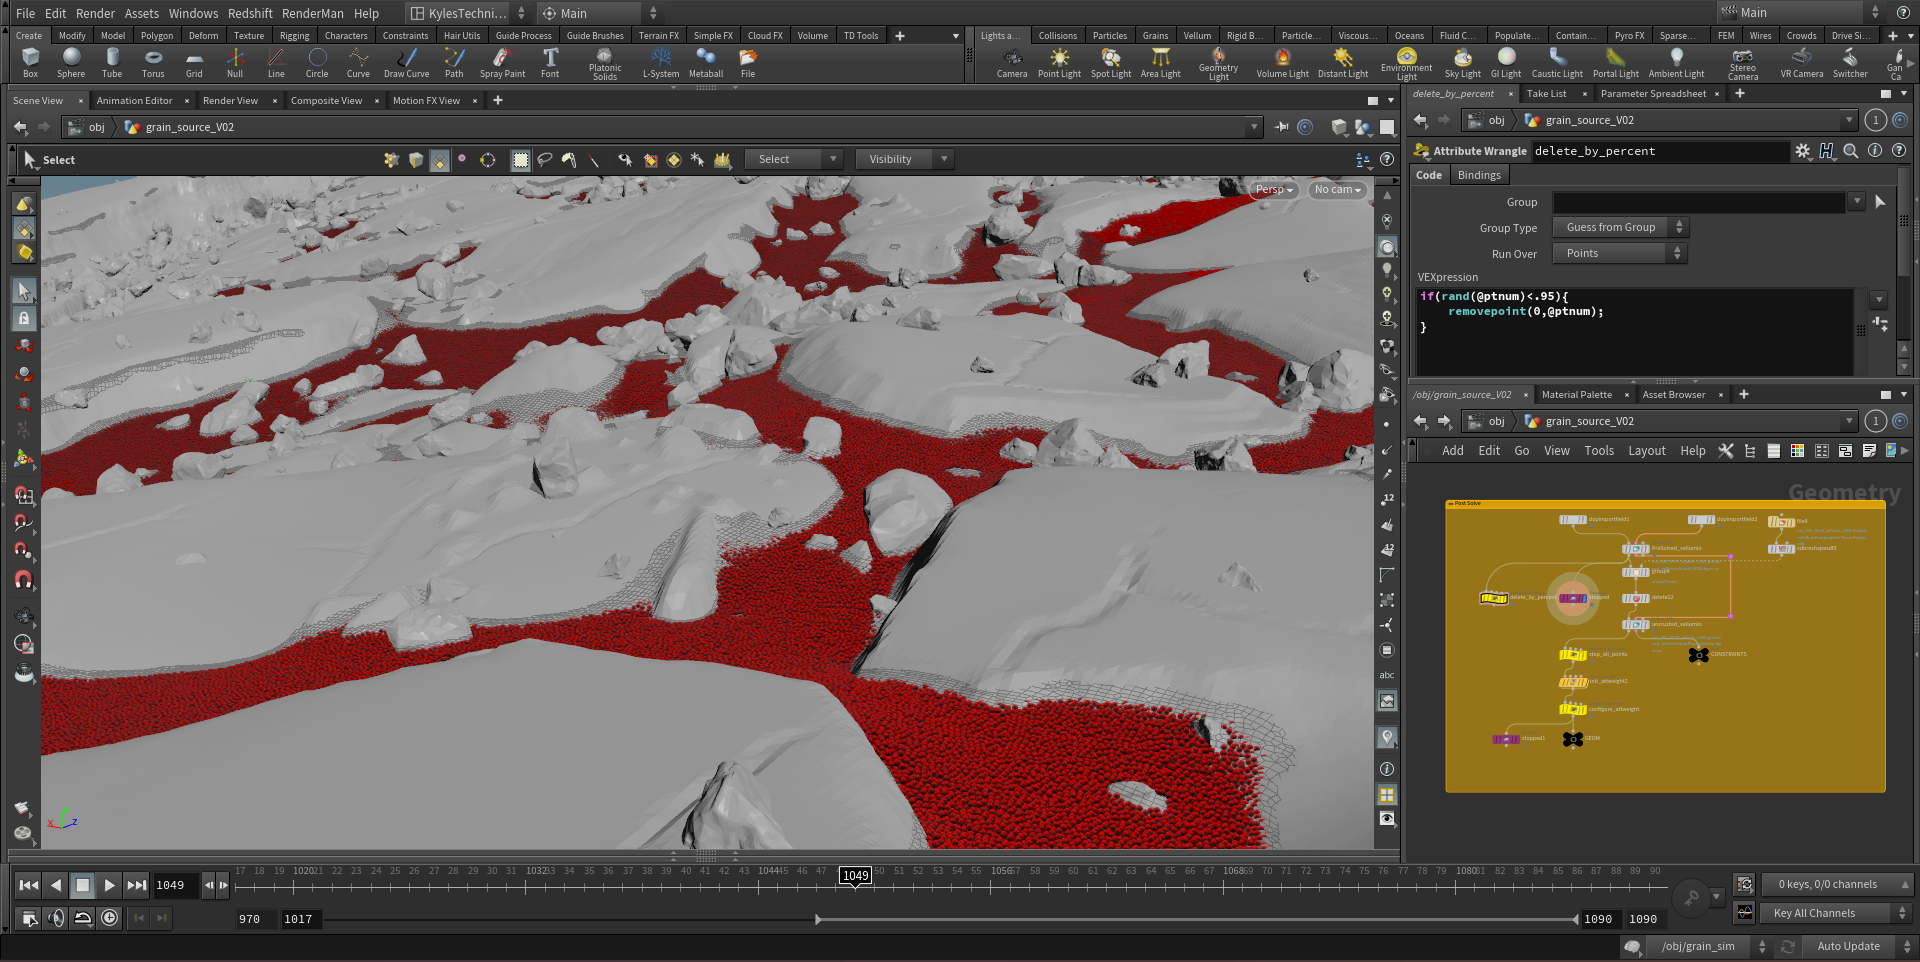
7. Grain Setup
I Like to keep notes of the particle separation on the side because it's really helpful. I used the grain source node because I had to check the Dither Surface parameter or the points won't even show up. Since sand is just the tiny broken bits from the surrounding rocks I used the same texture from the terrain. I added noise to the UV so it won't exactly match, blurred the color then transferred the attributes to the points. I grouped the points using the terrain as a bounding volume and deleted them. If you don’t do this step the grains would just explode as the solver tries to push them out.
8. Pre-solve
Grains always need a couple of frames to settle in the beginning especially if you use jitter scale. For the static grains we can stop after this step but for the active grains we save a lot of frames of calculation. This is also important if you want to have grains with lower friction values as they tend to slip away from their original place. I add attraction weight after pre-solving with some noise to create interest in the simulation. The astronaut starts walking 20 frames into the shot. I also like to add a pop wind animated left and right to make sure that all the cracks get filled.

9. The Actual Simulation
A lot of work with grains is preparing them beforehand but there are a couple of settings you need to keep in mind. Grains need 10 substeps or it will give you unstable results. This simulation is pretty slow in general so I add a speed limit of 1.5. Friction is the most important value I used a dynamic scale of .2. Also limiting max acceleration to around 15 because grains tend to be unstable and this parameter really helps. I set the attraction weight to 1 because I set this value on the points and I had a range of between .01-.03.

10. Sleeping Grains
I simulate first without any sleep so I can get an idea of the average speed of all the grains then I start tuning this value. This is probably the most important part of the entire simulation and you just have to play with some values. How auto sleep works is that if a single point stays below the velocity threshold for the sleep delay in seconds, stop that point. In order to wake these points up we use a pop awaken node and use a volume source, in this case the astronauts foot. Points can also wake up other points with self awaken. If a point is moving faster than the Velocity threshold it will wake up other points in an area of its Pscale * the Wakeup Scale. When calculating this area, points are turned into volume grids and you need to set this as low as you can or you will see a “terracing effect”.
Terrain Strata Tutorial
Step 00
We start with the base proxy mesh and project it to a HeightField of adequate size. After that, we need to smooth out the HF to get a clean starting point.
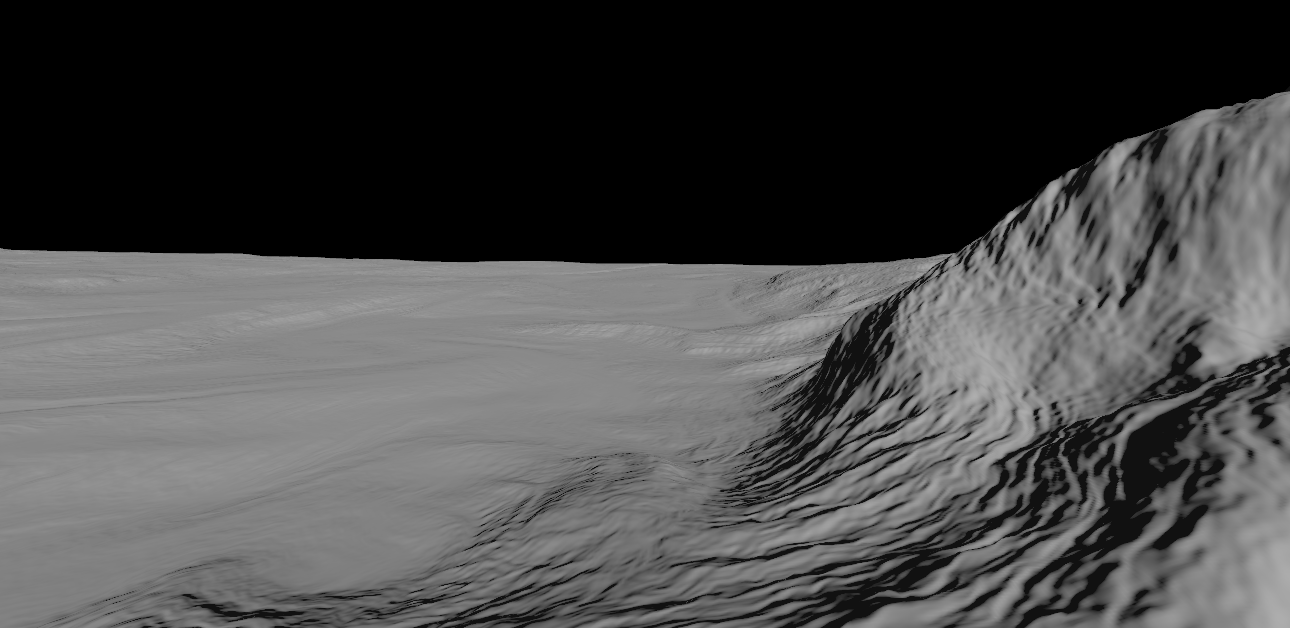
Step 01
Several layers of HF Distort by Noise are added to breakup the major forms, add details and give erosion some interesting varied slopes to work with. We usually combine different flow noises - large scale and low roughness, and small scale with bigger roughness.
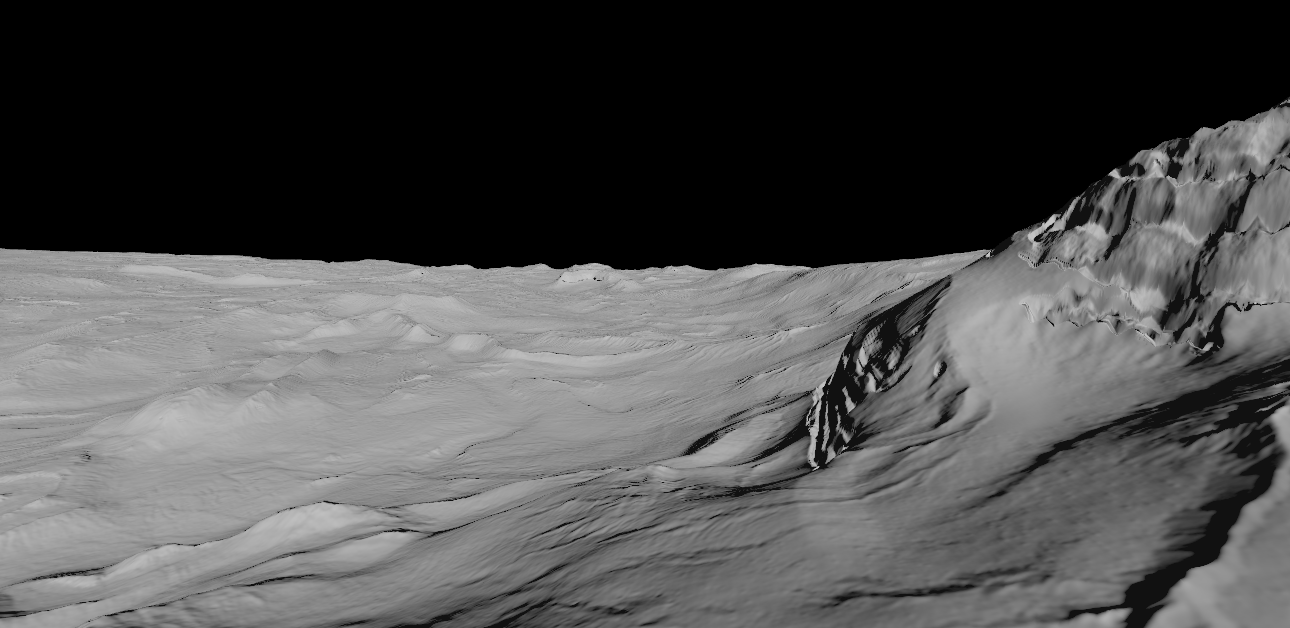
Step 02
Naked cliff sides are a dominant feature. For background and smaller cliffs, we used Terracing. First we select the steep slopes with Mask by Feature to isolate the effect. Then, we add Terracing to those parts with varied terrace height and smoothing, for nicer variations.
Step 03
All of these surface modulations of the HF are chiseled down with several erosion passes. Erosions parameters are tweaked to simulate rough environment, passage of time and to add terrain details and cohesion. Usually, several cycles of the distort-terrace-errode effects are layered together, up=resing the HF along the way.

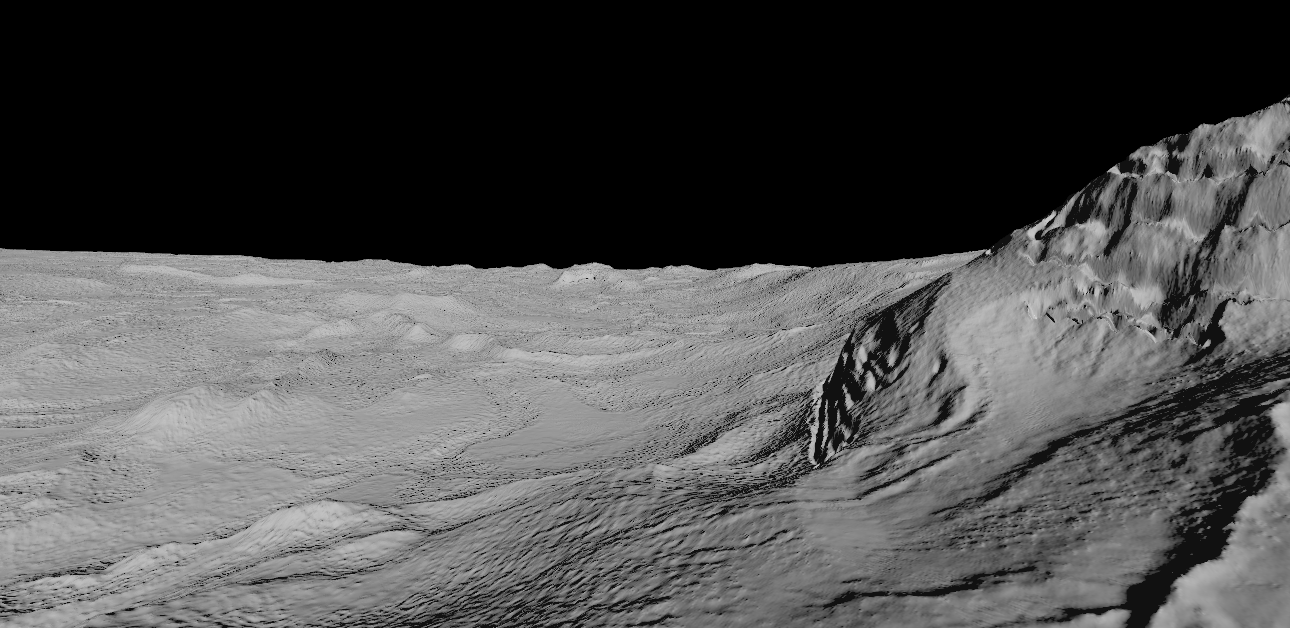
Step 04
For some of the background features, we even added world scan data from various deserts using MapBox. In the end, as the final touch, Slump was added on top of everything to simulate sand and debris buildup.
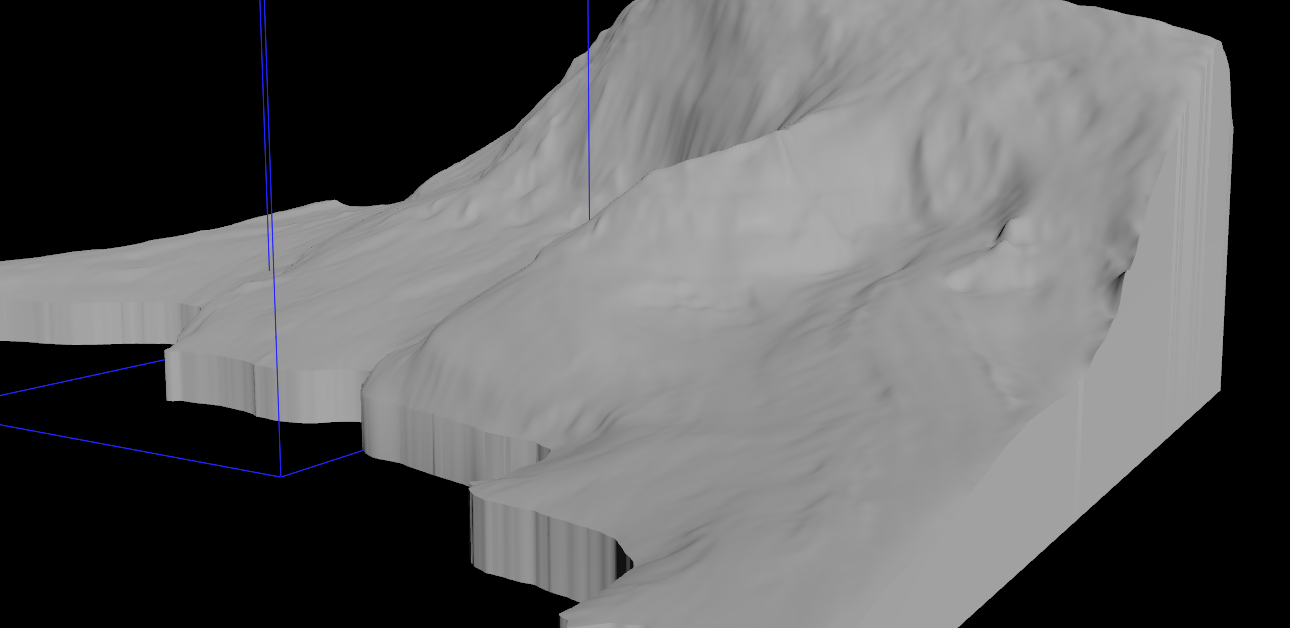
Step 05
For foreground cliffs, we used a different approach. First, we masked and detached a piece of the original heightfiled where the cliffs should be. Mask was based on HF height and distance from camera. This gave us a chunk we could work on further.
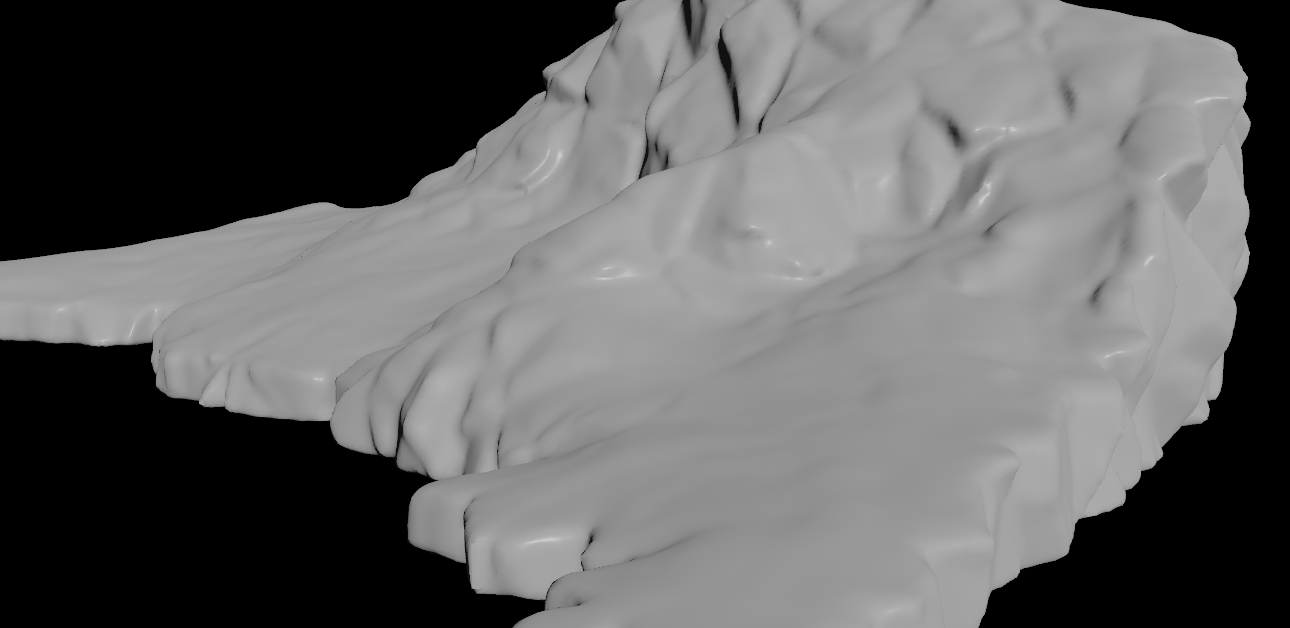
Step 06
That chunk of the HF was then voxelized and the simple Mountain node was used for initial surface breakup. The modified mesh was Remeshed to a relatively low resolution to both get some bigger planar surfaces and to speedup the processing in the next step.
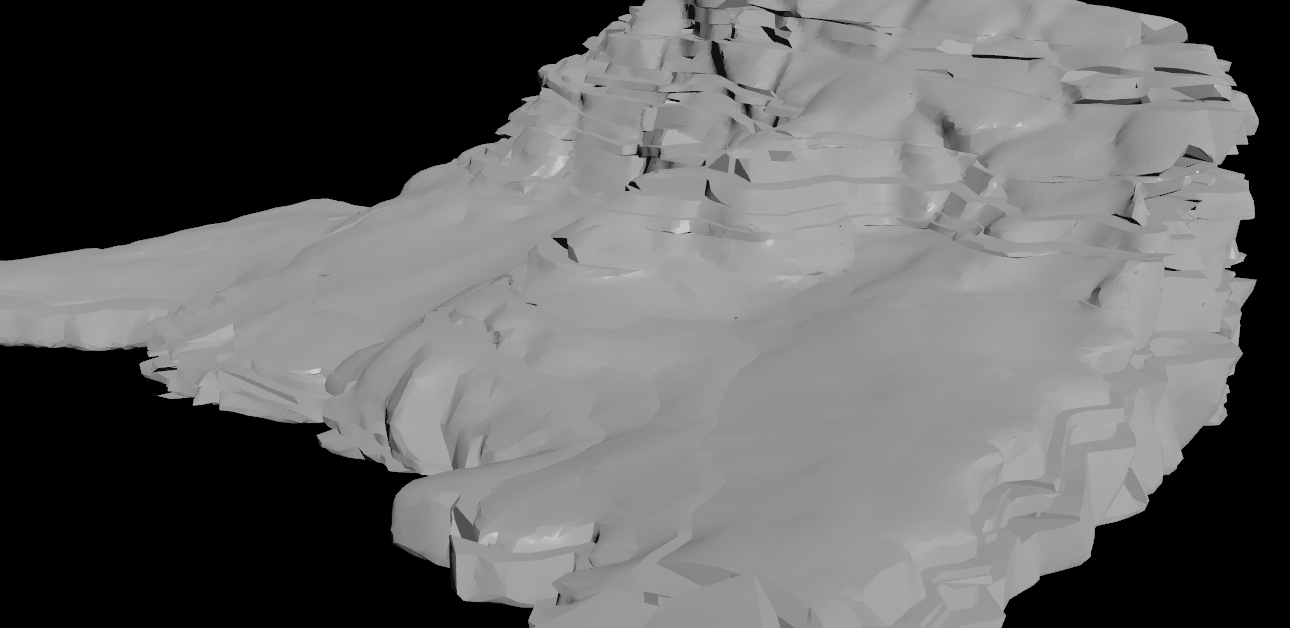
Step 07
Then we cut the mesh into discreet strata layers with varied thickness. Every piece was individually processed inside of a For-Each loop - adding random scale/offset, doing a voronoi fracture and deleting the smaller parts. This introduced additional variation in the strata layers and large-scale chipping.
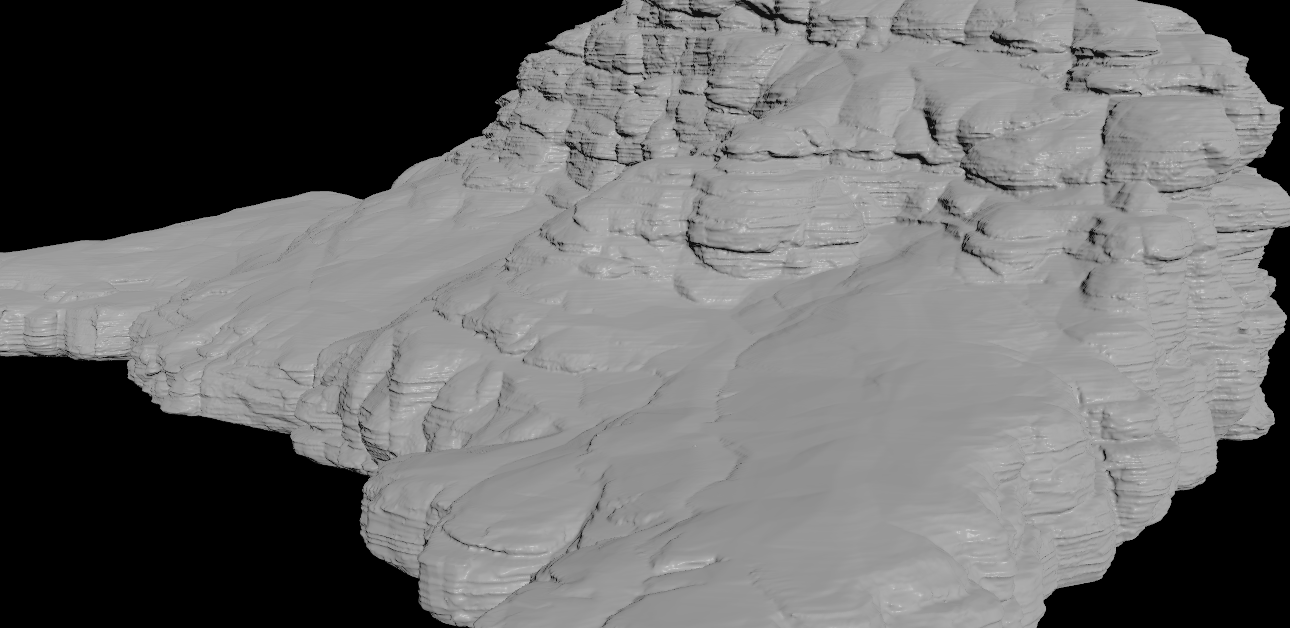
Step 08
Final step for the foreground cliff was converting it to a high resolution VDB and adding a couple of layers of noise. The noise was limited to the sides and had a high vertical frequency so it could work well with the strata layers.
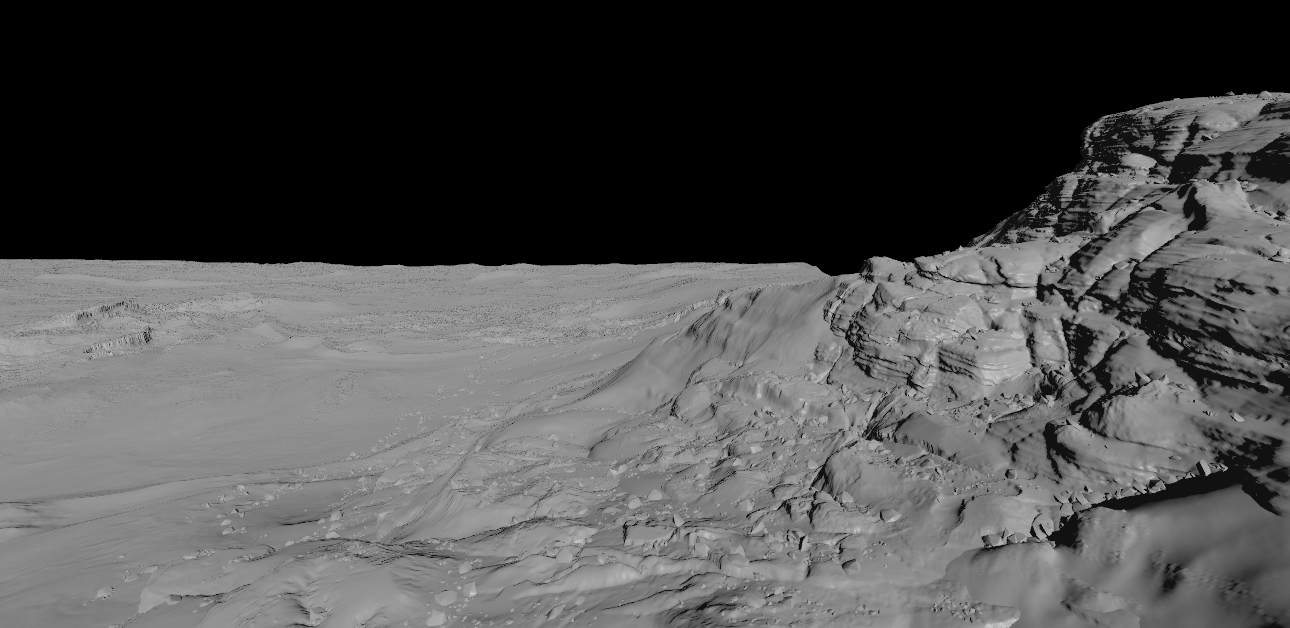
Step 09
After combining the HF and the foreground cliffs, everything was merged to a separate low resolution HF which was used as a base to scatter rocks and debris. Same HF was used to create scatter masks, so that the placement feels organic.
Step 10
HF and cliffs were split into several UDIM tiles and all the texturing was done in Substance Painter.
The Houdini team is pleased to partner with AMD on the production of this animated short film. AMD develops high-performance computing and visualization products to solve some of the world's toughest and most interesting challenges. All SideFX internal artist machines used in the creation, simulation, and rendering of this animation were powered by AMD Ryzen™ Threadripper™ PRO and AMD Ryzen™ Threadripper™.