Houdini’s SOP FLIP fluids provide several ready-to-use tools to illustrate some of most common workflows. To access the tools, create a  Geometry SOP and double-click it to dive into the node. There, press the ⇥ Tab key to invoke the TAB menu. Enter
 flip configure and choose 
FLIP Configure Lava from the list. Houdini creates a complete network and you can immediately start the simulation by clicking the  icon in the playbar.
The FLIP Configure Lava tool shows how to
-
map temperature to viscosity through an additional DOP node,
-
create a custom temperature point attribute,
-
randomize temperature values,
-
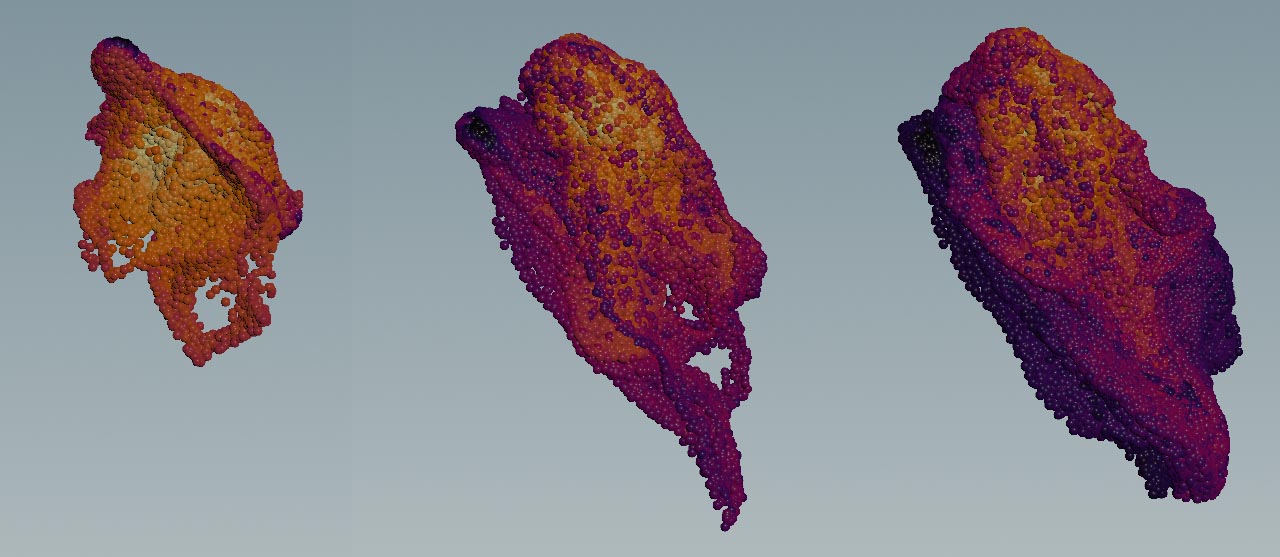
translate temperature values into Cd color information,
-
use a pressure source.
The tool creates a lava-like fluid with random temperature values, driving varying viscosity. A  Sphere SOP acts as a particle source.
Main nodes
|
Node name
|
Function
|
|
fliptank1
|
 FLIP Container SOP. To make the solver aware of the FLIP Container SOP. To make the solver aware of the temperature attribute, it has to be defined in the node’s Point Attribute Name parameter. There, you can also see that Varying Viscosity is turned on. Furthermore, fliptank1 is responsible for the fluid’s number of particles. By decreasing Particle Separation you can get more particles and catch smaller structures at the expense of longer simulation times.
|
|
attribnoise
|
 Attribute Noise SOP. The node adds random Attribute Noise SOP. The node adds random temperature values between 0 and 1 and applies them to the particles.
|
|
flipboundary1
|
 FLIP Boundary SOP. Here you determine how the particles should be sourced. For lava, the Pressure boundary creates good results. Uniform Pressure controls how fast the particles will emit from the source object. FLIP Boundary SOP. Here you determine how the particles should be sourced. For lava, the Pressure boundary creates good results. Uniform Pressure controls how fast the particles will emit from the source object.
|
|
flipsolver1
|
 FLIP Solver SOP. This node is the center piece of the network and brings everything together to simulate the fluid’s behavior. In the Collision tab, a Ground Plane is active so that the lava flows down a plane. To incline the ground plane, Ground Up is set to FLIP Solver SOP. This node is the center piece of the network and brings everything together to simulate the fluid’s behavior. In the Collision tab, a Ground Plane is active so that the lava flows down a plane. To incline the ground plane, Ground Up is set to 1,1,0. Important parameters are located in the Advanced tab. There, Solve Pressure with Adaptivity is turned off to keep the simulation stable. Enable Particle Narrow Band is also turned off, because the number of particles is very small here and narrow band isn’t required.
|
|
gastemperatureupdate1
|
 Gas Temperature Update DOP. Double-click the solver operator to dive into its network and access the node. The node translates the Gas Temperature Update DOP. Double-click the solver operator to dive into its network and access the node. The node translates the temperature values into viscosity. The Minimum Viscosity value of 0.25 is close to water, while the Maximum Viscosity of 100000 creates the lava material.
|
|
attribadjustcolor1
|
 Attribute Adjust Color SOP. This node translates the Attribute Adjust Color SOP. This node translates the temperature values into colors. Source Range goes from 0 to 1. These are the values you can also find in the attribnoise node. A Color Ramp visualizes the difference in temperature.
|
Tips
| To... | Do this |
|
Change the source geometry
|
Add or import an object and connect its output to the attribnoise1 node’s input.
|
|
Change the viscosity values
|
Double-click the flipsolver1 node and select gastemperatureupdate1. Change Minimum Viscosity and Maximum Viscosity to your likeliness.
|
|
Change the gradient colors
|
Select attribadjustcolor1 and look for Color Ramp. The gradient represents the current color distribution. You can double-click the color sliders to apply a new color. Alternatively, click the  Preset icon and choose a ramp from the dropdown menu. Preset icon and choose a ramp from the dropdown menu.
|
|
Apply the particle colors to the particle surface mesh
|
Select the fluidcompress1 node and go to Keep Attributes. Append Cd to the list of already existing attributes. Do the same for particlesurface1, but look for Transfer Attributes.
|
|
Change speed and direction of the fluid
|
Select the flipboundary1 node and enter a new value for Uniform Pressure. This parameter emits particles along the source object’s normals. To change direction, apply an Additional Velocity vector.
|