| On this page |
Overview 
How it works 
Set up a ![]() Wedge TOP in your TOP network to generate work items. Each work item will have a different value for one or more attributes.
Wedge TOP in your TOP network to generate work items. Each work item will have a different value for one or more attributes.
-
Use nodes such as
 HDA Processor and
  Geometry Import to call Houdini assets/networks.
 -
In the assets/networks you call, use
@attributeexpressions to use attribute values from the current work item.
See the ![]() help for the Wedge TOP for more information.
help for the Wedge TOP for more information.
-
You can generate multiple attributes in a single Wedge node. These attributes vary independently across the number of variations you choose to generate.
-
If you want to generate permutations of different attributes, you can “stack” multiple Wedge nodes one after another. (If the Wedge node has input, it generates its varied work items for each incoming item.)
Wedging simulations 
Wedging is very useful in rendering simulations to try out a variety of settings (initial conditions, parameters such as smoke density, and so on) so we can pick out the best-looking result.
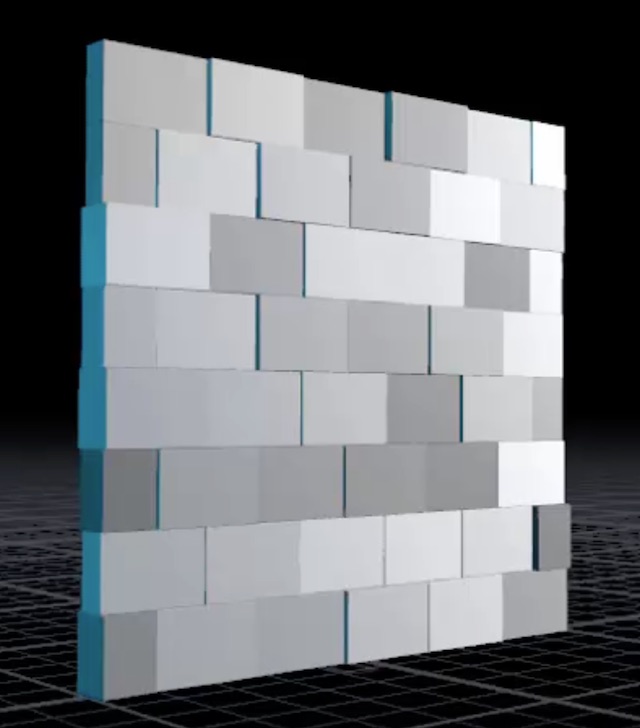
We start with an asset that generates a brick wall, with parameters to vary size, number of bricks and so on.
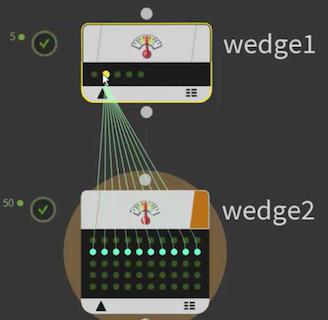
In TOPs, we create a Wedge that varies different aspects of the wall: height, number of bricks, tint.
On the asset, we can use the attributes we generated in the Wedge node to drive asset parameters:
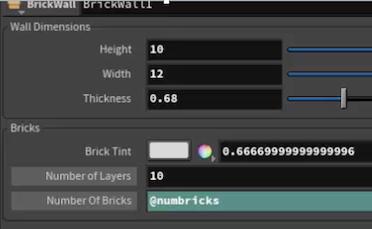
We’ll generate attributes that vary the height, number of bricks, and tint.

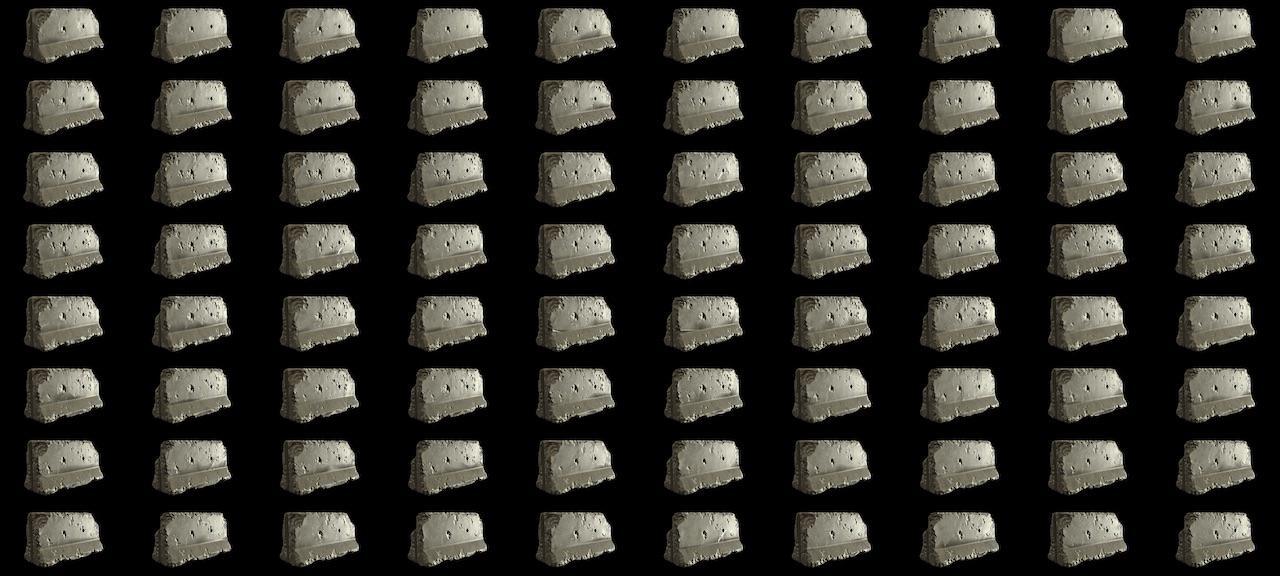
We want to get a sense of the different walls, so we’ll use TOPs to generate a mosaic render of the variations.
From the Wedge we expand the TOP network to generate geometry using the different attributes, render the generated variations, and finally merge the renders into a mosaic image.
(TOPs has a ![]() useful built-in node that can easily create an image mosaic (“montage”) from a set of images.)
useful built-in node that can easily create an image mosaic (“montage”) from a set of images.)
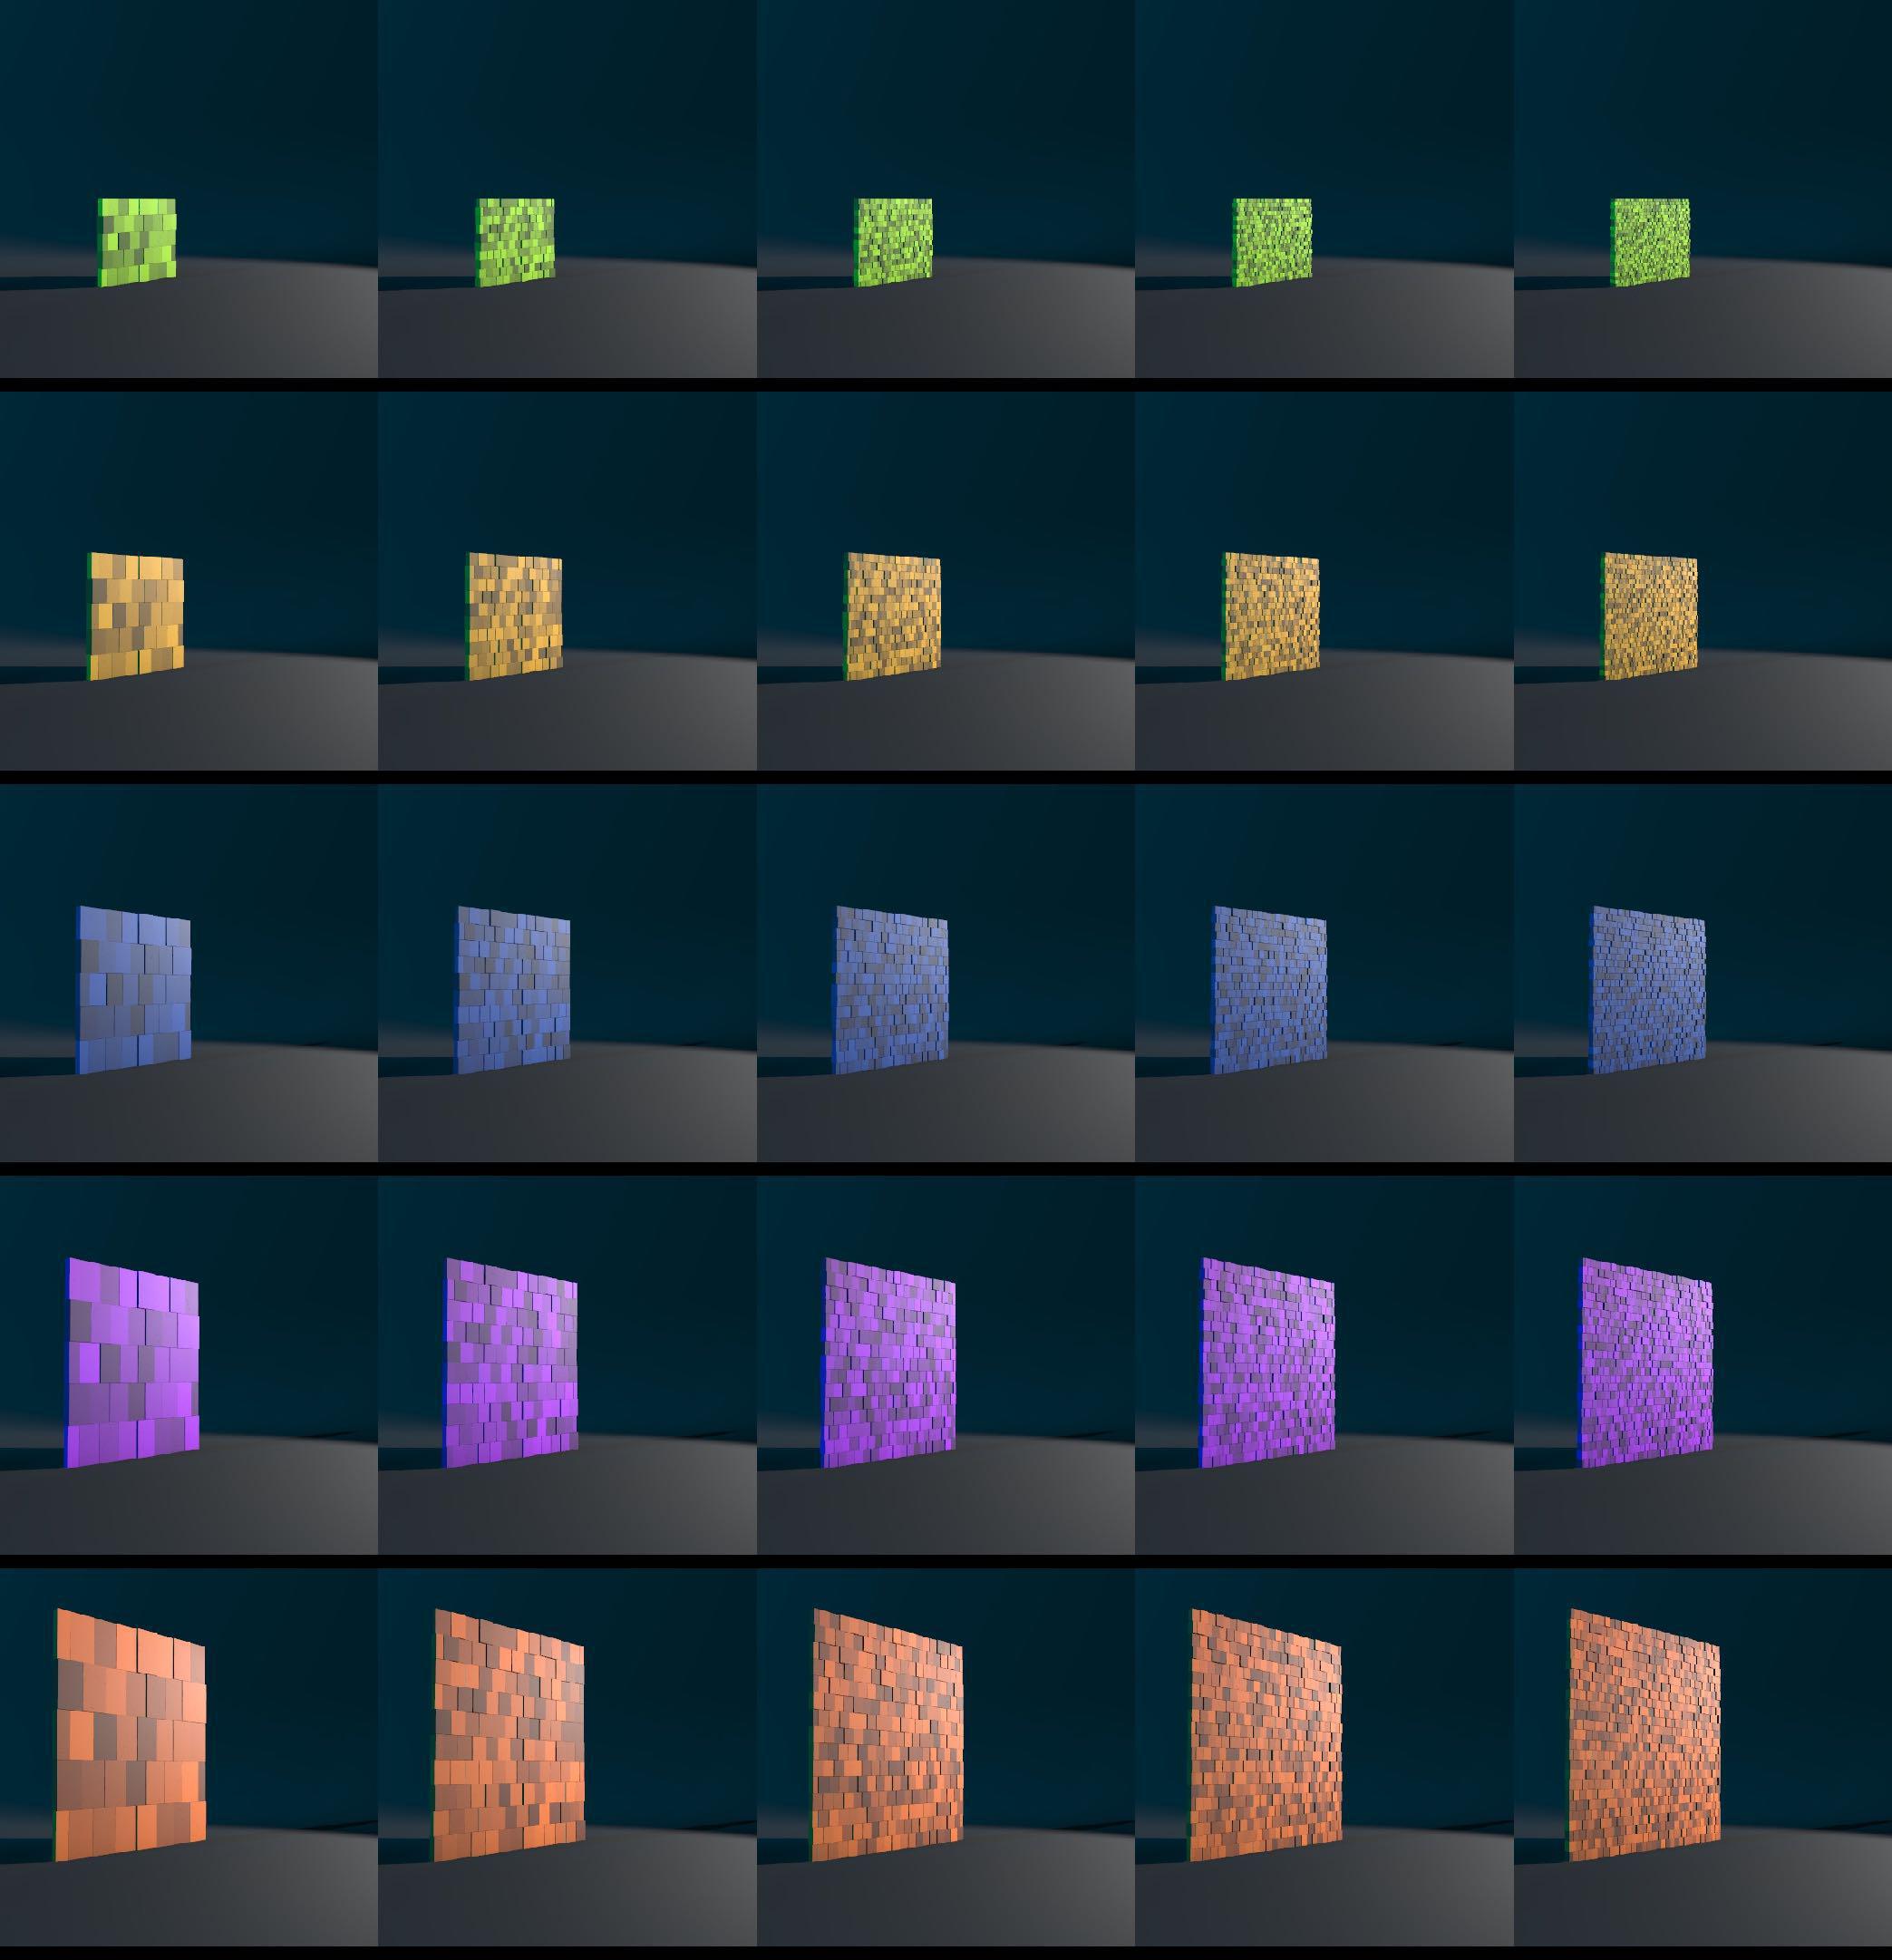
This is the mosaic render of all the wall variations we generated.

Next we can create an RBD rigid body simulation, smashing a wrecking ball into the brick wall.
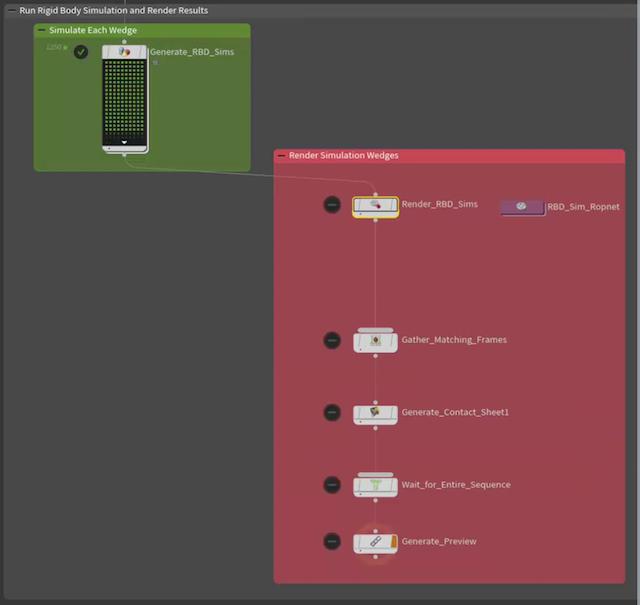
We can expand the TOP network to run simulations for each wall variation.
The new simulation section of the network has another Wedge node to vary RBD simulation settings, such as ball speed.
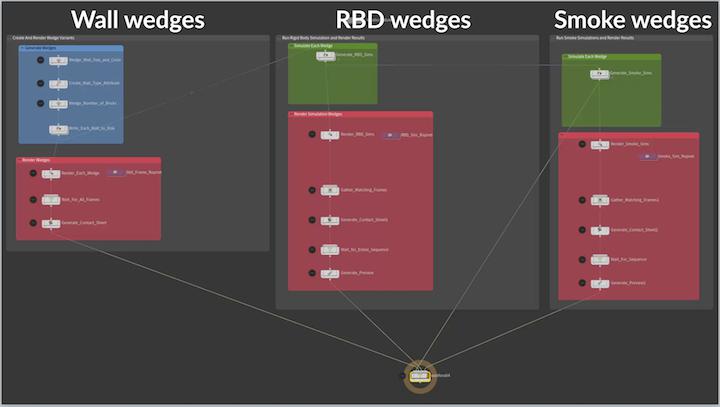
We can go further and add a secondary smoke simulation on top of the RBD sim.
Again, the smoke section has its own Wedge node to vary smoke settings, such as smoke density.
This is the video generated from image mosaics of the variations of each frame. It gives us a wide variety of looks to choose from.
Wedging for variation 
Wedging isn’t only useful for preview rendering. It’s very handy to be able to generate a large assortment of different props from a base asset.
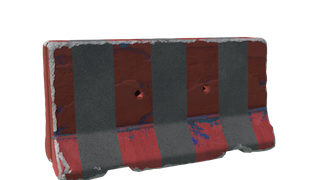

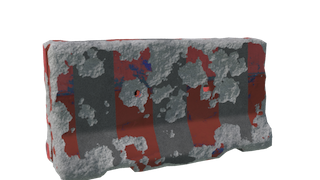

We can use multiple Wedge nodes to generate all permutations of a set of wedge attributes.
This lets us generate (ahead of time or at render time) a huge number of variations.
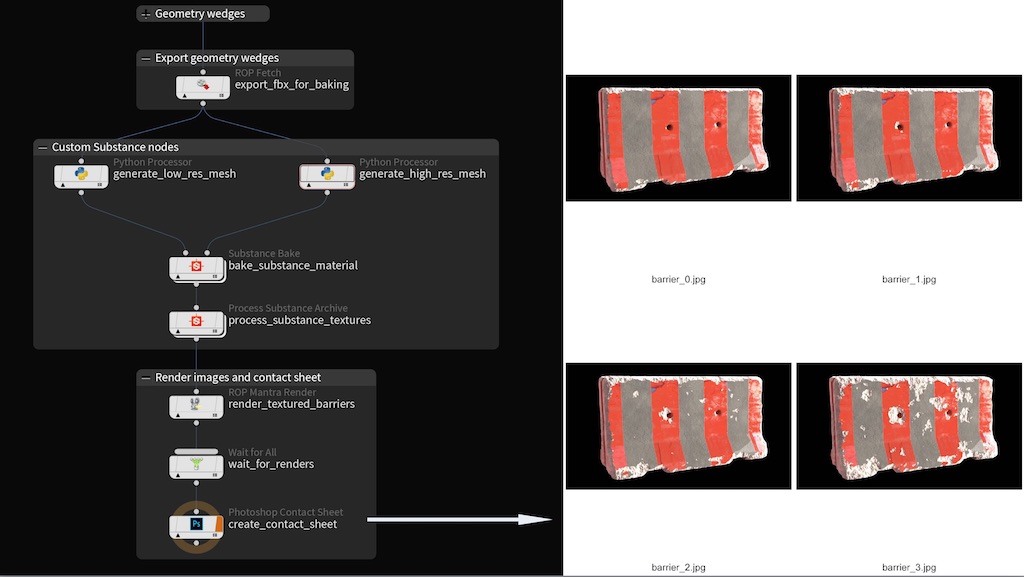
The geometry network can vary materials and material properties as well as generating different geometry.
Wedging level of detail 
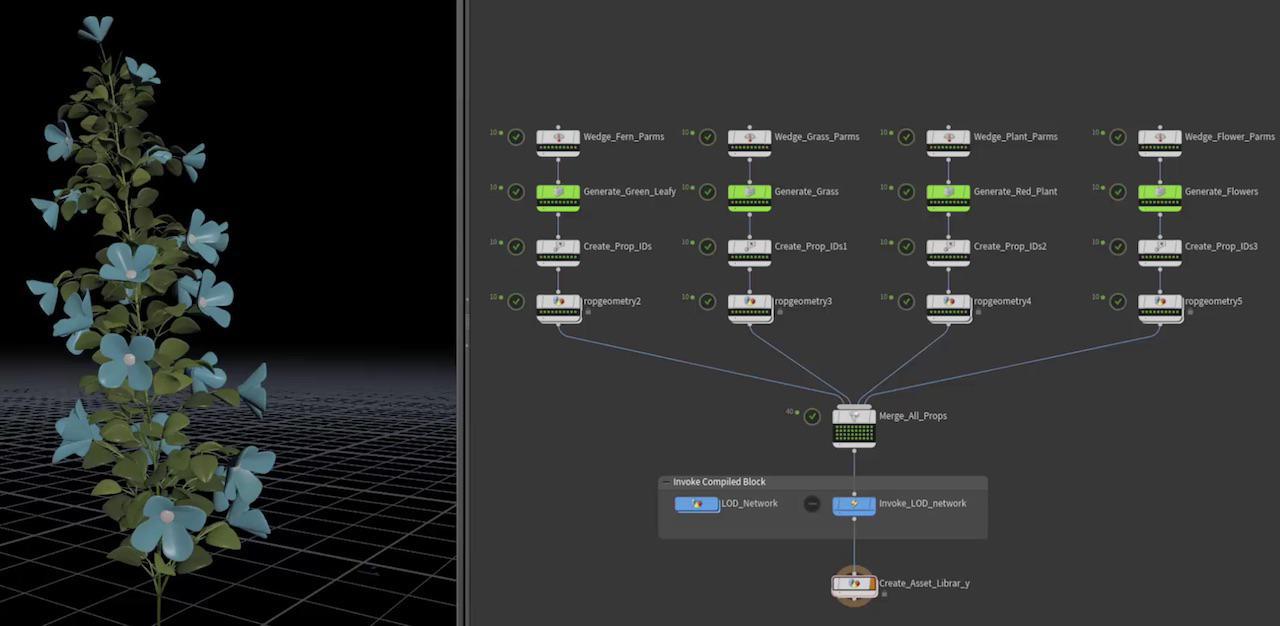
Wedging isn’t just random variations. Wedging can also generate orderly, evenly spaced values. This is useful if you need to pre-generate different geometry for different levels of detail.