| On this page |
Overview 
The tab menu appears when you press ⇥ Tab in the 3D view or the network editor. It shows the list of available tools/nodes for the current context. You can choose a node/tool using the mouse or by typing.
The tab menu is a hallmark of the Houdini user interface. You can accomplish many tasks using the shelf tools, but to get the most out of Houdini, you will eventually need to create nodes in the networks using the tab menu.
How to 
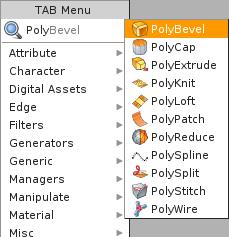
When you press ⇥ Tab in the network editor, a list of all available node types for the network type appears. When you press ⇥ Tab in the viewer, the menu lists the shelf tools.
You can select a node/tool from the menu using the mouse or arrow keys, or you can start typing the name. As you type, Houdini will display a list of matches, which you can also navigate using the mouse or arrow keys. Press Enter to select the highlighted node/tool.