| On this page |
Overview 
The ![]() RBD Bullet Solver SOP has the ability to continuously emit extra RBD objects dynamically during a simulation. You can do this by turning on the Emit RBDs checkbox located on the Bullet Object tab. This will pull in the simulation geometry as well as the constraint geometry and add it to the simulation.
RBD Bullet Solver SOP has the ability to continuously emit extra RBD objects dynamically during a simulation. You can do this by turning on the Emit RBDs checkbox located on the Bullet Object tab. This will pull in the simulation geometry as well as the constraint geometry and add it to the simulation.
Example: Setting up a simple sphere emitter 
-
Create a
 Sphere at the origin using the tool on the Create shelf.
 -
Dive down to the geometry level and decrease the Uniform Scale to
0.2, change the Primitive Type to Polygon, with a Frequency of8. -
Move it up so that it’s sitting flush on the ground plane by increasing the Y value of the Center parameter to
0.2. -
Append an
 RBD Configure SOP to the sphere. This will set up your sphere as a rigid body object without any breaking.
 -
Wire in an
 Attribute Randomize node between the sphere and RBD Configure SOP, and change the Attribute Name to
 vto randomize the velocity of the emissions. -
Set the Min Value to
0, 1, 0.5and the Max Value to0, 15, 5. This will give the emissions upward and diagonal velocity. -
Append an
 RBD Bullet Solver SOP after the RBD Configure SOP and connect the 3 outputs to the first 3 inputs.
 -
On the Collision tab and go to Ground Collision. There, change the Ground Type dropdown from None to Ground Plane.
-
On the Setup tab, turn on the Emit RBDs checkbox in the Simulation sub-pane.
If you press
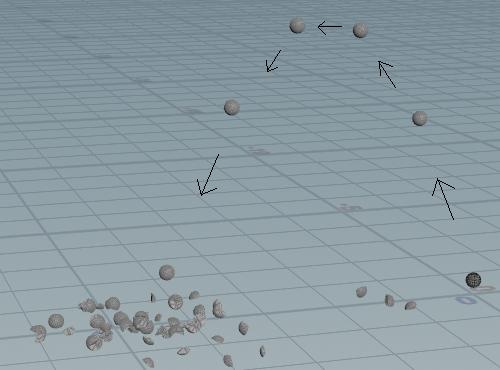
 in the playbar, you will notice that the RBD Bullet Solver SOP will emit a sphere on every frame. You can increase the cache memory for emitting rigid bodies. In the solver’s Advanced tab, open the Emission Solver sub-pane and enter a new value for Emission Cache Memory.
 -
Create a
 Switch SOP and wire in a
  Null SOP to its input.
 -
In the Select Input field, use the expression
$FF%8==1. This will toggle the switch every 8 frames. -
Copy and paste the
Switch SOP 3 times, wire in the constraints and proxy geometry, and then connect the outputs to the RBD Bullet Solver.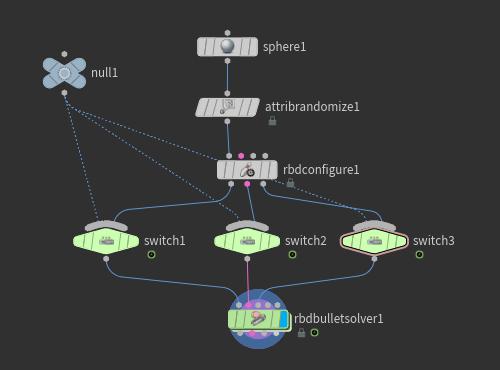
Note
You may have to click the Reset Simulation button on the
RBD Bullet Solver SOP before playing your simulation again once you've made changes to the network.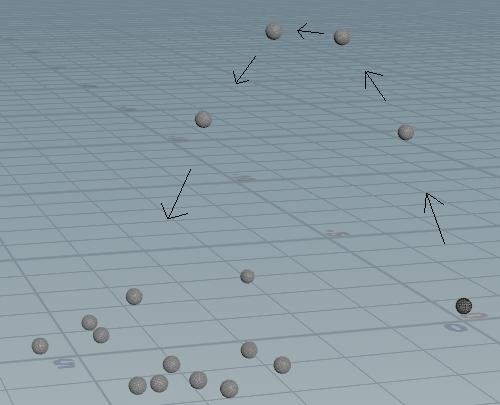
-
If you want to have the spheres break apart, you can replace the
RBD Configure SOP with an  RBD Material Fracture SOP and wire them into the respective switches.
If you click Reset Simulation and press
in the playbar, you will notice that the spheres are not breaking apart. This is because the strength of the internal constraints are too high. -
On the Constraints tab of the
RBD Material Fracture SOP, reduce the Primary Strength parameter to 45. -
Press
in the playbar to play the simulation.