| On this page |
Overview 
While the parameter editor lets you edit the selected node’s parameters, the HUD (Heads Up Display) handles display in the view and control a parameter on a node. You can group handles together, move them around the view, and adjust their visibility. You can also create persistent HUD handles, which are indicated by a red dot. When you delete a node, any associated HUD handles are automatically deleted.
Use a HUD handle when you want easy access to certain parameters. For example, when you don’t want to switch back and forth between the view and the parameter editor. This means you don’t have to constantly navigate the parameter editor to find the parameter you want to update.
The HUD handle that displays depends on the original parameter type. The following are the available HUD handles:
-
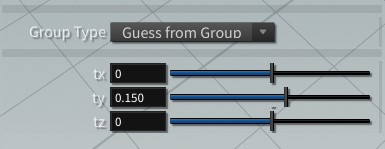
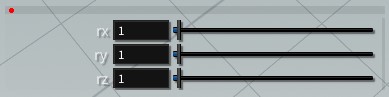
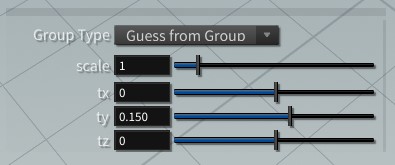
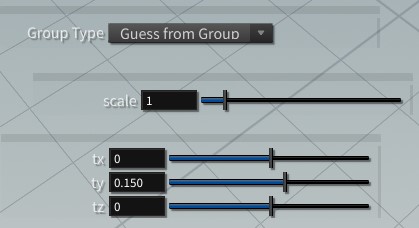
slider
-
checkbox
-
dropdown menu
-
button
-
trackpad
You can bind HUDs to Python states as static (mapped to parameters) or dynamic (mapped to state callbacks) handles (see the hou.ViewerHandleTemplate class).
Note
The following information doesn’t apply to persistent HUD handles.
HUD handles are for each node type and display only when the parameter’s node is selected. When you create a HUD handle for a parameter on a node, a HUD handle is created for the same parameter type on other nodes. For example, if you create a HUD handle for a Transform node’s Translate parameter, other Transform nodes automatically get a HUD handle for their Translate parameter.
Persistent HUDs 
Use a persistent HUD handle when you want constant access to certain parameters, such as in the following scenarios:
-
Parameters are on a deeply nested node that’s time consuming to navigate to.
-
You're constantly updating parameters from two different nodes and don’t want to switch back and forth between them.
-
You want to put useful parameters from a character in the view so you can access them even with the view maximized and the parameter editor hidden.
Unlike HUD handles, persistent HUD handles are for each node instance. They stay visible in the view if they are compatible with the current tool. For example, a persistent HUD handle on a sphere stays visible when a Tube node is selected. Persistent HUD handles are greyed out when using incompatible tools, such as the ![]() View tool. If your persistent HUD handles appear dimmed, switch to another tool to re-enable the HUD handles.
View tool. If your persistent HUD handles appear dimmed, switch to another tool to re-enable the HUD handles.
How to 
| To... | Do this |
|---|---|
|
Create a HUD handle |
Drag a parameter from the parameter editor into the view. The HUD handle is either automatically created or a dropdown menu with the following options displays:
|
|
Create a persistent HUD handle |
Use one of the following methods. The only difference is that when you turn off Persistent on a HUD handle created by dragging a parameter, the handle is removed.
|
|
Remove a HUD handle |
|
|
Show/hide HUD handles |
|
|
Edit a slider HUD handle’s range |
You can edit the range only for a slider HUD handle.
|
|
Edit a HUD handle’s title or label |
|
|
Position and resize a HUD handle |
Make sure Lock Placement is off.
|
|
Lock the HUD handle’s position and size |
|
|
Lock the HUD handle’s current setting |
|
|
Dock HUD handles together to move/resize them as a group |
|
|
Ungroup docked HUD handles |
|
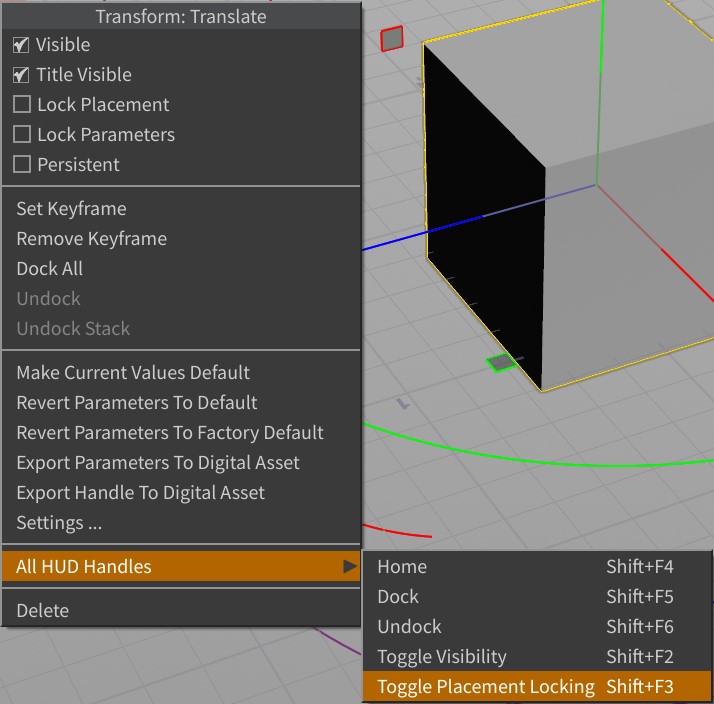
For more options, ![]() the handle to open the menu.
the handle to open the menu.
Tips 
Note
The ⇧ Shift hotkeys won’t work if you have a handle selected. Click in an empty part of the view to deselect the handle.
-
To show or hide all HUD handles, press ⇧ Shift + F2.
-
To lock or unlock the position for all HUD handles, press ⇧ Shift + F3.
-
To move all HUD handles to the bottom-left of the view, press ⇧ Shift + F4.
-
To dock all HUD handles, press ⇧ Shift + F5.
-
To undock all HUD handles, press ⇧ Shift + F6.
-
To update HUD handles during playback, turn on Live Parameter Display during Playback in the Edit menu.
Keyframes 
-
To add a keyframe on a slider HUD handle, Alt +
 on the label or parameter value.
 -
To remove a keyframe on a slider HUD handle, select the keyframe in the timeline and then ⌃ Ctrl +
on the slider’s label or parameter value. -
To add a keyframe on a checkbox or dropdown menu HUD handle, Alt +
on the widget. -
To remove a keyframe on a checkbox or dropdown menu HUD handle, ⌃ Ctrl +
on the widget.