| On this page |
This setup is the second of a series of three tutorials for SOP-based pyro simulations. Please go through the first lesson, before you continue here.
-
SOP pyro workflows: burning tire
Note
The scene is based on the SOP pyro workflows: smoke tutorial. You can load the network from a previously saved version or recreate the nodes manually.
The burn attribute 
In the previous lesson you created a rising smoke plume, but there’s no smoke without fire. To create flames and fire, you need another attribute.
-
Select the
 Pyro Source node to see its parameters. Right now there are
 densityandtemperatureattributes. -
Click the + button to add a third attribute:
-
From the Attribute dropdown menu choose Burn.
The new burn attribute has to be rasterized as well.
-
Select the
 Volume Rasterize Attributes node.
 -
Complete the Attributes list by appending
burn.
Open the ![]() Pyro Solver node’s Sourcing tab. There you can see a Source 3: flame entry with the
Pyro Solver node’s Sourcing tab. There you can see a Source 3: flame entry with the burn attribute again as a Source Volume. The solver uses the burn volume to create a flame field. All this is done by the solver automatically.
Visualizing the flames 
The Pyro Solver has everything prepared you need to visualize flames. Click the ![]() button in the timeline to start the simulation. Right now, the result is basically smoke with different colors. The simulation show the typical behavior of smoke, but you can already see a transition from flames to smoke.
button in the timeline to start the simulation. Right now, the result is basically smoke with different colors. The simulation show the typical behavior of smoke, but you can already see a transition from flames to smoke.
To adjust the flames' appearance, open the Pyro Solver’s Look tab. There, the Fire option is turned on by default:
-
Intensity Scale defines the flames' brightness. Set this value to
40. -
The Fire Intensity Ramp controls how the values are mapped to represent intensity. For example, select the first point, expand the ramp and set Value to
0.5. You will notice that the fire in areas of flame-smoke transition become brighter. If you set the second point’s Value to0.3the newly created flames look cooler. This way you can define hotter and cooler zones.
Another, very important parameter can be found under the Fields tab. Expand the Flame subpane to access Flame Lifespan. With smaller values, the transition from fire to smoke happens faster. In conjunction with the Look tab’s Smoke ▸ Smoke Color parameter, this is a very effective method to simulate different types of fire from “clean” to sooty oil or burning rubber.
This video shows a fire with dark smoke and a Flame Lifespan of 1.3.
Making fire 
To create a more flame-like look, it’s necessary to get rid of the smoke’s typical plumes and billowing structures. An obvious method is to tweak the parameters in the solver’s Shape tab:
-
Increase Disturbance to
30to break up the smoke plumes. -
Turn on Shredding. This noise type acts on the
flamefield and adds more high-frquency turbulence without changing the fluid’s general motion. Set the value to0.6.
With the new settings the simulation starts to look like fire. There’s an initial ignition and small-scale noise, but the flames don’t vanish fast enough:
-
In the solver, open the Fields and change Flame Lifespan to
0.65. If you want to create extremely oily fire, use lifespans of0.4or even0.3. -
Another crucial parameter is the solver’s Dissipation, also located in the Fields tab. It controls, how fast the smoke vanishes. It takes several tests to find a good value, and small changes may have a big impact. Therefore you should change the parameter in small steps. For this simulation, set Dissipation to
0.085. -
If you think that there’s too much turbulence at simulation start, go to the Shape tab and decrease the Roughness values in the Disturbance and Turbulence subpanes to around
0.5.
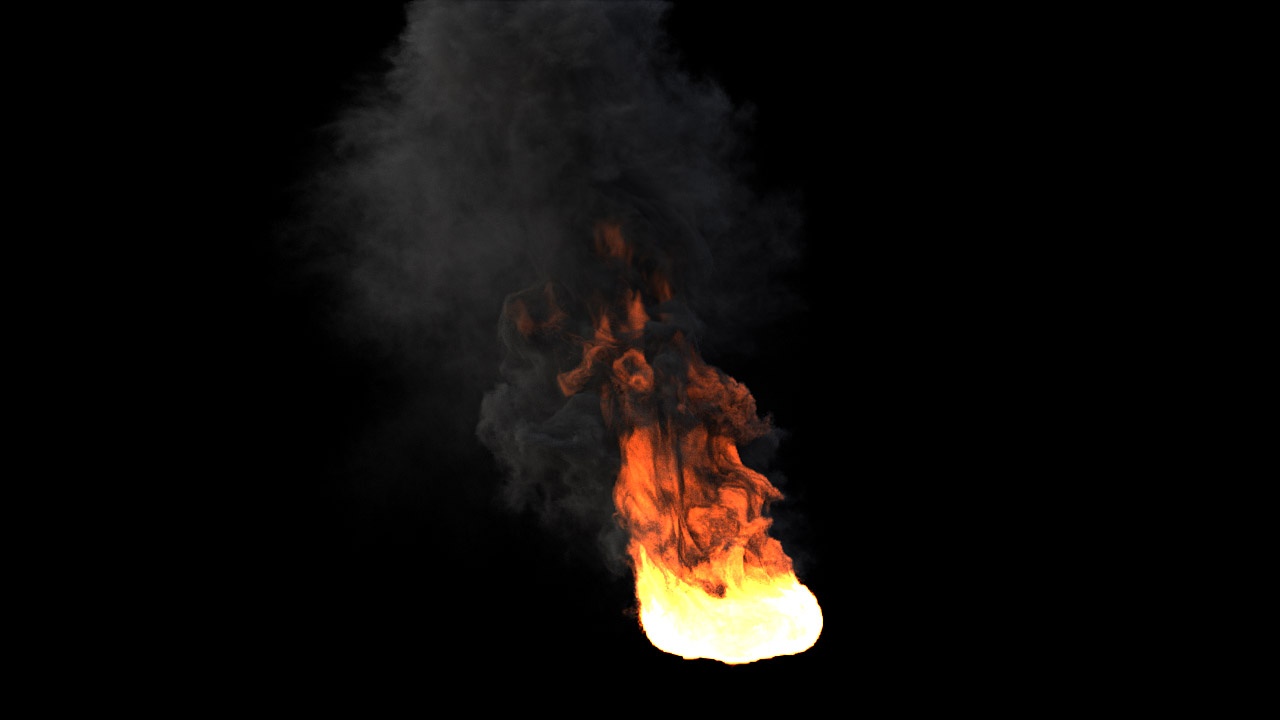
Below you can see the result of the various changes.
Enhancements 
The network already contains an ![]() Attribute Noise node to apply noise on the
Attribute Noise node to apply noise on the temperature attribute. Another idea is to displace the seed points' positions directly to add some flicker to the fire. Add one more Attribute Noise SOP and place it after the first noise node.The second noise re-introduces a moderate billowing effect to the smoke, and adds more randomness to the flames.
-
Under Attribute Names remove the
Cdentry and enterP. -
Set Noise Value ▸ Amplitude to
0.25. The change should be moderate, because otherwise the simulation changes too much and gets out of control. -
Turn on Animate Noise.
Finally, set all Particle Separation and Voxel Size parameters to 0.025 to get more seed particles and a higher resolution with more details.