| On this page |
This workflow description guides you through the creation of smoke and fire with a minimal set of pyro SOP nodes. The advantage of SOP-based pyro simulations is that you can control the entire setup inside a single network. It is not necessary to split the nodes into separate SOP and DOP networks and merge them together again. Especially beginners will profit from a clearly structured workflow. The tutorial consists of three parts. In the first part of this tutorial you create a smoke simulation with just five nodes. By changing a few parameters it’s possible to turn a rising plume with a few details into a realistic smoke cloud. The other lessons are
-
SOP pyro workflows: smoke
The source 
The source object is the geometry or volume, where smoke and fire are created. You can use any geometry and also merge different objects to get more complex shapes. The ![]() Pyro Source SOP, on the other hand, fills or covers an object or volume with points. These points act as smoke seeds. Another function of the Pyro Source SOP is to initialize the necessary fields for the simulation.
Pyro Source SOP, on the other hand, fills or covers an object or volume with points. These points act as smoke seeds. Another function of the Pyro Source SOP is to initialize the necessary fields for the simulation.
-
On obj level, press the ⇥ Tab key to invoke the TAB menu and enter
torus. -
From the menu, create a
 Torus node and place it at the scene’s origin.
 -
Double click the node to dive into it. The Torus will act as the smoke’s source object.
-
Change the Torus SOP’s Uniform Scale parameters to
2. -
Add a
 Pyro Source SOP node and connect its first input with the output of the Torus.
When you turn on the Pyro Source SOP’s Display flag, you can see points, outlining the object’s shape. There is one point per vertex. Later, the smoke emerges from these points. Converting vertices into seed seems to be good approach for high-res objects. The torus has at least 288 vertices, but imagine a standard box with just 8 vertices. To get a sufficient number of seeds, you need more source points. One idea is to increase the Torus SOP’s number of Rows and Columns, but there is a more efficient method in the Pyro Source node:
-
Change Mode to Volume Scatter and fill the geometry with seed particles. This change creates a total 4,564 seed points already.
-
With Particle Separation you can control the number of seeds. Note that smaller values create denser point clouds. Set the parameter to
0.05to get 37,160 seed points.
Attributes 
Attributes play an important role in all simulations, because they drive the simulation. For a smoke simulation two attributes are mandatory: density and temperature. All attributes are created in the Pyro Source SOP.
-
densitydefines, where smoke is present. -
temperaturemakes the smoke rise. The hotter the smoke, the faster it will rise.
The Pyro Source SOP provides a couple of presets for the most important attributes:
-
Go to Attributes and enter
2to initialize the attributes and their parameter sets. -
From the first Attribute dropdown menu, choose Density.
-
From the second Attribute menu, choose Temperature.
Adding the attributes won’t change anything in the viewport, but when you click the Node info you see density flt and temperature flt entries. The flt extension means that you're dealing with float values. Vector attributes, on the other hand, consist of three float values. Examples are position, velocity, or color. If you add, for example, a v (velocity) attribute, you can see that the Vector Attribute option is turned on. For custom attributes you have to consider the data type, because otherwise the values are misinterpreted and you get false results.
You might ask yourself why you don’t need a v attribute? In pyro simulations, velocity evolves from the temperature attribute. However, if you want to add an initial speed or make the smoke follow a certain direction, then you can a v attribute. The three Default Value parameters let you define individual values for XYZ.
In the Geometry Spreadsheet you can also check if the attributes are correctly initialized. Both, density and temperature should have values of 1.0. This value corresponds with the Default Value parameters of the Pyro Source. Any change there also changes the values in the spreadsheet.
Particle scale 
You already set Particle Separation to 0.05 to create more particles. In the Geometry Spreadsheet you can see a pscale attribute with a value of 0.1. pscale is a versatile standard attribute in Houdini and can be used control many different things. In conjunction with pyro simulations, pscale determines the internal scale of the seed points. pscale is the result of Particle Separation multiplied with Particle Scale. This is important when the seeds are turned into voxels. If pscale is too small, it might happen that you won’t see any smoke at all. In such a case open the Geometry Spreadsheet and check pscale. To compensate for tiny voxels without losing seeds, increase Particle Scale.
Rasterizing attributes 
Right now you have several thousands of smoke seed´s, but there aren’t any fog-like, volumetric structures. To convert the seeds into smoke cells, you have to rasterize the attributes. This process creates a grid of voxels and applies the attributes to this grid.
-
Open the TAB menu again and add a
 Volume Rasterize Attributes SOP.
 -
Connect its input with the Pyro Source’s output.
-
Turn on the Volume Rasterize Attributes node’s Display Flag. You can see that the points disappear, because the node is currently not aware of the attributes.
-
Under Attributes enter
density temperature(without a comma). You can also choose the attributes from the parameter’s associated dropdown menu. In the viewport, the Torus turns into a volumetric cloud. -
Set Voxel Size to
0.05to get more voxels and a better resolution. For testing purposes and fast previews, you can also work with0.1.
Now you can see a voxel representation of the torus. To see the effect of the pscale attribute, play with the Pyro Source SOP’s Particle Scale. Use different values to get a feeling for its impact on the volume. With very small values, the volume becomes more transparent. Lager values, however, create larger voxels.
Pyro solver 
The ![]() Pyro Solver SOP performs the simulation based on the Volume Rasterize Attributes SOP. The solver is also the place where you define substeps, colors, noise, and many more.
Pyro Solver SOP performs the simulation based on the Volume Rasterize Attributes SOP. The solver is also the place where you define substeps, colors, noise, and many more.
-
Add a Pyro Solver SOP node, and connect its first input with the Volume Rasterize Attributes node’s output.
-
Go to the Setup tab’s Voxel Size and enter
0.05to synchronize voxel sizes throughout the simulation network.
The Sourcing tab is of particular interest, because here you find the attributes from the Volume Rasterize Attributes SOP - plus a Source 3: flame entry. This entry is currently irrelevant, because there’s no burn attribute to create flames. In the second part of the series, the flame source will be used, so please keep the source. There’s also a Source 4: vel entry and as long as there’s no vel attribute defined, the source won’t be used. You don’t have to turn off non-existent sources and the solver ignores them.
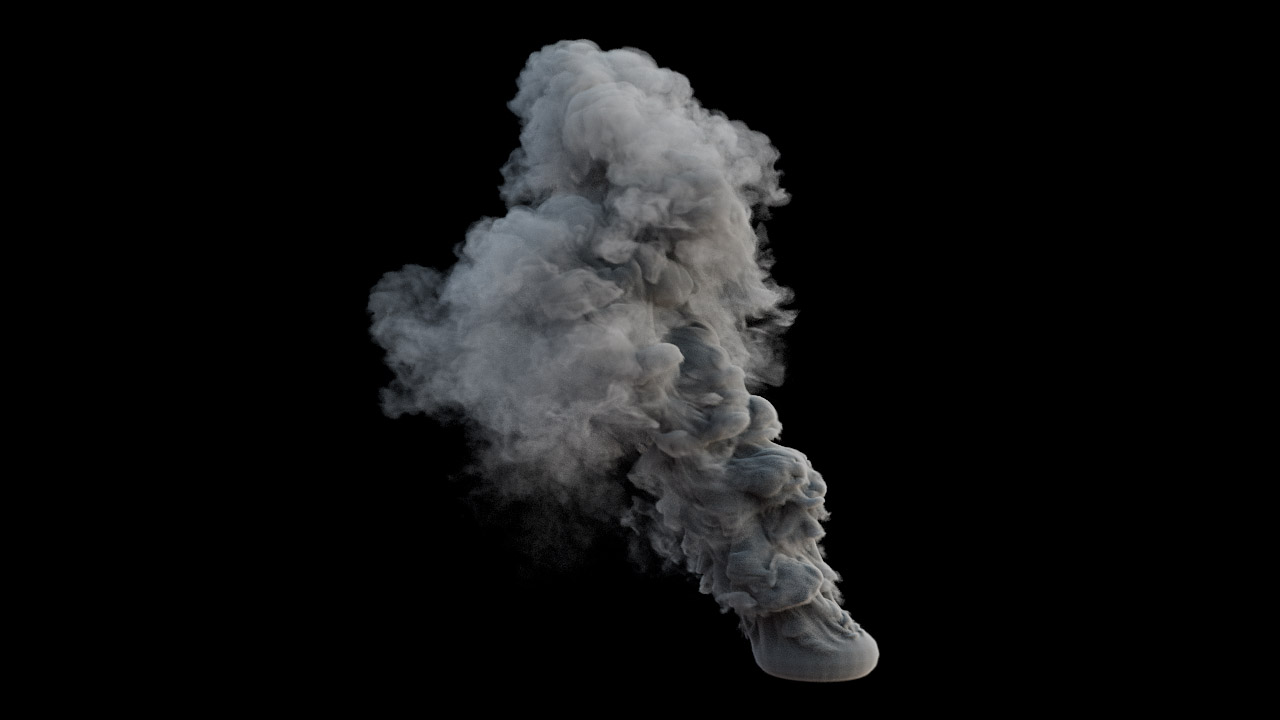
Click the ![]() to start a first test. Here is what you should see: a rising, mushroom-shaped smoke cloud.
to start a first test. Here is what you should see: a rising, mushroom-shaped smoke cloud.
Adding noise and detail 
In its current state, the smoke cloud has a uniform look and lacks differences in density, velocity, and shape. The Pyro Solver’s Shape tab provides several functions to break up the cloud into smaller plumes and create zones with different densities and velocities.
-
Turn on Buoyancy and set the value to
0.2. This will prevent the smoke from rising too fast and creates accumulations. The Disturbance and Turbulence parameters are noise-based and high values might slow down the smoke. If the smoke becomes too slow, consider increasing Buoyancy or adding avattribute in the Volume Rasterize Attributes SOP. -
Turn on Wind and expand the tab. For Wind Speed, enter
2. You can either keep the default Wind Direction along the positive X axis, or define different direction. With Wind you can achieve a more interesting look. -
Turn on Disturbance and enter a value of
3. -
The subpane’s parameters let you control the noise function. With Roughness, for example, it’s possible to add more microstructures and thin filaments. Increase the parameter to
1. -
Turn on Turbulence to add more small-scale noise and vortices. Enter a value of
0.5. -
Change Roughness to
1.
The settings above create a much more turbulent simulation and nice structures, but the less dense areas vanish too fast. For thicker smoke, go to
-
Fields ▸ Dissipation to control the smoke’s lifespan. Change the value to
0.05. -
Under Look, set Density Scale to
1.5. This will also give the impression of a denser smoke. -
Feel free to change Smoke Color and Shadow Color to achieve different looks.
With these settings you get a rich and vivid smoke simulation. The smoke has to time to form out nice vortices and areas with different densities.
Enhancements 
You can get even more turbulence by disturbing the density and/or temperature through an ![]() Attribute Noise SOP.
Attribute Noise SOP.
-
Set Attribute Names to
Floatand entertemperature. You can also trydensityordensity temperaturefor different results. -
Under Noise Value ▸ Amplitude change the value to
0.5. This parameter changes the initial temperature values and creates slightly hotter and cooler zones. -
Turn on Animation ▸ Animate Noise.
The video shows the simulation with an Attribute Noise SOP, applied on temperature, and the above settings. For even more details, decrease Particle Separation and Voxel Size values to 0.025.