| On this page |
This tutorial is the third part in a series of three lessons. Please make sure to visit the previous pages before you proceed:
-
SOP pyro workflows: fireball
In the previous lessons you started with a dense smoke cloud and turned it into a burning tire. Now, the goal is to create a fireball, similar to those where you pour gasoline into fire. The approach is different, because the node doesn’t require a source geometry that is converted into seed points. This time, the seeds are created directly through the ![]() Pyro Burst Source node. The Pyro Burst Source is a modified
Pyro Burst Source node. The Pyro Burst Source is a modified ![]() Pyro Source node to create all kinds of explosion effects.
Pyro Source node to create all kinds of explosion effects.
The Pyro Burst Source 
-
On obj level, press the ⇥ Tab key to invoke the TAB menu and create a
 Geometry OBJ node.
 -
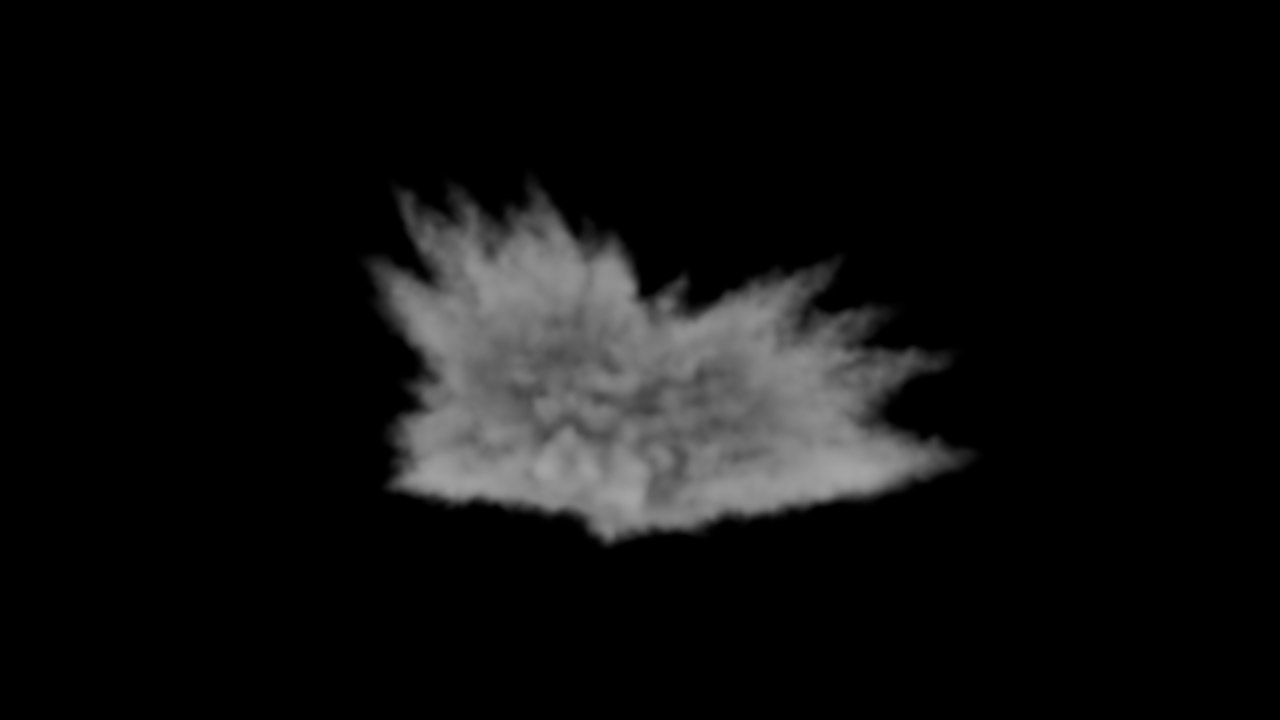
Double click the new node to dive into it. There, add a Pyro Burst Source SOP. In the viewport you see an schematic explosion, represented through seed points.
-
Start with the Burst Shape tab to adjust the explosion. To get more resolution, change Trailing ▸ Trailing Separation to
0.05. -
Set Trailing Length to
2. -
Open the Burst Parameters tab and set Start Frame to
10. -
Increase Frame Duration to
11to make the explosion longer.
When you look at Burst Components ▸ Number of Sources, you can find the attribute fields you already know from the Create a burning tire lesson: density, temperature, and burn. As in the previous lessons, the attributes have to be rasterized:
-
Add a
 Volume Rasterize Attributes node and connect it to the the Pyro Burst Source.
 -
Under Attributes enter
density temperature burn(no commas!). -
In the Filter tab, set Voxel Size to
0.05. This is equivalent to the Pyro Burst Source’s Trailing Separation value. -
Turn on the Volume Rasterize Attributes' Display flag to convert the points into a cloud structure.
The Pyro Solver 
The ![]() Pyro Solver performs the simulation.
Pyro Solver performs the simulation.
-
Add a Pyro Solver node and connect it to the Volume Rasterize Attributes node.
-
Set Setup ▸ Voxel Size to
0.05. -
Decrease Fields ▸ Dissipation to
0.04.
Switch to the Shape tab:
-
Change Buoyancy to
0.7. -
Turn on Disturbance and enter
20. -
Turn on Turbulence and enter
0.3. -
Turn on Shredding and enter
0.2.
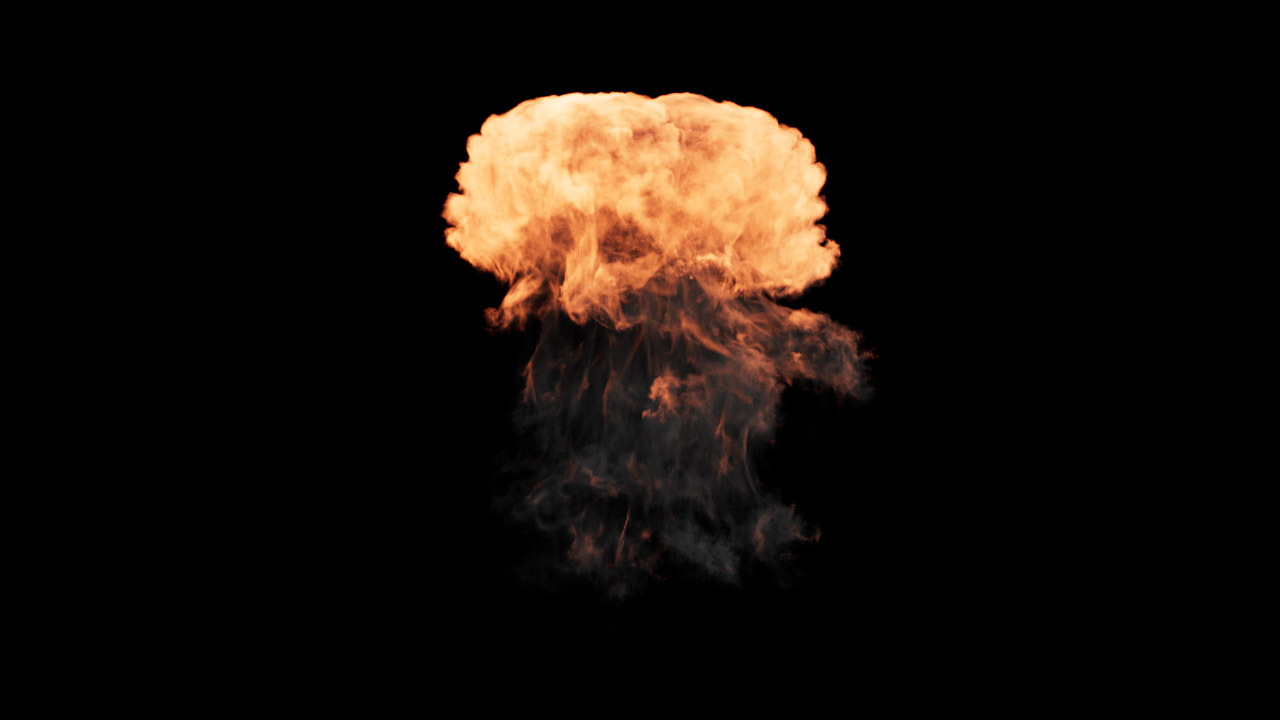
Click the ![]() icon in the playbar to start the simulation. There is no fire or flame-smoke transition, although all relevant attributes are active. The smoke cloud’s shape hardly changes anymore after around 35-40 frames.
icon in the playbar to start the simulation. There is no fire or flame-smoke transition, although all relevant attributes are active. The smoke cloud’s shape hardly changes anymore after around 35-40 frames.
Initializing the fields 
In contrast to the smoke and burning tire scenes, the points from the Pyro Burst Source don’t cast velocity. This has to be done manually.
-
In the Volume Rasterize Attributes node’s Attributes, add
vto the list. -
To get fire and flames, go to Coverage ▸ Coverage Attribute and remove
density. Now, all fields will be initialized and the cloud gets the missing fire look.
The video below shows the result. There is a burst now, and the flames turn into smoke, but the explosion is very short, small, and the flames disappear quickly.
Controlling explosion size and shape 
The Pyro Burst Source node provides an input for points. Similar to the ![]() Pyro Source node, you can connect an object to shape the smoke. Be careful with solid or high-resolution objects, because the Pyro Burst Source creates source points for every extra point of the connected geometry. So you might end up with a huge number of smoke seeds.
Pyro Source node, you can connect an object to shape the smoke. Be careful with solid or high-resolution objects, because the Pyro Burst Source creates source points for every extra point of the connected geometry. So you might end up with a huge number of smoke seeds.
-
Add a
 Circle and connect it to the Pyro Burst Source node’s input.
 -
From the Orientation dropdown menu, choose ZX Plane.
-
Increase Uniform Scale to
1.5. -
Set Divisions to
20to get more points.
The fireball looks better now, but doesn’t show the typical curling behavior. To add a “swirl” to the simulation, place a ![]() Volume Velocity node between Volume Rasterize Attributes and Pyro Solver.
Volume Velocity node between Volume Rasterize Attributes and Pyro Solver.
-
Open the Curl Noise tab.
-
Turn on Add Curl Noise.
-
Change Scale to
1.5.
Enhancing fire and flames 
In the Simulating a burning fire tutorial, an ![]() Attribute Noise node helped to create more randomness. Here, the node adds creates more fire through randomizing the
Attribute Noise node helped to create more randomness. Here, the node adds creates more fire through randomizing the burn attribute.
With this node, the fireball lasts longer before it turns into smoke. Please also note the glowing structures towards the end of the clip. They represent the burning of the vanishing gaseous residuals.
The video below uses Particle Trailing and Voxel Size values of 0.03. Smoke color and flame intensity are also slightly adjusted to get more detail: