| On this page |
About this tutorial 
There are many different ways that you can use PDG to manipulate and share the frames from your projects or productions.
In this tutorial you will learn how to import external media, extract and compress image files, filter frames, convert images, arrange your frames into image montages, and turn your frames into videos.
Each part of this tutorial will step through a different way that you can manipulate images with PDG.
Tip
To learn more about about TOPs & PDG, see Intro to TOPs.
Prerequisites 
-
Basic understanding of TOP network set-up.
-
Some experience with the PDG workflow.
Tip
You can learn the basics of PDG by stepping through the FX Workflow beginner tutorial.
What you will learn 
-
Import/export media.
-
Unpack/generate image archive files.
-
Convert media.
-
Generate various kinds of image and video output.
Before you begin 
Install ImageMagick 
In parts one and two of this tutorial you will learn how to manipulate a series of images with PDG. To do this, you will use the ![]()
![]() ImageMagick TOP node.
ImageMagick TOP node.
To be able to use the ImageMagick node, you need to have the ImageMagick utility installed on your local system.
-
Verify whether or not ImageMagick is installed on your system by doing the following:
Mac
In a terminal shell, type
convert -version, and then press Enter.Windows
In a Command Prompt, type
imagemagick, and then press Enter.Linux
In a command shell, type
convert -version, and then press Enter.If anything but an error is returned, then ImageMagick is installed on your system and you can move on to step 3.
-
If ImageMagick is not currently installed on your system, then you can download its installer from here.
-
Install ImageMagick.
-
-
(Windows only) Once you are sure that ImageMagick is now installed on your system, verify that ImageMagick is in your system’s path.
Windows
-
Open the Edit the system environment variables control panel.
-
In the System Properties window, click Environment Variables.
-
In the Environment Variables window, select System variables > Path and then click Edit.
-
In the Edit environment variable window, scroll through the list and locate the install directory for ImageMagick.
If ImageMagick is missing from the list, then click Add, type or paste the path to your local ImageMagick install folder, and then click OK.
-
Install FFmpeg 
In part three of this tutorial you will learn how to assemble a series of image files into a movie. To do this, you will use the ![]()
![]() FFmpeg Encode Video TOP node.
FFmpeg Encode Video TOP node.
To be able to use the FFmpeg Encode Video node, you need to have the FFmpeg utility installed on your local system.
-
Verify whether or not FFmpeg is installed on your system by doing the following:
Mac
In a terminal shell, type
ffmpeg, and then press Enter.Windows
In a Command Prompt, type
ffmpeg, and then press Enter.Linux
In a command shell, type
ffmpeg, and then press Enter.If anything but an error is returned, then FFmpeg is installed on your system and you can move on to step 3.
-
If FFmpeg is not currently installed on your system, then you can download its installer from here.
-
Install FFmpeg.
-
-
(Windows only) Once you are sure that FFmpeg is installed on your system, verify that FFmpeg is in your system’s path.
Windows
-
Open the Edit the system environment variables control panel.
-
In the System Properties window, click Environment Variables.
-
In the Environment Variables window, select System variables > Path and then click Edit.
-
In the Edit environment variable window, scroll through the list and locate the install directory for FFmpeg.
If FFmpeg is missing from the list, then click Add, type or paste the path to your local FFmpeg install folder, and then click OK.
-
Copy over the tutorial image archives 
Before you begin, please copy over the image archive (.zip) files that you will be working with in this tutorial:
-
Open a file browser window and then navigate to your Houdini install directory.
-
In the install directory, navigate to the
$HH\help\files\pdg_examples\top_imagemanipulationfolder. -
In the
\top_imagemanipulationfolder, copy thebrimstone_images_compressed.zipandstock_pictures_compressed.zipfiles. -
Navigate to your PDG working directory and then create a new folder named
\PDG_TUTORIAL_FILES. -
In the
\PDG_TUTORIAL_FILESfolder, paste the.zipfiles.
Initial Step - Pull in archive files and extract their images 
In the initial step of this tutorial you will learn the image manipulation workflow for importing external media into a TOP network and extracting the contents from archive files. You will use a ![]()
![]() File Pattern TOP node to import external image archives and a
File Pattern TOP node to import external image archives and a ![]()
![]() File Decompress TOP node to unpack the archives so that you can use the individual images in each branch of your TOP network.
File Decompress TOP node to unpack the archives so that you can use the individual images in each branch of your TOP network.
In parts 1, 2, and 3 of this tutorial, you will be creating three different network branches for three different image manipulation workflows.
-
Run Houdini and start a new session.
-
Save your new scene.
-
Name your scene file
imagemaniptutorial.hip. -
Save your
.hipto the\PDG_TUTORIAL_FILESfolder directory.
This will be your working project file for the rest of the tutorial.
-
-
In the Network Editor, navigate to the Tasks context and then dive into the
topnet1network. -
Create a File Pattern node and rename it to
import_archives.In the TOPs ⇥ Tab menu, you can find File Pattern in the Files category.
This node will import all the external
.zipimage archive files located in your$HIPdirectory. -
Select the
import_archivesnode and then configure the following parameters:-
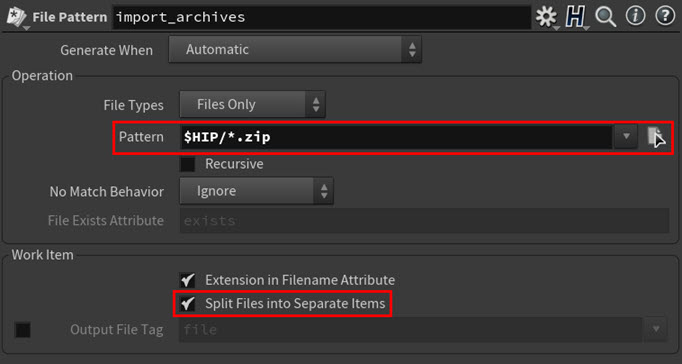
In the Operation section, click in the Pattern parameter field and then type the following:
$HIP/*.zip
This will determine where on your system the node will look for the files and what file pattern (for example, like which file type) it should match.
$HIP/tells the node to look in your TOP network’s default working directory (as specified on the Scheduler node) for the image archive files, and the*.zipwild card tells the node to find and return all ZIP archive files.Tip
To learn more about pattern wild cards, see Patterns.
-
In the Work Item section, make sure that the Split Files into Separate Items parameter is turned on.
This tells the node to create separate work items for each matched file and store the filename data of each file in the node’s attributes.
-
Leave all the other parameters set to their default values.
-
-
Cook the
import_archivesnode.Two work items appear on the
import_archivesnode and cook. One task represents thebrimstone_images_compressed.ziparchive file and the other task represents thestock_pictures_compressed.ziparchive file.
-
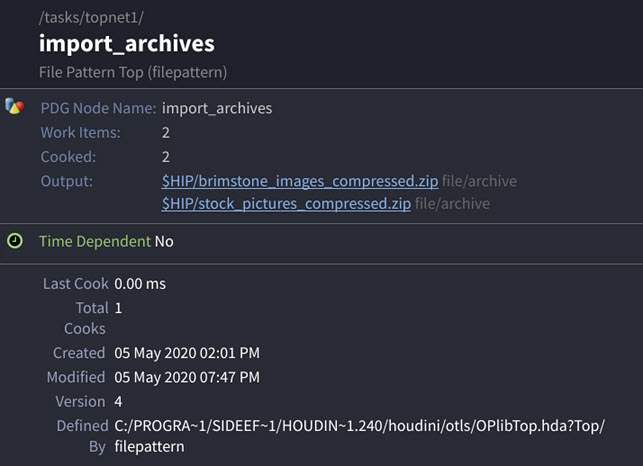
 -click on the
 import_archivesnode and look at its node info.Notice the Outputs that are listed. The node was able to identify and import both these image archive files because you specified a wild card file pattern in the node’s Pattern parameter field.
-
Create a File Decompress node and rename it to
extract_images.In the TOPs ⇥ Tab menu, you can find File Decompress in the Files category.
This node will extract the images from the archive files the
import_archivesnode imported and then save them to disk. -
Select the
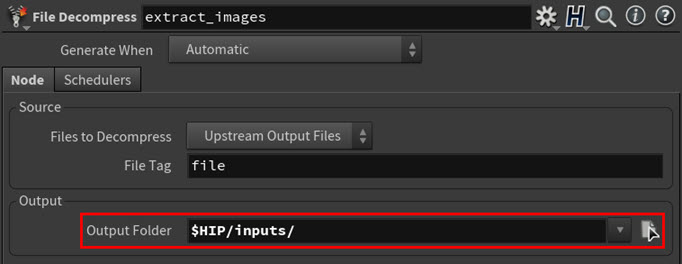
extract_imagesnode and then configure the following parameters:-
In the Output section, click in the Output Folder parameter field and then type the following:
$HIP/inputs/
This tells the node to save the extracted image files to a new folder named
/inputsin your working directory. -
Leave all the other parameters set to their default values.
-
-
Connect the input of the
extract_imagesnode to the output of theimport_archivesFile Pattern node.These nodes now form the first part of your image manipulation TOP network.
-
Cook the
extract_imagesnode.Two work items appear on the
extract_imagesnode and cook. One task represents the Brimstone image series and the other task represents the Stock Pictures image series.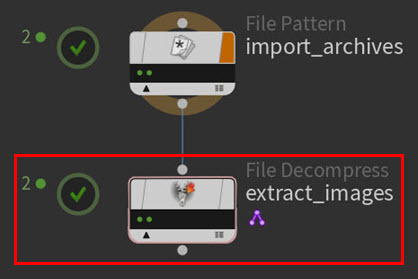
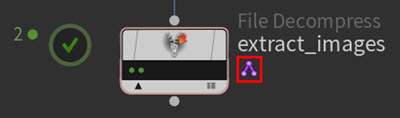
Note
Notice the purple icon next to the
extract_imagesnode in the Network Editor.This icon indicates that the node is dynamic.
In TOPs, there are two types of nodes: static and dynamic. Static nodes can generate their work items without any inputs as they are not dependent on any upstream data. Dynamic nodes on the other hand require information from their inputs upstream to generate their work items. That is why dynamic nodes can only generate work items once they are cooking.
To learn more about about static and dynamic TOP nodes and their significance in a TOP network, see Static vs. Dynamic.
Theimport_archivesnode imports the external ZIP archive files, and theextracted_imagesnode then extracts the images from those archives files and saves them to disk. -
Look at the image files you extracted.
In a file browser window, navigate to
$HIP/inputs/and inspect the images files.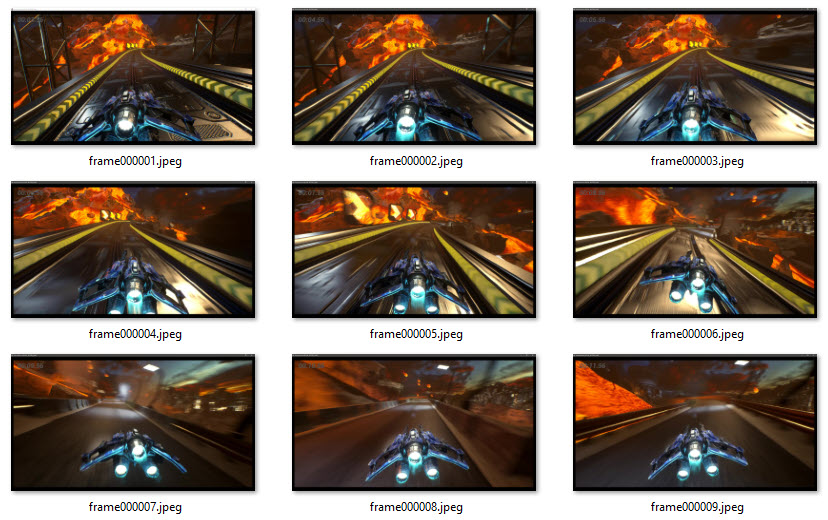
Result: Extracted Brimstone image series 
Result: Extracted Stock Pictures image series -
Save your tutorial scene.
Now that all the image files you will be working with are accessible, you can now manipulate them using the workflows outlined in the following parts of the tutorial.
Part 1 - Convert images and then bundle them in archive files 
In part one of this tutorial you will learn the image manipulation workflow for converting images into different file formats and then compressing them into image archives. You will use an ![]()
![]() ImageMagick TOP node to convert the image files you unpacked in the initial step and a
ImageMagick TOP node to convert the image files you unpacked in the initial step and a ![]()
![]() File Compress TOP node to bundle the converted images into new
File Compress TOP node to bundle the converted images into new .zip archive files.
This process is helpful in situations where one part of your pipeline uses one image file format for frames, and another part of your pipeline uses a different image file format.
-
Create an ImageMagick node, rename it to
convert_images, and then connect its input to the output of theextract_imagesFile Decompress node.In the TOPs ⇥ Tab menu, you can find ImageMagick in the Images category.
This node will convert all the
.jpgimage files you extracted from the image archives to.pngimage files. -
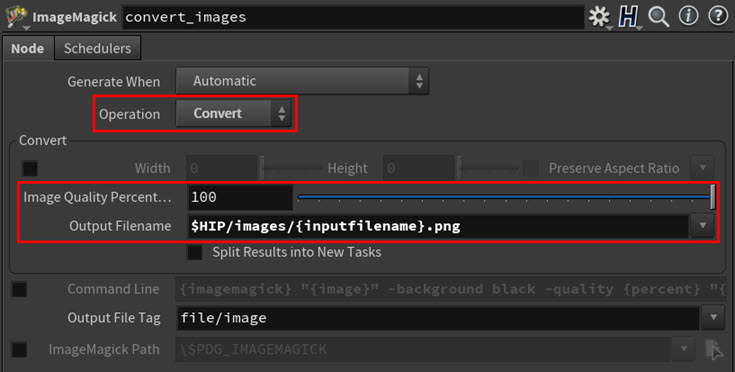
Select the
convert_imagesnode and then configure the following parameters:-
In the Operation parameter drop-down menu, select Convert.
This tells the node to use the convert operation on the input images.
-
In the Operation section:
-
Set the Image Quality Percentage parameter to 100.
This tells the node how much compression to use on the images it will convert and then output. The parameter value of 100 specifies no compression (full quality). Values less than 100 specify a percentage of compression and a reduction in quality. For example, a parameter value of 80 would compress the converted images by 20%.
-
In the Convert section, click in the Output Filename parameter field and then type the following:
$HIP/images/{inputfilename}.pngThe
{inputfilename}internal variable tells the node to name each.pngimage the same name as their original.jpgimages. -
Leave all the other parameters at their default values.
-
-
-
Create a File Compress node, rename it to
export_archives, and then connect its input to the output of theconvert_imagesImageMagick node.In the TOPs ⇥ Tab menu, you can find File Compress in the Files category.
This node will bundle the
.pngimages into new.ziparchive files. -
Select the
export_archivesnode and then configure the following parameters:-
In the Ouput section:
-
In the Compress Method parameter drop-down menu, select ZIP.
This tells the node to save out the new image archives as ZIP files.
-
In the Output section, click in the Output File field and then type the following:
$HIP/archives/newarchive.`@pdg_index`.zip
$HIP/archivestells the node to save the new archive files to a new folder named/archivesin your working directory, andnewarchivetells the node to prefix each archive file’s name with newarchive. -
Leave all the other parameters at their default values.

-
-
-
Cook the
export_archivesnode.Two work items appear on the
convert_imagesnode representing the Brimstone images and Stock Pictures series of images and then cook.Two work items appear on the
export_archivesrepresenting each of the new image archives and then cook.Each of the convert_images tasks need to complete before their corresponding tasks on the export_archive node can cook The
convert_imagesnode converts all the.jpgimage files as.pngimage files and saves them to disk.The
export_archivesnode then compresses the Brimstone images and Stock Pictures series of.pngimages into two new.ziparchive files and saves them to disk.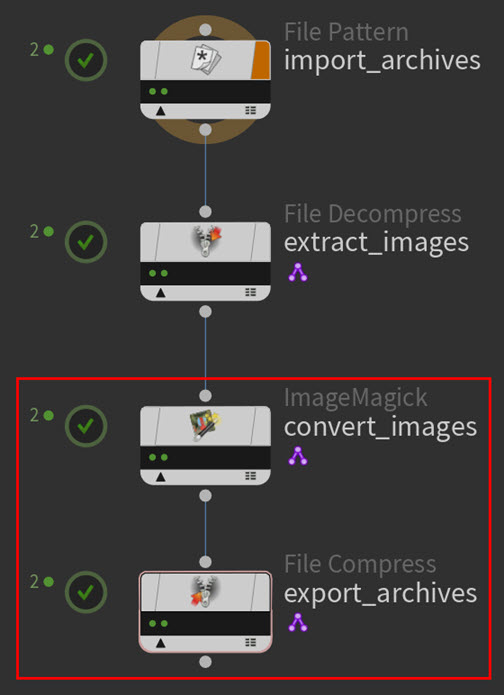
-
Look at the PNG images and ZIP archive files you created.
-
In a file browser window, navigate to
$HIP/images/and look at the converted images files.Notice that each of the converted images are named after their original filenames. This is because you used the
{inputfilename}internal variable in theconvert_imagesnode’s Output Filename parameter field.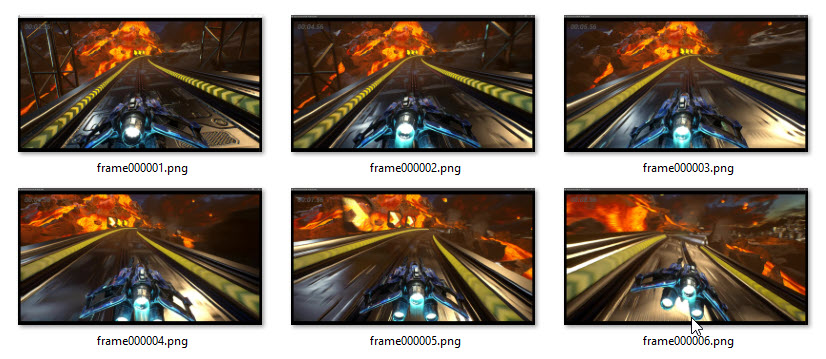
Result: Converted Brimstone image series 
Result: Converted Stock Pictures image series -
Navigate to
$HIP/archives/and inspect the new ZIP archive files.
Result: New ZIP archive files
-
-
Save your tutorial scene.
You can now easily share or distribute the converted images.
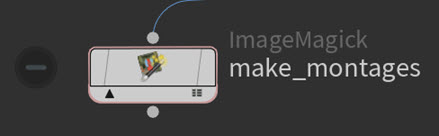
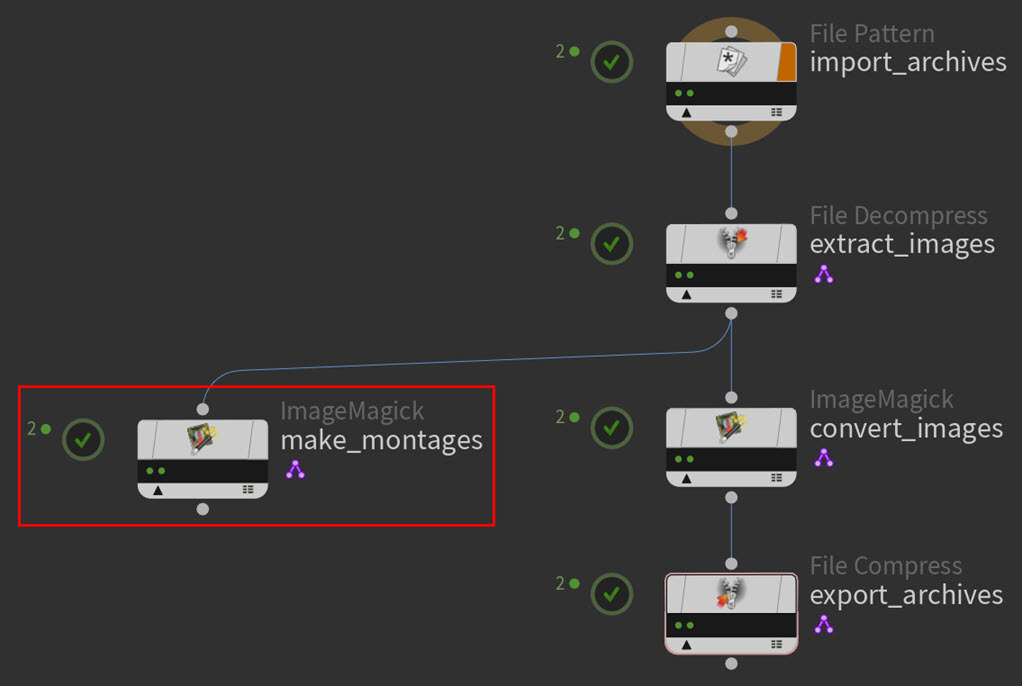
Part 2 - Assemble images into montages 
In part two of this tutorial you will learn the image manipulation workflow for turning a series of images into a single image mosaic or montage. You will use an ![]()
![]() ImageMagick TOP node to assemble the image files you unpacked in the initial step into two image series montages.
ImageMagick TOP node to assemble the image files you unpacked in the initial step into two image series montages.
This process is helpful in situations where you want to review and evaluate a series of frames side-by-side in a single composite image, like when comparing the wedged frame variations of a simulation.
-
Create an ImageMagick node, rename it to
make_montages, and then connect its input to the output of theextract_imagesFile Decompress node.In the TOPs ⇥ Tab menu, you can find ImageMagick in the Images category.
This node will take the image files you extracted from the image archives and arrange them into two montage (grid mosaic) images, one for each series of images.
-
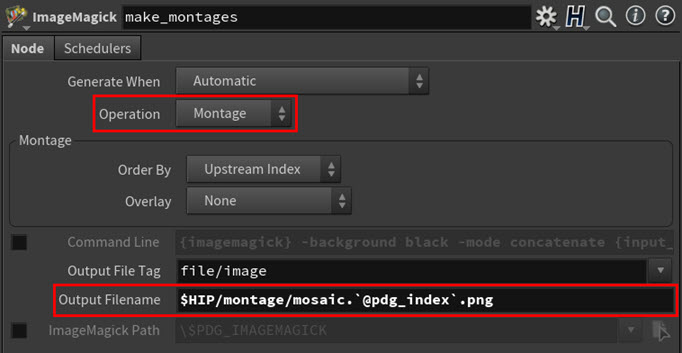
Select the
make_montagesnode and then configure the following parameters:-
Select the Node tab.
-
In the Operation parameter drop-down menu, select Montage.
This tells the node to use the montage operation on the input images.
-
Click in the Output Filename parameter field and then type the following:
$HIP/montage/mosaic.`@pdg_index`.png
$HIP/montagetells the node to save the montage image files to a new folder named/montagein your working directory, andmosaictells and the node to prefix each montage file’s name with mosaic.
-
-
Leave all the other parameters at their default values.
-
-
Cook the
make_montagesnode.Two work items appear on the node representing the Brimstone image series and the Stock Picture image series and then cook.
The node assembles all the Brimstone images into one montage, all the Stock Picture images into another montage, and then saves both images to disk.
-
Look at the montage images you created.
In a file browser window, navigate to
$HIP/montage/and inspect the montage image files.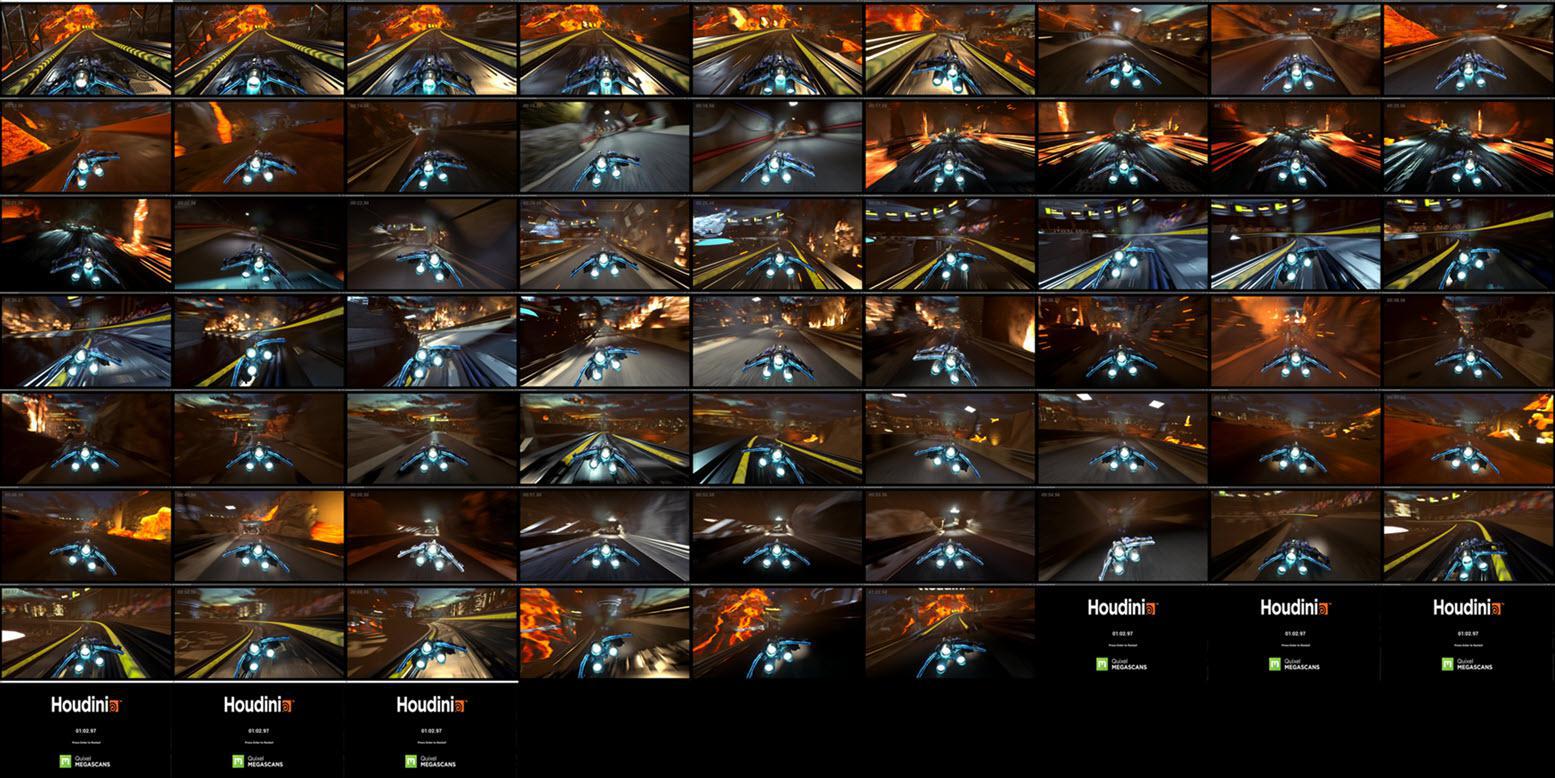
Result: Montage of the Brimstone image series 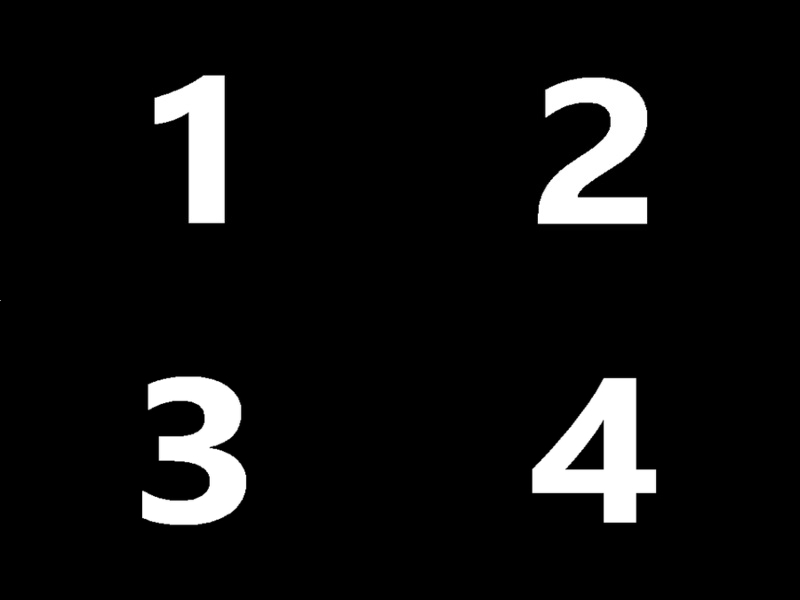
Result: Montage of the Stock Pictures image series -
Save your tutorial scene.
You can now view and compare all the images in the Brimstone and Stock Picture image series as two individual montage images.
Part 3 - Assemble images into a video 
In part three of this tutorial you will learn the image manipulation workflow for turning a series of images into a video. You will use a ![]()
![]() Filter by Expression TOP node to remove the Stock Picture images from the inputs and an
Filter by Expression TOP node to remove the Stock Picture images from the inputs and an ![]()
![]() FFmpeg Encode Video TOP node to turn the remaining Brimstone image series into a movie.
FFmpeg Encode Video TOP node to turn the remaining Brimstone image series into a movie.
This process is helpful in situations where you want to review or distribute your frames as a video.
-
Create a Filter by Expression node, rename it to
filter_images, and then connect its input to the output of theextract_imagesFile Decompress node.In the TOPs ⇥ Tab menu, you can find Filter by Expression in the Data category.
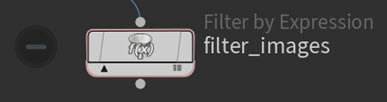
This node will use a custom expression to filter out any unwanted inputs.
-
Select the
filter_imagesnode and then configure the following parameters:-
Click in the Filter Expression parameter field and then press ⌃ Ctrl + e to open the Edit Expression window.
-
In Edit Expression window, do the following:
-
Click in the multi-line field.
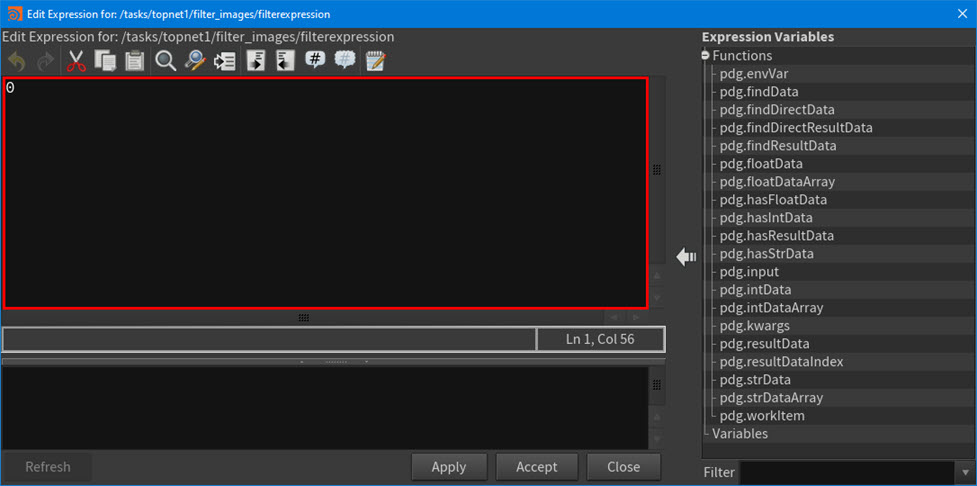
Multi-line field in the Edit Expression window
-
Remove the 0 and then type the following Python expression:
len(pdg.workItem().outputFilesForTag('file/image')) < 10This tells the node to remove from the inputs any series of images that has less than 10 images. For this tutorial, that series of images is the Stock Picture image series since it is comprised of only four images.
-
-
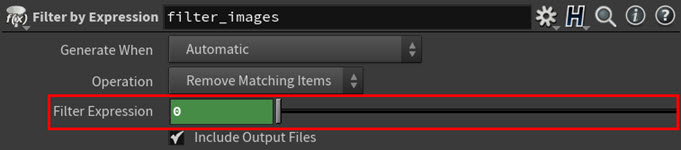
Click Accept.
The Filter Expression parameter field turns green. This indicates that the parameter now contains an expression and the parameter’s expression language is currently set to HScript.
-
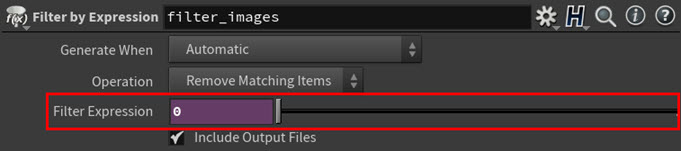
Since the expression you typed is written in Python and the Filter Expression parameter is currently set to HScript, you need to change the parameter’s expression language.
 -click the Filter Expression parameter and then select Expression ▸ Change Language to Python from the context-sensitive menu that appears.
The Filter Expression parameter field turns purple. This indicates that the parameter’s expression language is now set to Python.
-
Leave all the other parameters at their default values.
-
-
Create an FFmpeg Encode Video node, rename it to
make_movie, and then connect its input to the output of thefilter_imagesFilter by Expression node.In the TOPs ⇥ Tab menu, you can find FFmpeg Encode Video in the Images category.
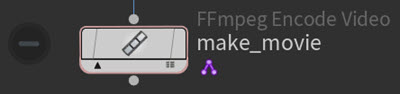
This node will take all the input images and turn them into a movie.
-
Select the
make_movienode and then configure the following parameters:-
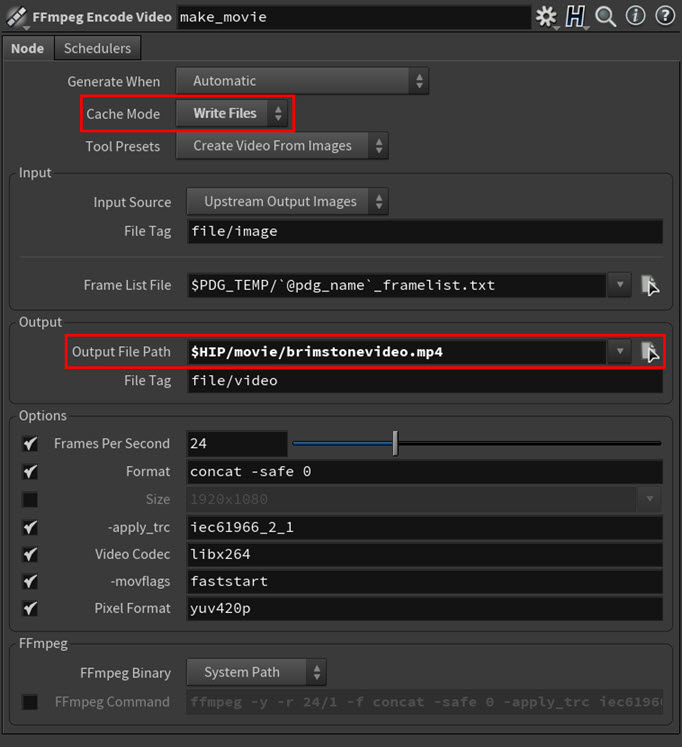
In the Cache Mode parameter drop-down menu, select Write Files.
This tells the node to always work on the node’s work item and never use any existing cook result files from disk.
-
In the __Output__section, click in the Output File Path parameter field and then type the following:
$HIP/movie/brimstonevideo.mp4
$HIP/movietells the node to save the video file to a new folder named/moviein your working directory, and.mp4tells the node to save out the movie as an MP4 format video file. -
Leave all the other parameters at their default values.
-
-
Cook the
make_movienode.One work item appears on the
filter_imagesnode representing the Brimstone series of images and then cooks.One work item appears on the
make_movienode representing the video and then cooks.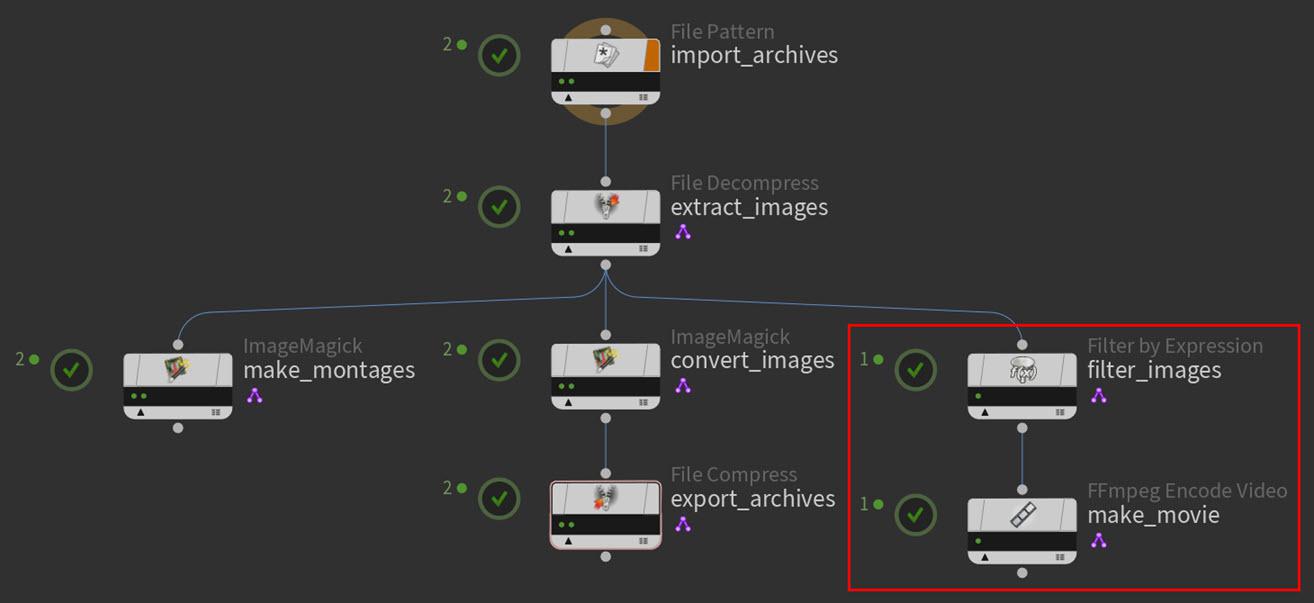
The
filter_imagesnode filters out the Stock Picture image series from the inputs.The
make_movienode then assembles all the Brimstone images into an MP4 video file and saves it to disk. -
Examine the work item that is generated by the
make_movienode.-
Click the work item dot on the
make_movienode.Notice the line that appears between the work item on the
make_movienode and its associated work items on upstream tasks in the network. These lines and their corresponding dot highlights indicate the connections between the work items.make_movie node work item correspondences -
Click the first work item dot on the
extract_imagesnode, and then click the second work item dot on the same node.Notice how only one work item on the
extract_imagesnode is connected to the work item on themake_movienode. This is because thefilter_imagesnode has filtered out the Stock Picture image series from the video branch of the TOP network.extract_images node work item correspondences
-
-
Look at the movie you created.
In a file browser window, navigate to
$HIP/video/and watch the MP4 video.Result: Brimstone movie -
Save your tutorial scene.
Congratulations! You have completed the Image Manipulation PDG tutorial.
If you would like to see what your final TOPs network should look like, see the top_imagemanipulation.hip example file located in your Houdini example file directory ($HH\help\files\pdg_examples\top_imagemanipulation).
To continue learning about PDG workflows, you can step through the other beginner tutorials in this Houdini docs series or visit the Pipeline|PDG Learning Path on our website.