Examples 
Alembic 
AlembicLayer Example for Alembic render node
In this example, we demonstrate how a Alembic ROP node can be used to create Alembic layers.
/nodes/out/bakeanimation 
This example shows how to setup Bake Animation ROP to tranfer animation from a rig onto another while baking object constraints.
Fetch 
Mantra 
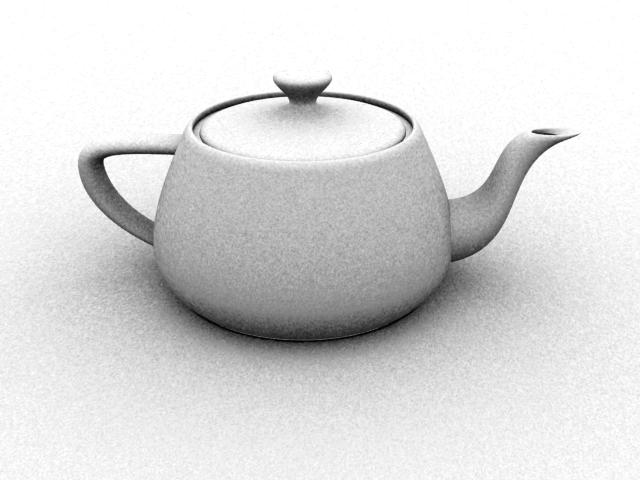
AmbientOcclusion Example for Mantra render node
Ambient occlusion is a fast technique for producing soft, diffuse lighting in open spaces by using ray tracing. It is computed by determining how much of the hemisphere above a point is blocked by other surfaces in the scene, and producing a darker lighting value when the point is heavily occluded. This technique can be useful when you need a GI-like effect without paying the price for full global illumination.
With this particular example, an Ambient Occlusion light and some geometry is provided in the form of a Digital Asset. An Environment Light was used, and it’s parameters were promoted for easy access.

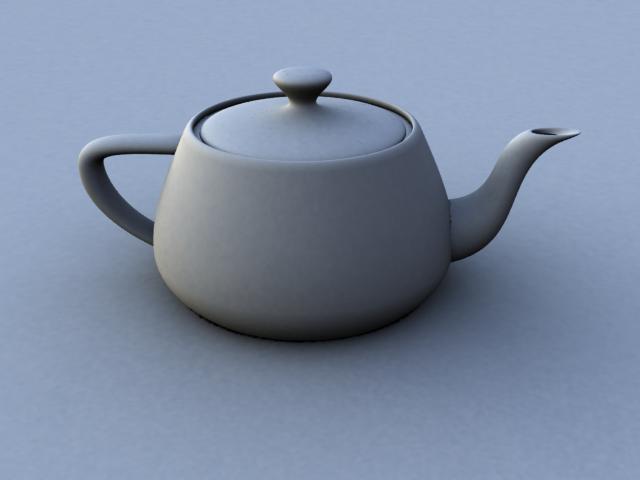
Decreasing the sample count allows you to improve render time at the expense of some additional noise in the render. The following render uses the same shader as the image above but decreases the samples from the default of 256 to 16. This value is set on the Sampling Quality under the Render Options tab of the Light.
Environment Maps
If you have a smooth environment map, it is possible to replace the global background color (white) with the value from an environment map. You can also enable the Sky Environment Map under the Sky Environment Map tab.
MotionVector Example for Mantra render node
The example demonstrates how to generate a motion vector layer for post-velocity compositing. Load the example and render 5 frames. Then in the image viewer, switch from 'C' (colour) to 'motion_vector' to see the results.
Volume Rendering - Metaballs as Volume Example for Mantra render node
Metaball geometry can be natively rendered as a volume in mantra. Metaball rendering can be enabled by checking the Metaballs as Volume parameter on the Geometry tab of a geometry object. Any point attributes on the metaballs will be interpolated to the shading position in the same manner that point attributes are interpolated for metaball surfaces.
Here is an example using randomized point color attributes:
Controlling Shadow Quality/Performance
Shadow map generation uses the Pixel Samples and Shadow Step Size parameters (in the Mantra Render Operator) to control quality and performance in exactly the same way they are used for surfaces. Since volumes often cast soft, diffuse shadows, it is often possible to use low-resolution deep shadow maps when rendering volumes, leading to much faster render times. Shadow map Resolution can be changed on the Shadow tab of a Houdini light.
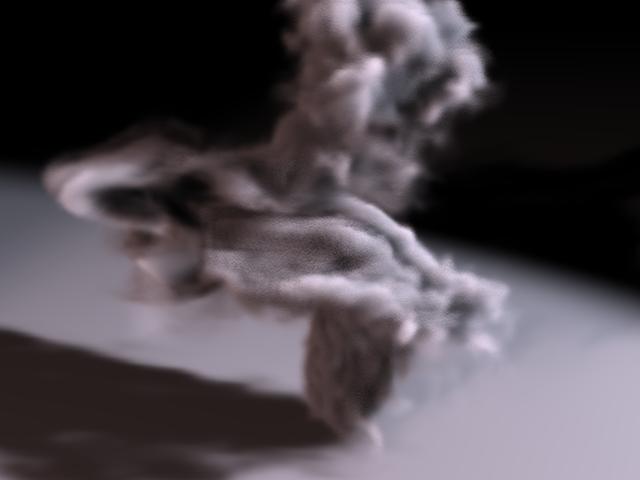
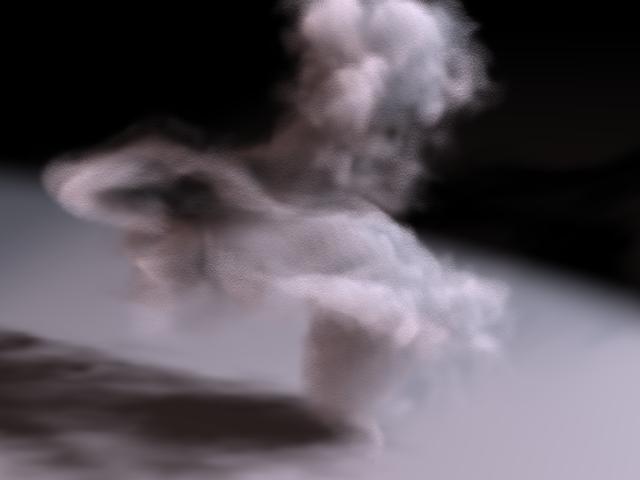
Volume Rendering - File Referenced Smoke Example for Mantra render node
Volume rendering is a rendering approach that allows high-quality, integrated rendering of volumetric effects like smoke, clouds, spray, and fire.
Volume rendering is suitable for rendering many types of volumetric effects. Scenes that are particularly suited to rendering with mantra volumes include:
-
Detailed “hero” clouds, smoke, or fire
-
Fields of instanced clouds, smoke, or fire
Scenes where volume rendering may not be quite so applicable include:
-
Scenes with a single uniform fog
In this particular example, a bgeo file (1 frame only) was exported from a fluid simulation of smoke and is now referenced using the File SOP. A material using VEX Volume Cloud is assigned to this volumetric data at the top level of the Volume Object. To see this scene in shaded mode, ensure that HOUDINI_OGL_ENABLE_SHADERS is set to 1 in the environment variables.
Controlling Quality/Performance 
Volume rendering uses ray marching to step through volumes. Ray marching generates shading points in the volume by uniformly stepping along rays for each pixel in the image. There are two ways to change the quality and speed of the volume ray marching:
-
The samples parameter on the Sampling tab of the mantra ROP. More pixel samples will produce more ray marches within that pixel leading to higher quality. Using more pixel samples will also improve antialiasing and motion blur quality for the volume.
-
The volumesteprate parameter on the Sampling tab of the mantra ROP. A larger volume step rate will produce more samples in the volume interior, improving quality and decreasing performance. A separate shadow step rate can be used for shadows.
Which parameter you should change will depend on your quality requirements for pixel antialiasing. In general, it is better to decrease the volume step size rather than increase the pixel samples because a smaller volume step size will lead to more accurate renders.
This render uses 2×2 samples and volume step rate of 1. Notice the detail in the shadows.
This render uses the same scene with 4×4 samples and a volume step rate of 0.25. The fine detail in the shadow has been lost and the volume is somewhat more transparent. The quality level is approximately the same.
Volume Rendering - From Primitives Example for Mantra render node
Volume rendering is a rendering approach that allows high-quality, integrated rendering of volumetric effects like smoke, clouds, spray, and fire.
Volume rendering is suitable for rendering many types of volumetric effects such as:
-
Detailed “hero” clouds, smoke, or fire
-
Fields of instanced clouds, smoke, or fire
It is easy to create volumes from primitives without invoking the fluid solver.
In this particular example, a primitive torus is used to render some smoke volume. Using an IsoOffset SOP produces a volume that fills the interior of the torus. Then, a material using a Volume Cloud is assigned to the volumetric data of the torus shape. Setting the Smoke Cloud Density to 5 and the Smoke Shadow Density to 10 helps create a more smoke-like look and feel.
Here is the torus rendered with tweaks to the volume step sizes (in the Mantra Render Operator), shadow map quality (under Depth Map Options of the spotlight), and volume primitive divisions (on the IsoOffset SOP). The smoke Diffuse color was adjusted too.

Net Barrier 
netbarrierpost Example for Net Barrier render node
In this example, we demonstrate how a netbarrier ROP node can be used to ensure that multiple machines stay in sync with each other.
/nodes/out/ramp 
This example demonstrates the use of ramps and referenced ramps which are animated over time.
/nodes/out/shutter 
This example demonstrates how to use the shutter shape parameter to control the opening of the shutter along time through a grayscale ramp.
USD Render 
slapcomphusk Example for USD Render render node
This hda demonstrates how to create a slap comp network in COPs and have it applied post render through rendering with Karma and husk
Wedge 
rop_example_wedge Example for Wedge render node
This example shows how to setup the Wedge ROP to automatically create a bunch of variants of a network.