| On this page |
To create SOP fluid simulations, you need a small set of nodes. There are three fundamental methods.
Waterline 
This basic network consists of a ![]() FLIP Container SOP and a
FLIP Container SOP and a ![]() FLIP Solver SOP node. With this setup you don’t need any external sources.
FLIP Solver SOP node. With this setup you don’t need any external sources.
-
On obj level, press ⇥ Tab to invoke the TAB menu. Create a
 Geometry SOP node and dive into it.
 -
Inside the Geometry node, create a FLIP Container node. You can use different container shapes by connecting geometry to the container’s input. In the image below you can see a petal-shaped domain, a tube, and the cross-section of Houdini’s Rubber Toy.
-
Add a FLIP Solver node and connect the first three inputs with the outputs of the FLIP Container.
-
In the solver’s Waterline tab, turn on Waterline.
A particle narrow band layer appears and you can control its Additional Velocity to create the impression of a moving water surface.

-
Set Additional Velocity to any value, e.g.
4for the X parameters to create a water motion. New particles are constantly sourced and deleted to keep the water level constant.
Adding collisions 
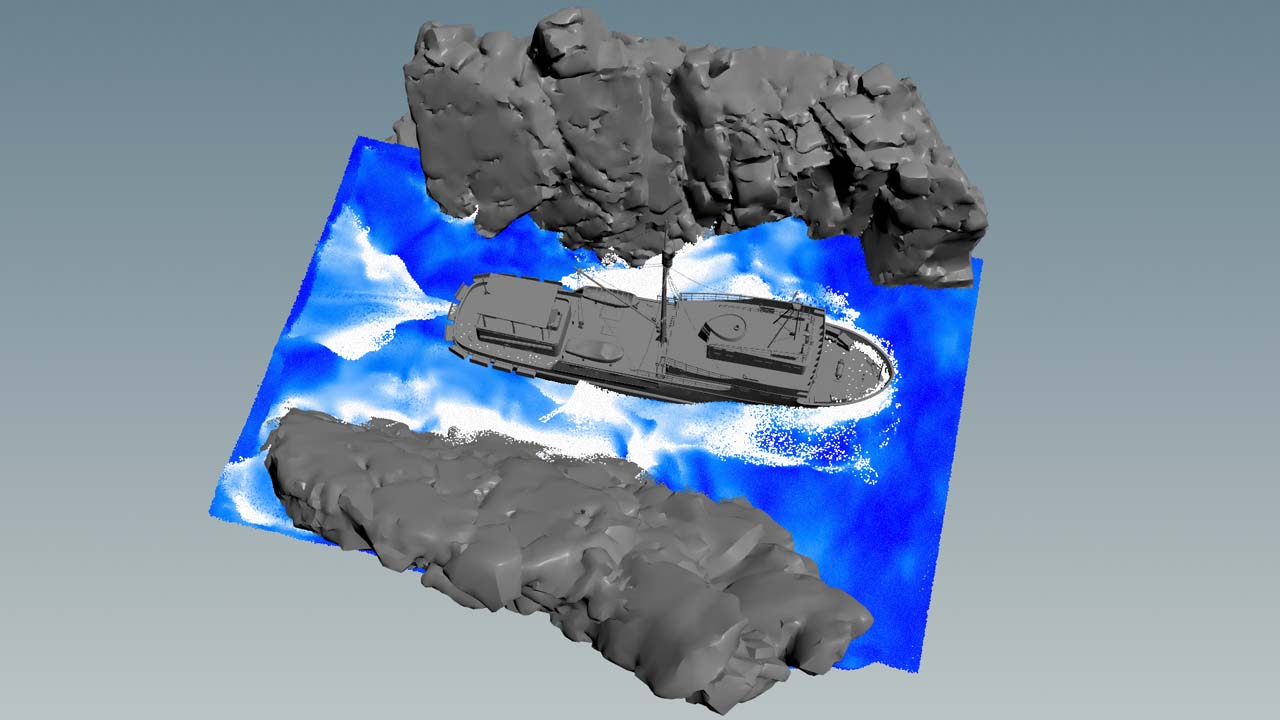
To get interaction with objects, splashes and waves there is the ![]() FLIP Collide SOP node. FLIP Collide works with native or imported objects, as well as VDB and Houdini volumes. Objects and volumes can be animated or deforming. The collision object itself shouldn’t be too small, because you might lose important details.
FLIP Collide SOP node. FLIP Collide works with native or imported objects, as well as VDB and Houdini volumes. Objects and volumes can be animated or deforming. The collision object itself shouldn’t be too small, because you might lose important details.
-
Add a FLIP Collide node.
-
Wire it between FLIP Container and the FLIP Solver node’s first three inputs.
-
Create or import an object.
-
Translate, rotate and scale the object, for example with a
 Transform SOP node.
 -
Connect the Transform node’s output with the fourth input of the FLIP Collide node.
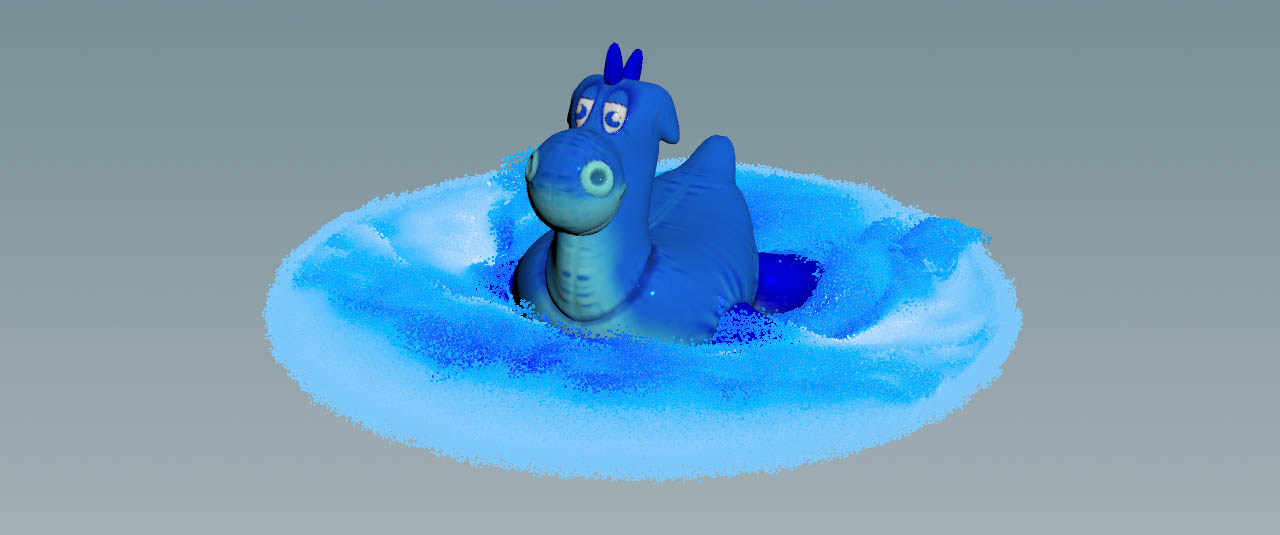
An object, connected to a FLIP Collide node, is internally converted to a volume. To see the collision geometry, turn on the node’s blue Display/Render flag. You can change the quality of the collision geometry only through the FLIP Container node’s Particle Separation parameter. The smaller the value, the better the collision geometry, but you will also create more voxels and particles. This, on the other hand, increases simulation times and RAM consumption, but also improves the fluid’s quality.
If you can see particles inside a collision object, also check its geometry. It’s very likely that the object is not completely closed. Another reason for particle leaks is an insufficient Particle Separation, paired with small object structures.
-
Adjust the FLIP Container’s Size to enclose the collision object and get enough room for the fluid-object interaction and propagating waves.
-
If you need more and better splashes, increase the FLIP Collide node’s Velocity Scale.
-
For solid objects, make sure that Volume Collision is turned on. With this option, Houdini deletes particles inside the collision geometry.
FLIP Boundary 
You can use (almost) any closed geometry to source particles based on pressure or velocity. Sourcing also supports animated or deforming geometry and volumes.
-
Add a
 FLIP Boundary: Velocity SOP or FLIP Boundary: Pressure SOP node.
 -
Place the source node directly after the FLIP Container node and connect its three inputs with the container’s outputs.
-
Connect the source’s outputs with the first three inputs of the following node (FLIP Collide or FLIP Solver).
-
Add an object, e.g. a
 Sphere SOP, and connect it to the source node’s 4th input.
In the FLIP Source node’s Velocity section you can find several parameters to adjust the particles' initial velocity. Leave the default settings to get started. Without any interacting objects or a waterline, the particles fall to the bottom and are removed when they hit the FLIP Container’s boundaries.
Note
The workflow for collision objects, interacting with source particles, is exactly the same as described under “Waterline collision”.
Boundary flow 
This method transfers velocity or pressure information to the FLIP Solver’s 4th input to drive a simulation For this setup you don’t need a an extra FLIP Source node or the solver’s Waterline option.
Note
Complete tutorials about how to use the FLIP Solver node’s fourth input to transfer pressure and velocity can be found below.
Tutorial 
| See also |