| On this page |
Note
This project is based on the Fixed viscosity: honey tutorial. Please go through the lesson and save the file under a new name:
-
Press ⌃ Ctrl + ⇧ Shift + S to save the scene.
-
Enter a new name, e.g.
honey_variableviscosity. -
Click Accept.
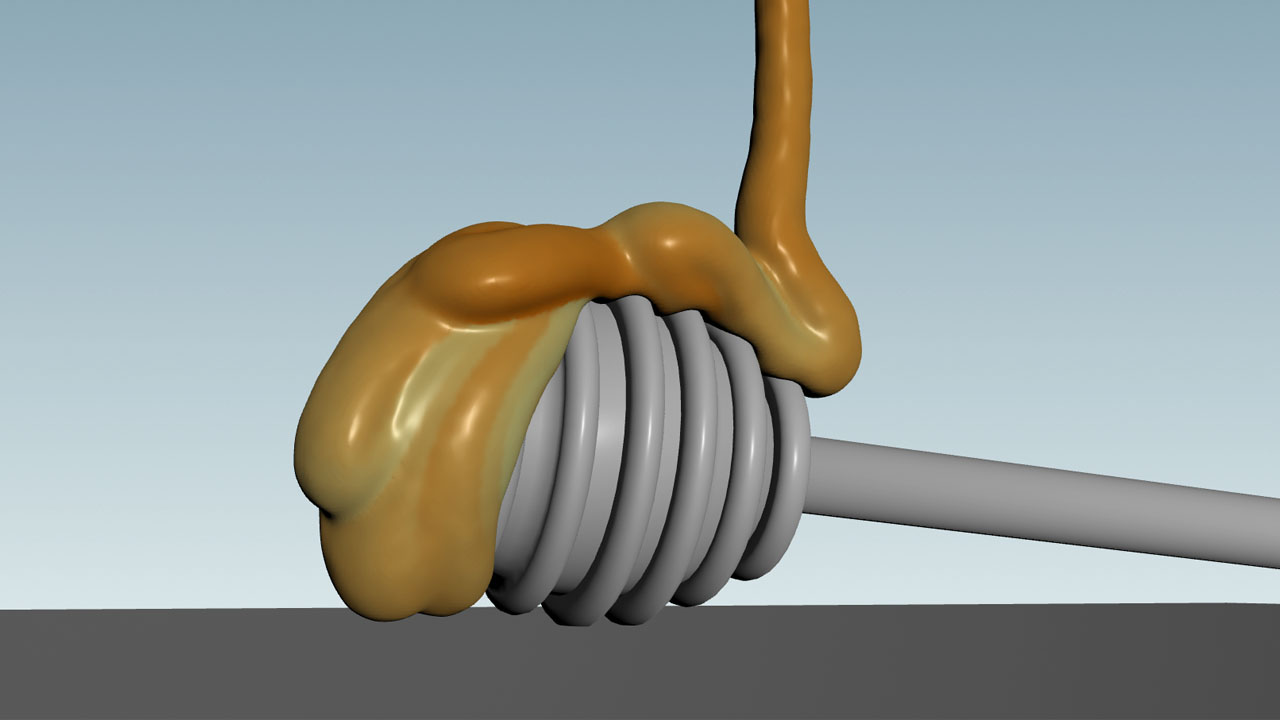
As a natural product, honey can have very different properties. Honey can be more liquid, extremely viscous and sticky, and even solid. Variable viscosity adds this little extra to a simulation, because it considers that there can be small differences in sugar content and temperature. These differences create areas with slightly higher or lower viscosity.
The honey simulation in the video is based on the parameters and values described below. The colors represent the fluid’s viscosity values.
Variable viscosity 
You can find the relevant physical parameters in the ![]() FLIP Container SOP node under Attributes.
FLIP Container SOP node under Attributes.
Note
For variable viscosity it’s not necessary to define a custom attribute-field pair.
-
Turn on Viscosity and expand the tab.
-
Turn on Varying Viscosity.
Random viscosity 
You can get random viscosity values by introducing an ![]() Attribute Noise SOP.
Attribute Noise SOP.
-
Add the Attribute Noise node between the source object’s output and the FLIP Source node’s 4th input.
-
Under General, change Attribute Names to Float. In the text field, enter
viscosity. -
Make sure that Attribute Class is set to Point.
-
Under Noise Value go to Range Values and choose Min/Max.
-
For Min Value enter
1500, for Max Value enter2500. -
You can check the values in the Geometry Spreadsheet pane. The average value should be around
2000. -
For even more randomization, turn on Animation ▸ Animate Noise.
Display variable viscosity 
You can visualize the different viscosity values through an ![]() Attribute Adjust Color SOP node. Add this node after the
Attribute Adjust Color SOP node. Add this node after the ![]() FLIP Solver SOP.
FLIP Solver SOP.
-
Go to the Adjustment Value section.
-
Change Pattern Type to Remap Attribute.
-
If you don’t like the color gradient, click the Presets gear icon on the right, and choose a new gradient from the drop-down list, for example Black to Orange.
-
Under Remap Attribute ▸ Source Attribute, enter
viscosity. -
Go to Source Range. For the first value, enter the Attribute Noise node’s Min Value, and Max Value for the second parameter field:
1500and2500.
Add viscosity attribute to the surface 
The Attribute Adjust Color node translates the viscosity values into a Cd color attribute and shows it on the fluid surface. The image below shows the viscosity attribute transferred to a particle surface.
-
Add a
 Particle Fluid Surface SOP node and connect it with the output of the Attribute Adjust Color node.
 -
Under Output ▸ Transfer Attributes add
Cdto the list of already existing attributes.
| See also |