| On this page |
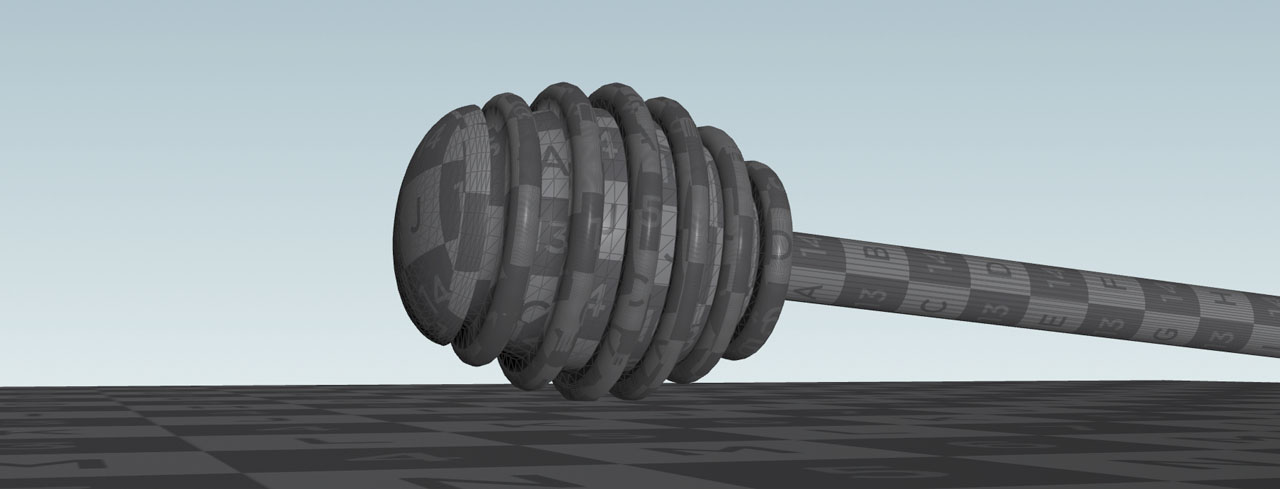
SOP-based FLIP fluids provide a viscosity solver for both constant and variable viscosity. The following example uses fixed velocity to simulate honey, flowing over a honey spoon. The arising layers and coils slowly merge into each other over time.
The appearance and viscosity of honey depends on its water content: the more water, the lower the concentration of the contained sugar, and the less viscous the honey. Another factor is temperature. In cold environments, honey tends to be more viscous or even solid. Honey’s varying characteristics open a wide range of possible values for parameters like viscosity and surface tension. Therefore it’s not absolutely mandatory to rely on measured real world values, but they can be a good starting point.
The video shows the simulation result with the settings and values described below. You can see the typical coiling effect and layers of honey, slowly flowing into each other.
Geometry setup 
The example setup contains a ground object and a typical wooden honey spoon. Scale is always something to consider with FLIP, because this fluid type is mainly used for large-scale scenarios like rivers, waterfalls or oceans. On the other hand, the quality of the FLIP viscosity solver also allows for small-scale simulations. To get a sufficient amount of particles, the objects should have an adequate size. Please consider the increased scale when you apply a shader.
-
On obj level in the network view, press ⇥ Tab to open the TAB menu. From there, create a
 Geometry SOP node and dive into it. Here you create the simulation network.
 -
The honey spoon is a an object of revolution and you're free to model a shape to your likeness, but make it big enough: in this scene, the spoon’s length is 3.5 m. You can position, scale and orient the object through a
 Transform SOP node.
 -
Add a ground object. You can use a
 Box SOP node and scale it with another Transform node.
 -
Add a
 Merge SOP and wire the honey spoon and ground nodes to its input. Both objects are now treated as a single object by the following nodes.
Time settings 
Timing plays a central role in simulations with viscous fluids. It’s important to find a good balance between viscosity and flow speed. If viscosity is too low and flow speed too high, the fluid can’t form the typical layers, melting into each other after some time. Another aspect with very slow fluids is that you often see a flickering effect with the particle fluid surface.
One idea is to use the ![]() FLIP Solver SOP and decrease the Quality ▸ Time Scale value. Another option is to alter the simulation’s frame rate
FLIP Solver SOP and decrease the Quality ▸ Time Scale value. Another option is to alter the simulation’s frame rate
-
Click the Global Animation Options… icon
 in the lower left corner of the GUI to open the settings.
 -
Under Animation ▸ FPS enter
50. When you replay the simulation at 25 FPS, the fluid’s speed will be halved. This has the same effect as setting the solver’s Time Scale to0.5. -
Finally, define the overall length of the simulation. This can also be done in the Global Animation Options… by setting Animation ▸ End to
380.
In fact there’s a small difference between changing Time Scale and FPS. In this project, the FPS method was used, because it produces a slightly smoother fluid.
Source animation 
If you set up the simulation at real-world scale, the source object would too small to create a sufficient amount of particles. With increased scale, the source object can be large enough to produce a nice stream of honey.
-
The source object is a
 Sphere SOP with a Uniform Scale of
 0.125. -
Use the Sphere’s Center to place the object approximately
2units over the spoon.
Animate the Sphere as if you're pouring honey over the spoon and parts of its handle. Depending on the spoon’s orientation, animate the X and/or Z values of the Center parameter.
-
Go to frame
97and set the Sphere’s initial position. -
Alt +
 on Center to add an animation key.
 -
Go to frame
209, move the Sphere node to the right and add another key. -
Go to frame
334, move the Sphere to the left again and add a new key.
FLIP fluid setup 
The entire simulation setup consists of a short node chain.
The ![]() FLIP Container SOP node defines the simulation domain’s size and properties, as well as the number of particles and voxels. The rule of thumb is: more particles mean more details, but also longer simulation times and more memory usage.
FLIP Container SOP node defines the simulation domain’s size and properties, as well as the number of particles and voxels. The rule of thumb is: more particles mean more details, but also longer simulation times and more memory usage.
-
Add the FLIP Container node.
-
Particle Separation is responsible for the number of voxels and particles. Since the source object’s Sphere radius is just
0.125, Particle Separation has to to be very small. A value of0.008creates a sufficient amount of particles. -
Size should only enclose the fluid plus an adequate buffer to keep the simulation’s memory footprint as small as possible. Make sure that the particles don’t touch the domain to prevent them from being deleted.
-
Surface Tension contracts the fluid and smooths it. Turn on the checkbox and enter a value of
150. -
Viscosity defines the fluid type. Turn on the checkbox. The honey’s Viscosity in this scene is
2000. For a more rigid behavior, increase the value.
The ![]() FLIP Source: Velocity SOP node creates the fluid based on the FLIP Container settings:
FLIP Source: Velocity SOP node creates the fluid based on the FLIP Container settings:
-
Add the FLIP Source: Velocity node.
-
Connect the first the inputs with the three outputs of the FLIP Container.
-
Connect the fourth input (Geometry to Source) with the Sphere.
-
Set Additional Velocity to
0,-1,0to create a downward fluid stream.
Through the ![]() FLIP Collide SOP honey spoon and ground object can interact with the fluid:
FLIP Collide SOP honey spoon and ground object can interact with the fluid:
-
Add the FLIP Collide node.
-
Connect the first three inputs with the three outputs of the FLIP Source.
-
Connect the fourth input (New Collision Geometry) with the Merge node.
The ![]() FLIP Solver SOP is the simulation’s core element, and you only have to change one parameter:
FLIP Solver SOP is the simulation’s core element, and you only have to change one parameter:
-
Add the FLIP Solver node.
-
Connect the first three inputs with the three outputs of the FLIP Collide.
-
Turn off Advanced ▸ Enable Particle Narrow Band.
There are also some optional solver settings:
-
If you want to see the particles as points, turn off Visualization ▸ Points as Spheres.
-
Also under Visualization turn off Show Collision to hide the collision meshes.
-
Narrow band is normally not necessary with viscosity simulations and you can open the Advanced tab to turn off Enable Particle Narrow Band.
| See also |