| On this page |
To create a basic heightfield in Copernicus, you need only a couple of nodes. The nodes' parameters let you precisely shape the landscape. You normally only have to alter very few parameters to get a completely different look.
Heightfields are created through COP nodes and you can work in different locations. You can create a:
-
 COP Network SOP inside a
  Geometry OBJ on the obj level
 -
COP Network on the img or the Solaris stage level
Orientation, scale, resolution 
By default, Copernicus layers are oriented in the XY plane, but in most cases you would work in the horizontal ZX plane. With a standard size of 2 by 2 units, the dimensions are not sufficient for large terrains. However, Houdini’s Copernicus heightfields is also suited for small projects. A good example is the Terrain Cobblestone recipe.
The most convenient method to initialize a COP-based terrain is the HeightField COP Network tool that creates a pre-adjusted COP Network SOP on Houdini’s SOP level. Once you've added it, go to the Canvas section to see the relevant settings.
There, Default Canvas is set to from Image Plane. The parameter’s second dropdown, is set to ZX Plane. To make the terrain bigger, Uniform Scale, was increased to 500. This creates a terrain with an edge length of 1 km.
Please also consider to turn on Default Resolution from the Resolution and Properties section. The default values of 1024, 1024 might be too coarse for a large terrain. If you want to change these values, you can also do that inside the COP Network. This means that it’s possible to work at low resolutions. For the final terrain, you increase the parameters, for example to 4096, 4096.
Heightfield base 
Inside the COP Network node, create a HeightField node which is essentially a pre-configured  Layer COP. On the node, the Type Info parameter is set to Height by default.
You should now see a plain square. If the object is too large, hover the mouse over the viewport and press H to center the heightfield base.
A heightfield node followed by a  HeightField Noise COP is the primary way to start with a random terrain. From the tab menu, add a HeightField Noise COP and connect its
 size_ref input with the layer output of the heightfield node. What you can see now is a rocky terrain with several hills.
Tip
You can also directly start with a HeightField Noise COP and skip the HeightField COP layer.
Below the menu of the Network Editor you can find a Resolution parameter. For more detailed heightfields increase the values. We recommend resolution values that follow the 2^n rule, for example 2^9 = 512 or 2^11 = 2048.
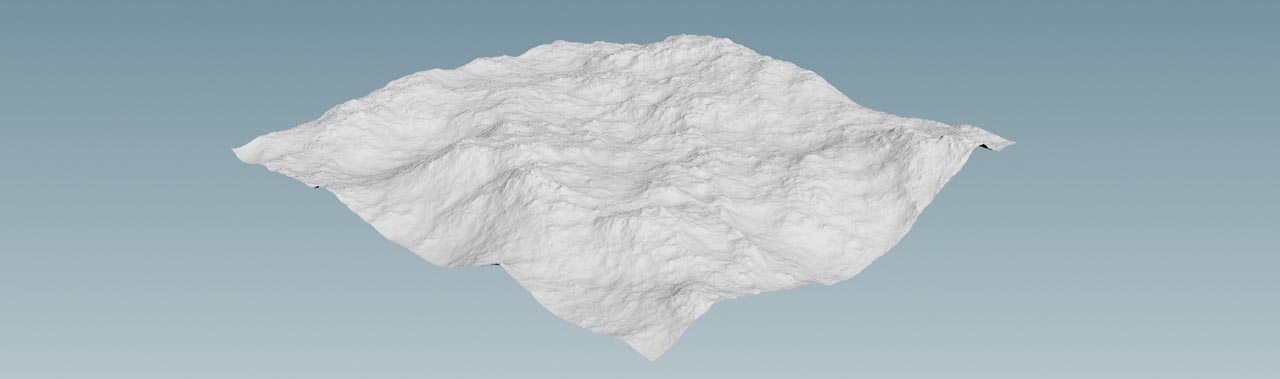
Fundamental noise parameters 
Noise is an important part of Houdini’s Copernicus technology in general. You’ll therefore see most of the parameters on other nodes and their mode of operation is always the same.
-
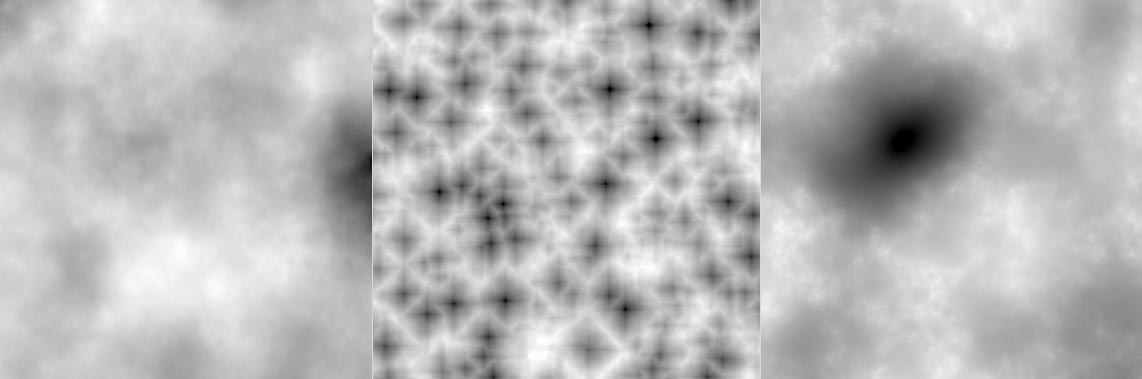
There are many different Noise Types available. The Perlin, sparse and simplex types add detail to the terrain. The cellular types and Alligator, however, are perfectly suited for defining a terrain’s main structure. Then you refine those with a detail noise and/or erosion. White noise produces a blocky, more regular look.
-
With Amplitude you change the maximum height of the terrain. Note that the value is not given in meters and the standard value of
500doesn’t create hills with an appropriate height. Amplitude is a scale factor that’s applied to each noise value. -
Element Size determines the size of the noise pattern. With smaller values you’ll get a surface with lots of spikes. Higher settings, however, create a smoother surface with less detail. Element Size is the inverse of the noise’s frequency.
-
Center lets you control the vertical position of the terrain.
The image shows the Spare Convolution, Worley Cellular F1 (Manhattan), and Simplex types.
Visualization 
When you look at the terrain with any of the viewport’s wireframe modes turned on, you’ll see a lat-long grid. To change the density of the grid, hover the mouse over the viewport and press D to open the Display Options. There, open the Geometry tab and change Wireframe ▸ HeightField Wire Stride.