| On this page |
By default, a terrain has a white base color and the shaded features are the result of the viewport’s built-in light source. If you want to change the light situation in the viewport, go to the Display options icon bar and click-hold the  button. The context menu lets you choose from various light sources like Physical Sky or Three Point Lighting. If you want to adjust parameters like intensity or colors, choose Properties… from the same menu.
The reason, why the viewport lights are mentioned here, is that they influence how the color are perceived. The Physical Sky, for example, adds a tint that depends on the Solar Altitude parameter. The Dome Light, on the other hand, creates an evenly lit terrain with low contrast. For more contrast and colors, consider loading an HDR file in the light properties.
Note
This page only addresses the basic methods. You can use the entire range of Copernicus nodes to compose complex patterns.
Tint by color 
If you're familiar with Houdini’s SOP-based heightfields, you've most probably used the  Heightfield Visualize SOP’s Compute Range button to add colors to your terrain.
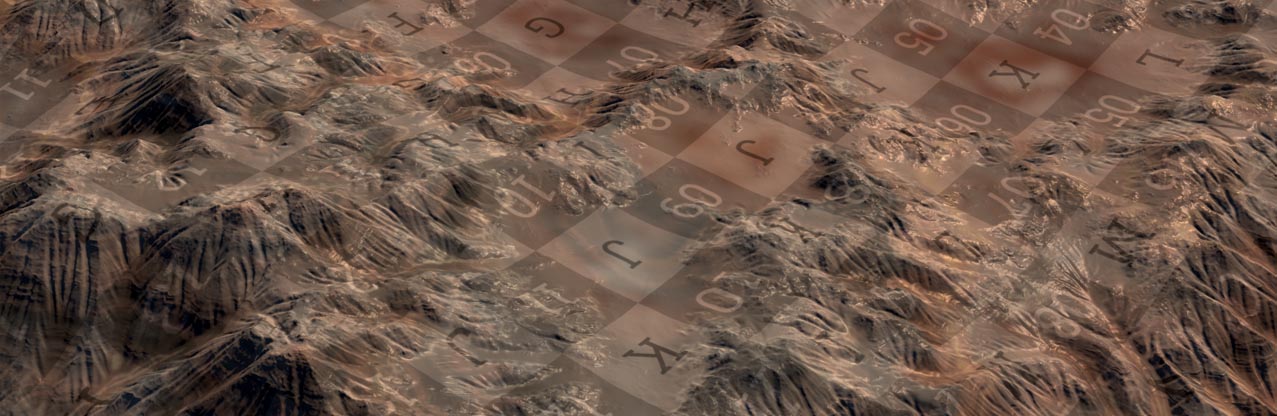
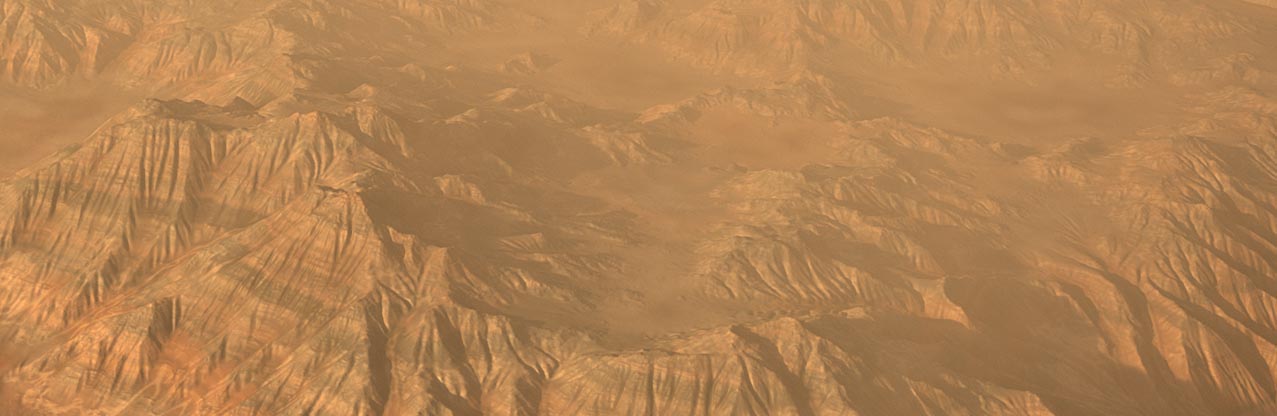
In Copernicus, you can find a counterpart that works very similar - the HeightField Visualize COP. When you connect a terrain to its height input, you can use the Tint by drowpdown menu’s Height entry to achieve the same effect. Click the Compute Range button to get the terrain’s minimum and maximum height values. Then, open the Mode dropdown menu and choose Clamp Ramp or Periodic Ramp. The colors of the default Ramp are now mapped to the height values of the two input parameters.
For a certain look or more natural colors, you can choose one of the pre-defined terrain ramps that ship with Houdini:
-
On the Ramp parameter click the
 Color Ramp Presets button.
 -
Directly below the gear, you can now see an
 Open Gallery… button. Click it for more presets.
 -
The new panel contains five Terrain folders for various landscapes and terrain. Choose a preset, for example Terrain/Desert ▸ Desert 2.
-
If you think the overall impression is too dark, go to the node’s parameters and increase Output Max. With
2, the colors will become brighter.
Height to color 
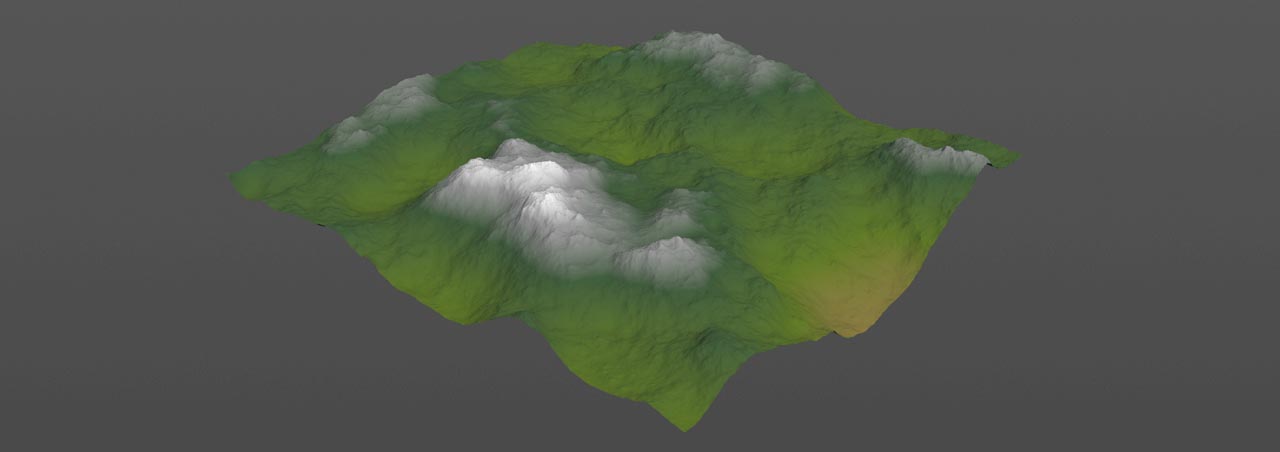
There’s another way to convert the height information of a terrain into an RGB color ramp manually. To do this, lay down a  Mono to to RGB COP and connect its
 source input with the noise or height output of the terrain network’s last node, for example a  HeightField Erode COP.
Before you start to apply colors, hover the mouse over the last node that adds features to the terrain, and turn on its orange 3D Output flag. This flag projects the 2D color maps onto the terrain. Otherwise, you’ll just get a flat image. Please see 3D Output flag workflow for more information.
Now you can click the Ramp parameter’s Color Ramp Presets button to apply one of the pre-defined ramps.

Color ramps 
If you don’t want to use one of the pre-defined ramps, you can also create custom gradients from an arbitrary image. To apply it to a heightfield, use the Mono to RGB COP again. You also need a reference image to sample the colors from. The image reference can be anything and doesn’t have to be inside Houdini, for example a background image in the viewport, a render in MPlay, a photo in an image viewer, or a desktop image on your computer.

-
On the mono node’s Ramp parameter, click the
 Ramp Generator button. This opens a new dialogue with a black and white gradient. Your mouse cursor also turns into a cross indicating that you can start sampling.
 -
 -drag the mouse over the image. To draw a straight line, ⇧ Shift + -drag the mouse. When you release the mouse, the sampled colors appear in the gradient.
 -
If you're not happy with the result, you can sample another area. It’s also possible to change the number of sample points after you've drawn the curve. You can toggle between Adaptive and Uniform sampling.
-
Click Confirm to transfer the colors to the Ramp parameter. Now you can use the gradient with your terrain.
Mask to color 
You can also turn masks into colors and the method is basically the same as described in the Height to Color chapter. From the Tint dropdown menu, choose Mask and connect a mask to the node. The HeightField Visualize COP will add a white-to-red color ramp, but you can choose another gradient from the Color Ramp Presets list.

Layers 
Some nodes have outputs for layers like sediment, cliffs, or debris. You can export these layers along with the terrain in the conversion process.
Blending 
For a feature-rich image with strata, channels, basins, and other structures, you can combine the various color layers with  Blend COPs. A Blend COP lets you combine two network streams and its Mode dropdown menu provides a long list of blending modes like Add, Multiply, or Soft Light. With the Mask parameter it’s also possible to control the strength of the effect.

If you like a particular result, but think the colors are too saturated, you can also wire an  HSV Adjust COP to the result of a blend operation. With Saturation Scale and Saturation Shift it’s possible to make the colors pale or very bright. You can also use this node to change the overall hue of the terrain with Hue Shift.
Masking 
When you combine colors, masks play an important role because they define zones with different materials like debris or sediment.
The Blend COP has a mask input, and here you can wire kind of mono image. This doesn’t have to be an actual mask from the terrain. Instead you can also create noise layers, load images, or create complex patterns.
Textures 
Copernicus heightfields come with a large repository of color ramps for various terrain types. However, ramps are not always enough and you need real textures. The basic method is the same as with color, but instead of a node’s output you load an image map with the  File COP. You can still use masks and blend different textures together.
With nodes like the  Fractal Sample COP it’s also possible to create feature-rich textures without seams or repetitive patterns.
Export 
You can bake the color information directly to the terrain. For more information on how to prepare a terrain for use in SOPs or Solaris, please read the Conversion page.