| On this page |
The following chapters illustrate fundamental workflows in conjunction with heightfields in Copernicus. Once you've created a Base terrain, you can start to shape the landscape by adding structures like terraces or strata. Erosion and slump also enhance the realism of the terrain. Another idea is to replace the standard  HeightField Noise COP with other noise types. You can also create complex structures by blending different terrains.
Noise 
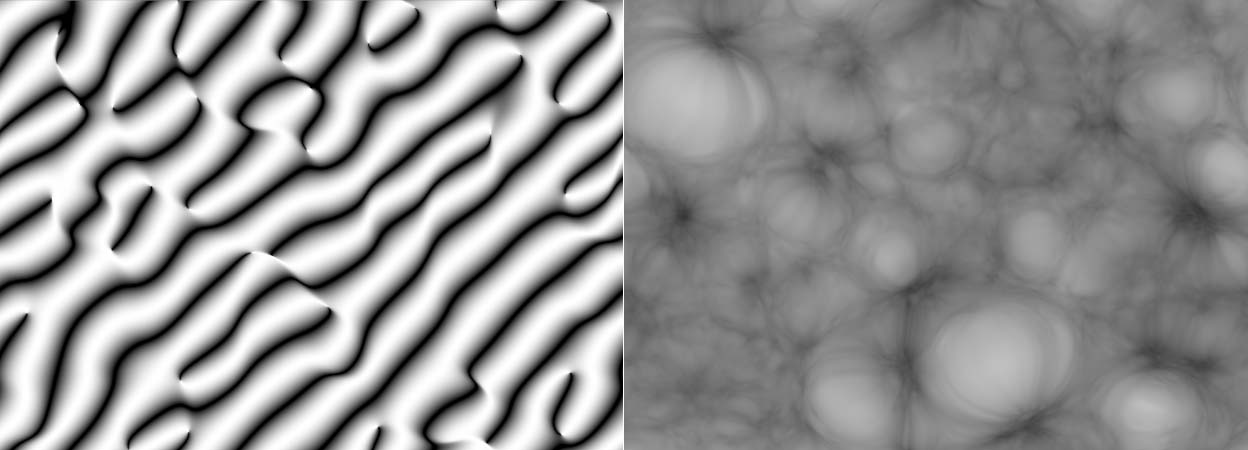
Copernicus provides a great variety of noise types, for example the  Bubble Noise COP,
  Phasor Noise COP, or
  Curl Noise COP nodes. You can use those to create dune-like structures, folded rocks, or patterns of all kind.
Noise also plays an important role in the creation of the terrain’s topography. In the HeightField Noise COP’s Pattern section, you can find a Noise Type dropdown menu. The different entries define the fundamental shape of your landscape. Worley and Alligator types are often used to create a base mountain range. Then you add detail with a noise type like sparse convolution, and finally shape the terrain with erosion and terraces.
Tip
The  Mono to HeightField COP lets you convert any available noise type into a terrain.
Blending 
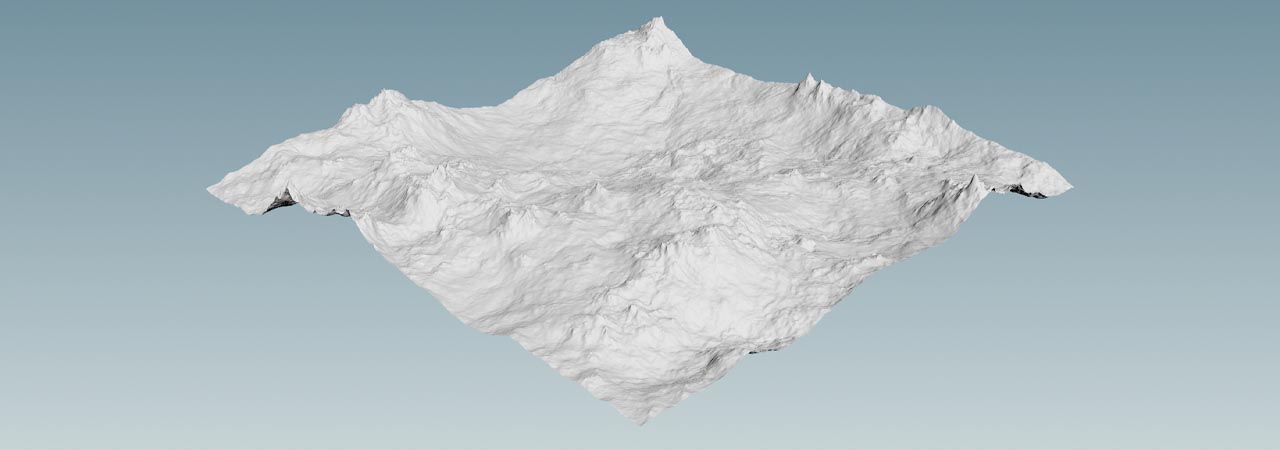
You can use the  Blend COP to combine heightfields with different topography, for example with Simplex and Perlin noise. This blend node specifies, how different layers are composed. If you're familiar with image processing applications, you’ll most probably recognize several entries from the Mode dropdown menu. Masks let you control the blending process and create more complex structures. The node’s Mask parameter, on the other hand, sets the strength of the blending effect.
The blend node has fg and bg inputs. The abbreviations stand for “foreground” and “background”. There you connect the outputs of the previous nodes, for example noise from appropriate COPs, or height from erosion and slump nodes.
Erosion 
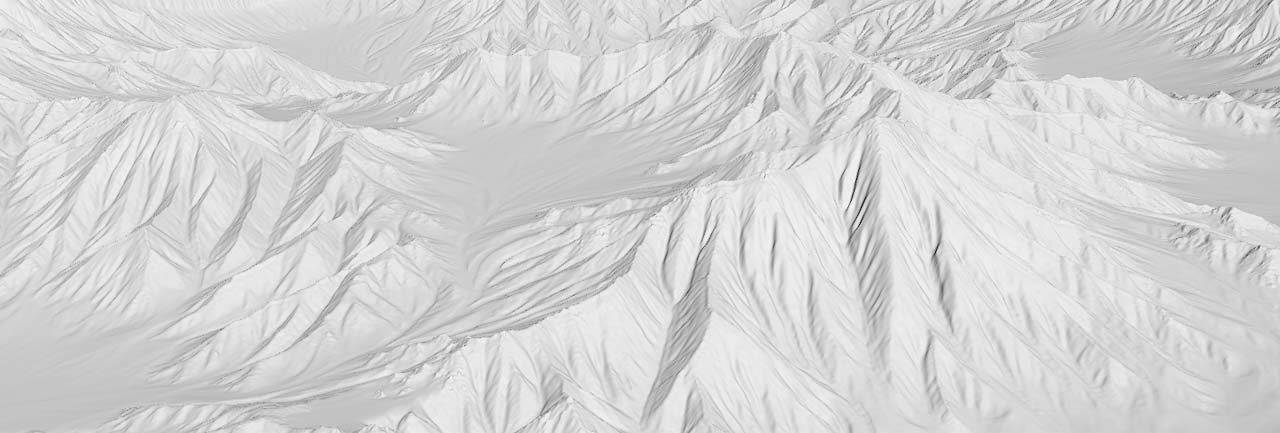
Erosion removes material from the surface, transports it, and deposits it in lower areas. Erosion also helps to “blend” terrain structures like terraces with the underlying bedrock. A common workflow with erosion is to cascade multiple erosion nodes. You start with bigger features, then you lay down additional nodes with different settings for finer structures.
The parameters of the Hydro section simulate the influence of water on the creation of trenches. Thermal erosion levels the terrain by simulating crumbling rock. Flow maps contain the direction vectors of the material transport.
When you connect an erosion node, Houdini will immediately start to remove material from the terrain. Depending on the heightfield’s resolution, this can take several moments.
-
Add a
 HeightField Erode COP and connect its
 heightinput with theheightoutput of the stratify node. -
On the erosion node’s Erosion Model section, set Feature Size to
12. -
Lay down another erosion operator and connect the
heightpins. -
Leave the new node’s Feature Size at
5.
Slump 
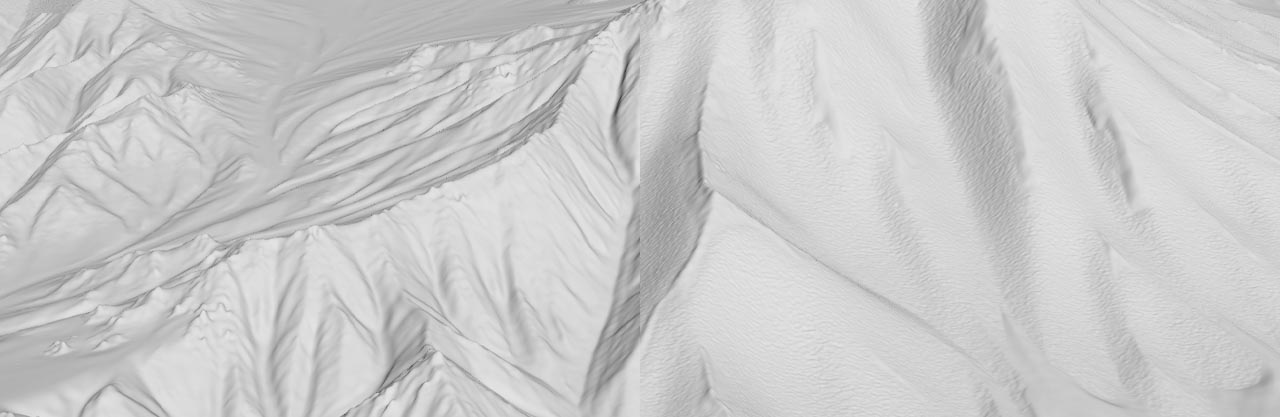
When loose stones and rocks become unstable, they slide down for a rather short distance and form out deposits in lower areas. You can choose from three different models to add slump to your terrain. Like the erosion node, the  HeightField Slump COP also writes out a flow map with direction vectors. A typical application for flow maps is to distort certain areas of the terrain and create the impression of sliding material.
You can find more information and an example how to use flow maps on the Slump page.
Terraces 
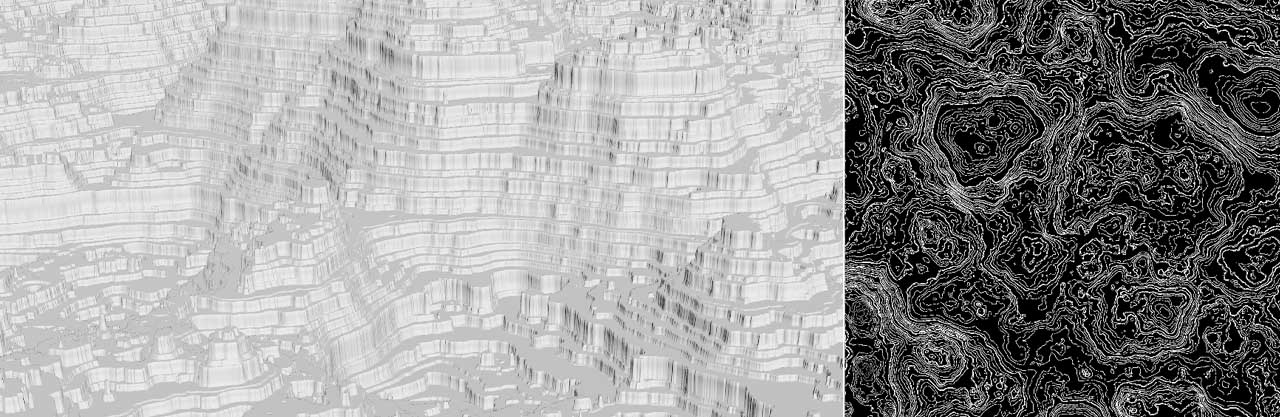
Terraces are an important element with terrains in general. Terraces typically occur when rivers cut into a terrain leaving step-like features behind. The  HeightField Terrace COP lets you add steps of fixed or varying size to your terrain.
To get rid of the artificial and blocky look, you often apply one or more erosion passes. This method smooths the edgy terraces and blends them with the terrain. You can also output cliffs and mesa layers for shading. For more information, please read the Terracing page.
cliffs layer.Strata 
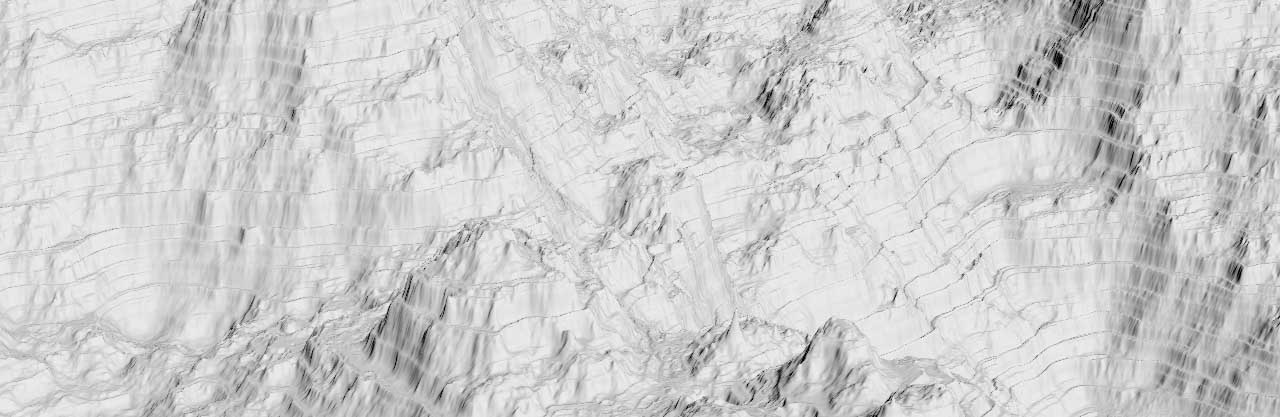
Strata indicate different layers of rock, for example layers of sediment from ancient oceans. In Copernicus, there’s the  HeightField Strata COP to add realistic layers with the help of a noise function.
On the Pattern section, you can find a Tilt parameter to adjust the inclination of the layers. Note that Tilt only works when Space is set to World.
-
Lay down a HeightField Strata COP and connect its
heightinput with theblendoutput of the Blend COP. -
The Amplitude improves the visibility of the layers.
-
With Strata Size, you can change the height of the terraces.
-
Define a small Tilt of
5for some inclination.
Masks 
Masking is one of the most important concepts in conjunction with realistic terrains. In fact, you can’t have enough masks and they finally shape your landscape. Masks control where you’ll see terraces, boulders, or erosion. A mask can also control when a rocky area turns into a smooth plane.
-
Add a noise node, for example the
Fractal Noise COP and adjust it. -
Connect its
noiseoutput with amaskinput of a stratify node, or theerodabilityinput of an erosion node. -
If necessary, lay down more noise nodes with different settings to create a feature-rich terrain.

Boulders 
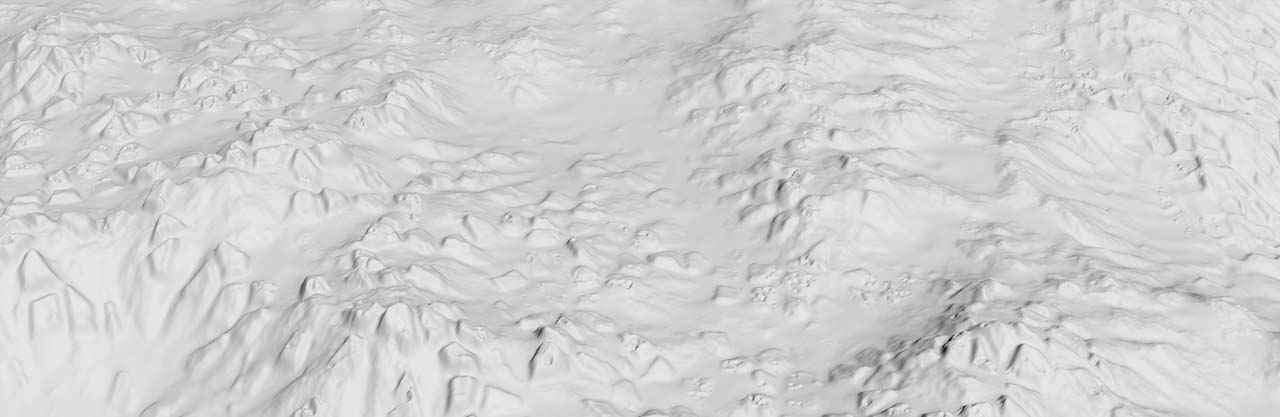
Boulders and rocks that cover valleys and lower parts are the icing on the cake. Boulders can “visualize” the result of an erosion process, especially with thermal erosion. Houdini’s Copernicus framework doesn’t provide a specialized node for boulders, but you can create them from  Cell Pattern COP and
  Fractal Sample COP nodes.
Note
This features requires a separate setup and is explained in detail on the Boulders page.
Colors and textures 
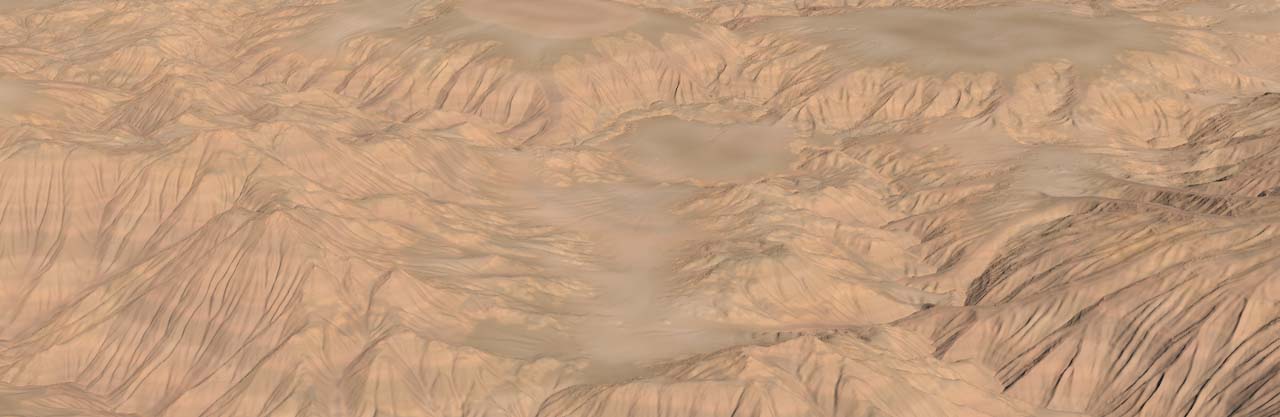
Colors define a terrain. Yellow-beige colors are often used for deserts and arid landscapes. Brownish and grayish tones are typical for rocky areas. Green areas indicate vegetation, while white lets you think of snow.
Houdini’s Copernicus heightfields ship with a long list of predefined color ramps for various terrain types like rock, snow, tundras, or deserts.
For more information, please read the Terrain colors page.
Conversion 
You can export terrain geometry to SOPs for further processing, or bring it to Solaris for rendering.
There are various methods for converting Copernicus heightfields. All relevant settings are explained in detail on the Conversion page.