| On this page |
Erosion is one of the most important nodes when it comes to terrain creation. In nature, terrains and landscapes are shaped by erosion. Erosion is caused by water, ice, wind, glaciers, but also heat and cold. Erosion shapes landscapes over time by removing material from the Earth’s surface. The material breaks, crumbles, and is ground into increasingly finer material. This process results in fine sediments such as sand, silt, or clay. Erosion brings different terrains together and it’s the connecting element that combines terraces, boulders, and other features to create a believable and naturally-looking terrain.
In Houdini, you differentiate between two fundamental types: water-based erosion and thermal erosion. The first type is typically labelled as “hydro” from the Greek word “hydros” for water. Thermal erosion is caused by differences in temperature and the term originates from the Greek word “thermos” for warmth.
To simulate erosion in Houdini, you typically use the  Heightfield Erode COP.
Basic usage 
You can start with a basic heightfield consisting of a  HeightField COP and a
  HeightField Noise COP. To simulate erosion, lay down a HeightField Erode COP, and connect its
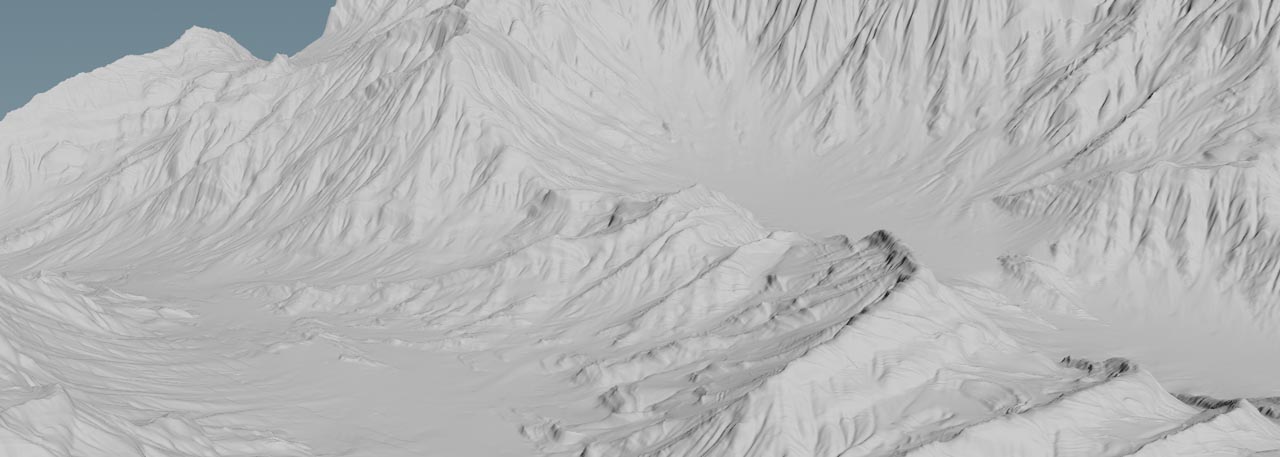
 height input with the output of the previous node, for example noise. When you turn on the erode node’s blue Display flag, you’ll see two main features: erosion channels of varying and smooth areas.
Time 
Erosion is a time-depending process and you have to options to calculate erosion. The default method uses the Time section’s Iterations parameter. With an increasing number of iterations you’ll get more pronounced erosion features.
A more sophisticated method is to turn on Simulate. When you do this without changing any other parameters, you’ll immediately recognize a difference. The features are less pronounced, because what you get is a starting point. The channels become deeper when you click  Play on the Playbar.
-
Start Frame determines when erosion kicks in.
-
Substeps is number of erosion cycles per frame. With higher values it’s possible to accelerate the erosion process.
Erosion Model 
The Feature Size determines the scale of the “channels”. Smaller values create more detail and finer structures, but the quality of the erosion features also depends on the heightfield’s resolution. Below a value of 3 or 2 you normally won’t see any changes. The erosion algorithm creates the typical look of the channels with a branched and “feathered” structure. With Random Seed you change the distribution of the features across the terrain.
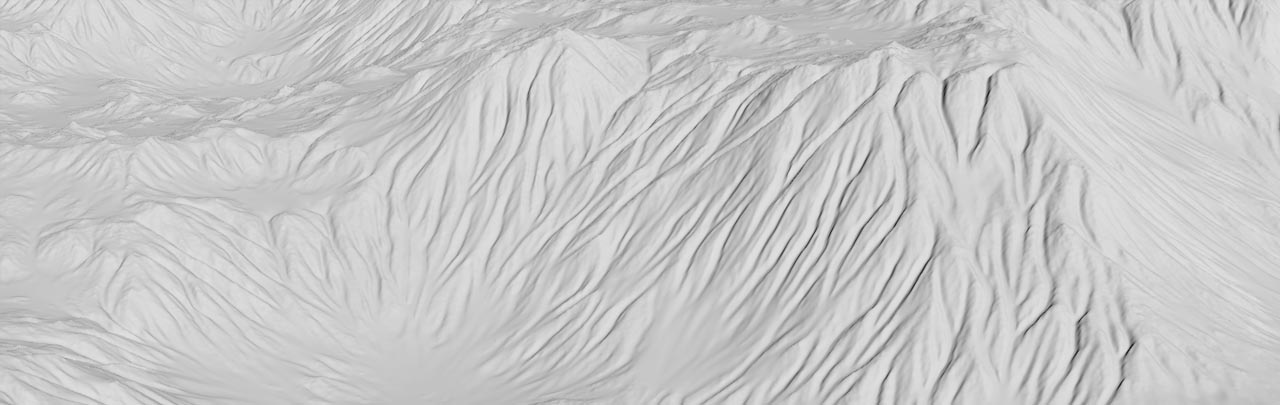
Spread Iterations controls the amount of sediment. With higher settings, the smooth areas become bigger, because more and more material will fill the deeper areas.
Erodability determines the softness of the rock. A value of 1 means that it’s easy to remove material. Smaller values, for example, 0.1 create hard rock like granite.
Hydro 
Here you adjust everything that has to do with erosion through water. If you don’t want to have any hydro erosion at all, set Flow Force to 0.
With higher settings for Bank Angle and Rainfall Coverage, you can control the depth of the erosion channels. Rainfall Coverage is also of particular interest because it’s a rate for the amount precipitation. Higher values mean that you’ll get more rain per area unit and this leads to more distinct erosion channels.
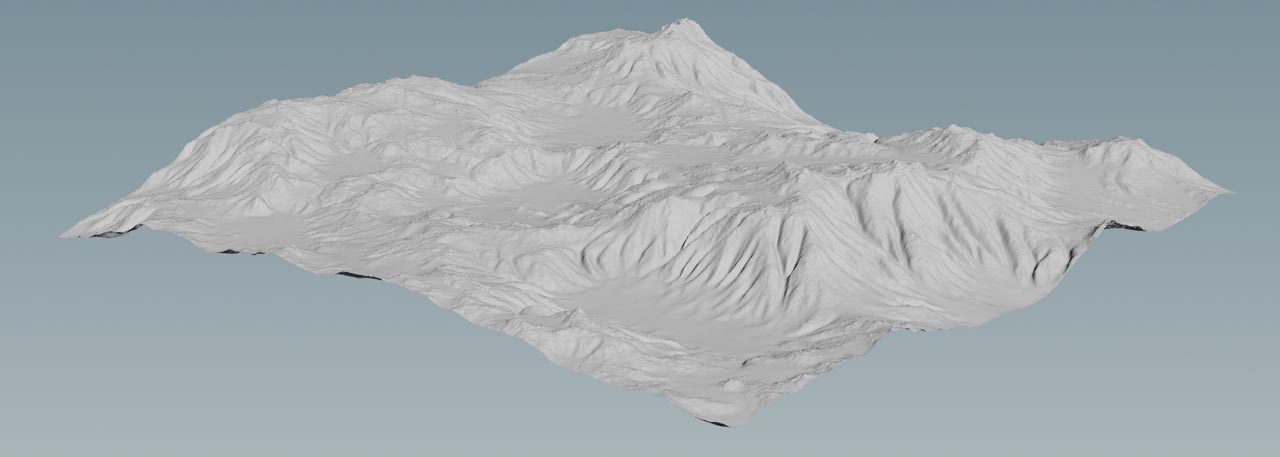
The parameters on the Hydro section have stronger impact on the erosion process as the Thermal parameters. Here you can see a terrain only with hydro erosion.
Thermal 
Thermal erosion erodes rock through sun exposure and differences in temperature, for example between day and night. A typical process is when water seeps into small cracks and crevices in the rock, freezes, and causes it to shatter. In the process, pieces of rock break off in various sizes - from small stones to massive boulders. This type of erosion flattens the terrain.
The Weathering Force parameter determines the strength of thermal erosion. When you set this parameter to 0, you can eliminate any thermal erosion. Cut Angle describes the angle at which thermal erosion impacts the terrain, causing material removal. With smaller settings you’ll see higher erosion rates. The Repose Angle is the angle at which the eroded debris will settle without sliding.
The image shows a terrain only with thermal erosion.

Masking 
Mask must always be of type mono. The HeightField Erode COP provides two inputs for feature-specific masks:
-
erodabilitycontrols the softness of the rock and affects the Erodability parameter -
rainfallcontrols the amount of rain per area unit and is connected to the Rainfall Coverage parameter
If you want to define areas with erosion, you typically connect your mask to the erodability input. Completely black areas will prevent the rock from being eroded. This value corresponds with an Erodability of 0. Completely white parts will get full erosion and represent an Erodability of 1.
The image shows a black and white mask with a soft transition between the colors. You can clearly see how the mask affects the erosion process.

Flow map 
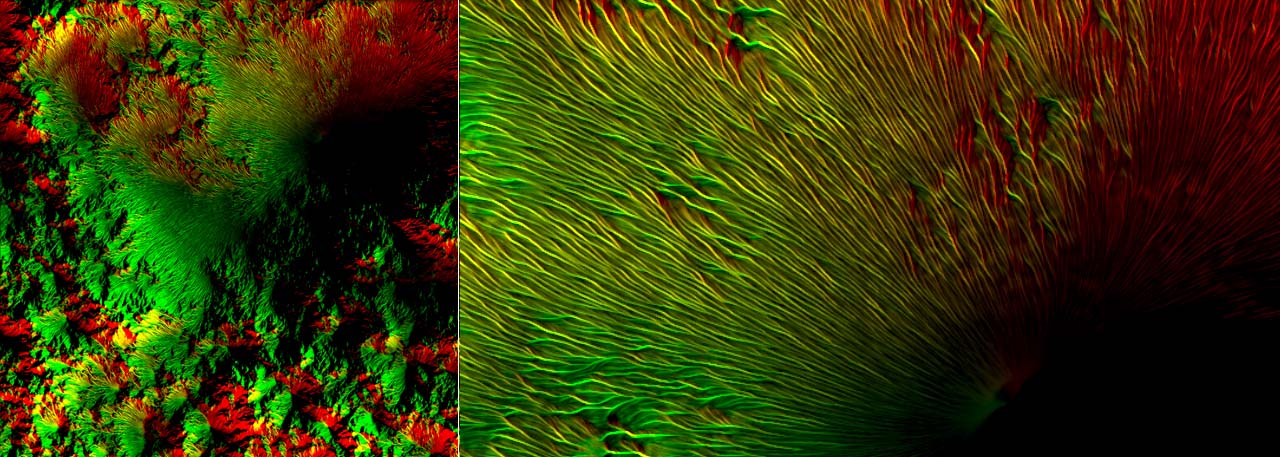
A flow map contains the directions in which water and sediment move downstream. You can use this map for coloring and shading purposes, but also as a mask (when converted to mono), or to distort the terrain.
You can make the map visible when you right-click the erode node and choose Flags ▸ Output for View… ▸ flow.
Erosion stacking 
A typical workflow with erosion is stacking. This means that you don’t apply just one HeightField Erode COP, but you do multiple iterations with different nodes. You apply masks to identify certain areas and you change parameters like Feature Size or Flow Force. This way it’s possible to create very realistic terrains with lots of features.
When you start with the first erosion node, you typically create the larger features, for example with an Feature Size of 20 or more. Once you've found working settings, you don’t have to store the current state. Instead, you connect the output of the first erosion node to another erosion operator. The new node will take the current state, and uses it as the basis for the next erosion pass. This way you can create erosion cascades and each pass adds more detail to the underlying structures. You can also insert nodes like the  HeightField Strata COP between the erosion nodes.
HeightField → HeightField Noise → Erode (big) → Erode (mid) → Erode (small)
The advantage with this setup is that you can change any parameter at any point in the network.