| On this page |
Overview 
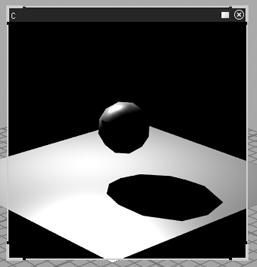
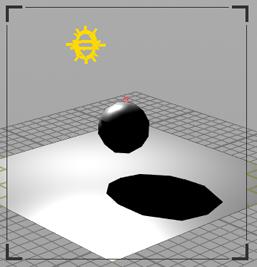
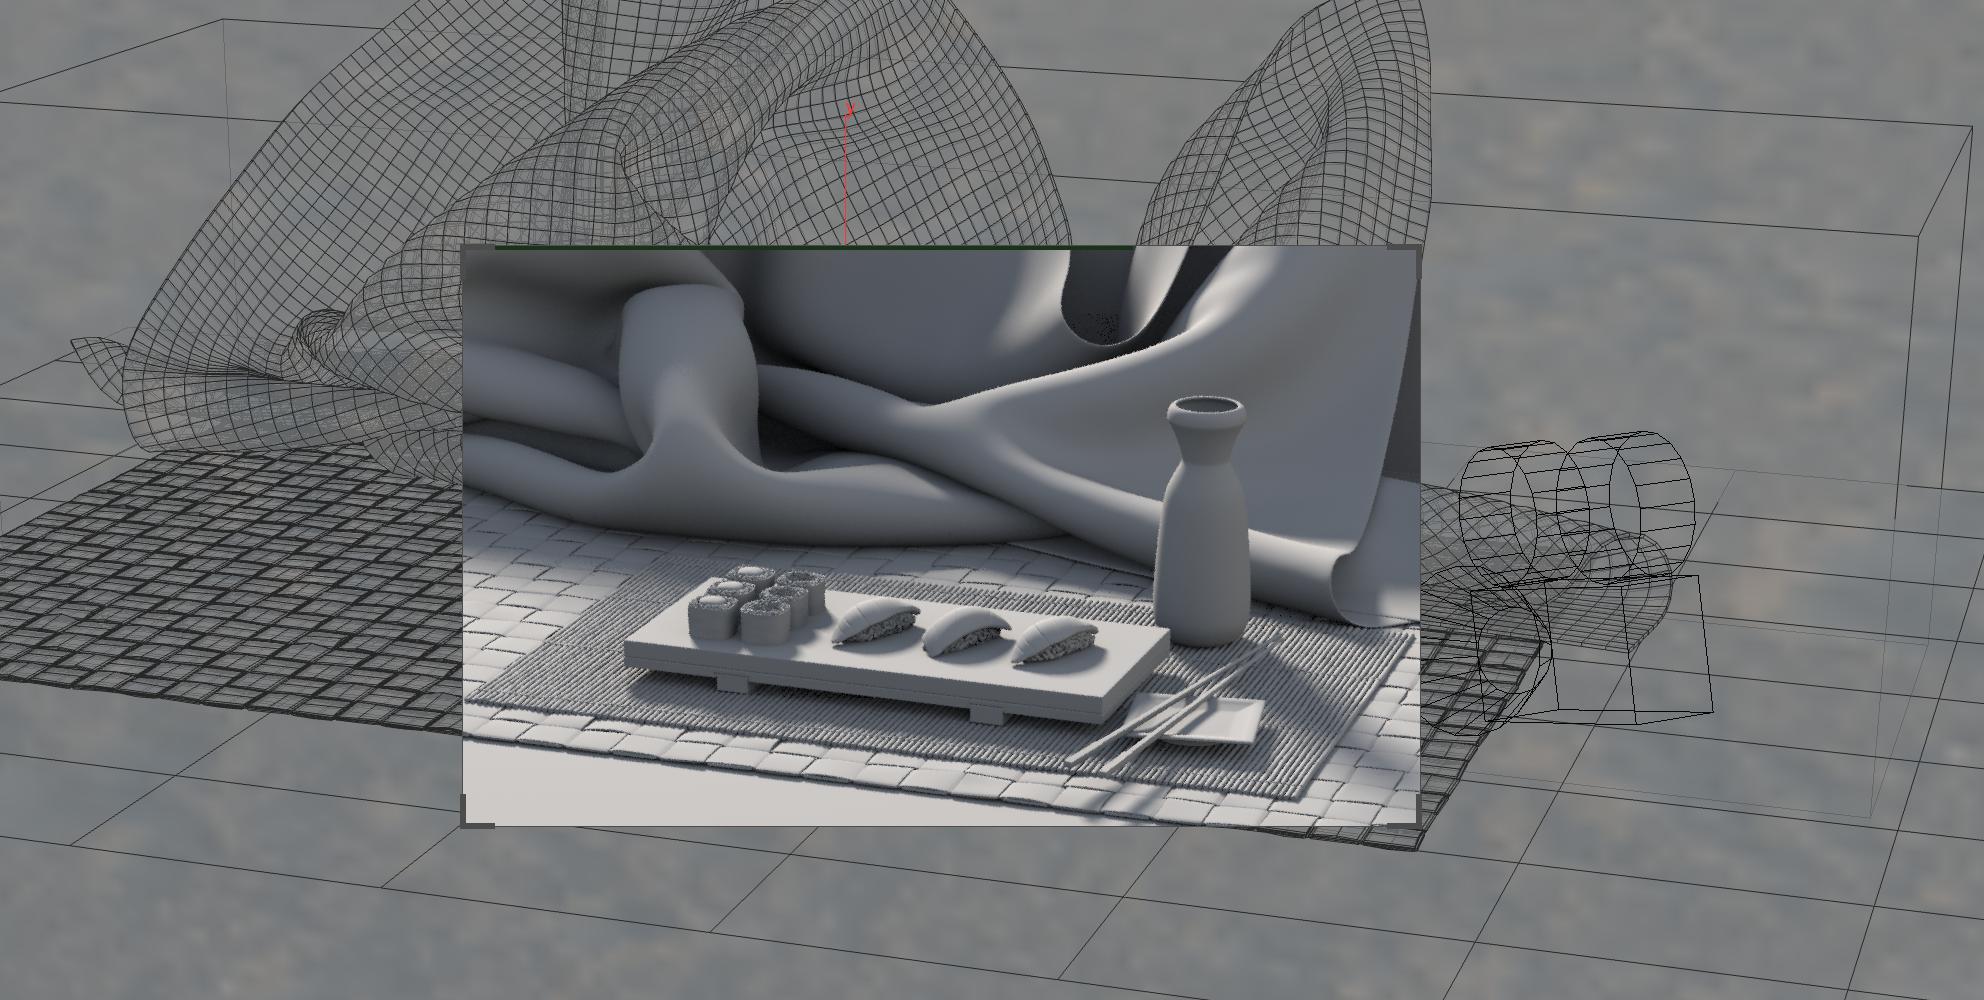
This tool lets you draw a rectangle in the 3D viewer that acts like a mini render view. It renders that part of the view and updates the rendered rectangle as you move lights and objects, tumble the view, and edit parameters.
How to 
| To... | Do this |
|---|---|
|
Render a region of the 3D view |
|
|
Remove the rendered region |
Hover over the region and click the |
|
Move or resize the rendered region |
|
|
Edit render preview settings |
When the tool is selected, use the controls in the operation toolbar at the top of the viewer. These options are the same as the options in the render view. You can use a pop-up menu in the operation toolbar to choose which render node to use to render the preview. |
|
Visualize a different image plane |
If the render node exports additional image planes, Right-click on the bar at the top of the region and choose the plane from the Image plane sub-menu. |
|
Turn off rendered background |
Right-click on the bar at the top of the region and choose Blend with viewport. This disables rendering the background color to make the rendered objects blend visually with the rest of the 3D view.
|