| On this page |
Overview 
This page describes a general, heuristic workflow for generating natural-looking terrain using Houdini’s heightfield tools. At its most basic, terrain generation uses the following steps:

Massing 
Massing involves blocking out the large-scale structure of the terrain in three dimensions. For example, in a mountainous terrain, how much space the mountains will occupy, the shape of the space they enclose, where the mountains are higher and lower.
In heightfields, this means creating a basic, low-resolution field that has the general characteristics of the final terrain. The surfaces can be smooth or blocky at this stage, we’ll add noise later.
You can creates masses in several ways:
-
 Paint directly into the heightfield.
 -
 Project 3D geometry into the heightfield.
 -
 Import 2D images (Liday, GeoTiff, image maps, COPs) into the heightfield (pixel intensity is used as height).
Seeding 
Seeding is the process of adding small disturbances to smooth surfaces to make them more natural. The less smooth the surfaces, the more realistic erosion will be later.
Simply adding overall noise to the field alone, or projecting large-scale geometry alone, often does not create enough “obstacles” (features that water and soil must move around) to create interesting erosion. Seeding is about adding those obstacles.
-
Add a slight
 Heightfield Noise to projected geometry.
 -
Add
 Heightfield Distort by Layer or
  Heightfield Distort by Noise.
One useful trick is to create a 3D model of a large field of random jagged rocky shapes (for example, using the Mountain SOP), then painting a mask on your heightfield (with falloff) and only projecting the rocky geometry into the masked area. Then add Distory by Layer or Distort by Noise on top of that.
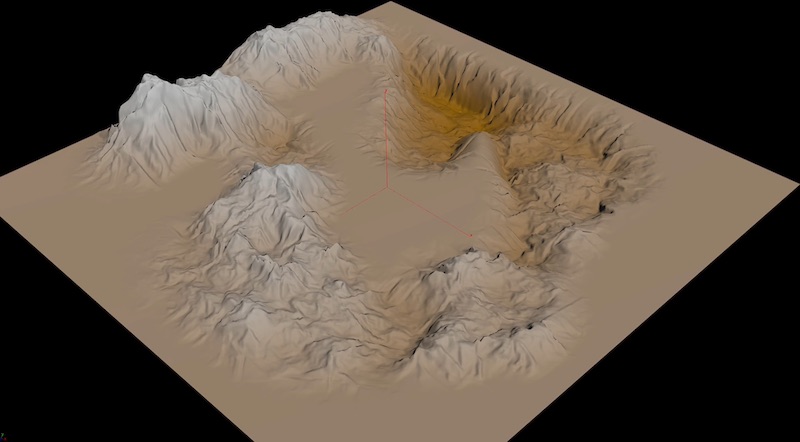
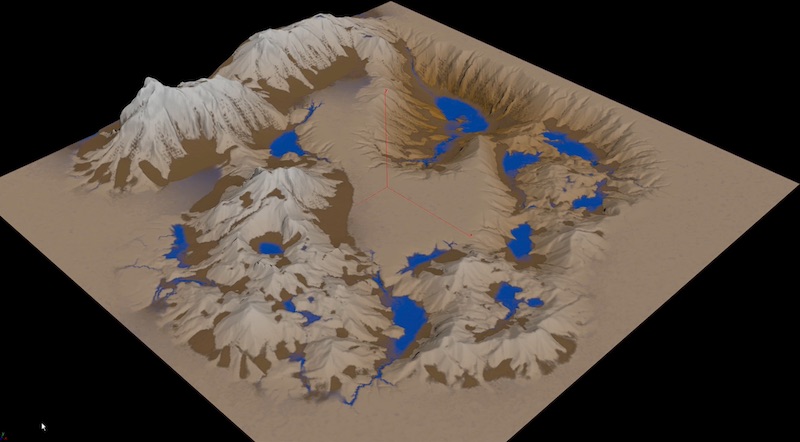
Lobing 
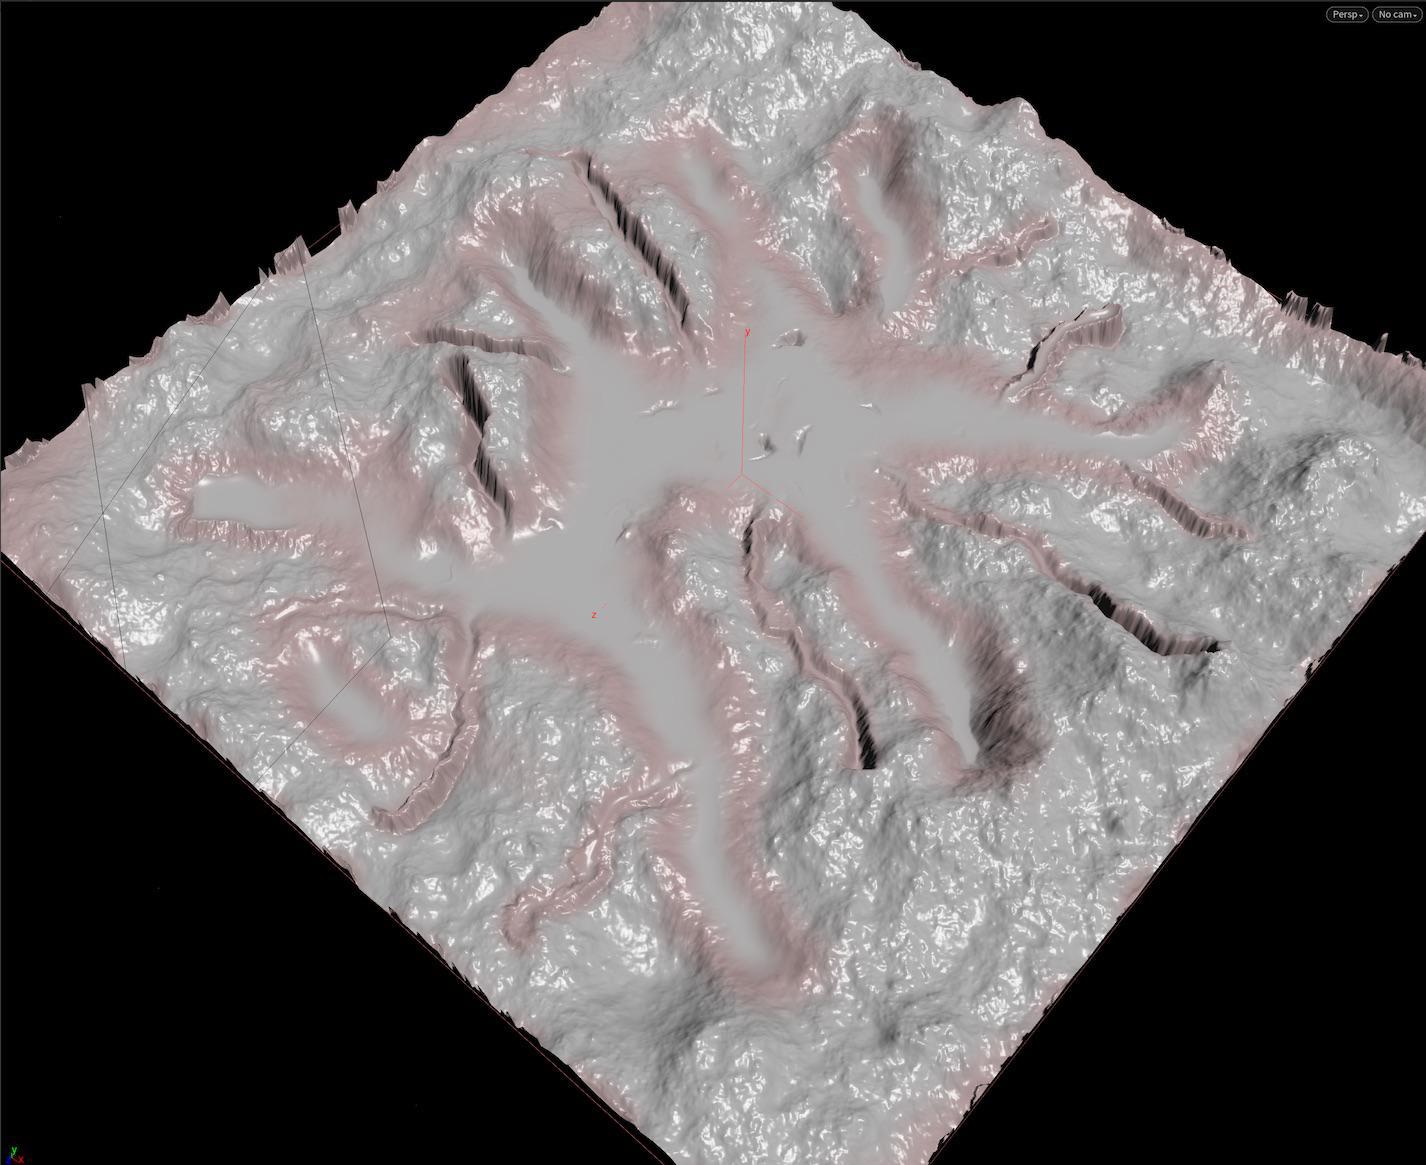
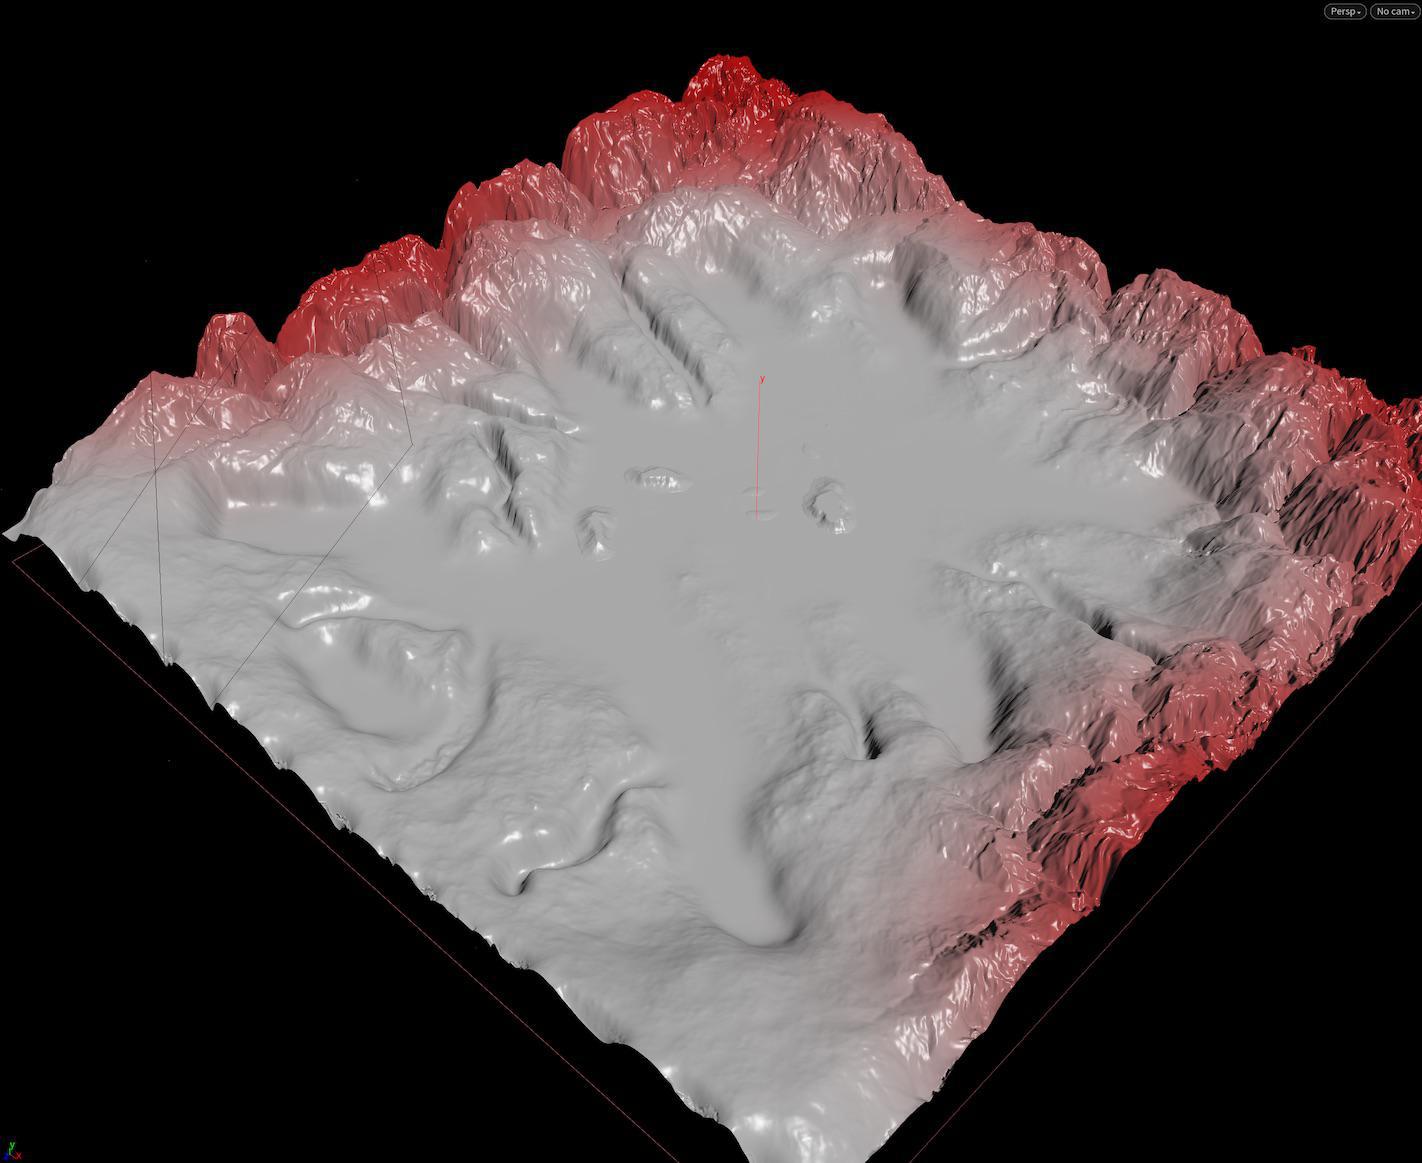
Mountain formations are often broken into smaller sections, which can be thought of as lobes.
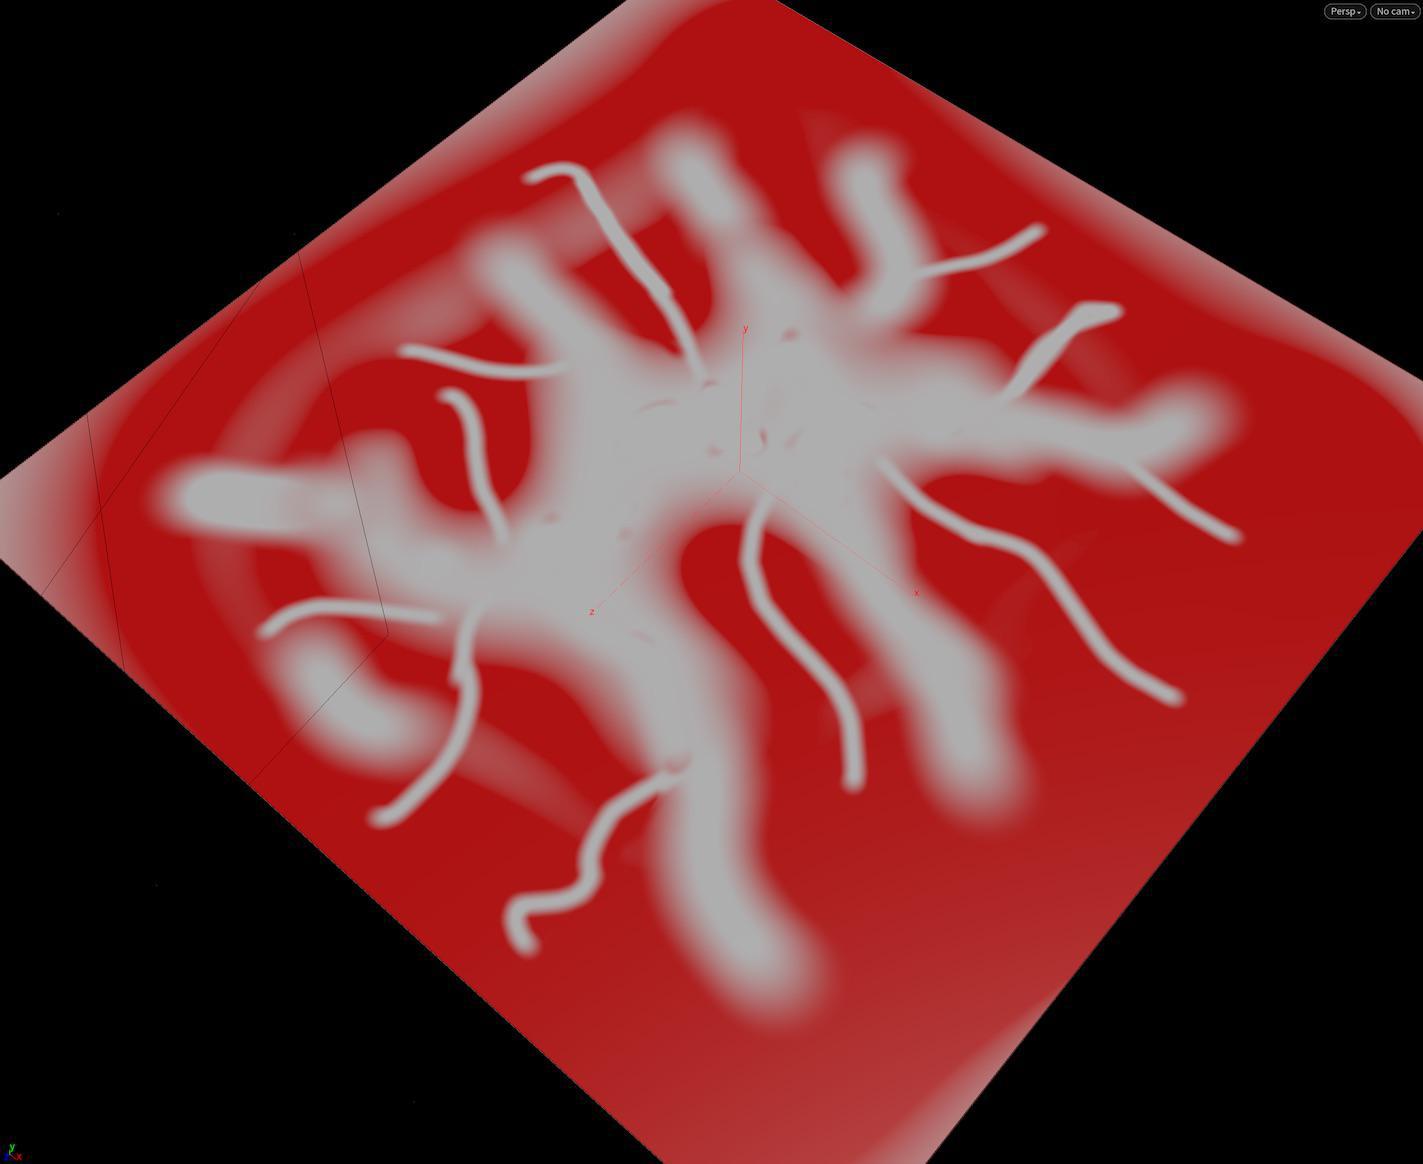
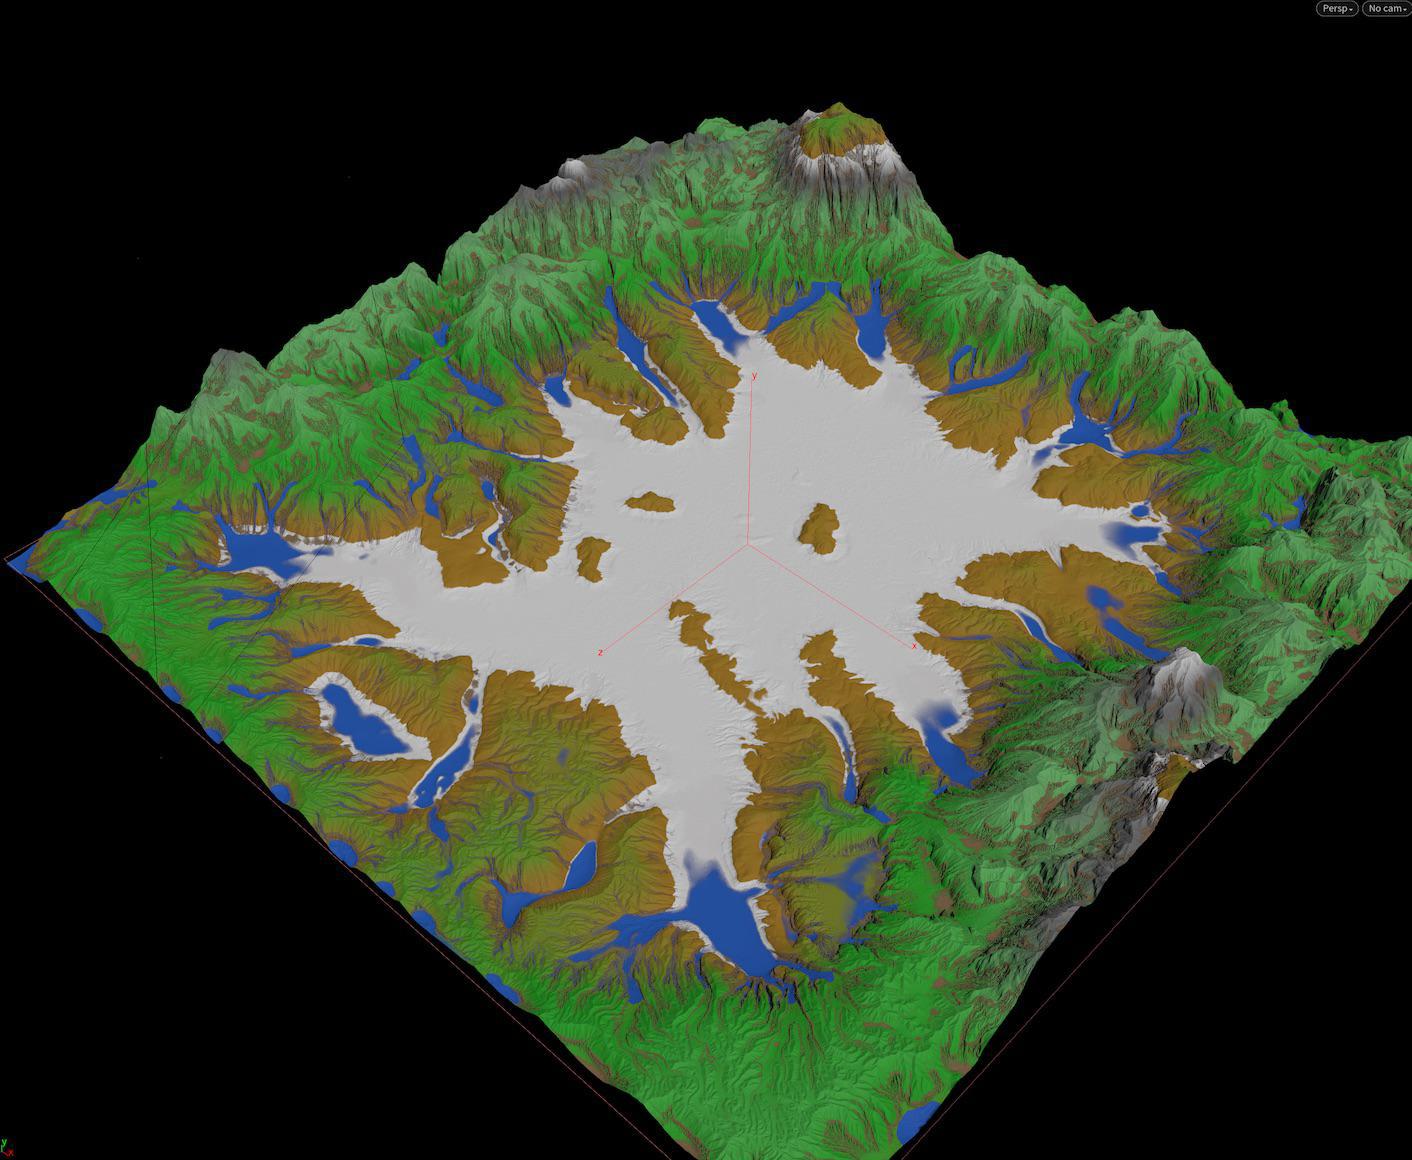
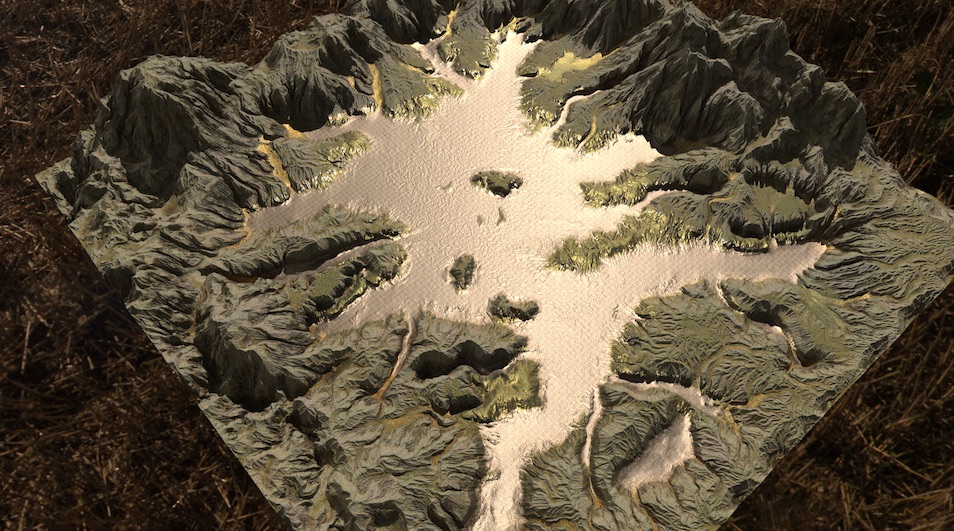
Lobing is the process of taking a low resolution heightfield and using ![]() Heightfield Erode to cut a mountain into smaller sections.
Heightfield Erode to cut a mountain into smaller sections.
Turn up precipitation, cut angles, and sediment capacity on the Erode node to get the cutting effect.
Before lobing
After lobing
Remapping 
Remapping involves repeating the massing/seeding/lobing steps multiple times to create different levels (for example foothills, low mountains, high mounbtains).
The trick is to build your terrain in “Elevation Passes”. After the previous ![]() Heightfield Erode, add a
Heightfield Erode, add a ![]() Heightfield Remap and remap the elevation, compressing the field vertically. Then repeat the massing/seeding/lobing step over top of the previous now-compressed contents.
Heightfield Remap and remap the elevation, compressing the field vertically. Then repeat the massing/seeding/lobing step over top of the previous now-compressed contents.
Upsampling 
When you're finished “lobing” you need to upsample the heightfield to a higher resolution so erosion has greater detail.
Use ![]() Heightfield Resample to double the field’s resolution. (You will probably want to iterate this process so do not resample to high at first.)
Heightfield Resample to double the field’s resolution. (You will probably want to iterate this process so do not resample to high at first.)
Shaping 
The Shaping involves adding geologic features using ![]() Heightfield Terrace and
Heightfield Terrace and ![]() Heightfield Clip.
Heightfield Clip.
Using masks, you can Clip to top off mountains, and add terracing to certain areas to create more interesting variations for erosion.
Re-seeding 
Re-seeding is a repeat of the earlier seeding operation at a higher resolution. You want to add more obstacles that will force erosion to change direction.
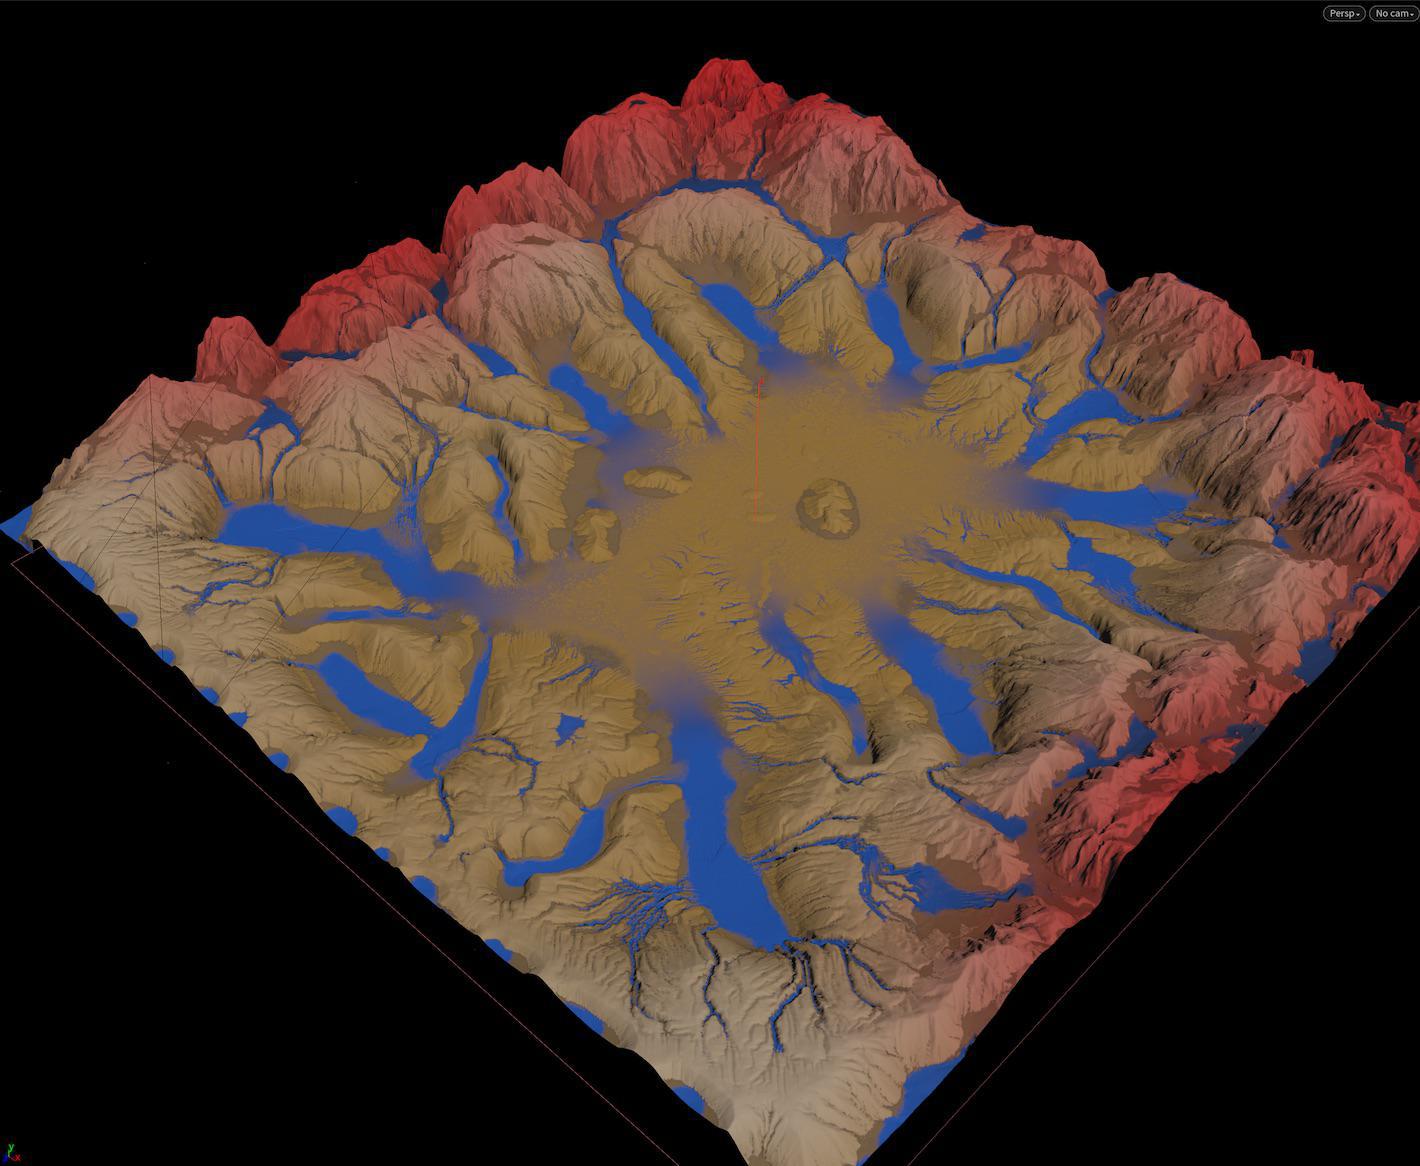
Erosion 
Now use the full power of ![]() Heightfield Erode to start getting the look you want. It will take some practice to learn what effect the various settings have, but often there are no “right” settings. Try extreme settings sometimes and see what you get. All that matter is the result looks interesting and natural.
Heightfield Erode to start getting the look you want. It will take some practice to learn what effect the various settings have, but often there are no “right” settings. Try extreme settings sometimes and see what you get. All that matter is the result looks interesting and natural.
Along with the high-level Heightfield Erode node you can use nodes representing the individual erosion types:
![]() HF Erode Thermal,
HF Erode Thermal,
![]() HF Erode Hydro, and
HF Erode Hydro, and
![]() HF Precipitation.
HF Precipitation.
You will probably want iterate on this step a few times.
Final 
Once you have the terrain you want, you can move on to shading the terrain and scattering rocks and trees.
The ![]() Heightfield Quickshade node gives you a simple material setup on your terrain quickly.
Heightfield Quickshade node gives you a simple material setup on your terrain quickly.
The ![]() Heightfield Scatter lets you scatter points for instancing across the terrain.
Heightfield Scatter lets you scatter points for instancing across the terrain.
-
You can control the scatter with masks.
-
You can do a hierarchical scatter that prevents overlap of different scales.
-
You can add variant attributes to the points so, for example, they are instanced with different tree types or rock shapes.