| On this page |
Portal lights are not actual light sources, but a method to speed up the render process with dome lights. A dome light encompasses the entire scene and sends light rays in all directions. A typical example is light that passes through a window into a room. In such a scene, most of the light rays will illuminate the outside of the room. With a portal light you can instruct Karma to consider only those rays that will actually contribute to the illumination of the room’s interior.
The analogy of portal lights with windows is very close, because portals are always rectangular, but you can define their aspect ratio.
Setup 
First of all you need a ![]() Portal Light LOP and for now, the most important parameter is Primitive Path. This path defines, where the portal node appears in the Scene Graph Tree. You’ll need it later on the light source. A typical path is
Portal Light LOP and for now, the most important parameter is Primitive Path. This path defines, where the portal node appears in the Scene Graph Tree. You’ll need it later on the light source. A typical path is /lights/portallight1.
Now, lay down a ![]() Dome Light LOP. The portal light can be upstream or downstream of the dome light. However, for better accessibility of the path, it’s often more convenient if the portal node is upstream of the light node(s). Connect the dome light’s input with the output of the portal node. Open the Base Properties tab. For the Portals parameter, enter the path to the portal - in this example it’s
Dome Light LOP. The portal light can be upstream or downstream of the dome light. However, for better accessibility of the path, it’s often more convenient if the portal node is upstream of the light node(s). Connect the dome light’s input with the output of the portal node. Open the Base Properties tab. For the Portals parameter, enter the path to the portal - in this example it’s /lights/portallight1.
Portal transformation 
The Light Portal SOP acts like an object and you can transform it like any other geometry. Let’s imagine you want to limit the rays of the light source to a window of a building. To do this, you have to move the portal to the position of the window. Select the Portal Light LOP and open its Transform tab. There you can enter exact numerical values.
If you want to use viewport handles, hover the mouse over the viewport and press Enter to turn on the edit mode. Use handles to scale, rotate and position the gizmo. When you're ready, press ⎋ Esc to leave the edit mode.
You can use the Scale values or the handles to change the actual size of the portal. Another way is to open the Base Properties, where can define the portal’s aspect ratio with Width and Height. We recommend using only one method because Scale and Width/Height influence each other. For example, if you set Height to 0.1 and then Scale.Y to 0.1, you’ll end up with a vertical size of 0.1 x 0.1 = 0.01 units.
Orientation is also important and if its wrong, you typically illuminate the outside of an object. You can use the portal’s Rotate parameter to change its orientation.
Multiple portals 
You can add as many portal nodes as required, but you can also assign portals to different dome lights. The portal lights can be upstream or downstream of the dome light. It’s, for example, possible to have a room with three windows and each portal is connected to a different dome light: one light is red, the other one yellow, and the third light source carries an HDR. Of course, you can also work with different intensities or shadow settings. This way you can achieve complex light patterns and illumination scenarios. If you want to add multiple portals to the Portals parameter, use a space-separated list like:
-
/lights/portallight1 /lights/portallight2 /lights/portallight3
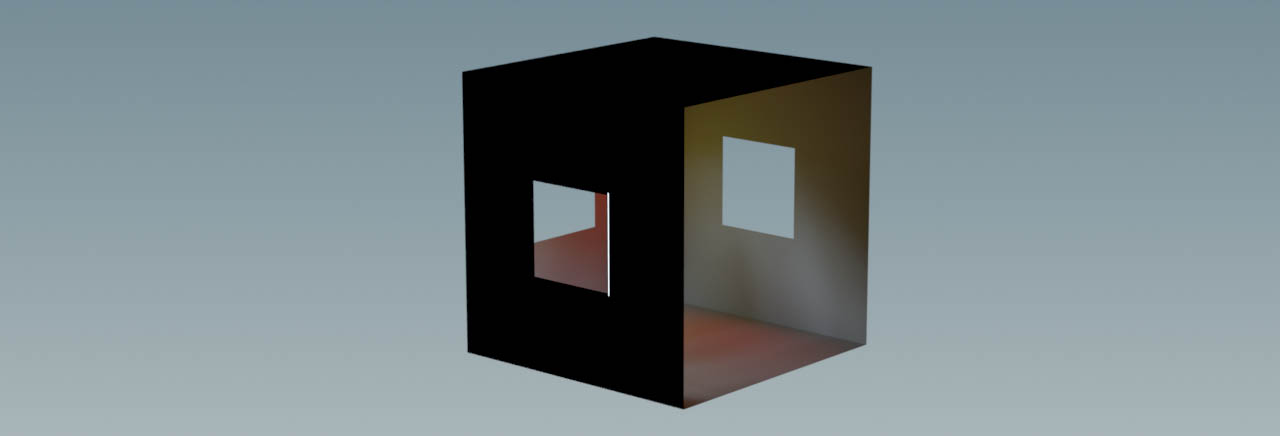
The image below shows a cube with windows. One side was completely removed to get a better view of the room’s interior. The render also shows what you get without a portal. You can see that the cube’s outside walls are evenly lit.

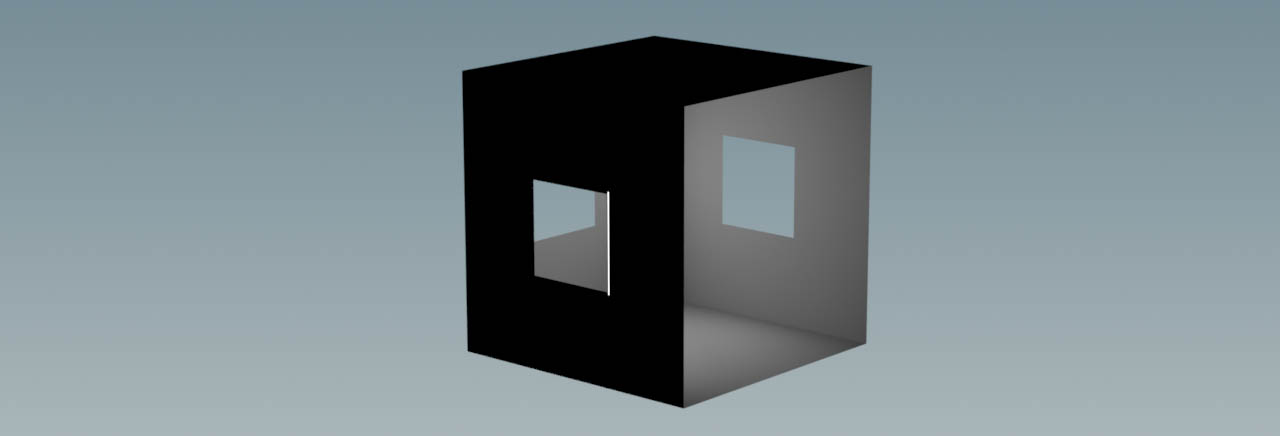
The next screenshot illustrates how the room looks with a single dome light that’s connected to three portals - one for each window. You can see that the outside walls are now unlit, while the interior is correctly illuminated.
The next example illustrates the scenario that is described above with three dome lights. Each light source is tied to a different portal.