| On this page |
The ![]() Karma Ray Switch VOP lets you apply colors to a rendered object based on the ray type. You can, for example, only dye the glossy reflection or the SSS component. This is interesting for image analysis or highlighting certain aspects, but also for compositing. The Karma Ray Switch VOP works with both Karma CPU and XPU, and supports the following ray types:
Karma Ray Switch VOP lets you apply colors to a rendered object based on the ray type. You can, for example, only dye the glossy reflection or the SSS component. This is interesting for image analysis or highlighting certain aspects, but also for compositing. The Karma Ray Switch VOP works with both Karma CPU and XPU, and supports the following ray types:
| Ray type | Description |
|---|---|
| Camera | Camera rays are also called primary rays, and show everything in your scene that’s directly visible and not blocked by other objects. |
| Diffuse | Diffuse rays are also called bouncing rays or secondary rays and simulate indirect lighting. When a light ray hits a rough surface, it’s scattered, not reflected in a single direction like a mirror. Diffuse rays are crucial for realistic global illumination. |
| Glossy reflection | Glossy reflection describes the “clearness” of the reflections. With perfect mirrors you’ll get a clear image of the reflected objects. With materials like brushed metal, reflected objects become blurry. |
| Glossy transmission | Glossy transmission describes the “clearness” of the refraction. If the incoming light is not perfectly refracted, for example in frosted glass or semi-transparent plastic, objects appear soft or blurred. |
| SSS | SSS (sub-surface scattering) occurs in materials like wax, plastic or skin, but also certain fluids like milk and orange juice. Light penetrates the surface, scatters internally, and exits at a different point. SSS is a diffuse effect that gives materials a soft and glowing look when backlit. |
| Volume | Volumes are represented by a three-dimensional raster of voxels and describe phenomena like fog, smoke, fire or clouds. Volumes can store attributes that define their look in the rendering, for example velocity for motion blur, temperature for fire and density for foggy objects. |
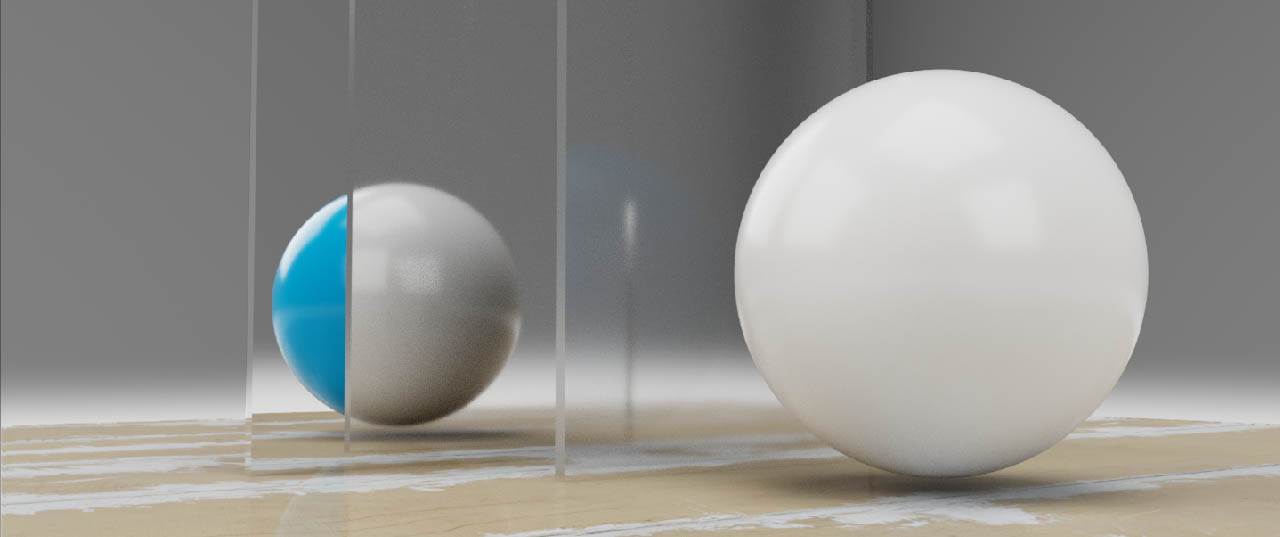
Scene setup 

A sphere and the two vertical cubes sit on a ground object. The ground is a wooden floor and all scene elements will be reflected in the coating of the wood. The first cube is made of a slightly frosted glass and the second cube is a mirror. The sphere itself has a ![]() MtlX Standard Surface VOP with default settings applied. The sphere’s image passes through the glass pane, becomes refracted and is then reflected in the mirror. Since the glass pane is rather small, only a part of the sphere’s image is refracted, while the left third is directly mirrored - you can see that this part is not blurred. An
MtlX Standard Surface VOP with default settings applied. The sphere’s image passes through the glass pane, becomes refracted and is then reflected in the mirror. Since the glass pane is rather small, only a part of the sphere’s image is refracted, while the left third is directly mirrored - you can see that this part is not blurred. An ![]() Environment Light LOP with an HDRI illuminates the scene.
Environment Light LOP with an HDRI illuminates the scene.
For the materials, you have to consider two things:
-
The sphere must use a MtlX Standard Surface VOPs or
 MtlX OpenPBR Surface VOPs shader, because this is where you’ll connect the Karma Ray Switch VOP.
 -
For the remaining objects, you can apply any valid shader type including Quick Surface Materials.
Karma Ray Switch: result 
The sphere’s shader lives in a Karma Material Builder ![]() Subnet VOP inside
Subnet VOP inside ![]() Material Library LOP. There, add the Karma Ray Switch VOP to the preconfigured shader network and connect its result output with the base_color input of the MtlX shader.
Material Library LOP. There, add the Karma Ray Switch VOP to the preconfigured shader network and connect its result output with the base_color input of the MtlX shader.
When you click the ray switch node, you’ll see the exact same list of ray types as in the introduction above. From the Signature dropdown menu, choose Color. Now you can directly choose colors for each ray type individually. By default, all types are represented as pure white. In this scene, the resulting image is very similar to what you get from the shader, but the sphere is slightly brighter. Now start to define colors for those rays that are really supported. Here, it’s Camera, Glossy Reflection and Glossy Transmission.
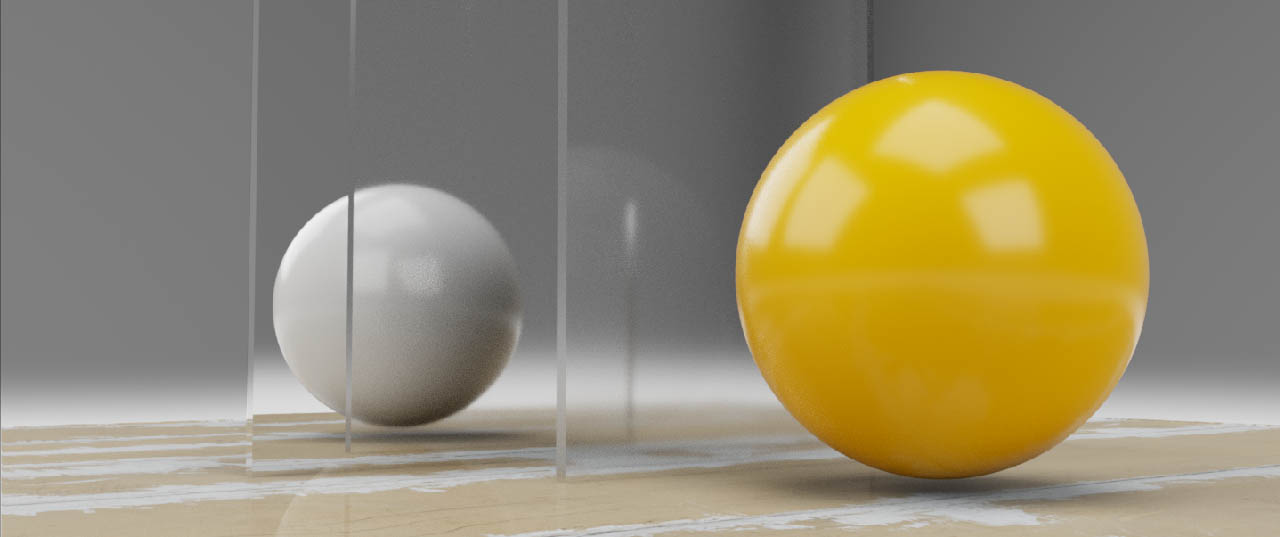
Camera 
The camera rays are so-called primary rays and not reflected or bounced by other objects in the scene. You can therefore only see the original sphere.
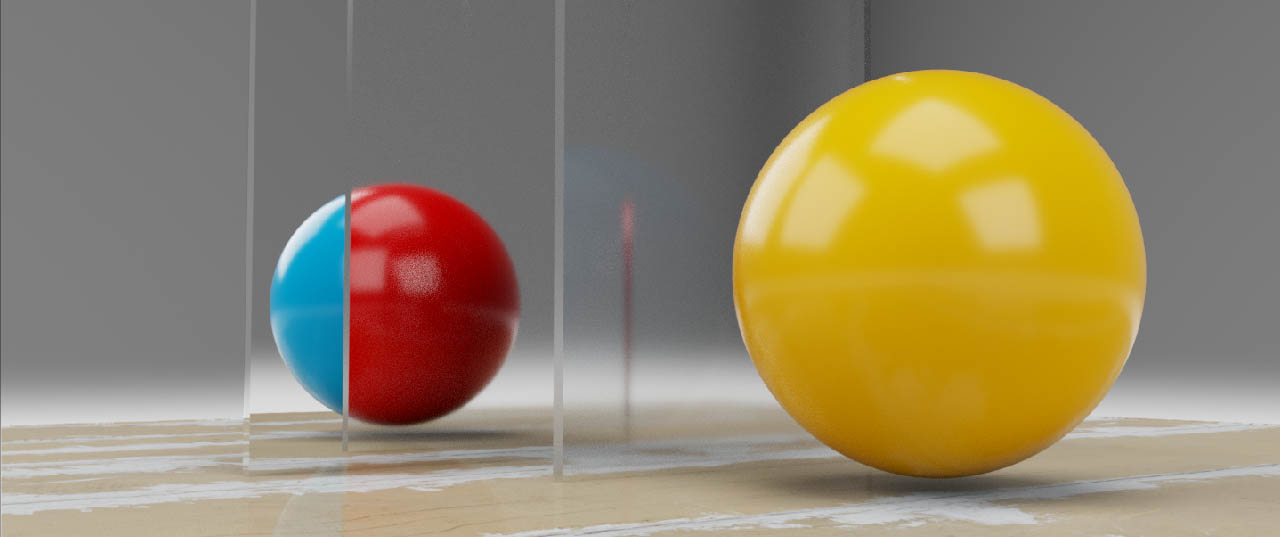
Glossy reflection 
The mirror in this example is perfectly reflective and the left part that is not blocked by the glass pane shows a clear image of the original sphere.
Glossy refraction 
The glass pane has some roughness, so the right part of the mirrored image appears blurred. You can also see some blurry streaks directly on the glass pane itself. If you look closely, you’ll detect the glossy refraction color in the reflections of the coated wood on the ground.

Karma Ray Switch: raytype 
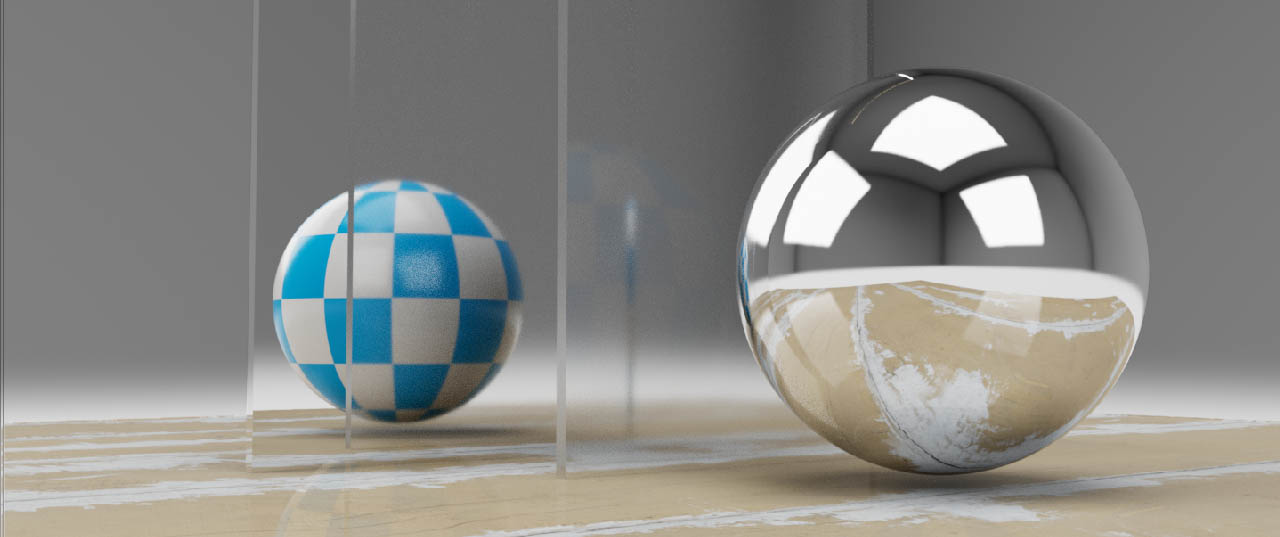
The Karma Ray Switch VOP also has a raytype output and you can use its data stream for interesting effects. The example illustrates how to apply a different texture only to the reflected image. For this approach you’ll need a second shader VOP (both OpenPBR or standard will work).
Let’s assume the reflected image of the sphere should use a checkerboard, while the original object has a different surface shader. The idea is to use the raytype output as a mask for a ![]() MtlX Mix VOP to separate object and reflection.
MtlX Mix VOP to separate object and reflection.
-
Start with a fresh Karma Material Builder and double-click it to dive inside. There, adjust the existing
mtlxstandard_surfaceshader. You can create any material type. In this scene, the sphere will be a perfect mirror as well. -
Add a second shader for the reflected image of the sphere. This shader has the checkerboard applied. You can connect a
 MtlX Checkers 2D VOP to the new shader’s base_color input. Note that the original sphere requires proper UVs to see the pattern.
 -
You also need a Karma Ray Switch VOP.
Surface shader mixing 
To bring the three nodes together, lay down a ![]() MtlX Mix VOP and connect its three inputs as follows.
MtlX Mix VOP and connect its three inputs as follows.
-
Connect the out output of the original sphere’s shader to the fg input of the mix node.
-
The output of the checkerboard shader goes to the bg input.
-
Link the raytype output of the ray switch node to the mix input.
-
Finally, connect the mix node’s out output with surface input of the shader network’s
Material_Outputs_and_AOVsnode.
When you do a preview render, you’ll see that the materials are applied in exactly the opposite order. To fix this, lay down a ![]() MtlX If Equal Node VOP and place it between the ray switch and the mix nodes to connect its value1 input.
MtlX If Equal Node VOP and place it between the ray switch and the mix nodes to connect its value1 input.
The Karma Ray Switch VOP’s raytype output returns an integer that encodes the available ray types, for example 0 stands for camera ray and 2 for diffuse reflection rays. There’s a complete list in the node’s help card. On the MtlX If Equal VOP, on the other hand, you can find a Signature dropdown. From there, choose Float (I). This choice converts the integer into a float that is required by the MtlX Mix VOP’s mix input.
To finally swap the materials, set the if-equal node’s Input1 parameter to any value greater than 0, for example 1. The node will compare the value from Value1 against the value of Input1. If both values are equal, out will be activated and feed the mix node.
The render should now show the mirror sphere with a checkerboard reflection. When you look closely, you can even see the reflection of the checkerboard in the mirror ball.