VELLUM CLOTH LOOKDEV TIPS
Creating the Cloth Geometry
The Planar Patch SOP's main advantage is that it can group and specify the amount of points per side which can be very useful for other cases where stitching with Vellum Drape SOP is needed; to create the groups you only need to enable any of the Left, Right, Bottom or Top Seam's checkbox parameters, to set the amount of points simply specify the number for each side. Additionally, a Fuse SOP was used to fuse the Right and Left seams that would otherwise be an open arc along the radius.

Quicktip
Other new nodes that are useful to create cloth geometry are; Planar Patch From Curves to generate triangulated geometry from a closed custom curve shape, and Planar Pleat to generate pleats and folds from existing geometry, such as a grid.
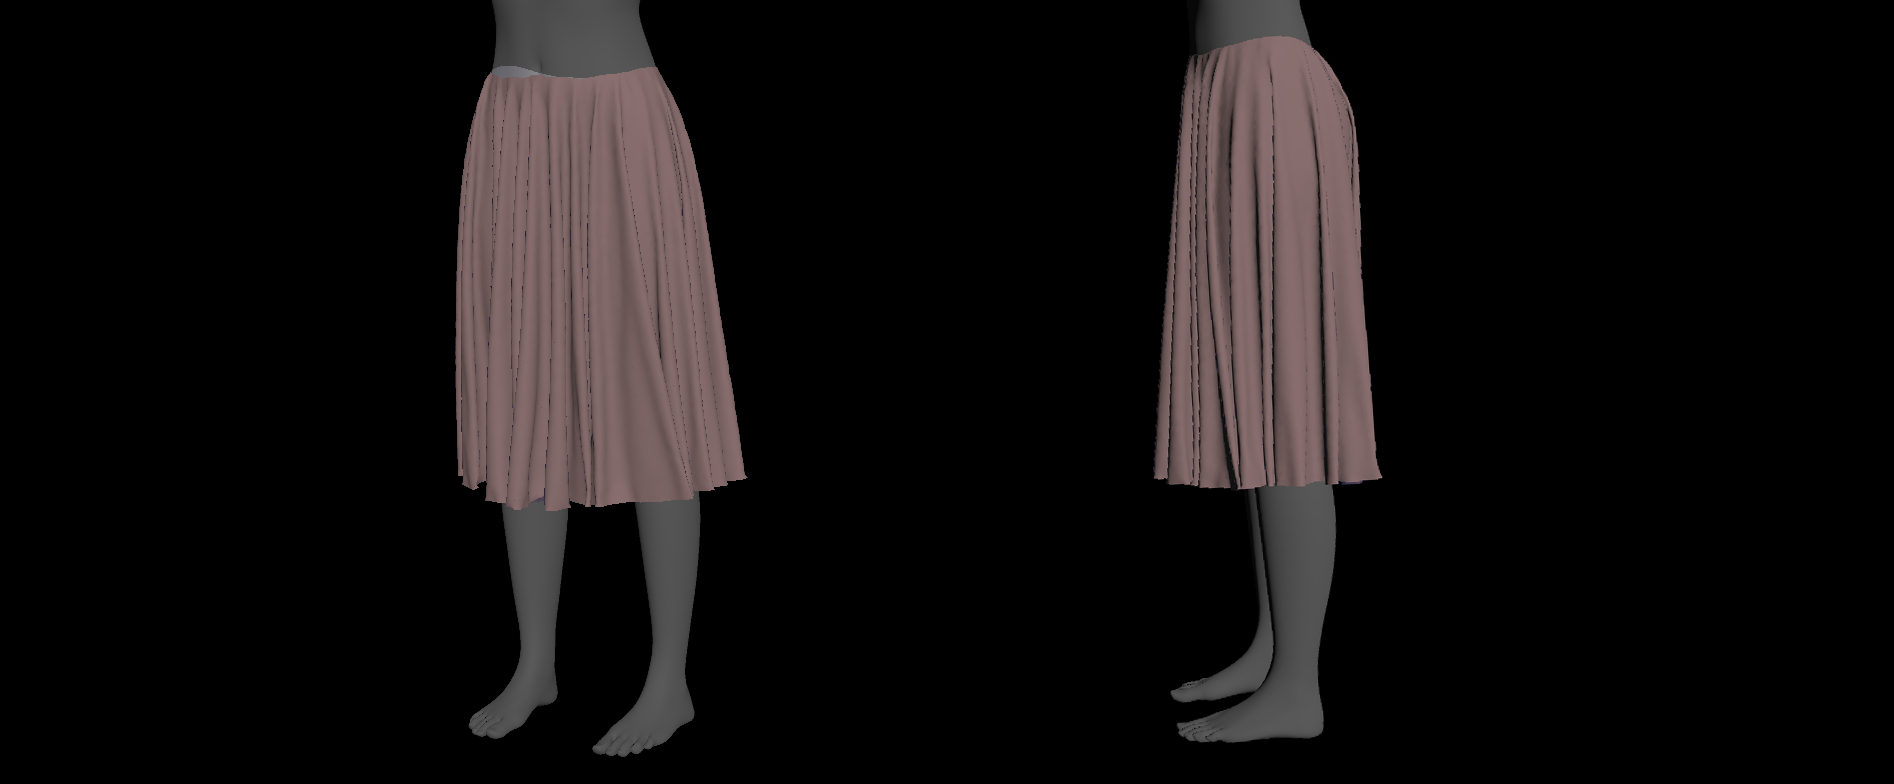
Silk Chiffon
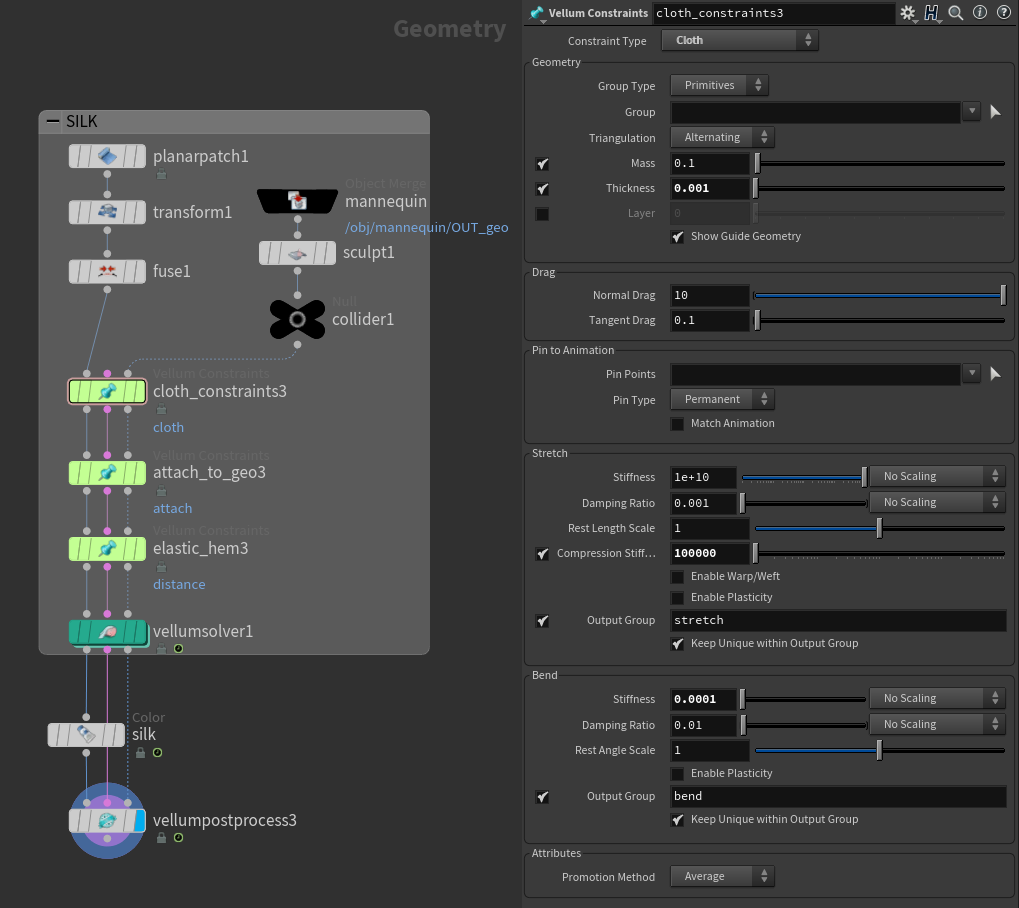
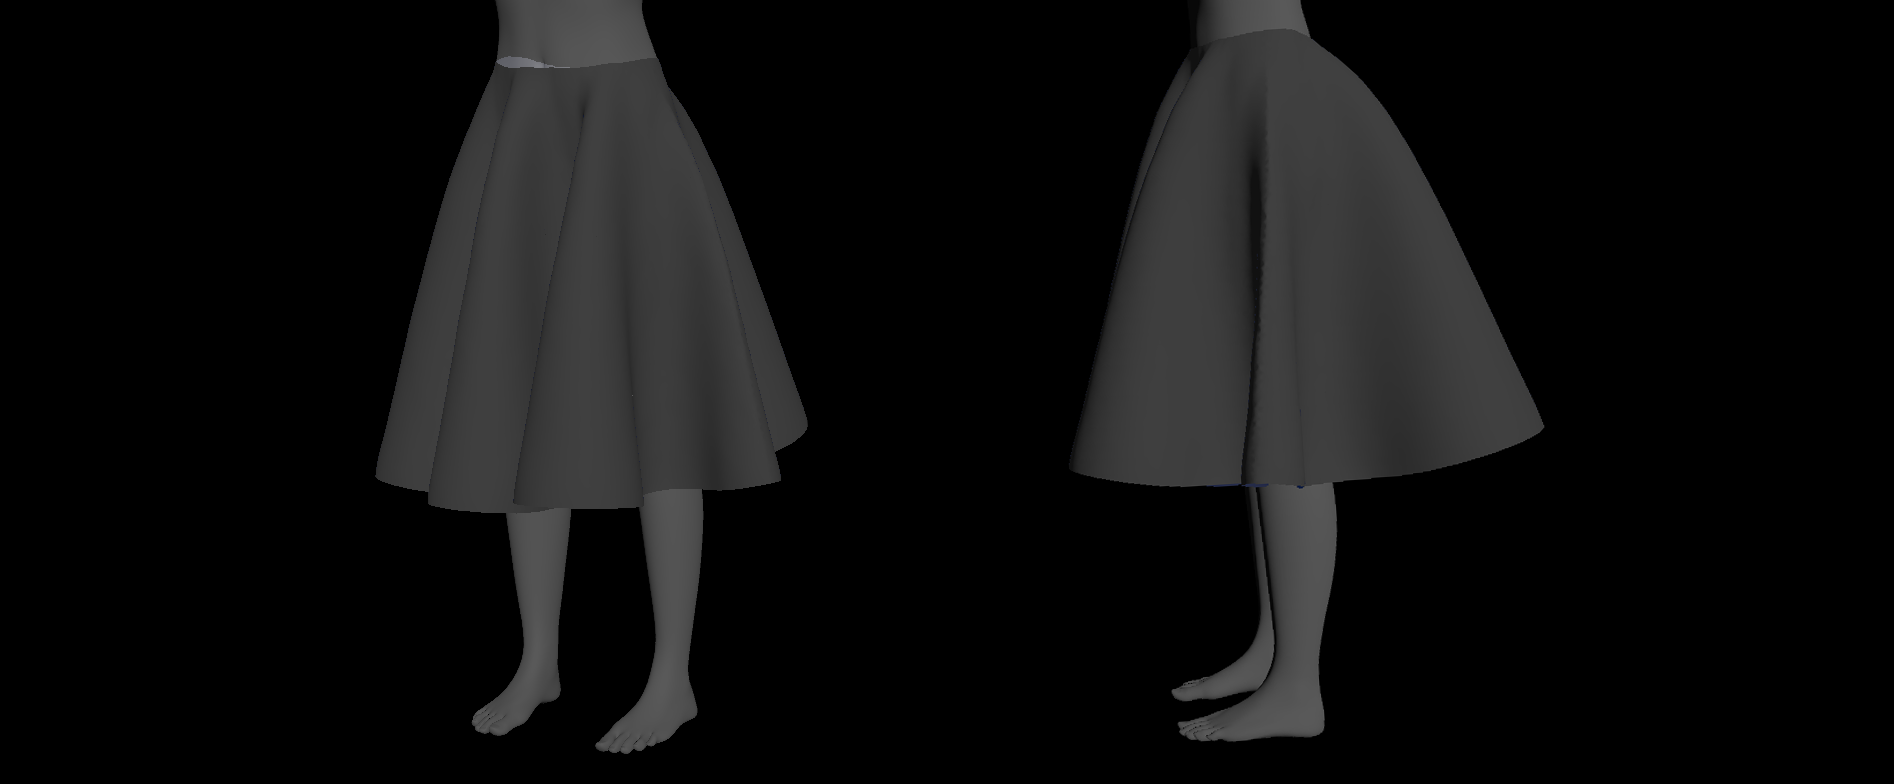
Silk Chiffon is light, soft and has a delicate appearance, so a silk skirt would have soft and small folds. As shown on the image at the right, after adjusting our Thickness to 0.001 so it's no larger than our primitive's edges, we use a very low 0.0001 Bend Stiffness to allow the cloth to be more flexible. Since we are using a higher geometry resolution, Compression Stiffness was increased to 100 000 in order to preserve finer wrinkles and to avoid folds to smooth out.
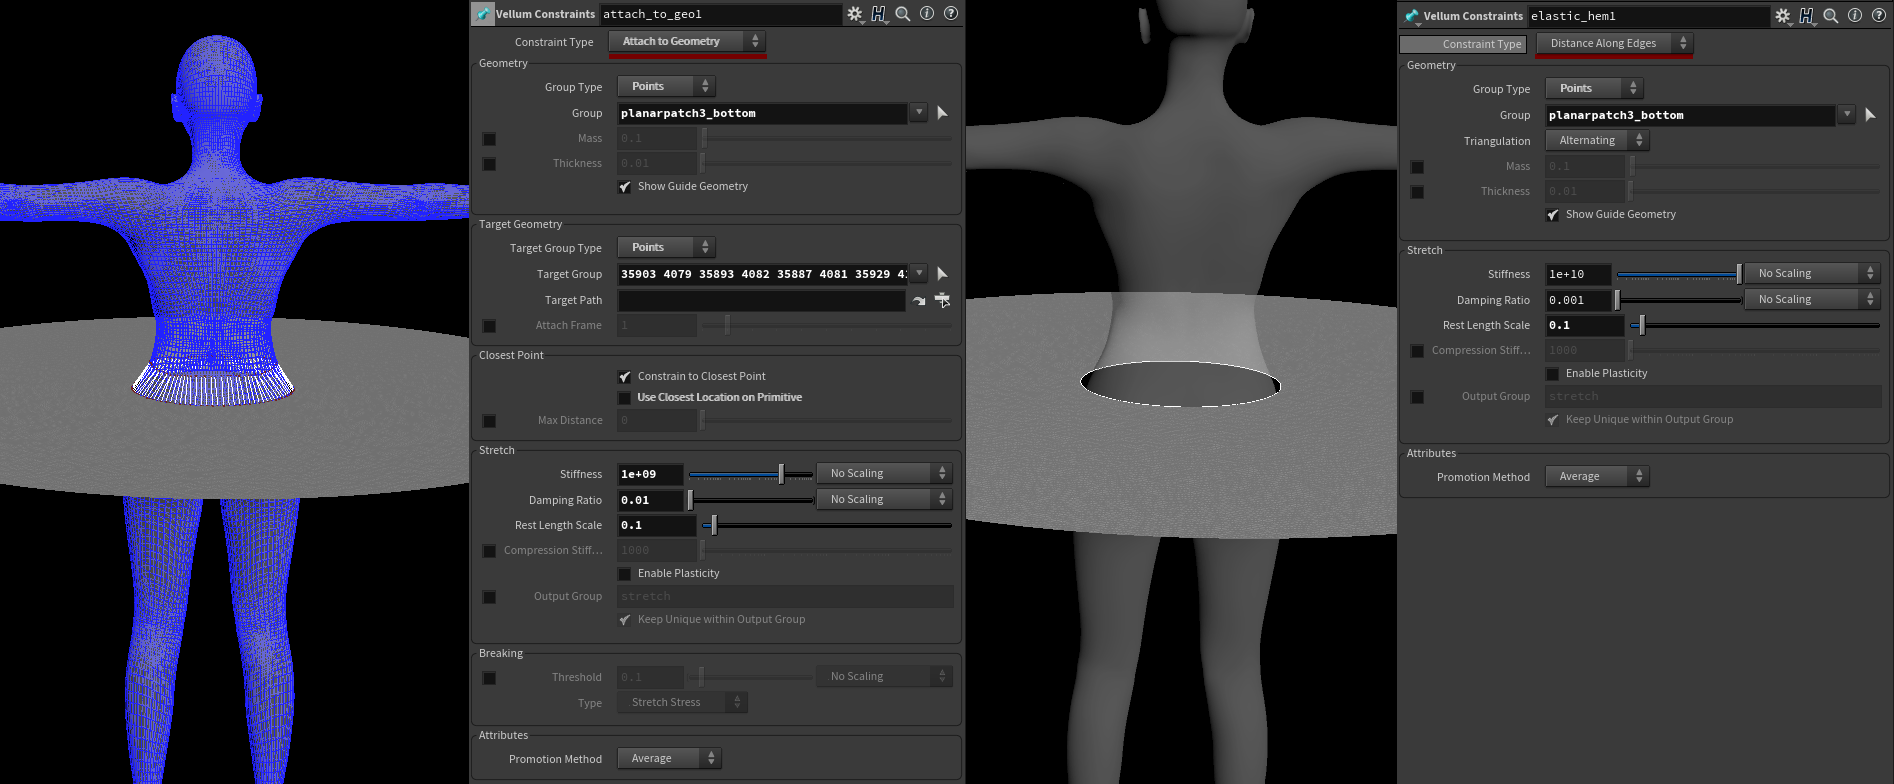
Once we're done with the Cloth Constraint SOP, we follow up with an Attach to Geometry Constraint SOP using the hem's point group that is to be attached to the mannequin's waist (the collider shown as the third incoming input of the constraint green nodes, as seen in the following image). We also decrease the Rest Length Scale to 0.1 so the hem's points are able to snap close to its target. (We'll use Attach to Geometry setup on our next materials for denim and leather as well).
Finally, we also want to shrink the edges of the hem that are going to attach to the waist - otherwise the excess cloth material would bunch up noticeably. To achieve this, add a final Vellum Constraint SOP with the type set to Distance Along Edges and once more, we set the Rest Length Scale to 0.1 so the hem itself is able to shrink. (We will also use this setup for leather later on).
Next step is simulating our skirt. The Vellum Solver settings were left mostly to default, only Substeps and Constraint Iterations were increased due to the higher resolution of our cloth; using 2 Substeps and 500 Constraint iterations, these settings will be used for denim and leather as well.
Please note that if there's unwanted bouncy behavior during your simulation, try reducing the Max Acceleration that can be found under the Advanced tab on the solver, or increasing Wind Drag under the Forces tab.
Vellum Post Process SOP
Once we are done with our simulation and we're happy with the shape, we can smooth any resulting jaggyness on our geometry using Spatial Blur on the Vellum Post Process; if intersections within itself or the collider occur, enable the Detangle parameter to correct these collisions. You can also extrude thickness and even enable visualization similarly to the Vellum Solver.
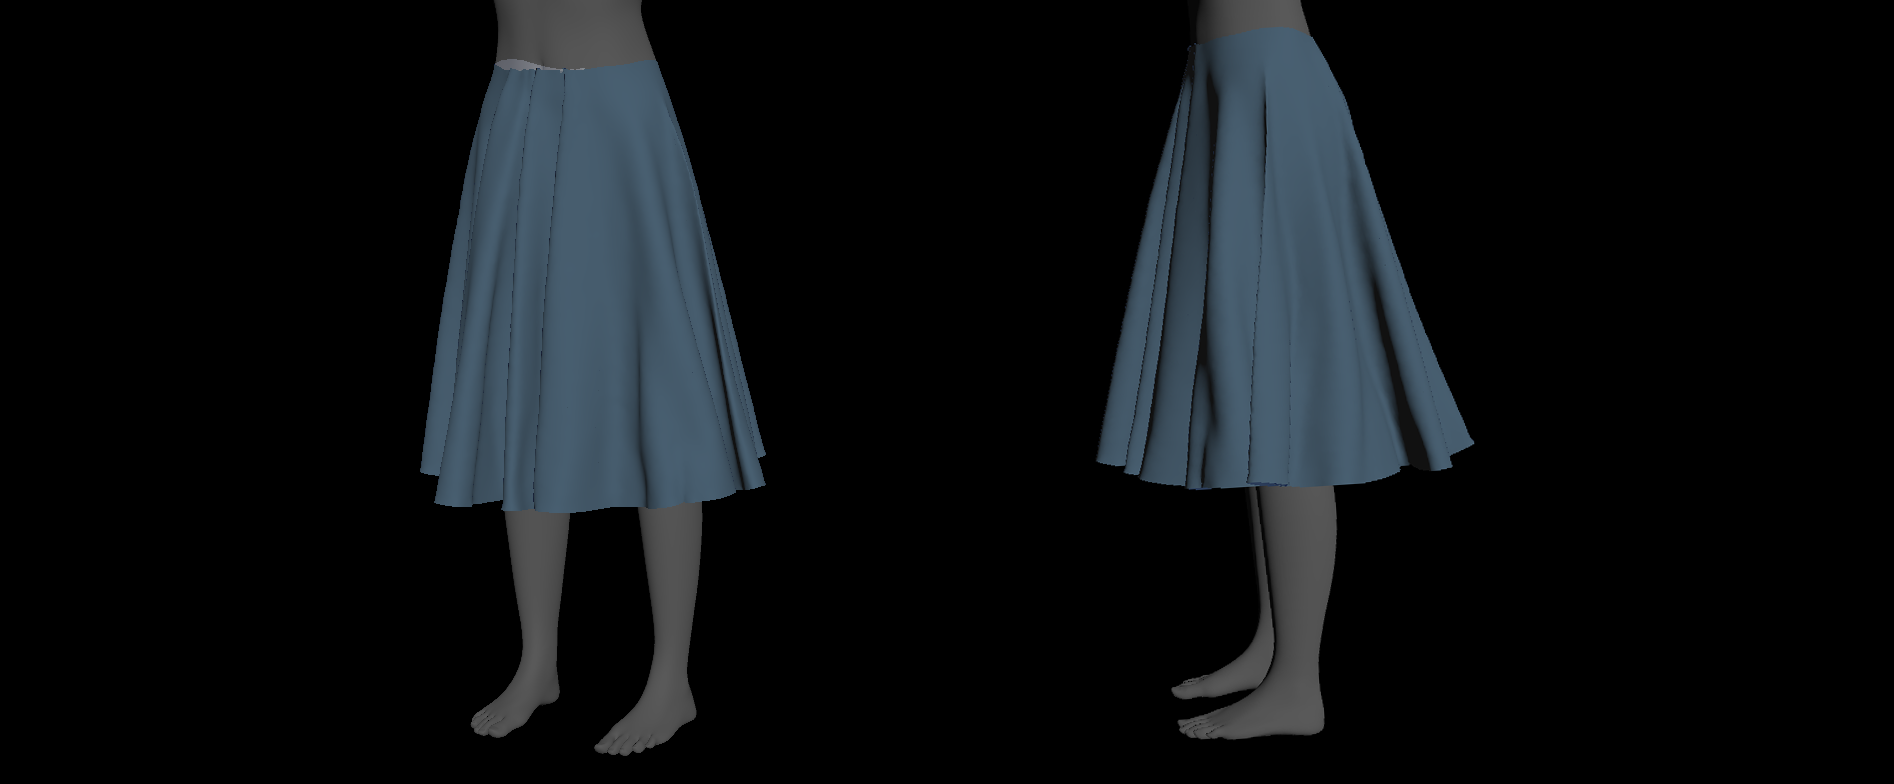
Denim

Same as in the previous example, Vellum Post Process was used to smooth out the cloth geometry.
Leather

The folds on a leather skirt would be larger and would appear almost rubber-like, so Bend Plasticity isn't necessary since the folds need to appear softer and less defined. Same as in denim, a value of 1 Bend Stiffness was used, however Compression Stiffness needs to lowered to 10 000, so that the cloth can collapse into itself more, causing it to appear softer.
I hope you had found this tutorial helpful. On the button below, you can download the *.hip file. Thank you so much for reading!
CREATED BY

コメント
AAaronLi 7年, 7ヶ月 前 |
Wow,thanks a lot
chrysl666 7年, 7ヶ月 前 |
cool !!! tnx Sara !
ctlwow89107 7年, 6ヶ月 前 |
these tips are helpful:) Thanks Sara!
mdsanima 7年, 5ヶ月 前 |
very nice tutorial! Thank you so much!
itquasimontecarlo 6年, 3ヶ月 前 |
thank you.
Karanfx 5年 前 |
That's awesome, Please add more types of clothes if possible.
Thank you.
durgeshvgurao 5年 前 |
Thanks for making
shivsparky 1年, 10ヶ月 前 |
Hey Sara,
Thank you so much for taking time and giving us such useful tip.
Question : In production usually the models are sourced from the Modelling department, and CFX do their sim setup using the geometry provided with a cleanup version suitable for sim. In this scenario the final out mesh is what modelling had , how do you drive the final model with the sim mesh and whats the best approcah after the sim is done and do some clean up or blend multiple caches if needed?
Please log in to leave a comment.