SIDEFX SNACKS V2 | MOJITO MAGIC
Made in Houdini 19 by Tim Van Helsdingen
Ready to take the next step in your FX journey?
This course shows the intermediate Houdini user how to create their own fake commercial from start to finish.
Check out this full course from Tim Van Helsdingen, which shows you the process in taking an idea to a rendered sequence! You will render with Karma and composite all your passes in Fusion. The format of this series is akin to a workshop, as you see all the steps (and troubleshooting) in realtime, and Tim shows every step along the way, to layering all the small details in the end for a juicy finish. It's a long one, so - pace yourself!
TOPICS COVERED
The various tools that will be covered in this video tutorial series.
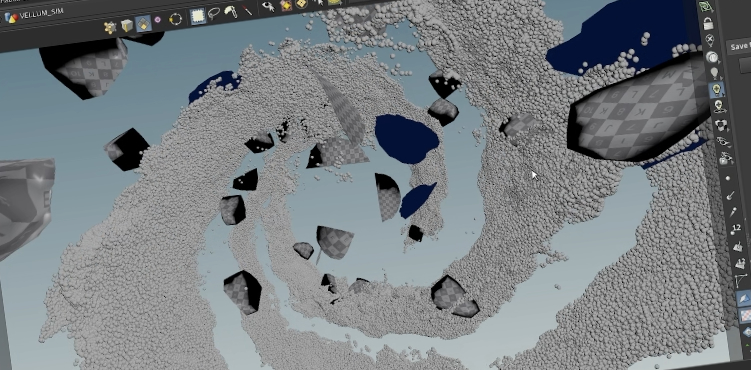
Fluids will be done using new Vellum Fluids, which will interact with softbody leaves and rigid limes and ice pieces. Textures will be acquired either by using scanned assets, but also we will see how to make our own scanned leaf and extract a texture from it, as well as doing shader building. Scene assembly, lighting, lookdev and rendering will be in LOPs, rendering out in Karma.
Compositing is outside of Houdini, so feel free to use your compositor of choice.
Fluids![]()
RBDs![]()
Textures![]()
LOPS![]()
01 INTRODUCTION
What will this series be about? It's ~21hrs in total. Yes, doing shots takes time and effort, there is no escape from this, but if you are curious about the steps and process involved in turning an idea into pixels, then this series is for you. You'll see even all the troubleshooting steps involved :) If that sounds interesting to you, then I invite you to grab the start_project files and join me in doing your own fake drink ad! Grab a build of Houdini 19, and let's go!
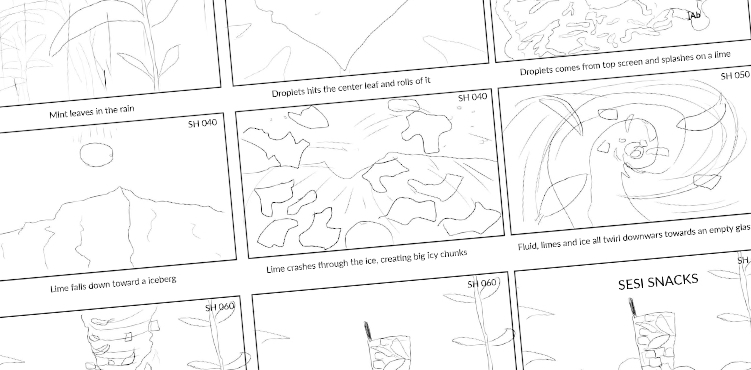
02 AWESOME ANIMATIC
This video is crucial to all our subsequent shots, as we will be setting up all the base things for each of our shots. This is because we will be using all the setups in these to further develop and refine the FX, lookdev and final rendering using the setups from this chapter. That's why it is so long, but without this, you likely won't have a clear idea of what you want to achieve per shot. Cameras, framing, rough animation, timing, and finally, we throw that all into Premiere.
FX

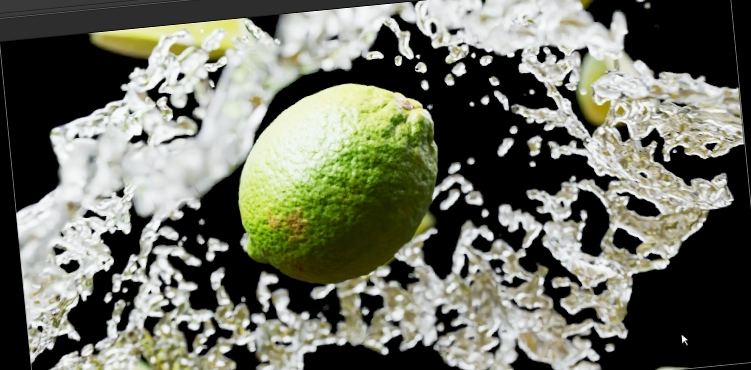
03 | Lime Splash
This chapter will cover the vellum solver setup for SH030. Even though we have prepared the initial setup from doing the animatics in the previous chapter, this chapter will be looking at finalizing the settings and subsequent mesh. We'll also be doing the setup for the environment and limes. Then, we flipbook and jump to Premiere!
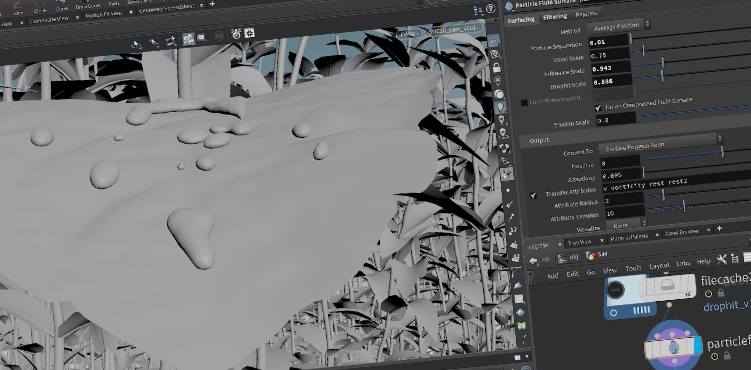
04 | Droplets
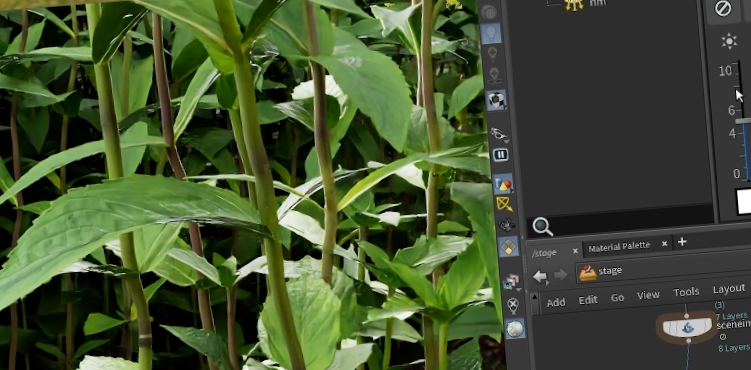
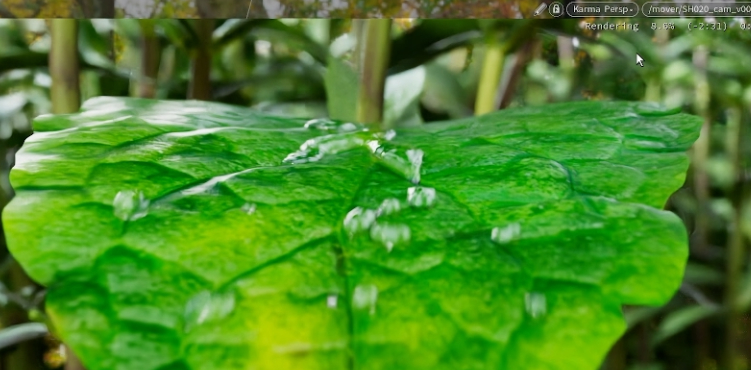
You can subscribe to a scanned assets library or you can create your own vegetation with the camera in your phone! We'll be looking at how to scan our own leaf (quality/resolution may vary depending on your phone). After we scan and generate our hero leaf, we'll proceed to do the simulation for the hero droplet.
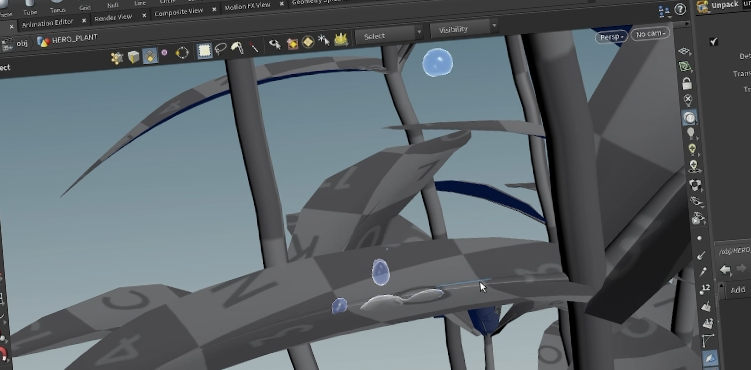
05 | Resolving Rain
We have to take care of the surrounding plants and the leaves on those stems. Here, we will make the smaller raindrops that randomly fall on our mint bush. We will also cheat some motion on the overall plant as well, faking some windy motion to disturb our plant, so that it doesn't just stiffly sit there.
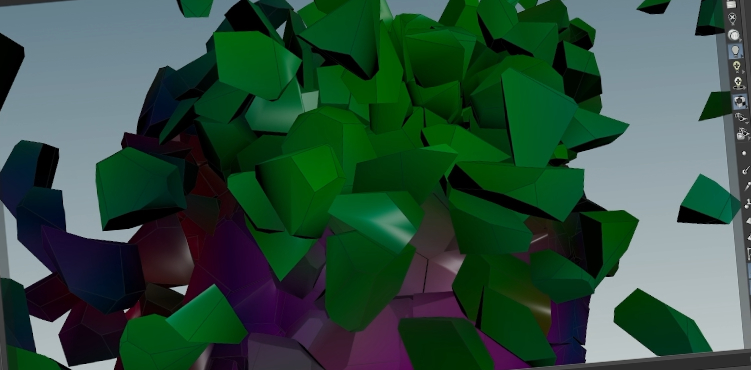
06 | Ice Smash
On to the ice block shattering! We will do the fracturing, prepare UVs for the pieces (triplanar and rest position walkthrough), add to them details and debris. Then, flipbook and hop to Premiere.
07 | Twirly Swirly
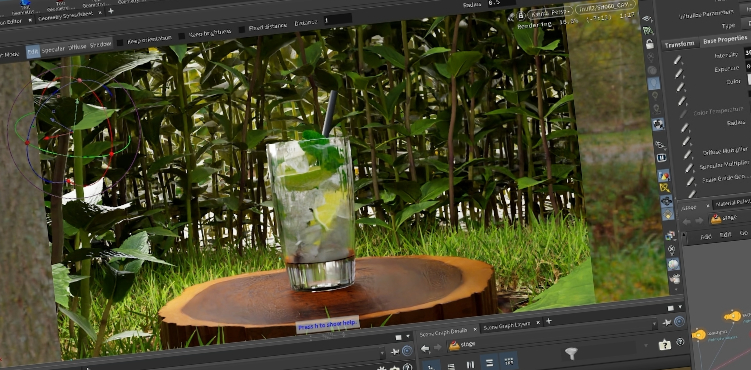
We are getting close to the end of the FX segment. We have to put together our scene, where all the mojito elements get assembled by magic hands. But first, we have to make a sort of wooden plate, a cup and straw. Then we bring in the leaves, limes, and crushed ice, as well as the fluid that binds them all together. Further more, we will need to put in some grass into our environment, so that our ground looks like a ground :)
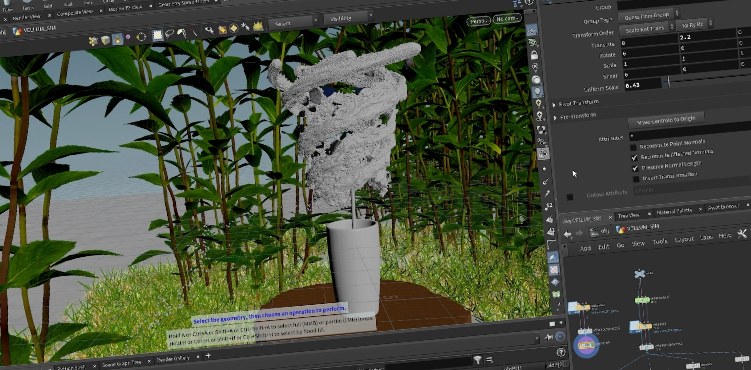
08 | Assemble Mojito
This is the final FX-segment, where we need to fill up our cup with all the mojito goodness. It will fill to the precise amount (almost to the brim) and collide properly with our glass and straw. We'll also add bubbles to give it some extra fizzy goodness, cause who likes flat drinks except the elite special people :)
Lookdev, Lighting & Rendering
09 | Solaris
Now that we have all the pieces we need, of our scene, we are going to take the plunge into Solaris. It's my first time using it as well, so let's share knowledge if someone knows better way to do things, I would love to know it too. But these steps are what worked for my shot and I'd like to share with you my process. We load in our scene in LOPs, add lights, do material lookdev, use Render Gallery, Light Mixer, Light Linker, Karma LOP and also Render Manager.
10 | Lighting
We pretty much repeat same steps as covered in the previous video, but apply it to our next shot SH020. Yep, we will update assets and tweak settings for our shot. We will create lights, modify our leaf and make our droplet shader. Then we go over Karma LOP settings and I'm going to be saying this a few times so...just in case...enable Velocity Blurrrr!!
11 | Limes!
We need to texture our citrus slice, so let's quickly do that and slap on some textures and material for juicy freshness.
12 | Ice Ice Baby
Taking a break from all the fluidy citrus plant stuff - we go to our iceberg in a glass! Now we will prepare the material for some crunchy cold ice pieces and tune our render settings, adding some addtional smokey detail so it looks proper frosty. Same deal though, Karma LOP, render settings, batch output our sequence.
13 | Swirly!
Again, we are repurposing nodes to apply to our swirly shot. Rinse and repeat. Load elements, prepare material, motion blur, add lights and Karma LOP.
14 | Magic!
This is the last shot to prep for rendering! We again reuse our nodes from last shot (copy/paste) and adjust what we need to. We will look at refraction limit and some render tricks that I use, we'll render our bubbles, make final tweaks to our ground shader and it's a wrap!
Comping, Grading & Delicious Details
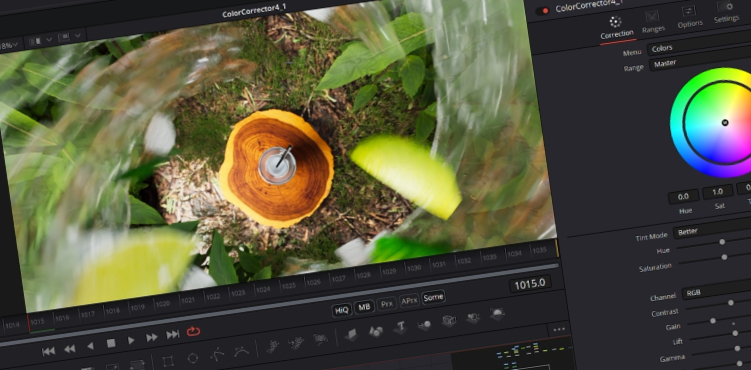
15 | Compositing
You thought you were done, but well, it's never done till you put the final touches in compositing. We're going to load our render passes, look at denoise options, DoF, flares, glow, extra particles and lots more -- I'm doing this in Blackmagic Fusion but of course, you are free to use another compositing application that you are comfortable with. I know this was a long one and if you made it this far, I hope it was worthwhile and there was some useful information in there.