REALTIME I A Discovery of Witches S2 I VFX Breakdown
TIME WEAVING WITCHES, FIRE DRAKES, ENIGMATIC VAMPIRES AND DAEMONS
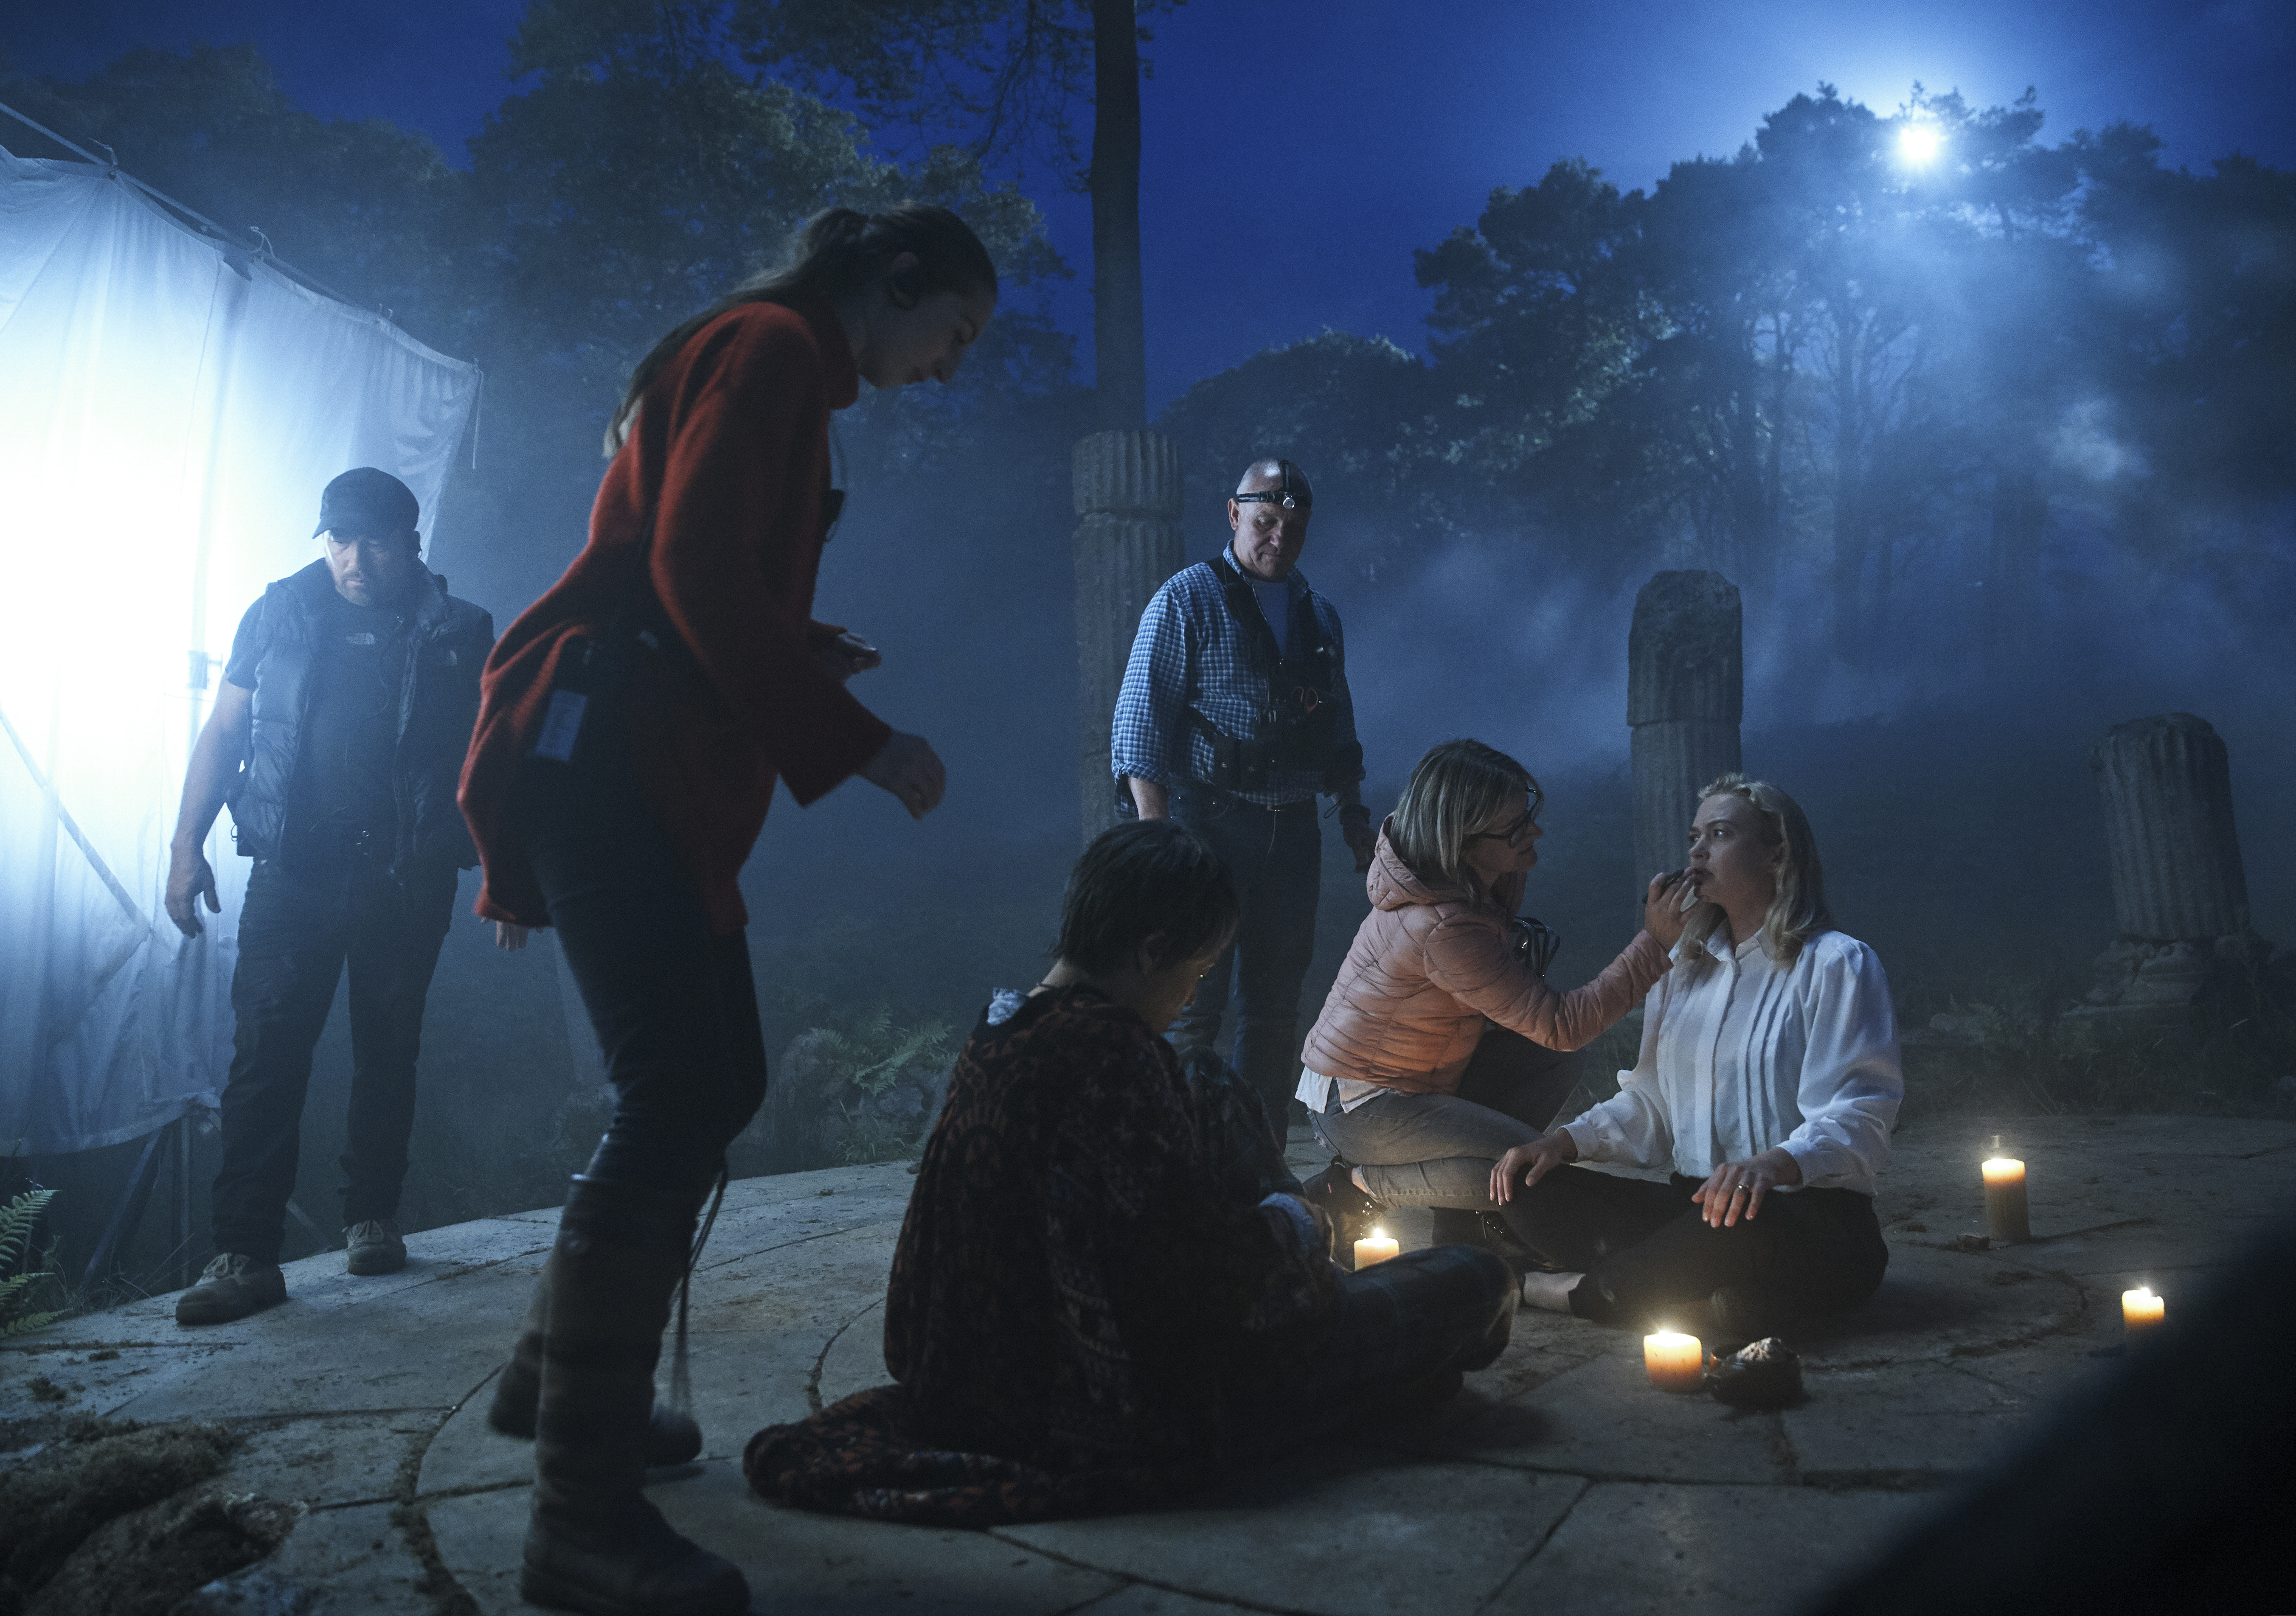
SCRYING MAGIC is used to “see” acquiring different elements such as clouds and reflection on water, the “seer” gathers information or prophesy. This type of FX on-screen is easily created using Houdini, let’s find out with REALTIME.

Q: With the Scrying magic scenes and the Rebecca Concept, it looks like you used photogrammetry, tracking with the particle FX. Can you give us the break-down on the use of Houdini in this process? The scenes build up over several various attempts by Emily in S2 to contact Rebecca, the FX also build up over that time. As Emily makes numerous attempts the smoke and particles intensify. What was the pre-vis, vis and post-dev process like?
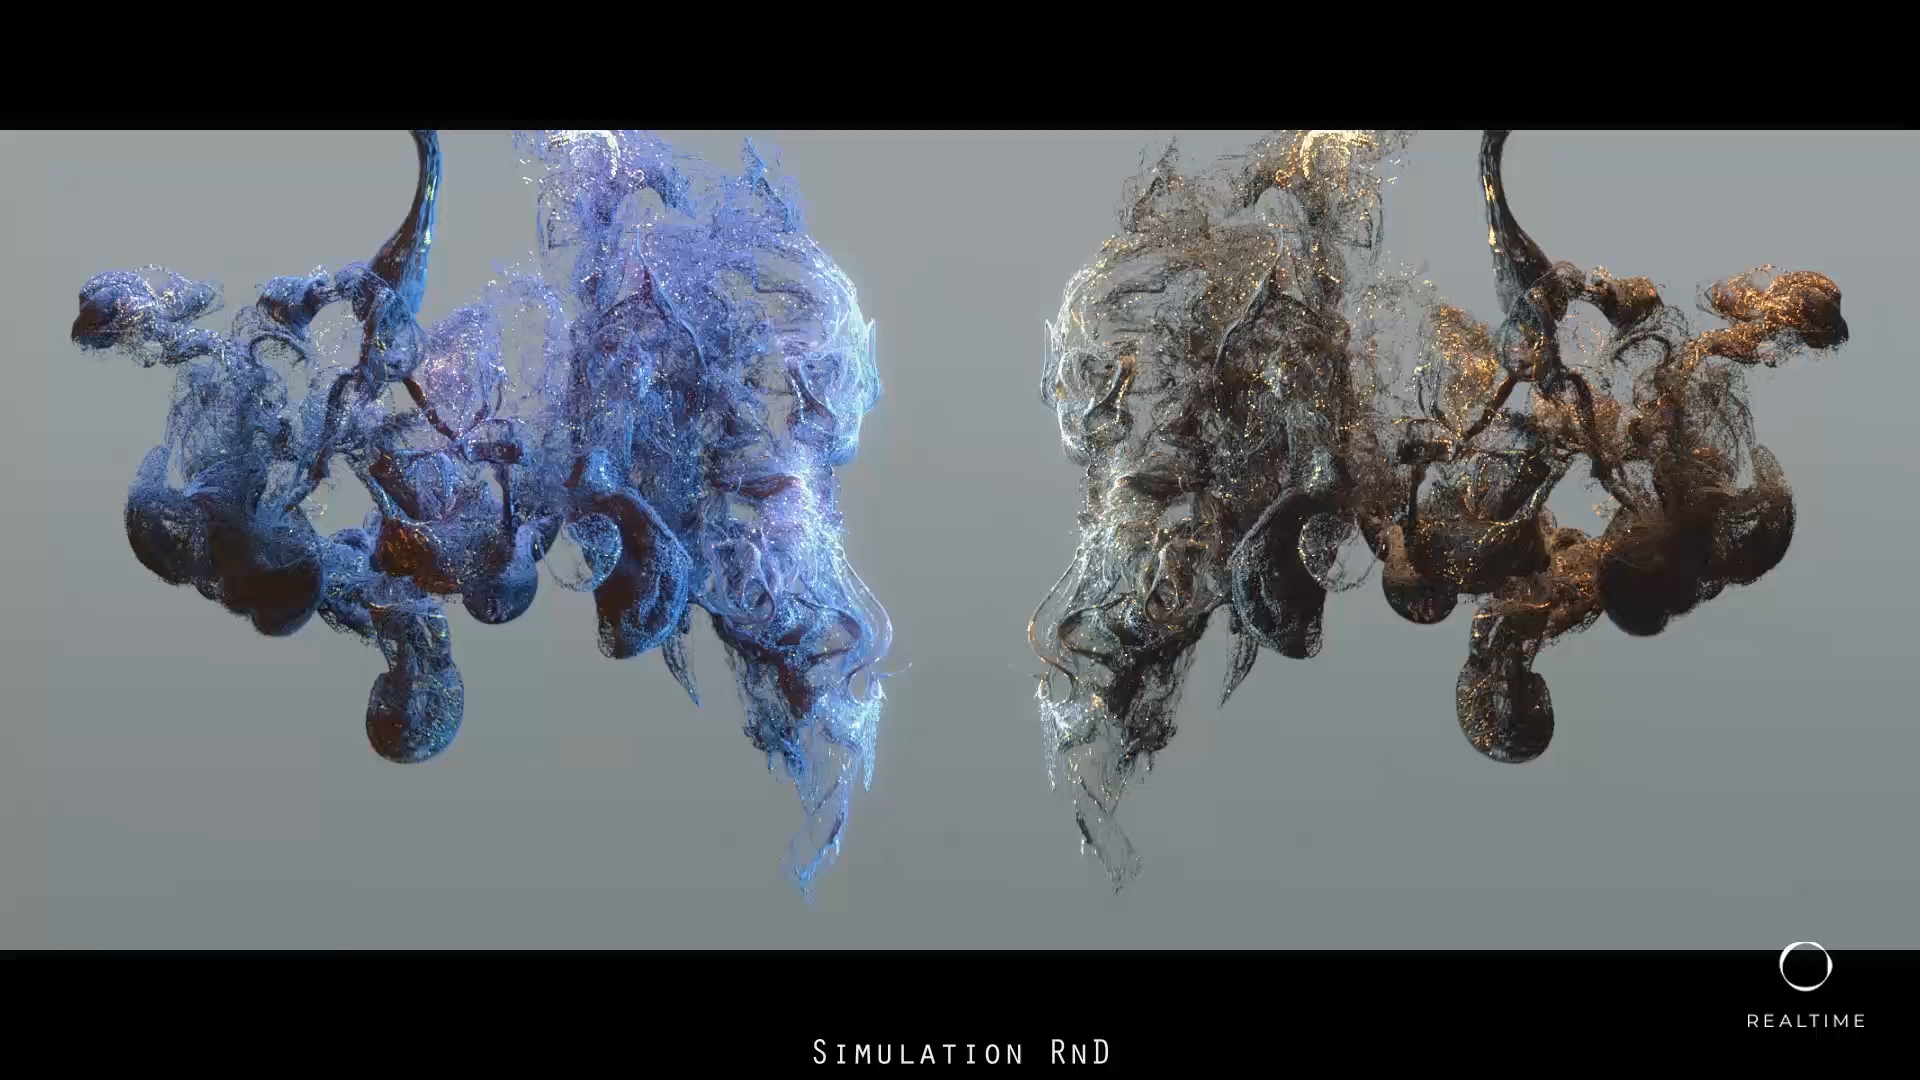
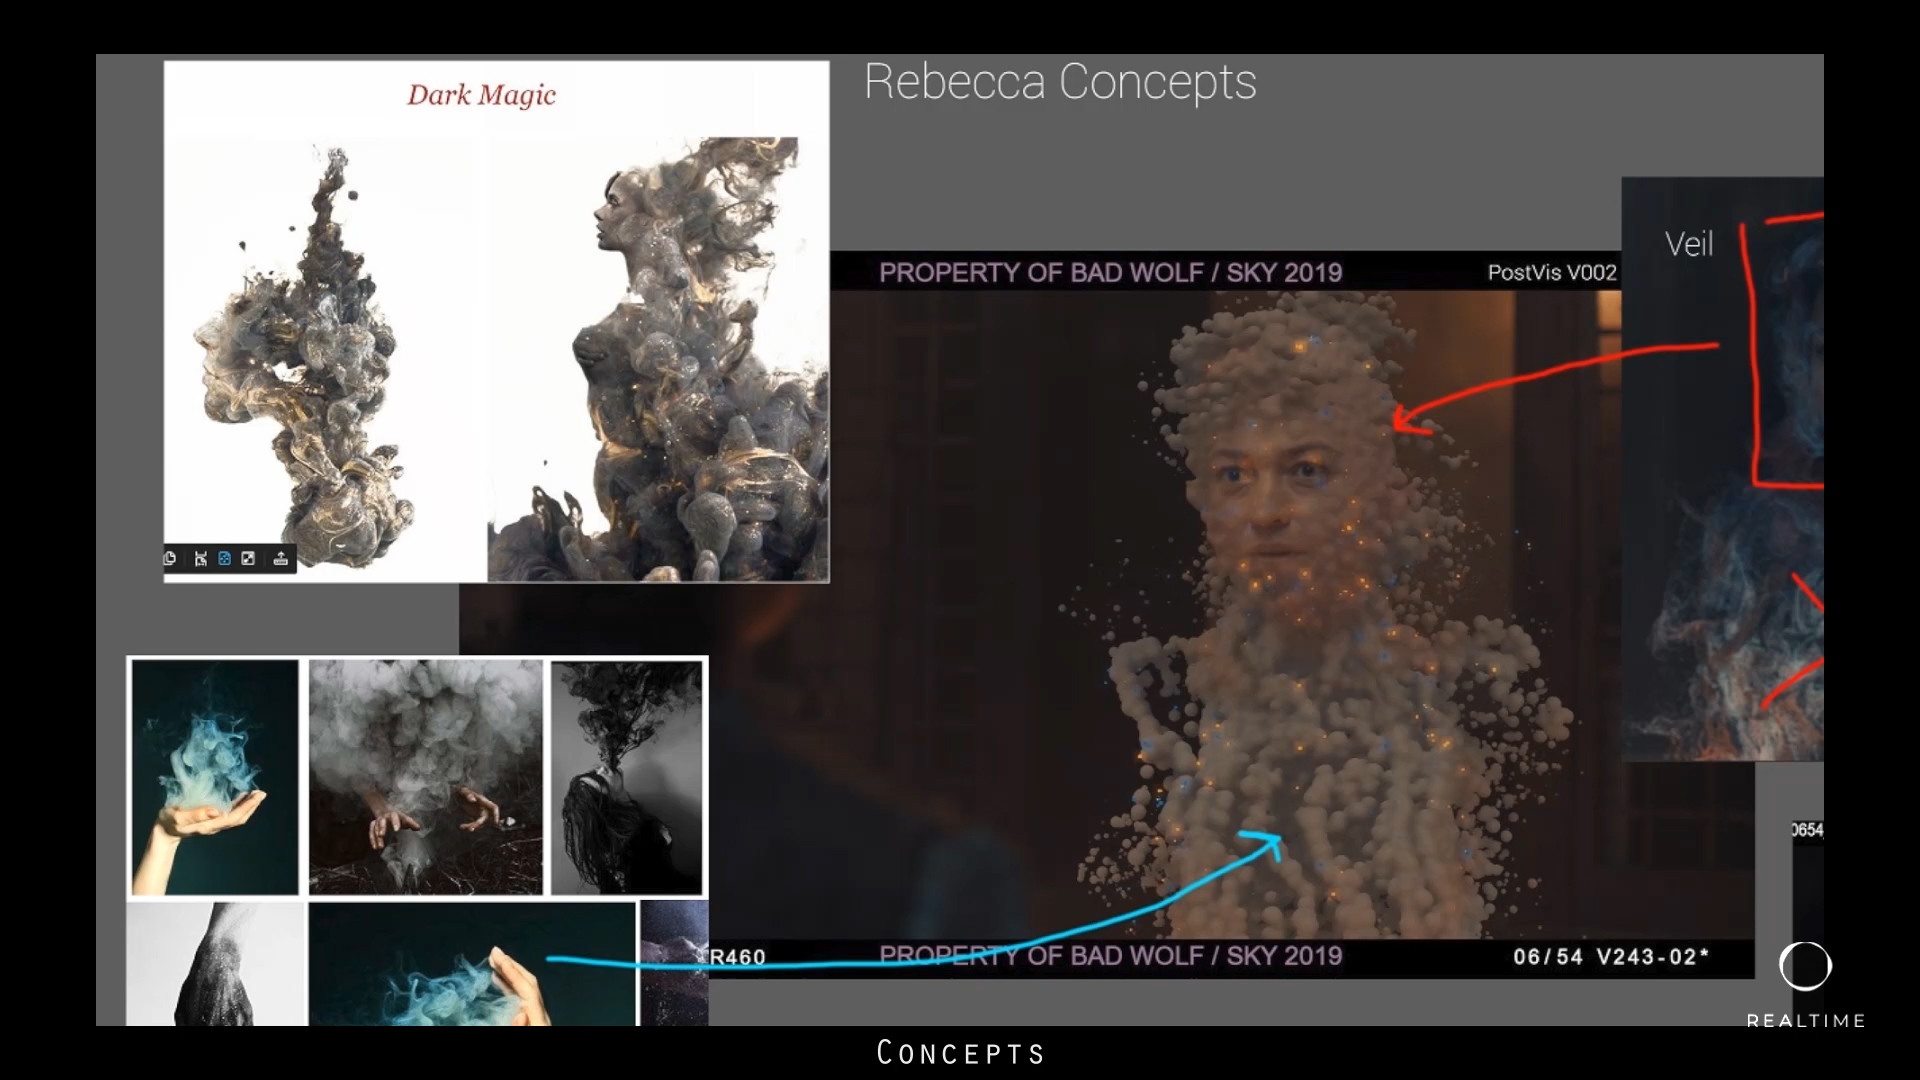

It was a very good guide to the scale and dynamics of the sequence and was necessary to visualise how the FX would build up over the sequence, without doing any costly simulations and rendering. This previs was used as a guide to the shoot, with the postdev used to guide the edit and FX department working on the sequence.
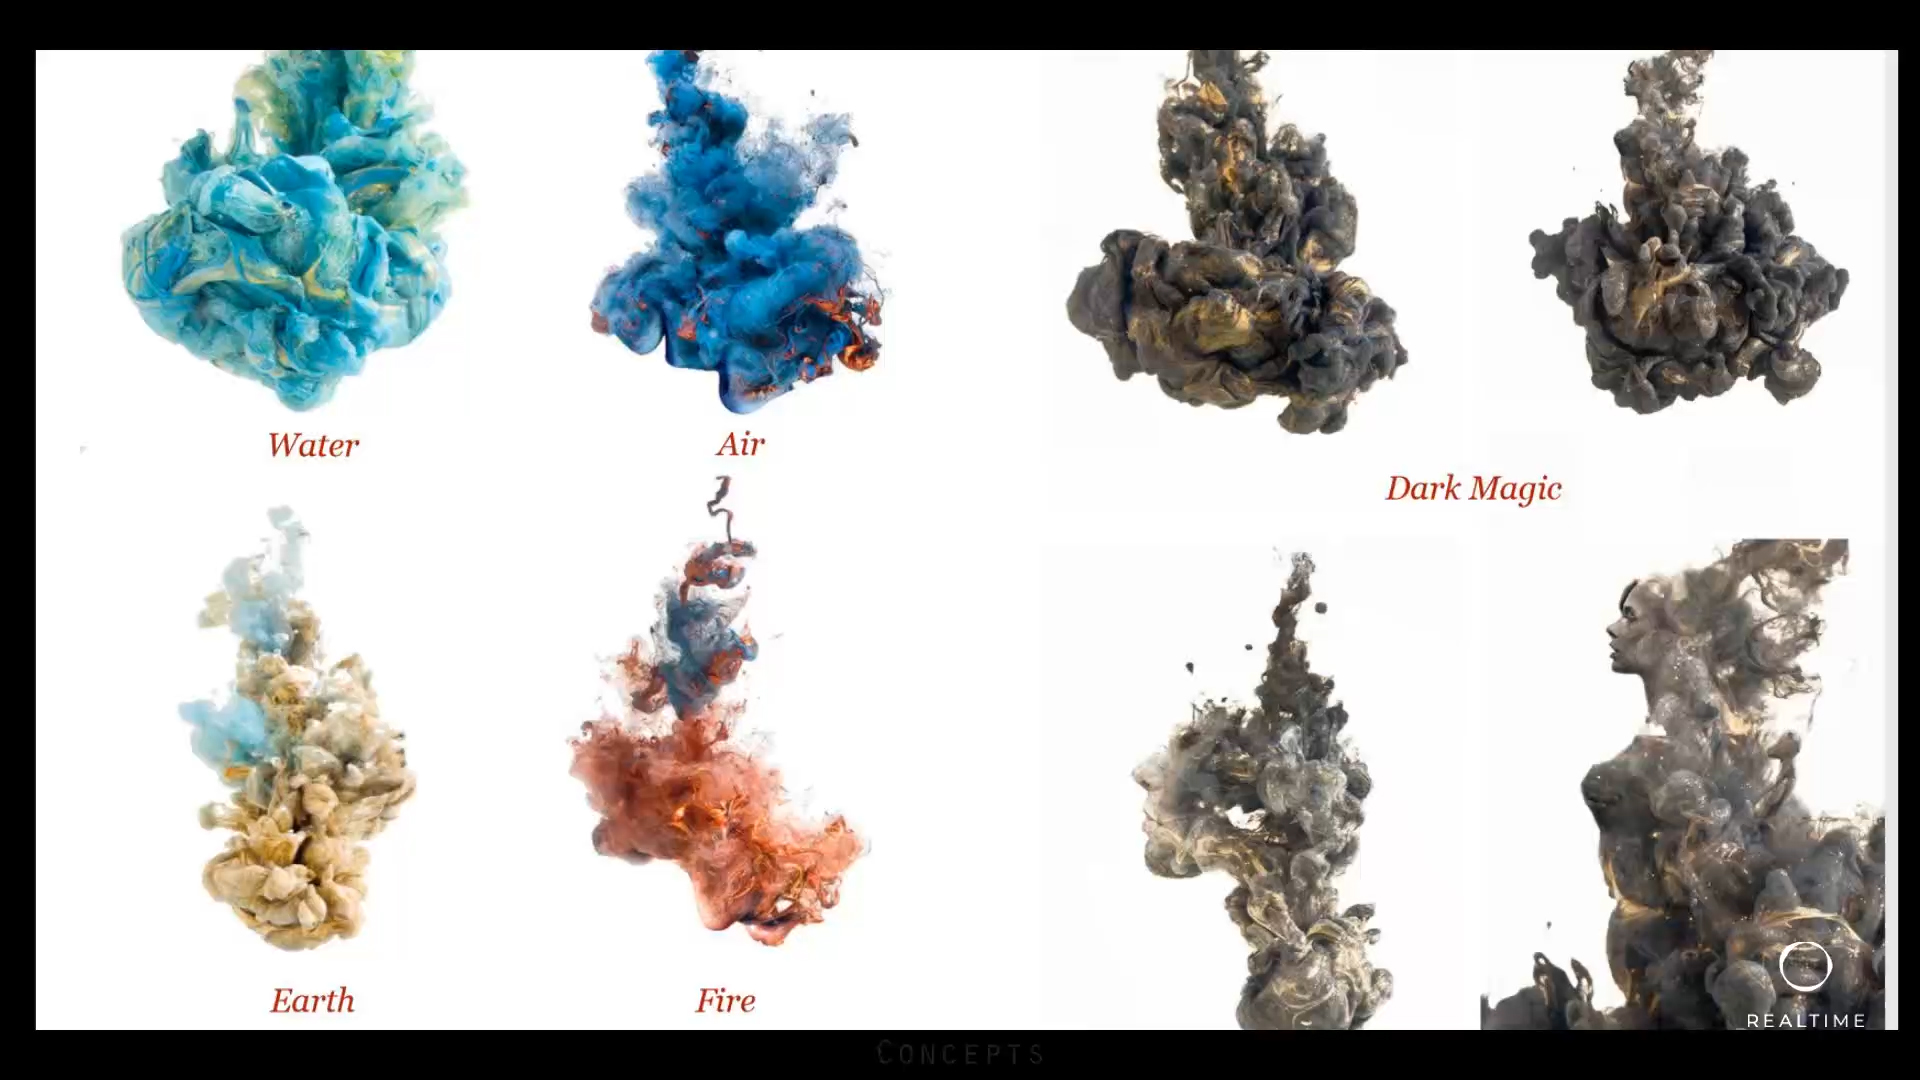
The FX team supplied a detailed alembic 3D mesh of this. Houdini was then used to create a volume of velocity trails around the photogrammetry so that we could drive particles and fluids across the surface. These were mixed in with the other smoke layers to create the sense that it was forming out of the smoke. One challenge was finding a way to mix in the live action elements within the smoke layers. Initially we tried driving particles and the fluid colour from the live action, but soon found that we were losing too much of Rebecca’s form and we would need more control in comp.

We decided that the best approach was to use volume clipping and render the elements as background/foreground passes. We could then easily mix in the live action elements within the smoke layers. This could have been achieved with deep compositing but at the time we were conscious of how much extra data this would create with all the detailed volumes, so decided to stick with a simpler method as it was giving us a similar result.
CORRA, THE FIRE DRAKE

Q. Share with us the process for creating Corra, with all those amazing scenes of smoke and colorful shape shifting animated fire.
Graham: It was great fun to work on the Corra FX, but we did go through many iterations and designs before coming up with the final look that you see in the show. After the initial concept stage Corra started off as a sculpted Z-Brush model and then had a full set of groomed feathers.

These feathers would later be used to drive the fire simulations.

The rigging and animation was done in Maya and then the baked mesh would be sent to Houdini as an Alembic. In Houdini we had the base geometry of the creature along with a set of splines that run down the lengths of each feather.
Houdini is great for building setups that will loop over multiple pieces of geometry, this enables us to work on a small section of the creature at first and then easily iterate this across the rest.

We did a lot of tests on a small section of the feathers to get the right look and movement to the flames, each feather had a point emitter at its base and then we created a direction vector along the spline feather to drive the direction of the fire sim. When we were happy with the look of this, we then tried it across the whole creature.
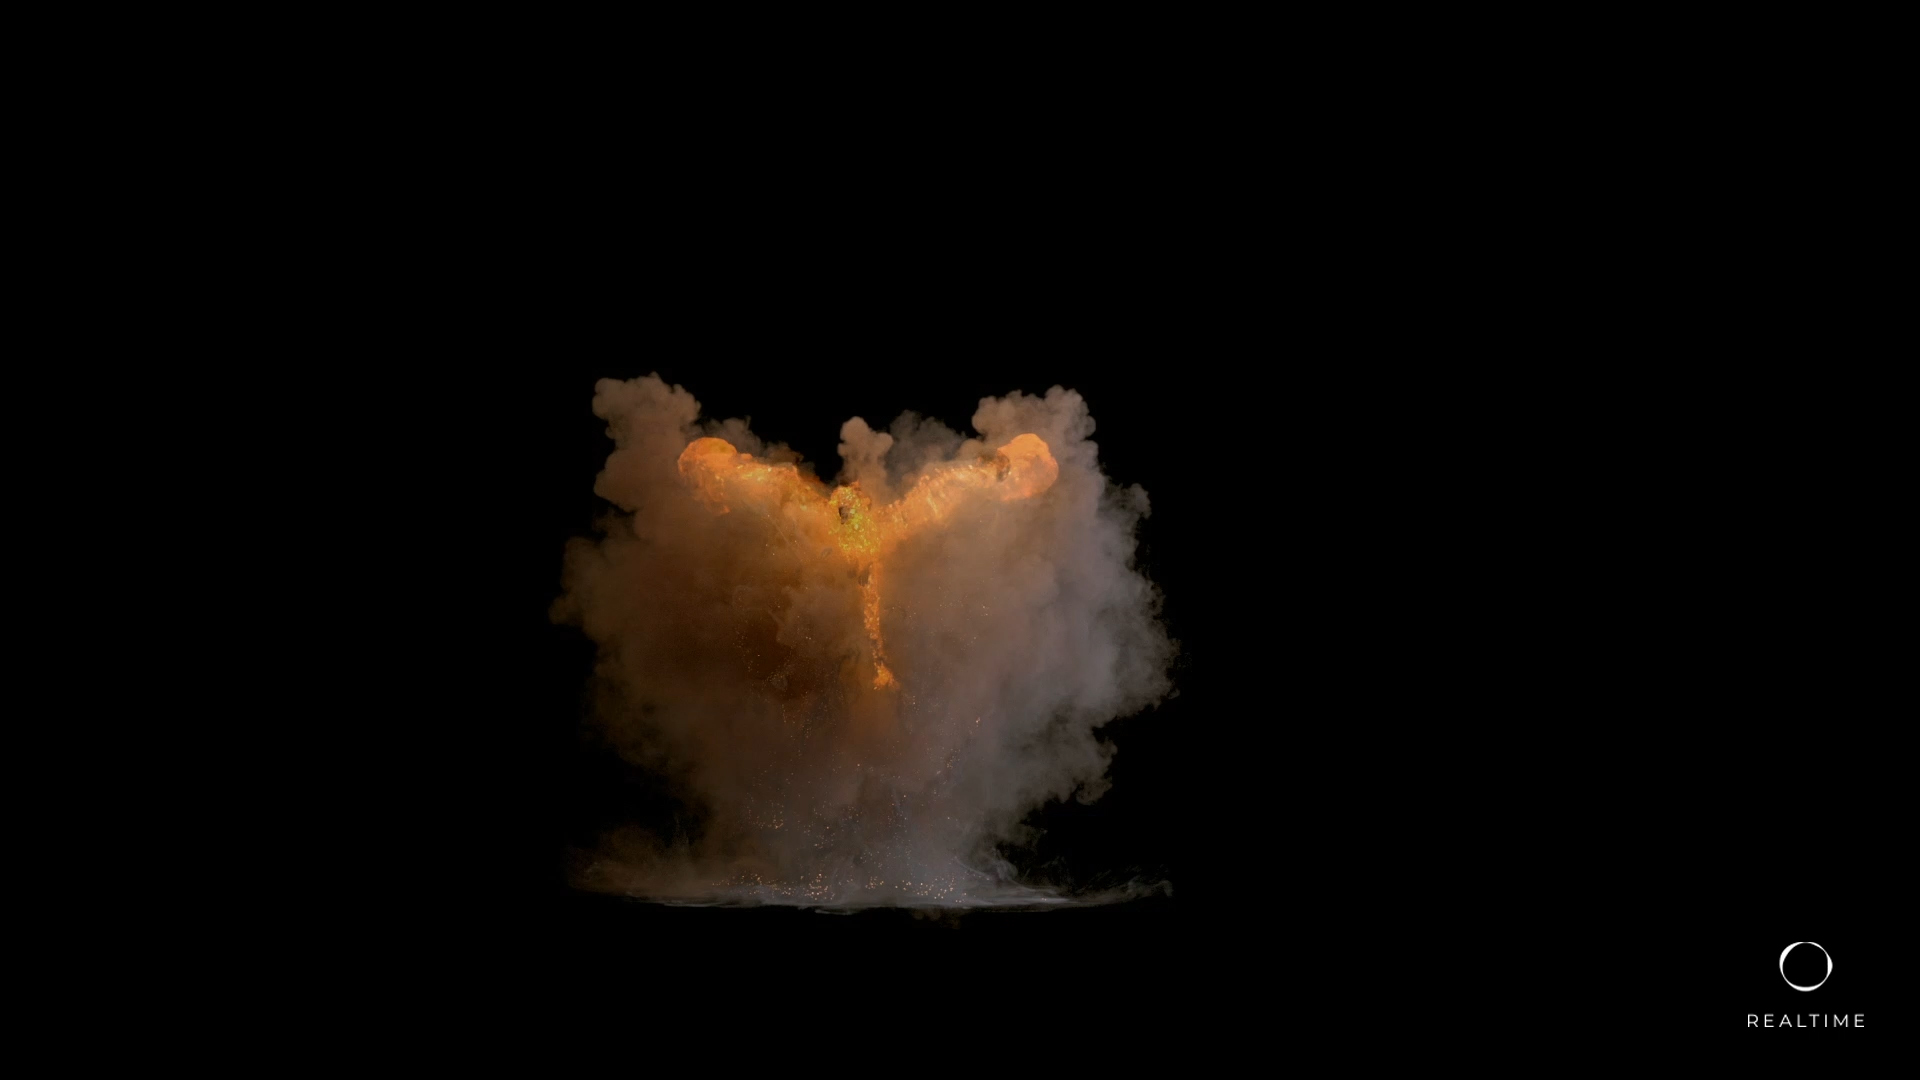
This worked well but did throw up some issues; firstly, we were going to have to chop up the simulation so that we could get enough detail in to the simulation, and secondly, we were going to need to create areas of negative space to allow you to see the detail of the flames, as we didn't want just a blob of fire. To do this we took a subset of the feathers and instead of rendering them as fire we transferred the temperature channels over to density and made a very dark smoke layer, which we called 'black fire'.

The next step in the process was to see how this would work when animated, we very quickly found that we would lose all the detail once we ran the simulation on a moving Cora. To work around this, we created a set of simulations on the static mesh and then volume deformed this to the animation. This way we could keep the detail whilst moving. We also sampled the animation to add motion blur to the volumes. Although this worked well, we still needed to give the fire the sense that it was dynamic, being affected by her movements and mood. To achieve this, we had another set of fire sims that were simulated from the animation and mixed together with the static version.

Along with this we simulated a low-res smoke sim from the animation that was then used to advect particles from the creature giving a detailed ink in water effect. These particles would then drive a more detailed smoke simulation on top.
We had a lot of feedback on the look of the creature and the animation, so we went through a lot of rounds of delivery. As each shot had dozens of separate simulations to bake, we needed to find an automated solution.
Using the Houdini Engine with Deadline we were able to set up an almost one click solution to run through all the sims for a shot, which enabled us to turnaround the shots very quickly.

The lighting team we had available on this project were based in V-Ray and 3Ds-Max so all the simulations were saved in VDB format from Houdini and were then picked up in Max as a Vray volume. Particles and geometry were easily exported between apps using the Alembic workflow.
Q. Can you tell us how that fully rendered fire drake was created and was the set CGI or a real live set? It was often hard to tell since the details were so articulated but how was corra integrated into the cave scene for example?
Then it was about adding details and elements which give a flavour to each shot. This meant trying to find, in the raw footage, guidance for the performance of the creature as if it had really been there during the shooting.
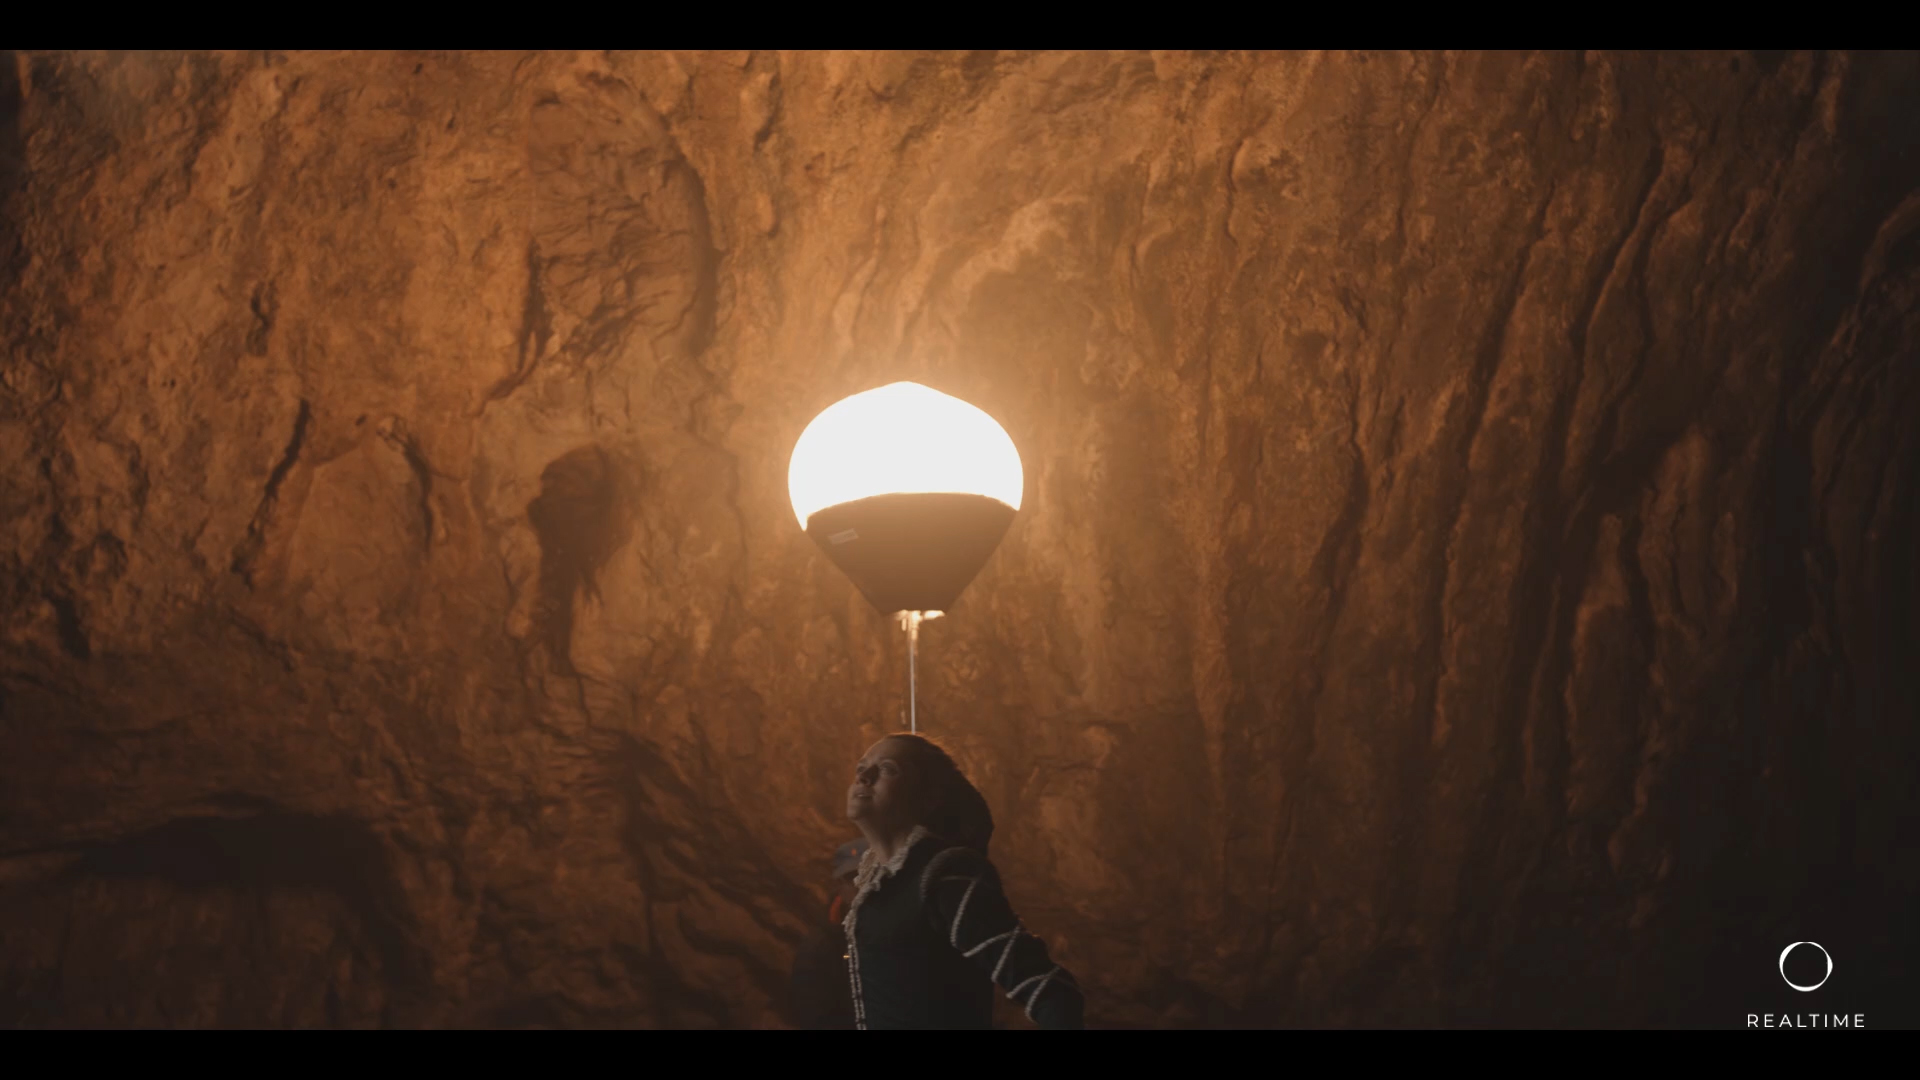
For the Corra sequence we also had the challenge of having to hide a technician who was holding a lamp on set (in place of Corra). Fortunately, Corra was not only generating lots of flames, but was producing lots of smoke too.
The main trick is to find the appropriate energy, the correct flow with clear and expressive poses. It sounds easy but it requires lots of patience and constant communication with the animators and the client to avoid losing time by going in the wrong direction. If that is managed properly, that should give you the extra resources to finesse the details and enhance the result.
FRUIT DECAY
The quince is the sole member of the genus Cydonia in the family Rosaceae. It is a tree that bears a deciduous pome fruit, similar in appearance to a pear, and is bright golden-yellow when mature.
Q. The fruit decay, how did you guys achieve your look and what kind of references do you use? Do you “decay real fruit” ? How do you achieve your inspiration and outcome?
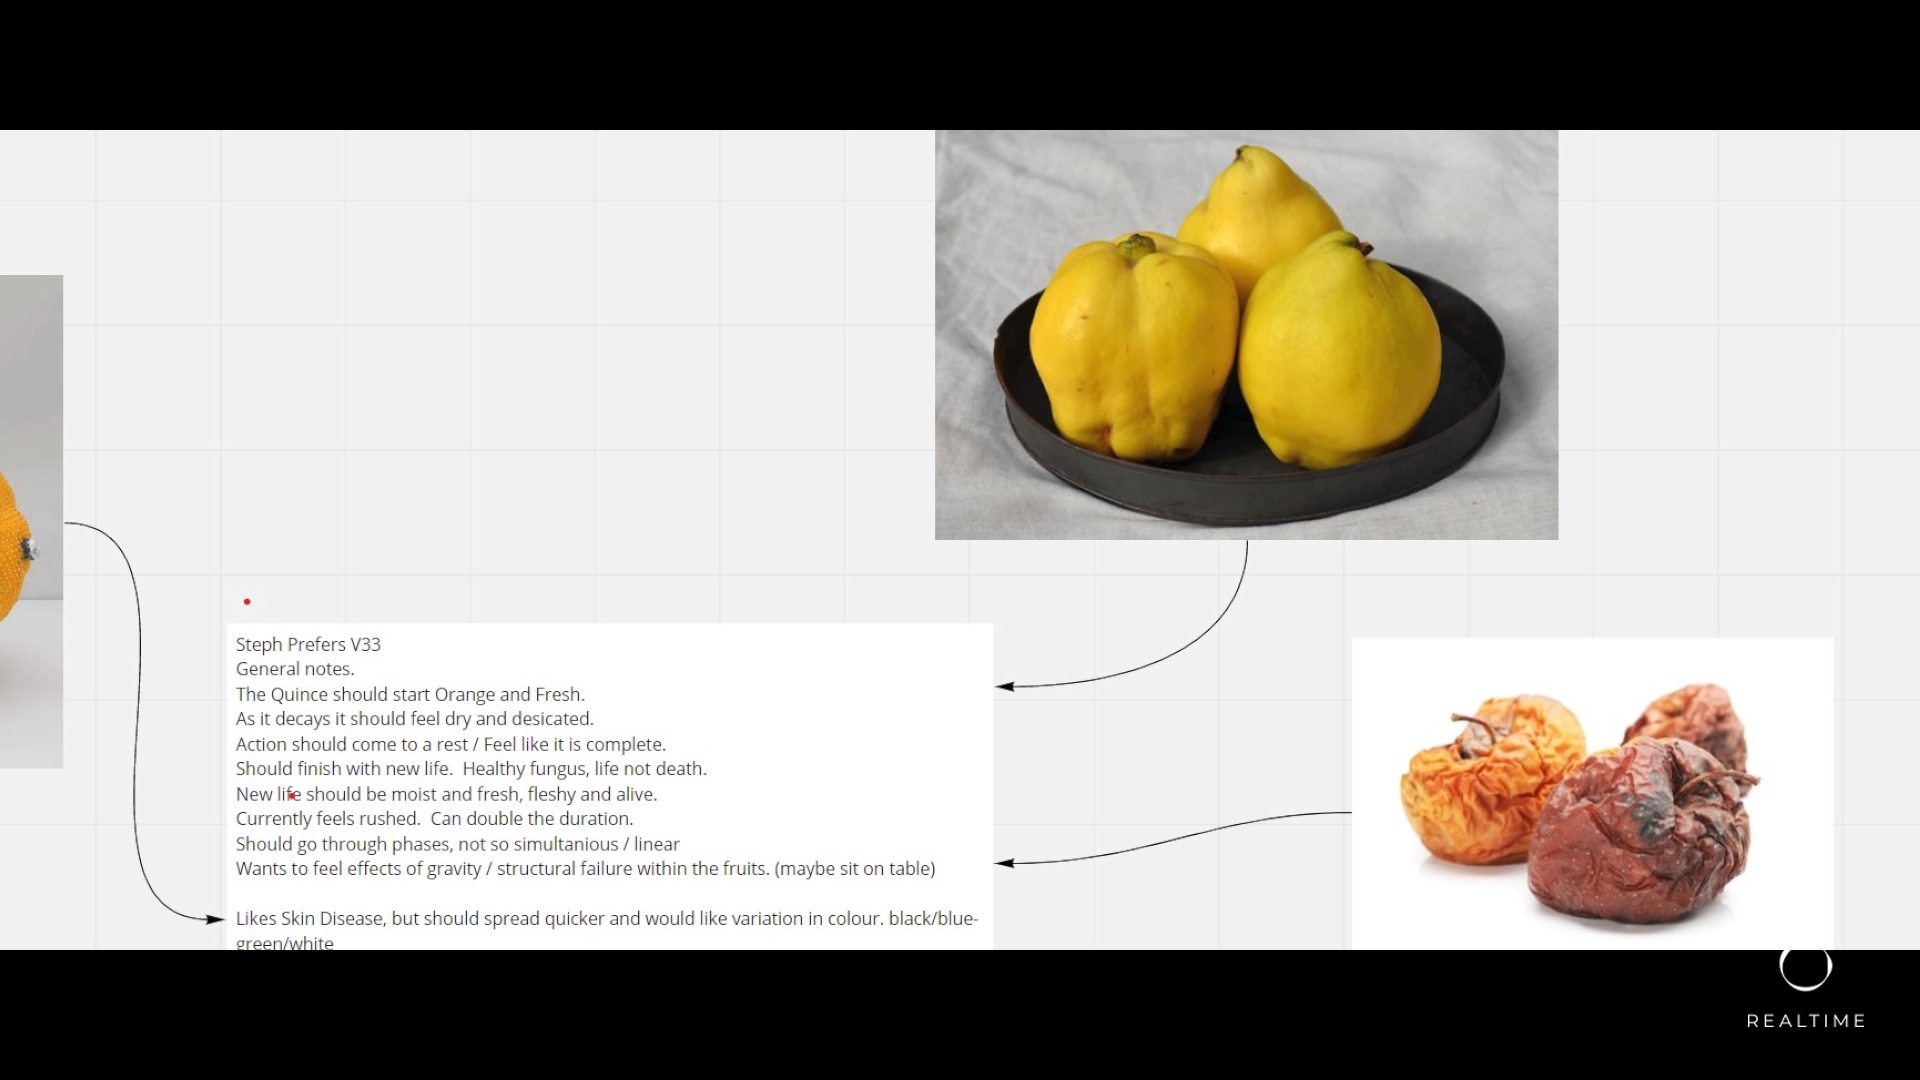
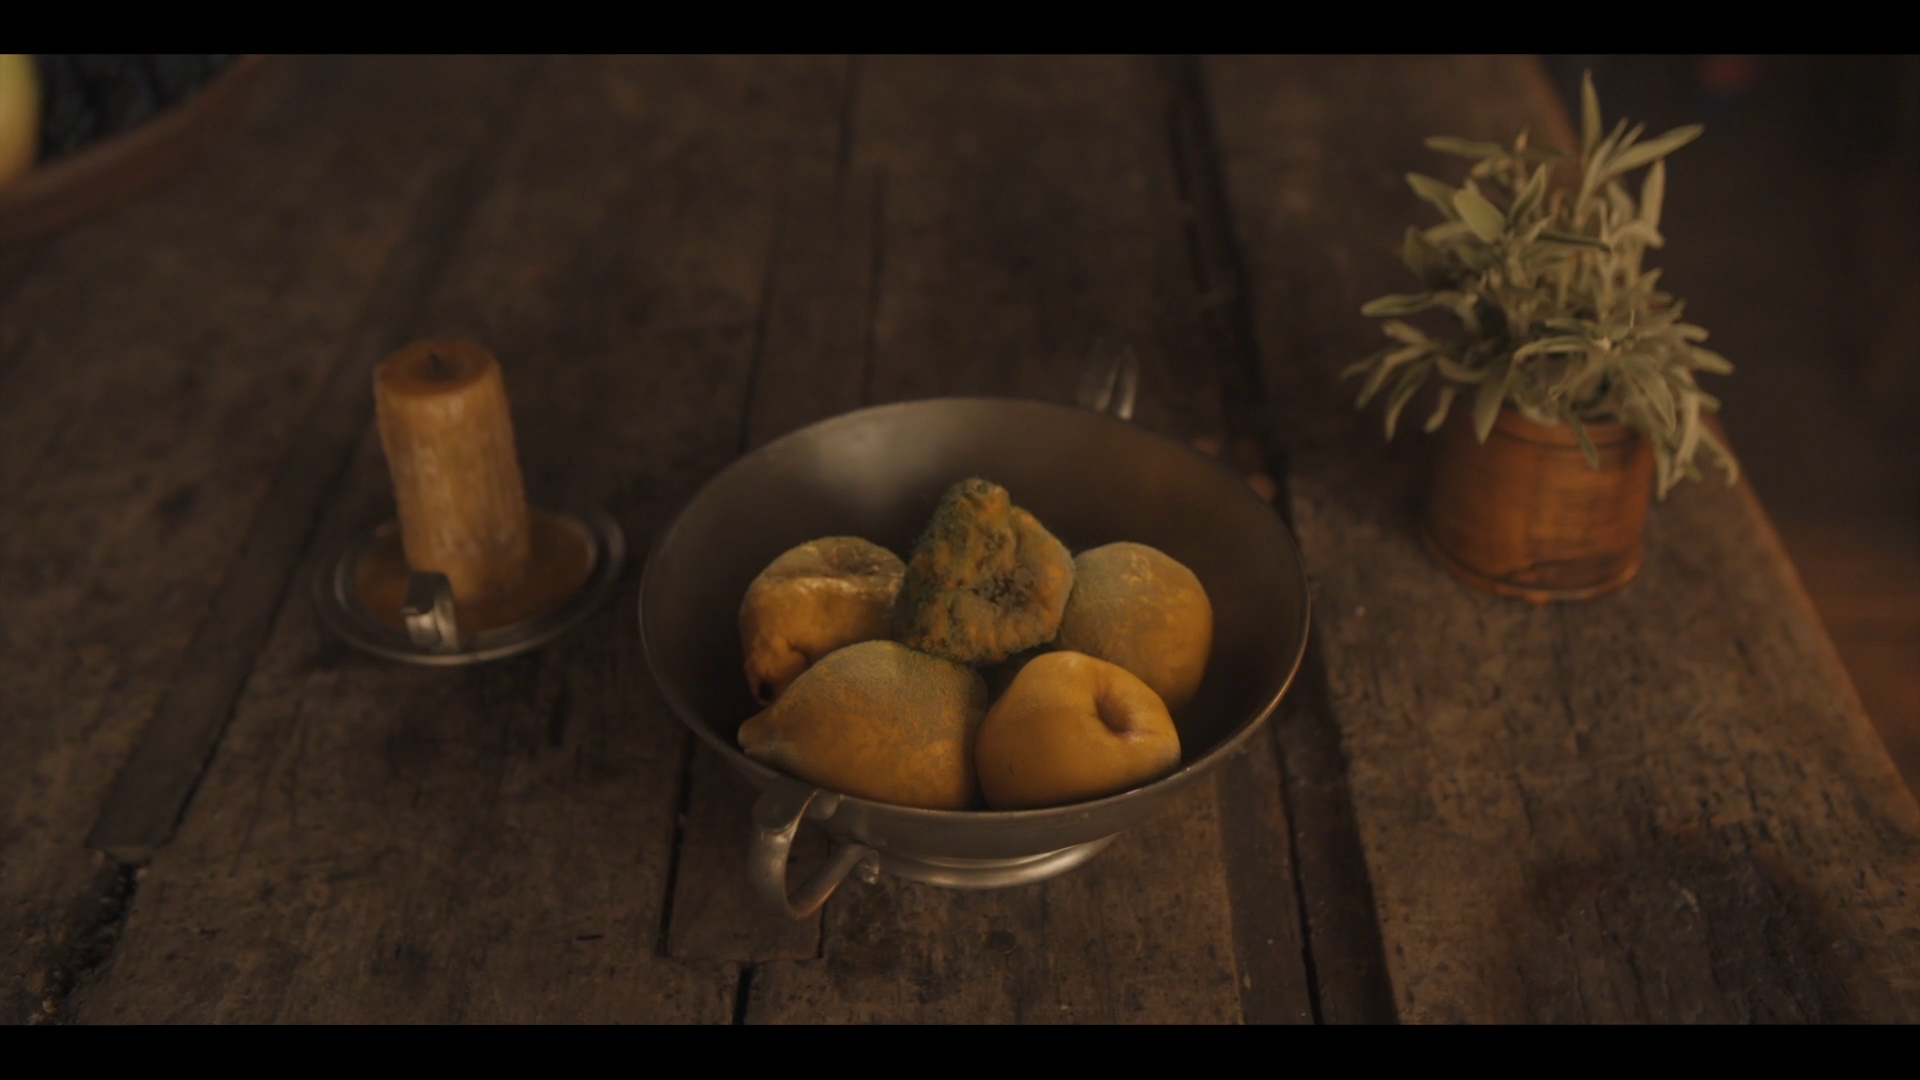
“The quince is the sole member of the genus Cydonia in the family Rosaceae. It is a tree that bears a deciduous pome fruit, similar in appearance to a pear, and is bright golden-yellow when mature.”
For additional detail, bubbles of pus were added to each fruit, affecting the quince surface by creating a raised lip around the bubble.

Various masks were created for shading, such as turning the quince from healthy to rotting. Points were scattered across each static surface and, using a sop solver, growth attributes were created for the smaller details on the fruit, based on where the rotting was happening. These points were then point-deformed for each quince and split up into various groups.
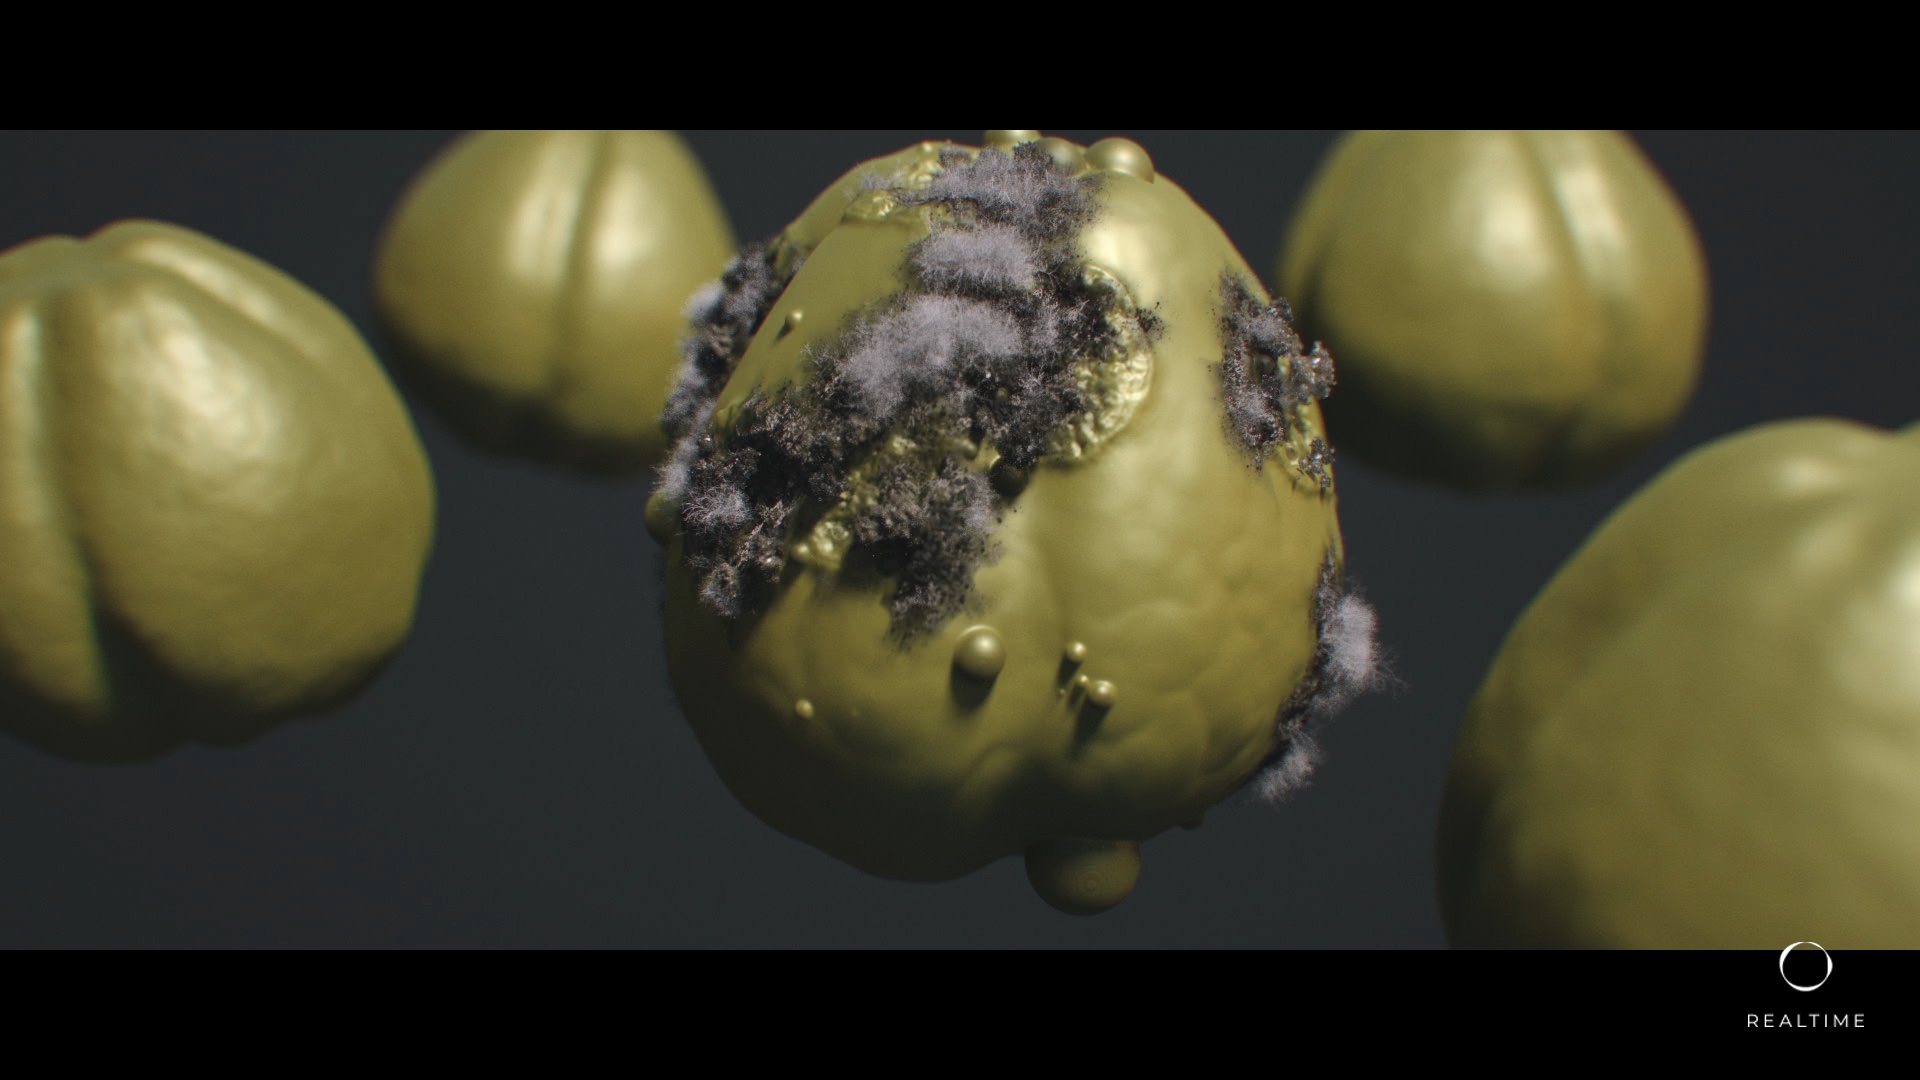
Instanced geometry was then copied onto these points creating the lichen effect on the surface, small polyps and things like that. Pops was used to create spores floating away from the rotting surface for extra detail. The whole thing was then shaded and rendered in Mantra using custom image planes for comp.

ONE LAST THOUGHT...
Adrian Vickers: With regard to GOT, it was no different as far as I was concerned. We exported the snow FX as VDB's and alembics if it was going to be rendered in Max. The map fly over was entirely Houdini and comped in, with all the characters and sets within Max.
DISCOVERY OF WITCHES, SEASON 3 I was told the answer to that question was “YES”, so I know I am personally excited for Season 3 and hope that the REALTIME team will keep us updated on S3.
I want to thank everyone at REALTIME for sharing your magic!
About this author:
Lori Hammond
Author & Content Producer
https://www.linkedin.com/in/lolaartist/
COMMENTS
Please log in to leave a comment.