Course Description
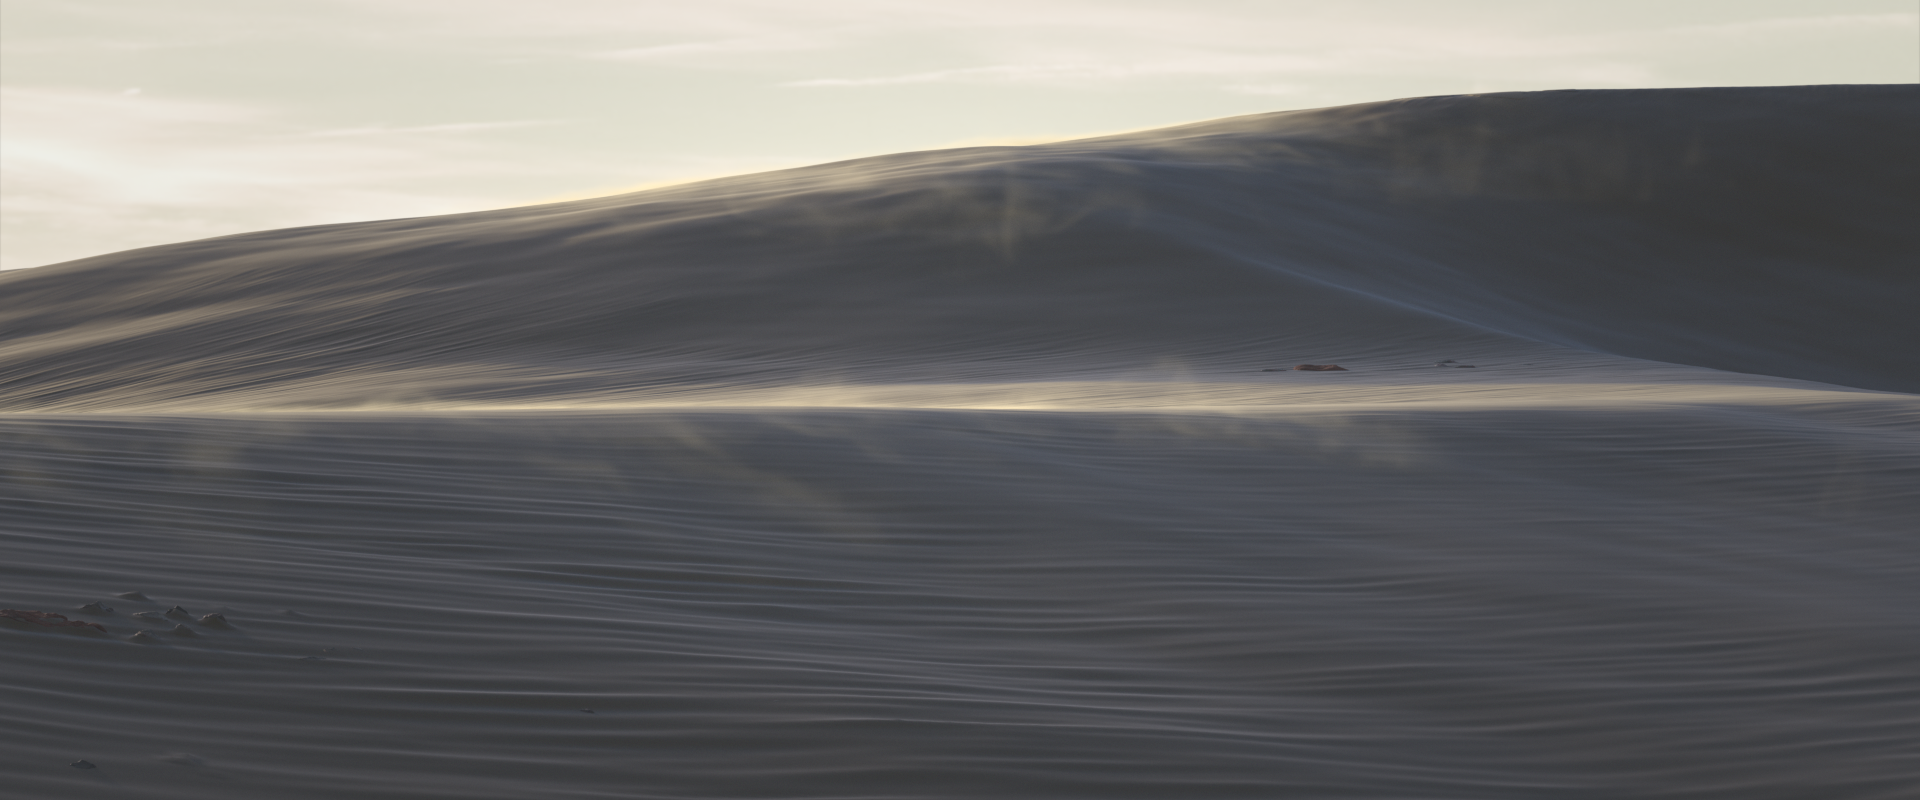
In this online course, the viewer will learn how to use Houdini’s Height Field tools to generate terrains and geometry, aimed at environment creation.
Not only will the most used Height Field nodes will be explained, but also we will take an in-depth look at how the tools work, what kind of information is expected as input and how to make the most out of the information output from these tools.
This course has been designed for beginner to intermediate Houdini users, or anyone interested in leveraging Houdini’s powerful terrain tools to create environments for Matte Painting, Illustration, Games, Architecture or simply generating digital art. After viewing this course, people can expect to be able to fluently use the Height Field tools to create almost any kind of terrain imaginable, being realistic, stylized, or even geometric or abstract.
The main takeaways after viewing this tutorial are:
- Thorough understanding of how Height Fields work within Houdini
- A complete understanding of the process of terrain creation from modeling to compositing.
- Ability to model very detailed terrains using Houdini’s native tools.
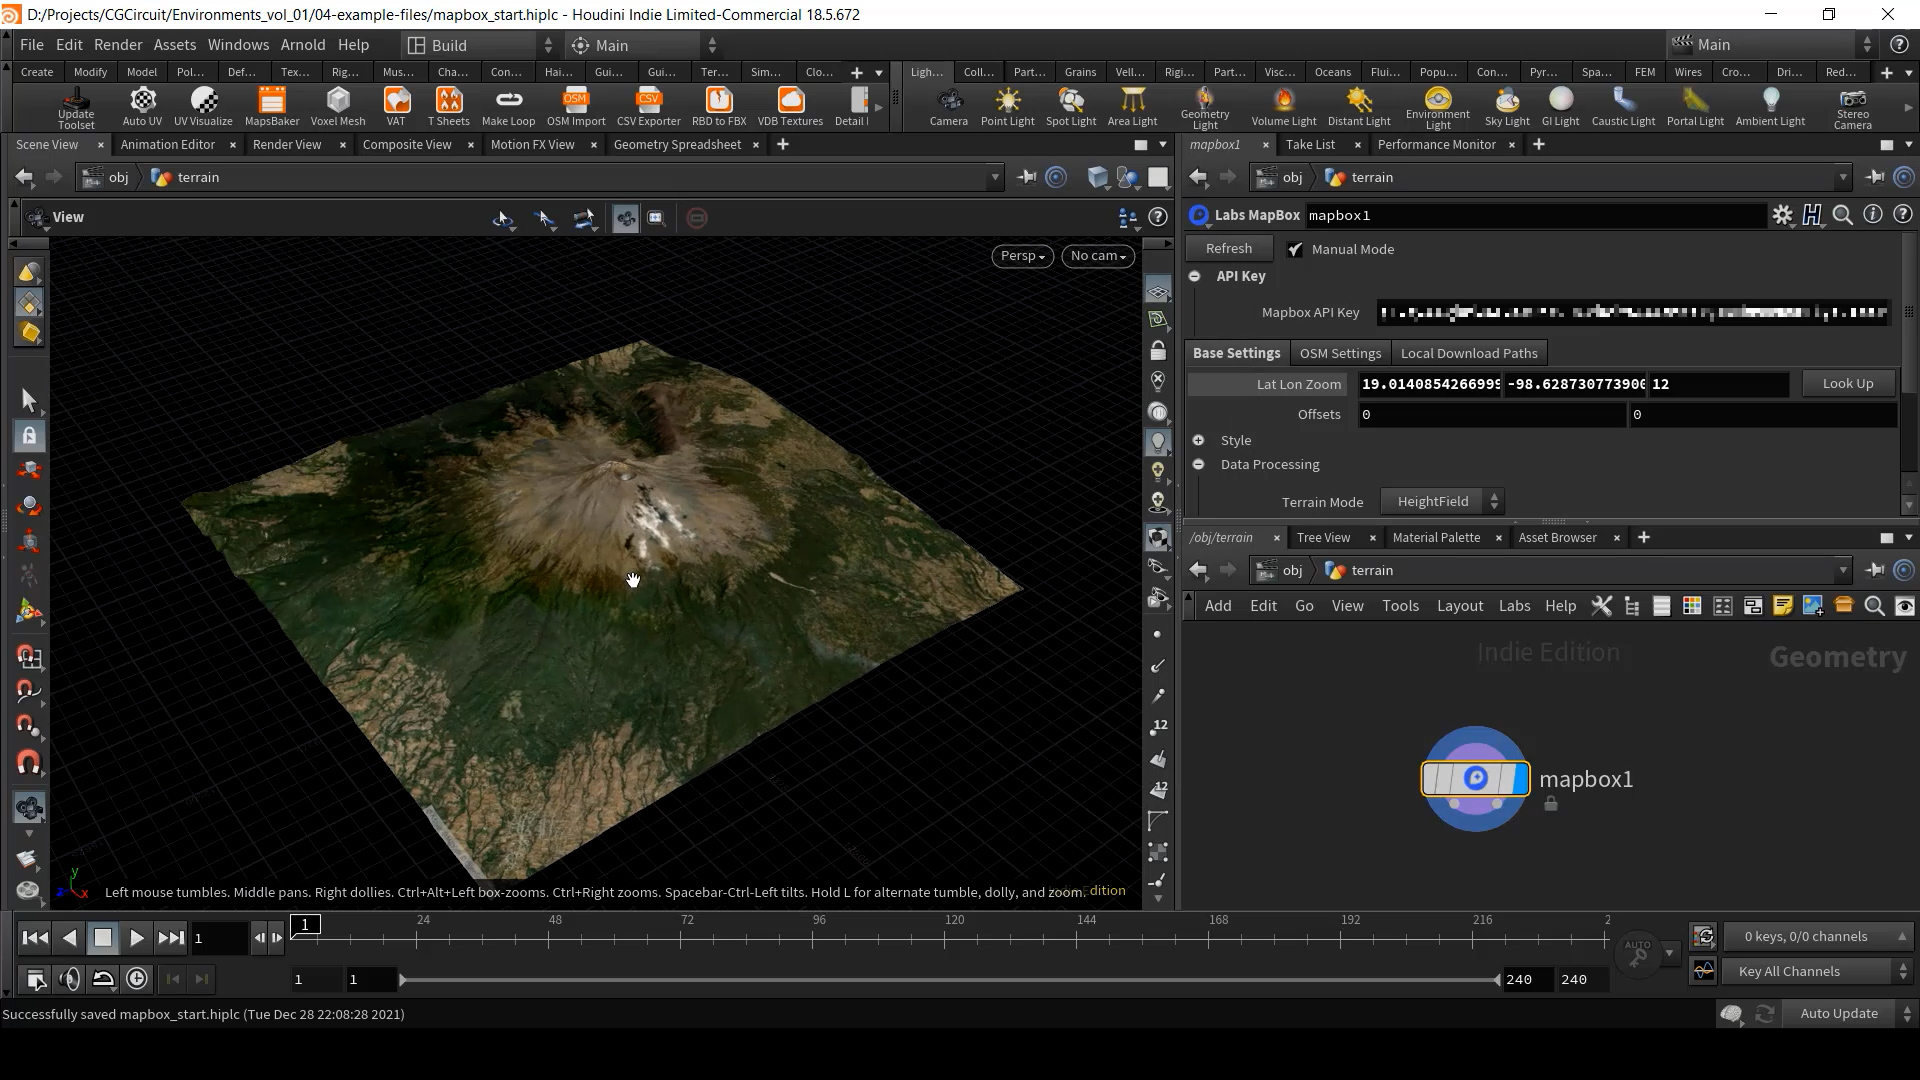
- Ability to create extremely accurate and realistic terrains using real-world data.
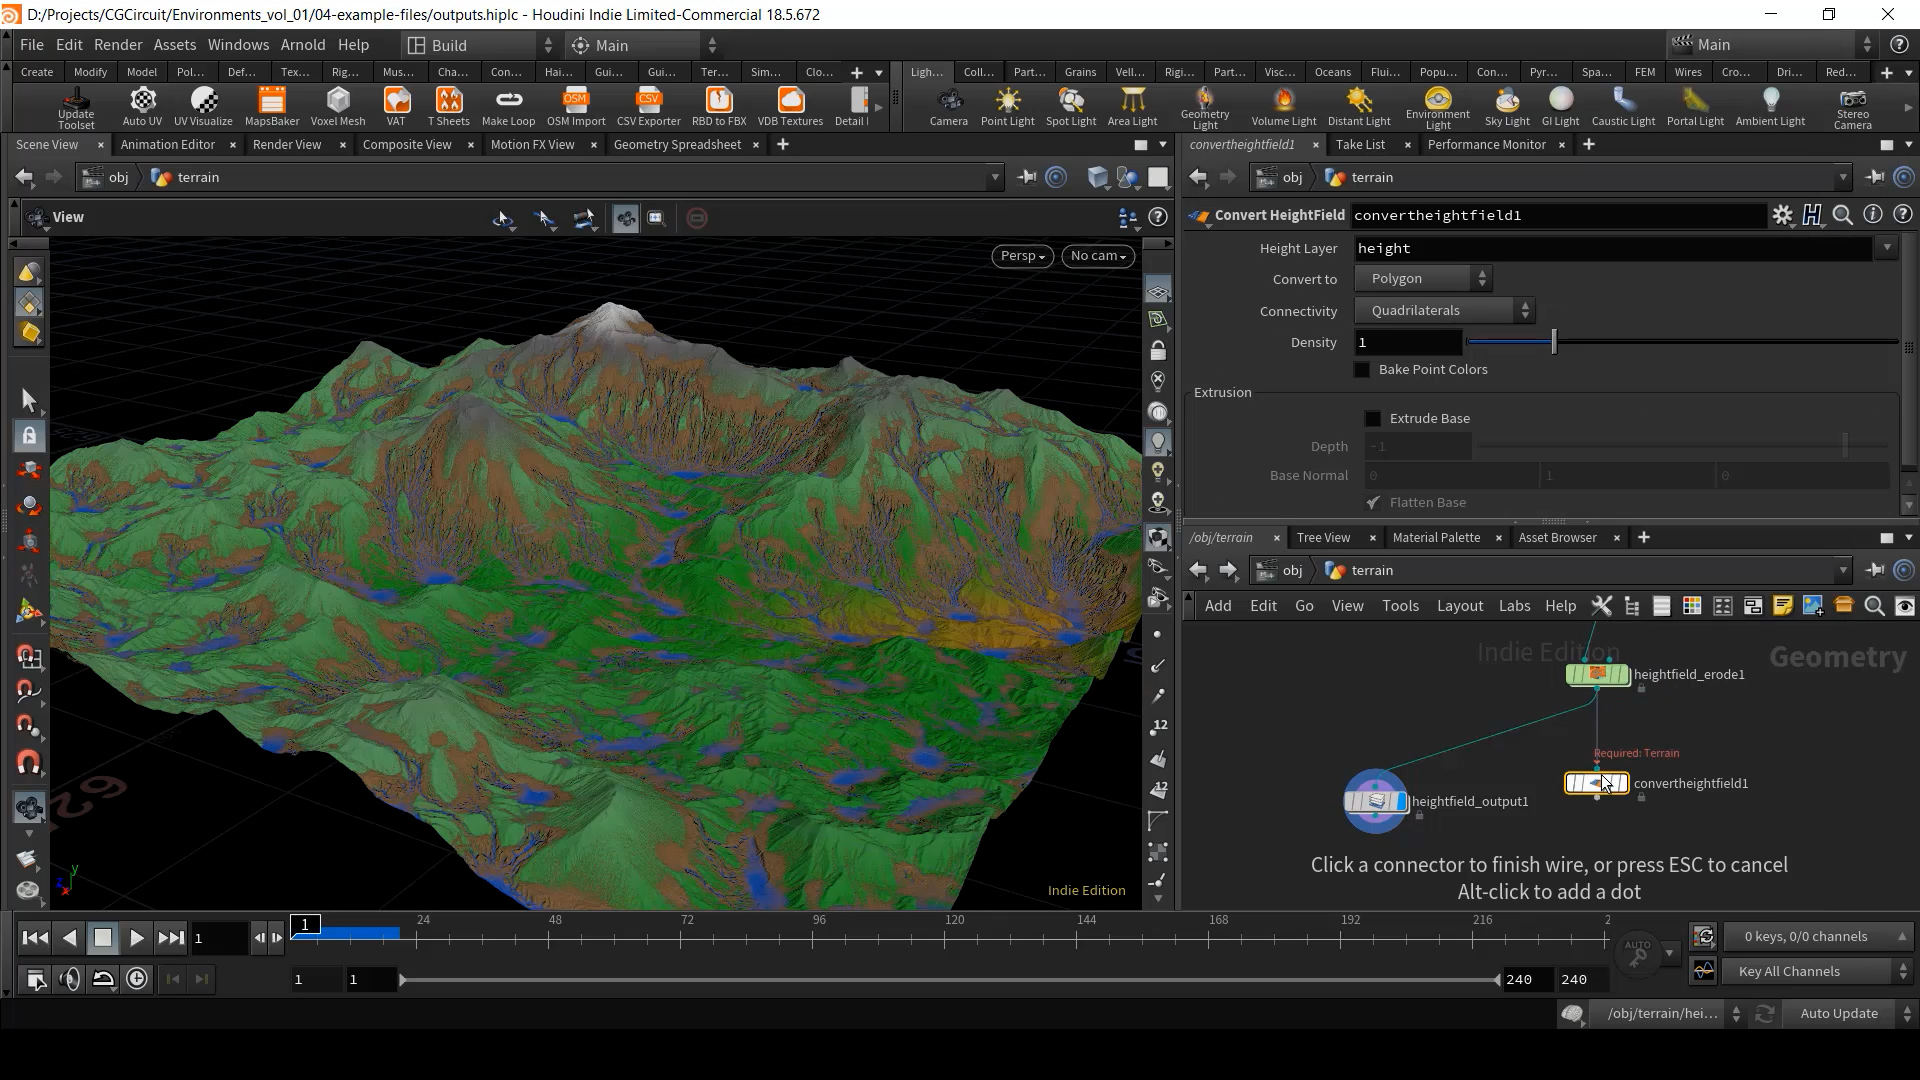
- Understanding of how to output generated terrains as geometry and images for use in external and third-party applications.
- A basic understanding of how to composite a multi-layer render.
Course Structure
Chapter 1: Displacement and Height Fields
- Introduction
- Geometry displacement
- Height Fields explained
Chapter 2: Basic Height Field building blocks
- Noise and Distort
- Blur and Clip
- Project and Terrace
Chapter 3: Masking Techniques
- Draw Mask and Mask by object
- Mask by Feature
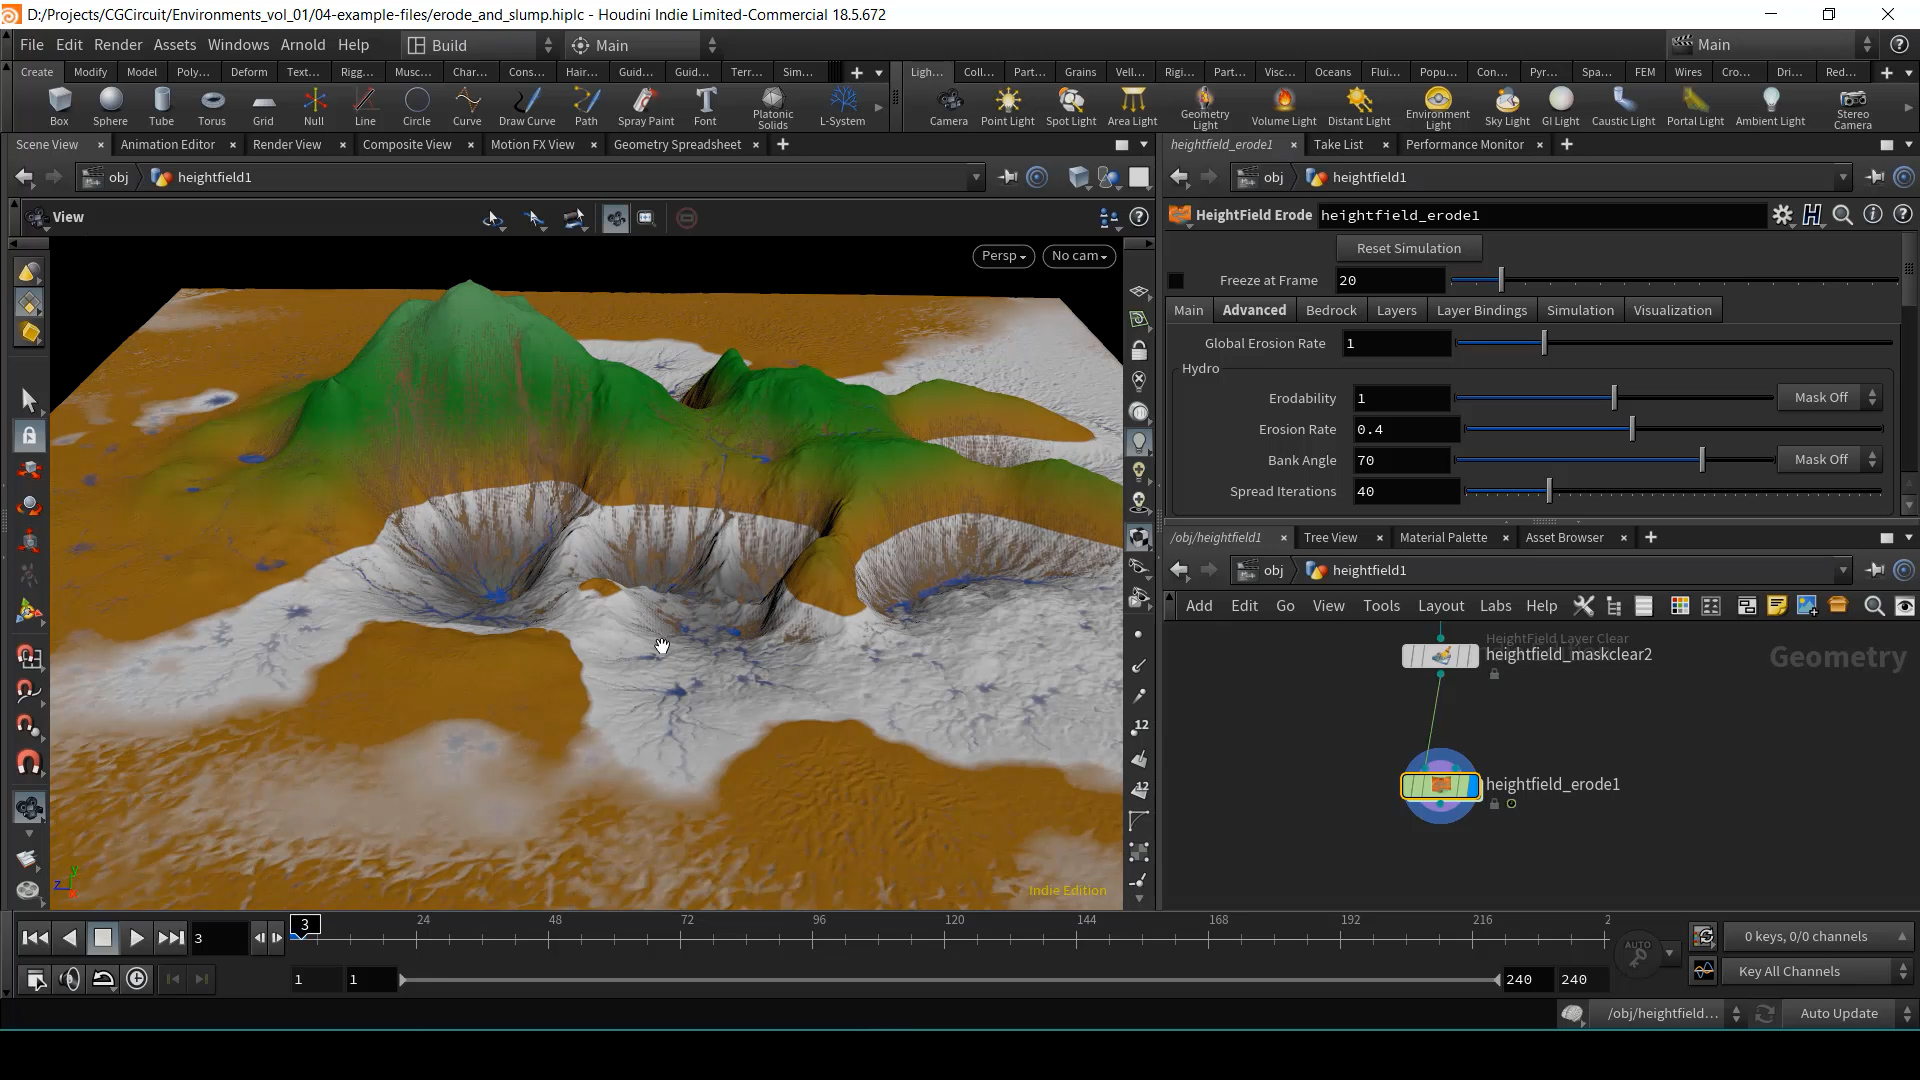
Chapter 4: Simulating natural processes
- Heigh Field Erode
- Height Field Slump
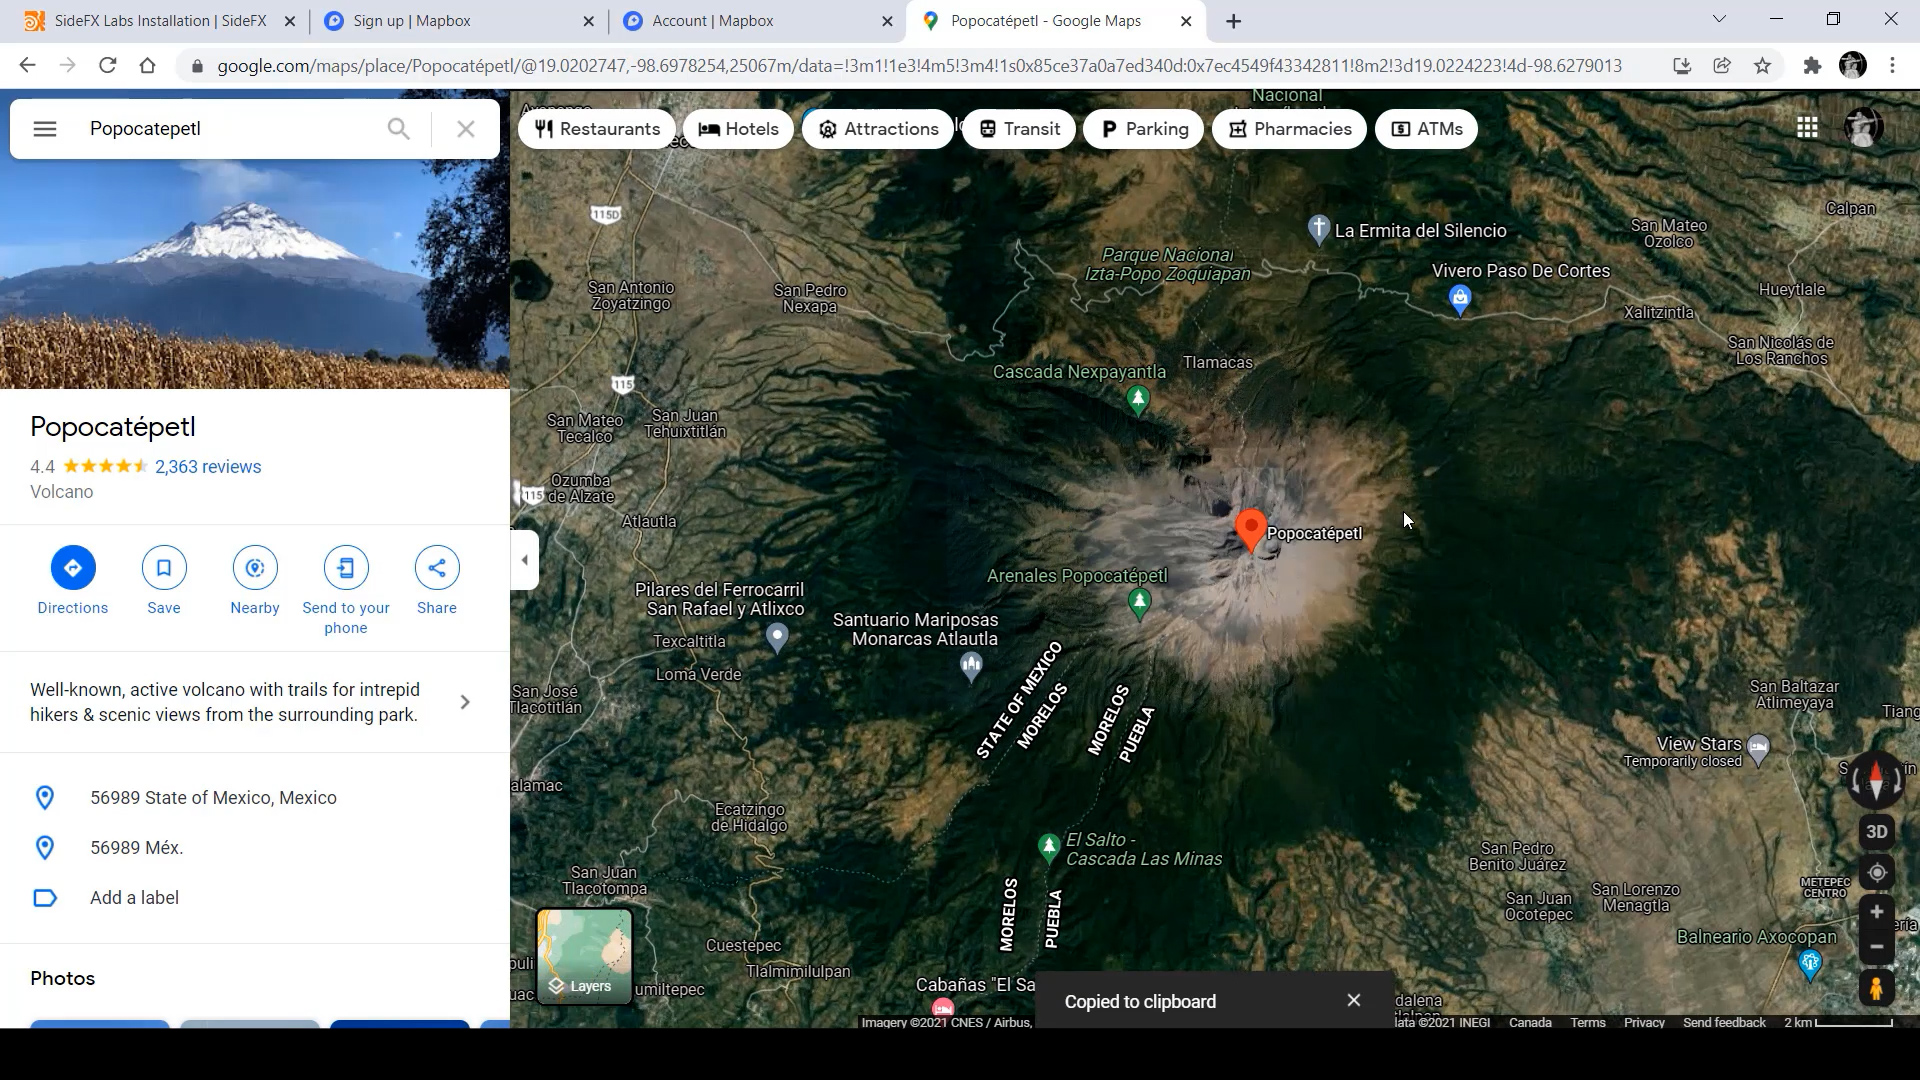
Chapter 5-6: Using real world data
- Capturing real world data with MapBox
- Height Field Output
- Convert, Quickshade and Copy Layer nodes
@media print {
.ms-editor-squiggler {
display:none !important;
}
}
.ms-editor-squiggler {
all: initial;
display: block !important;
height: 0px !important;
width: 0px !important;
}
@media print {
.ms-editor-squiggler {
display:none !important;
}
}
.ms-editor-squiggler {
all: initial;
display: block !important;
height: 0px !important;
width: 0px !important;
}
@media print {
.ms-editor-squiggler {
display:none !important;
}
}
.ms-editor-squiggler {
all: initial;
display: block !important;
height: 0px !important;
width: 0px !important;
}
@media print {
.ms-editor-squiggler {
display:none !important;
}
}
.ms-editor-squiggler {
all: initial;
display: block !important;
height: 0px !important;
width: 0px !important;
}
@media print {
.ms-editor-squiggler {
display:none !important;
}
}
.ms-editor-squiggler {
all: initial;
display: block !important;
height: 0px !important;
width: 0px !important;
}
@media print {
.ms-editor-squiggler {
display:none !important;
}
}
.ms-editor-squiggler {
all: initial;
display: block !important;
height: 0px !important;
width: 0px !important;
}
@media print {
.ms-editor-squiggler {
display:none !important;
}
}
.ms-editor-squiggler {
all: initial;
display: block !important;
height: 0px !important;
width: 0px !important;
}
@media print {
.ms-editor-squiggler {
display:none !important;
}
}
.ms-editor-squiggler {
all: initial;
display: block !important;
height: 0px !important;
width: 0px !important;
}
@media print {
.ms-editor-squiggler {
display:none !important;
}
}
.ms-editor-squiggler {
all: initial;
display: block !important;
height: 0px !important;
width: 0px !important;
}
@media print {
.ms-editor-squiggler {
display:none !important;
}
}
.ms-editor-squiggler {
all: initial;
display: block !important;
height: 0px !important;
width: 0px !important;
}
@media print {
.ms-editor-squiggler {
display:none !important;
}
}
.ms-editor-squiggler {
all: initial;
display: block !important;
height: 0px !important;
width: 0px !important;
}
@media print {
.ms-editor-squiggler {
display:none !important;
}
}
.ms-editor-squiggler {
all: initial;
display: block !important;
height: 0px !important;
width: 0px !important;
}
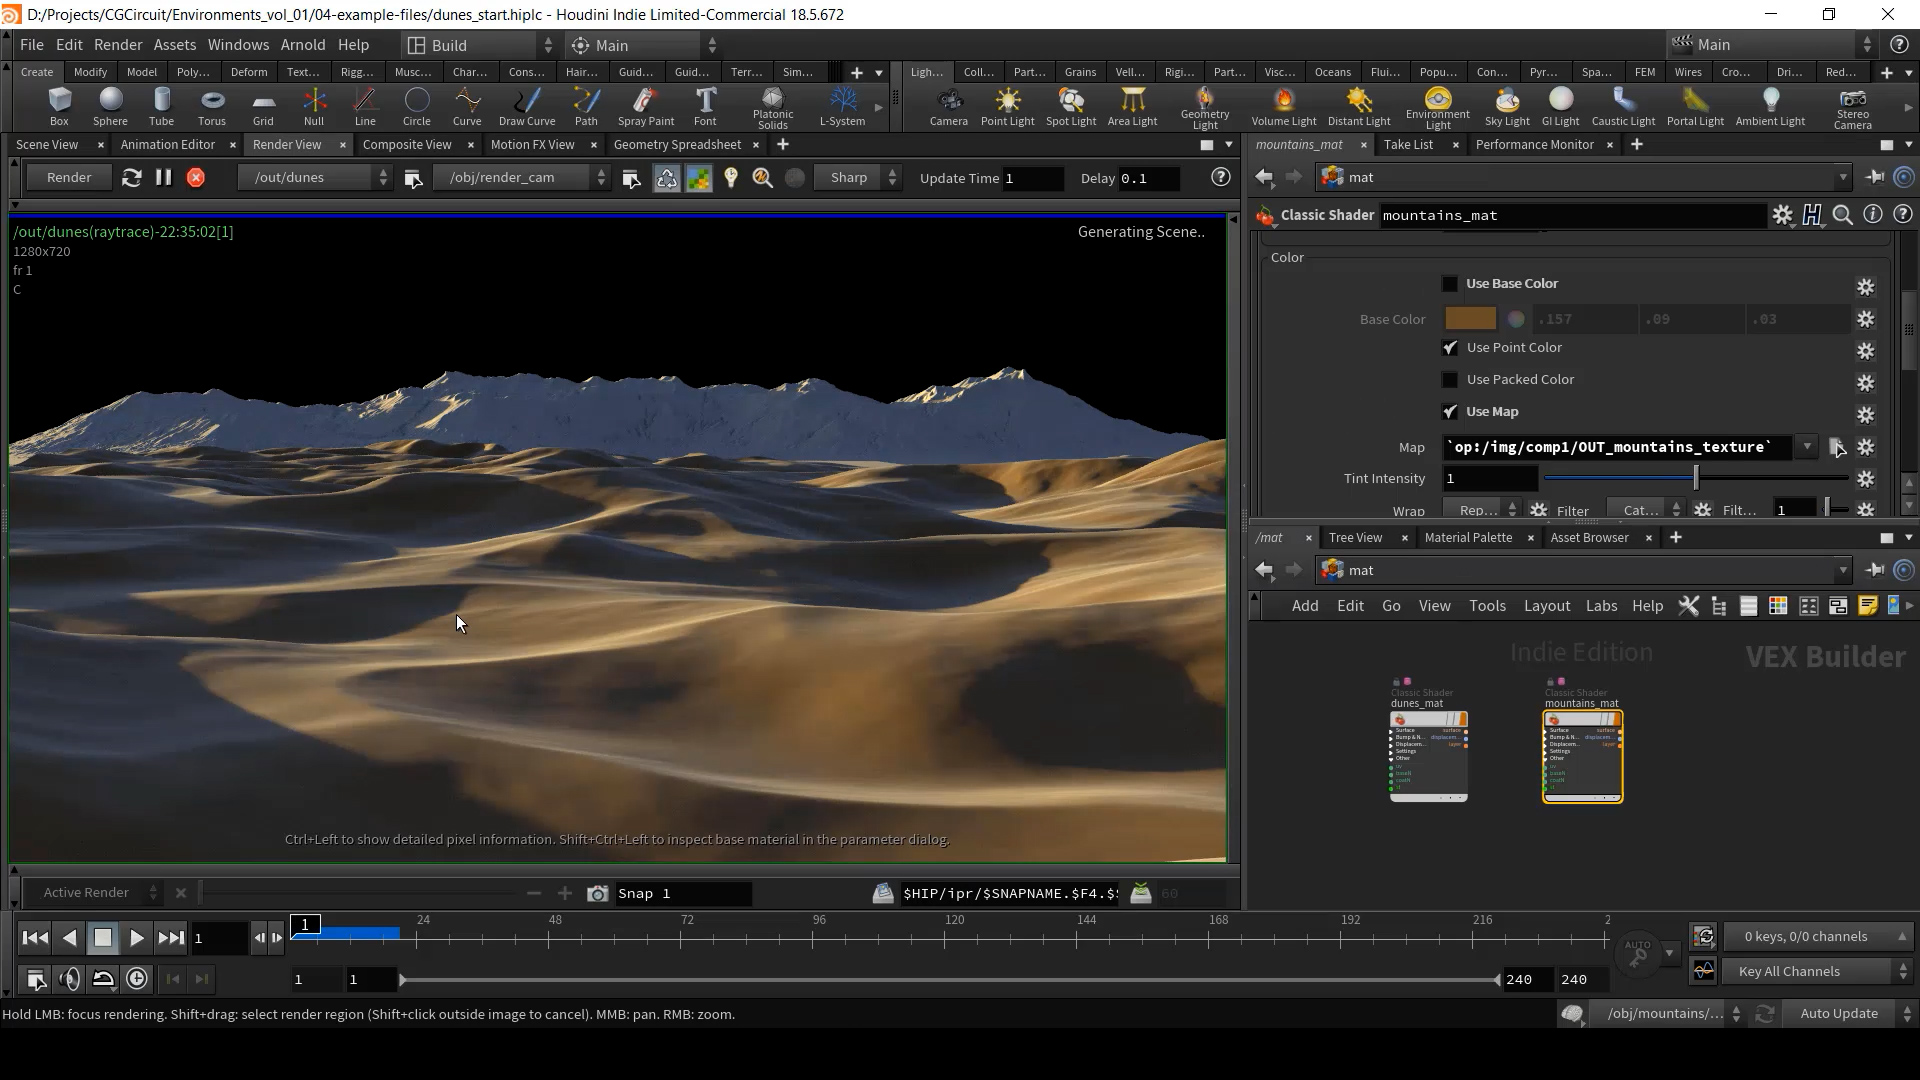
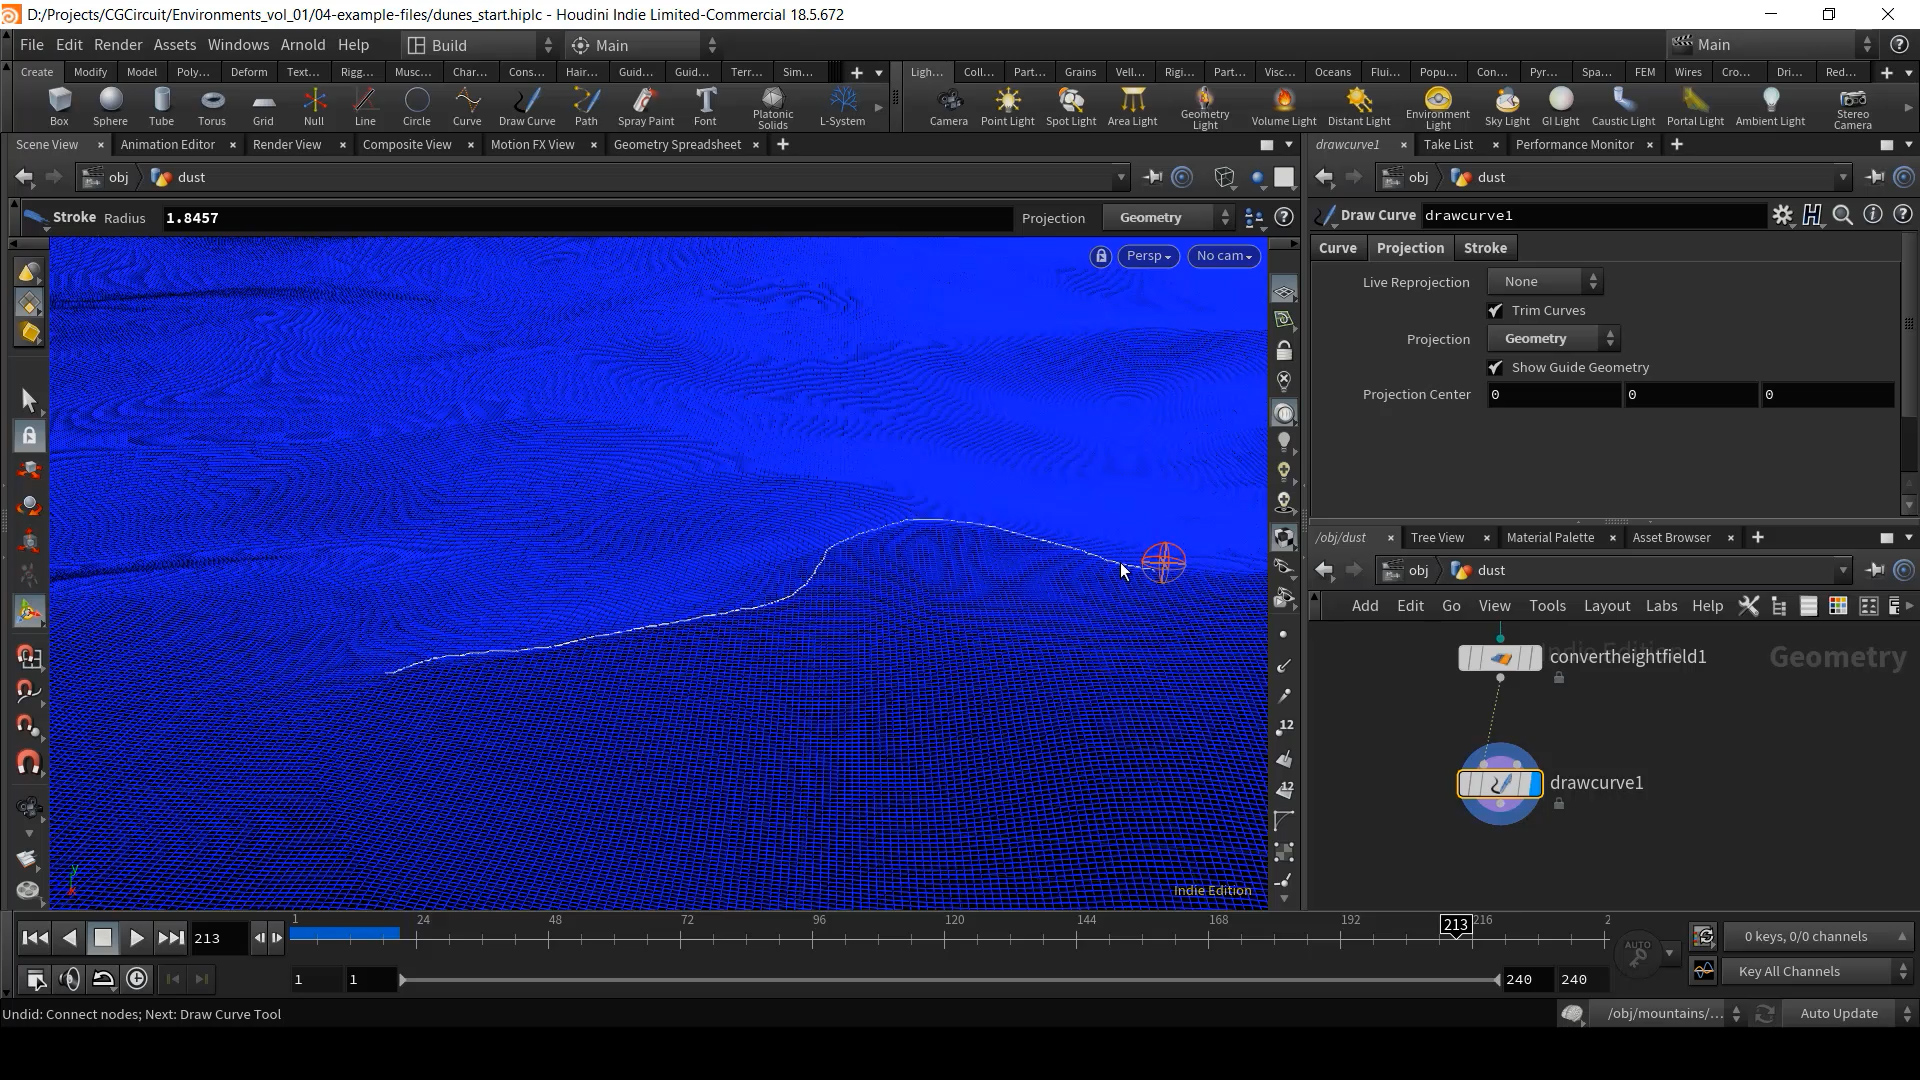
Chapter 7: Final Project, modeling the terrain
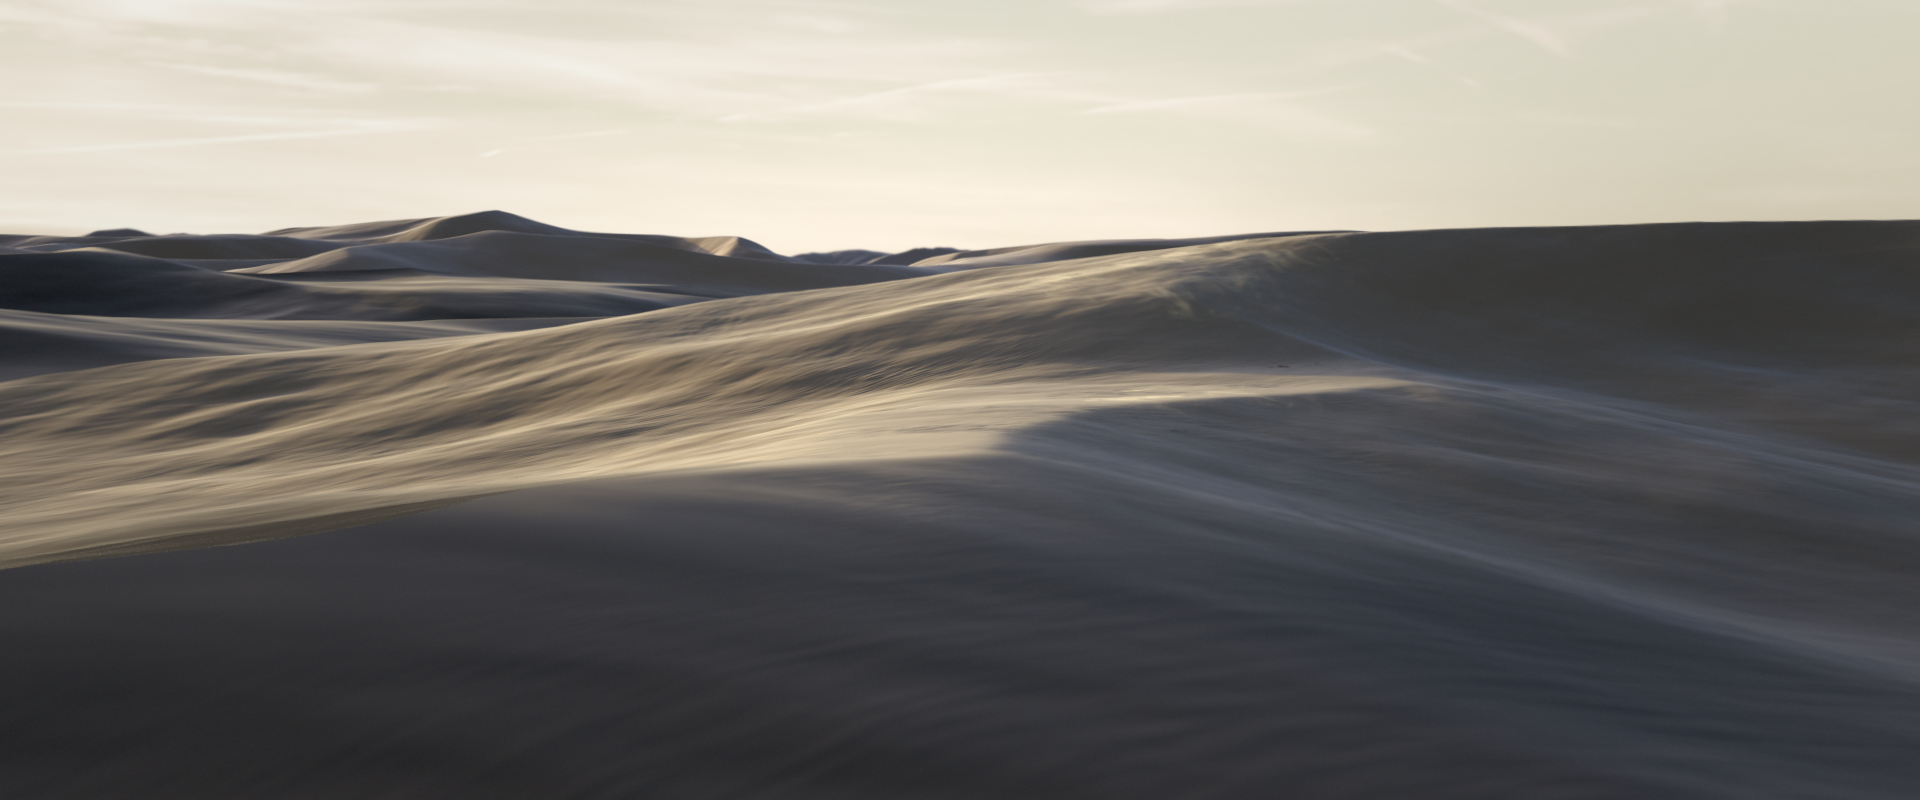
- Creating the base Dune terrain
- Adding details to the terrain
- Creating natural looking masks
- Creating a tileable Dune Midground
- Laying out the Midground Dunes
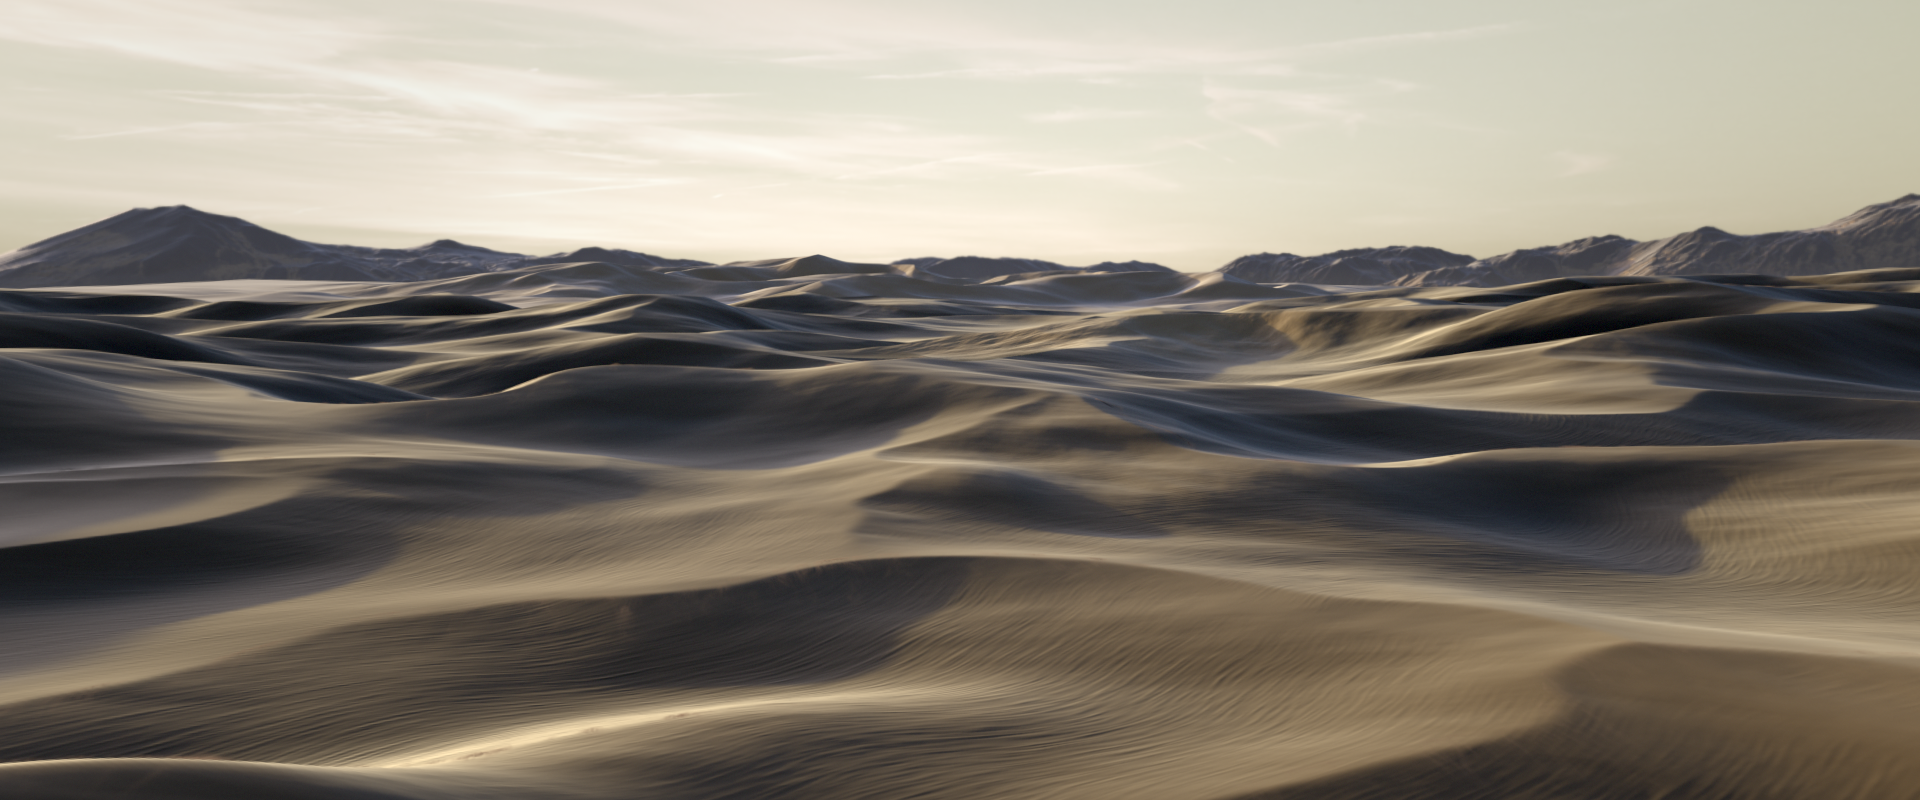
- Creating a Backdrop for the scene
- Creating the background Mountains
@media print {
.ms-editor-squiggler {
display:none !important;
}
}
.ms-editor-squiggler {
all: initial;
display: block !important;
height: 0px !important;
width: 0px !important;
}
@media print {
.ms-editor-squiggler {
display:none !important;
}
}
.ms-editor-squiggler {
all: initial;
display: block !important;
height: 0px !important;
width: 0px !important;
}
@media print {
.ms-editor-squiggler {
display:none !important;
}
}
.ms-editor-squiggler {
all: initial;
display: block !important;
height: 0px !important;
width: 0px !important;
}
@media print {
.ms-editor-squiggler {
display:none !important;
}
}
.ms-editor-squiggler {
all: initial;
display: block !important;
height: 0px !important;
width: 0px !important;
}
@media print {
.ms-editor-squiggler {
display:none !important;
}
}
.ms-editor-squiggler {
all: initial;
display: block !important;
height: 0px !important;
width: 0px !important;
}
@media print {
.ms-editor-squiggler {
display:none !important;
}
}
.ms-editor-squiggler {
all: initial;
display: block !important;
height: 0px !important;
width: 0px !important;
}
@media print {
.ms-editor-squiggler {
display:none !important;
}
}
.ms-editor-squiggler {
all: initial;
display: block !important;
height: 0px !important;
width: 0px !important;
}
@media print {
.ms-editor-squiggler {
display:none !important;
}
}
.ms-editor-squiggler {
all: initial;
display: block !important;
height: 0px !important;
width: 0px !important;
}
@media print {
.ms-editor-squiggler {
display:none !important;
}
}
.ms-editor-squiggler {
all: initial;
display: block !important;
height: 0px !important;
width: 0px !important;
}
@media print {
.ms-editor-squiggler {
display:none !important;
}
}
.ms-editor-squiggler {
all: initial;
display: block !important;
height: 0px !important;
width: 0px !important;
}
@media print {
.ms-editor-squiggler {
display:none !important;
}
}
.ms-editor-squiggler {
all: initial;
display: block !important;
height: 0px !important;
width: 0px !important;
}
@media print {
.ms-editor-squiggler {
display:none !important;
}
}
.ms-editor-squiggler {
all: initial;
display: block !important;
height: 0px !important;
width: 0px !important;
}
Chapter 8: Final Project, Lighting, Shading and Rendering
- Lighting the scene
- Creating base shaders
- Creating textures based on terrain layers
- Creating the background sky
- Rendering the scene
Chapter 9: Final Project, Compositing
- Setting up your composite
- Creating a template for your CG layers
- Color correcting the image
- Adding vignetting and grain
- Writing out your final composite
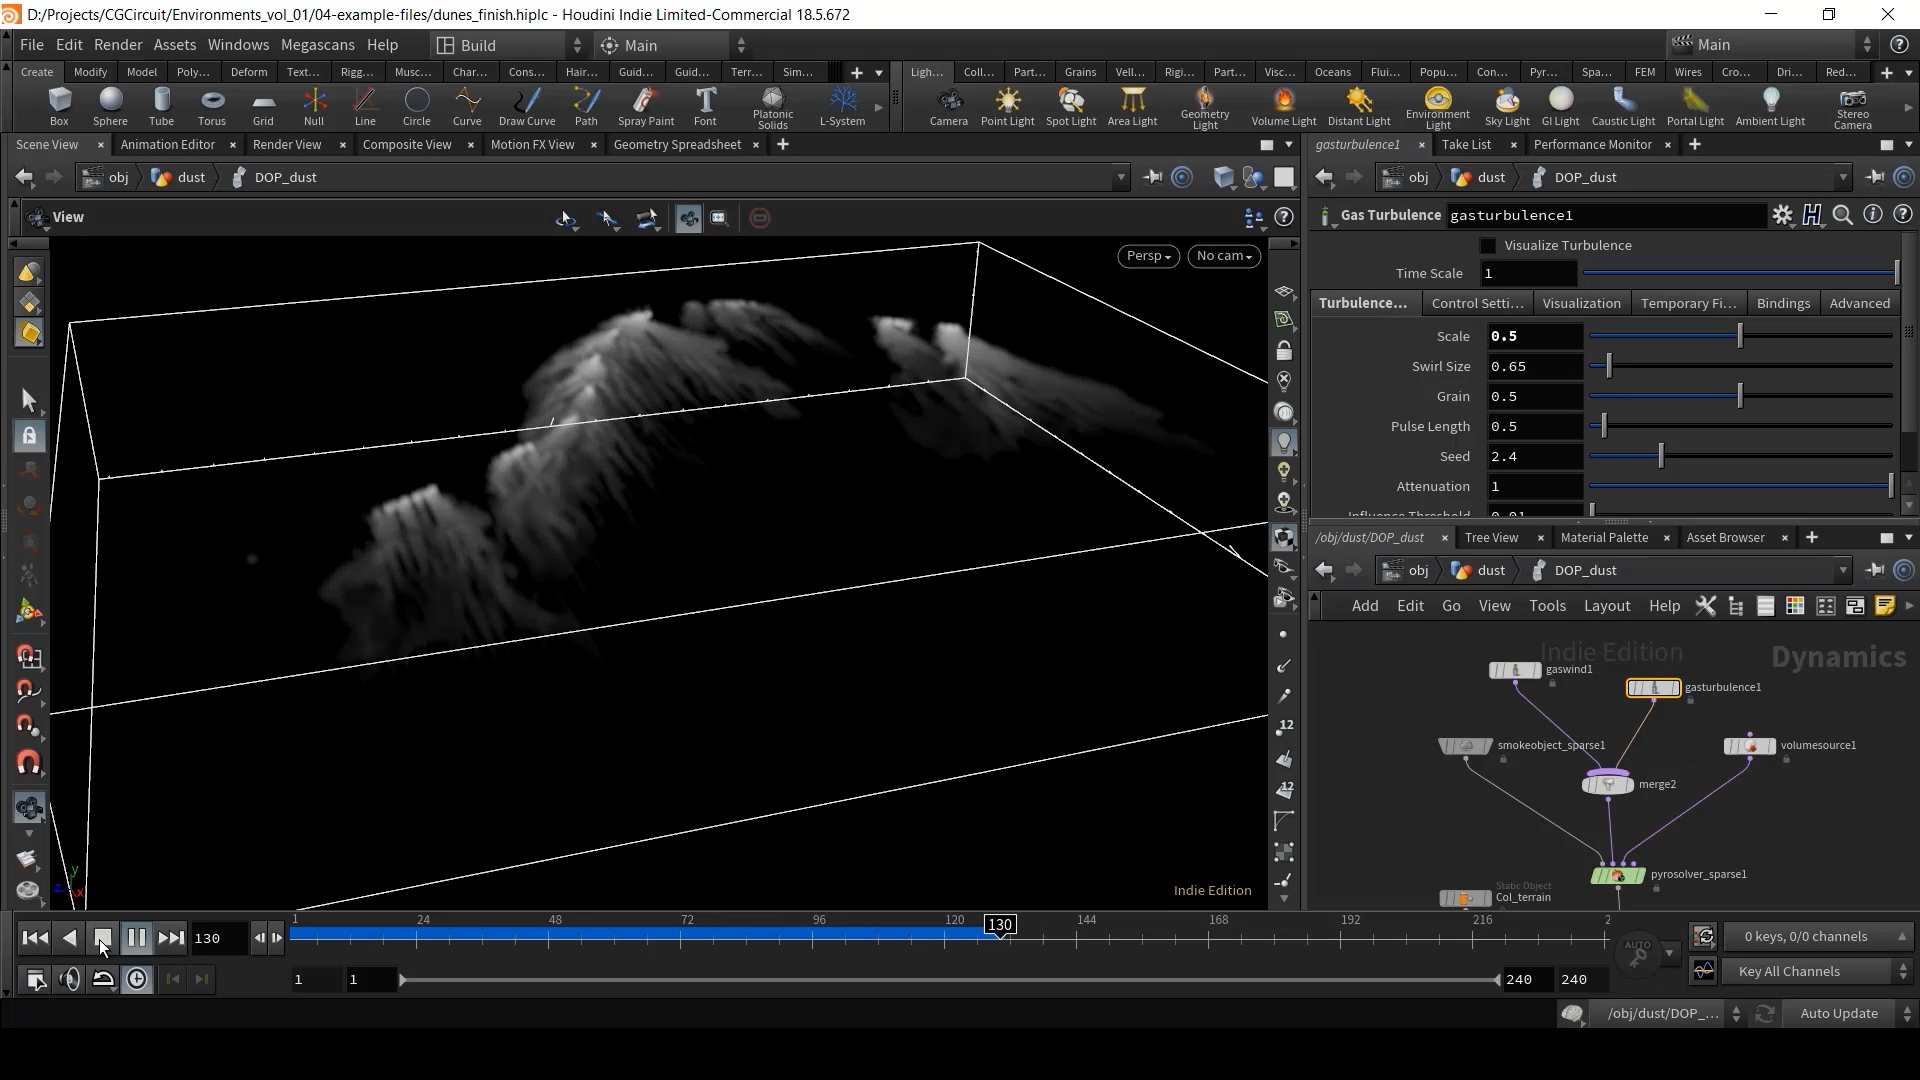
Chapter 10: Bonus chapter, dust simulations
- Dust emitter
- Dust simulation
David Adan
Lead FX TD at Cinesite
David Adan is a Digital Visual Effects Artist, Producer and Compositor with more than 15 years of experience working in the Television, Games, Films, Architecture and Education industries.David has a bachelor degree in Graphic Design and received the "Discreet Certified Instructor" title in 2004 to teach 3D Studio Max and Combustion software. Among many other certification programs, he has recently concluded the “FX TDT Mentor Program” with Allan McKay.Early in his professional career David produced several successful Television campaigns for major clients including TV Azteka, Unilever and La Salle University. Also in 2004, he founded Studio 3D, a VFX and animation company where he provided several specialized services like 3D prototyping for companies like Cadbury-Adams, Jumex, Coca-Cola, Unilever, and created game assets and cinematics for companies like Mainfold Studios and Peter’s Packets.In the Architecture industry, he has provided photorealistic renderings and animations for high end projects for the Royal Family of Qatar and the Qatar Armed forces.Parallel to his work in production, David has provided specialized training in post-production for major Television Stations like Televisa and TV Azteka and has taught in important universities like “Instituto Tecnologico de Monterrey” and “Universidad La Salle”.More recently his passion for cinematography and VFX has led him to work as VFX artist and Compositor in films like the Turkish epic “Fetih 1453”, “Herbst” and “Timebreakers”.Tools used: Houdini, 3D Studio Max, ZBrush, Maya, Nuke, After Effects, Photoshop, Mari, Thinking Particles and FumeFX.Skills: VFX Production, Compositing, 3D Modeling, Animation, Consulting.
www.davidadan.com
@media print {
.ms-editor-squiggler {
display:none !important;
}
}
.ms-editor-squiggler {
all: initial;
display: block !important;
height: 0px !important;
width: 0px !important;
}
@media print {
.ms-editor-squiggler {
display:none !important;
}
}
.ms-editor-squiggler {
all: initial;
display: block !important;
height: 0px !important;
width: 0px !important;
}
@media print {
.ms-editor-squiggler {
display:none !important;
}
}
.ms-editor-squiggler {
all: initial;
display: block !important;
height: 0px !important;
width: 0px !important;
}
@media print {
.ms-editor-squiggler {
display:none !important;
}
}
.ms-editor-squiggler {
all: initial;
display: block !important;
height: 0px !important;
width: 0px !important;
}
@media print {
.ms-editor-squiggler {
display:none !important;
}
}
.ms-editor-squiggler {
all: initial;
display: block !important;
height: 0px !important;
width: 0px !important;
}


COMMENTS
Please log in to leave a comment.