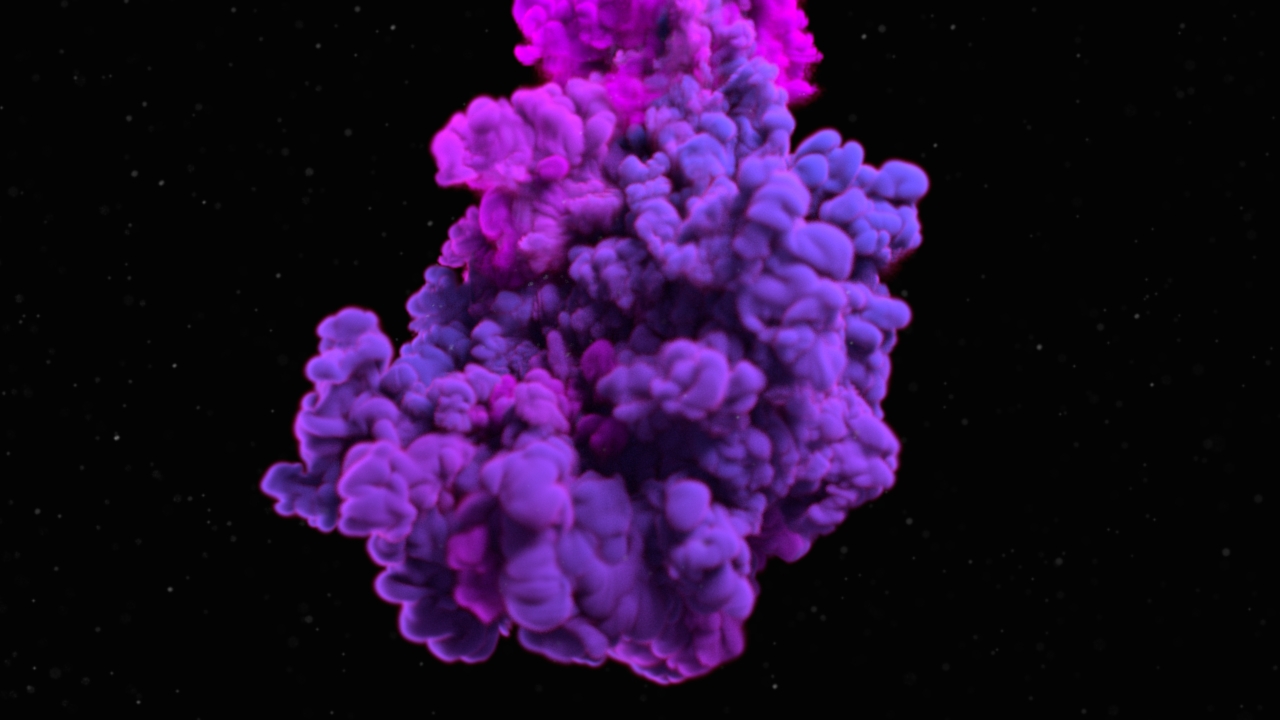
INK IN WATER EFFECT
Throughout the tutorial, you will learn many useful tips and techniques, like creating colored volumes, rendering depth of field, sourcing particles with density volumes, creating Arnold shaders and lights, compositing layers with the Houdini compositing environment and more.
Course Structure:
Chapter 1: Ink in water Pyro simulation
- Project overview and references
- Creating the Density and Velocity point attributes
- Creating the Color and Pscale point attributes
- Converting Points into Volumes
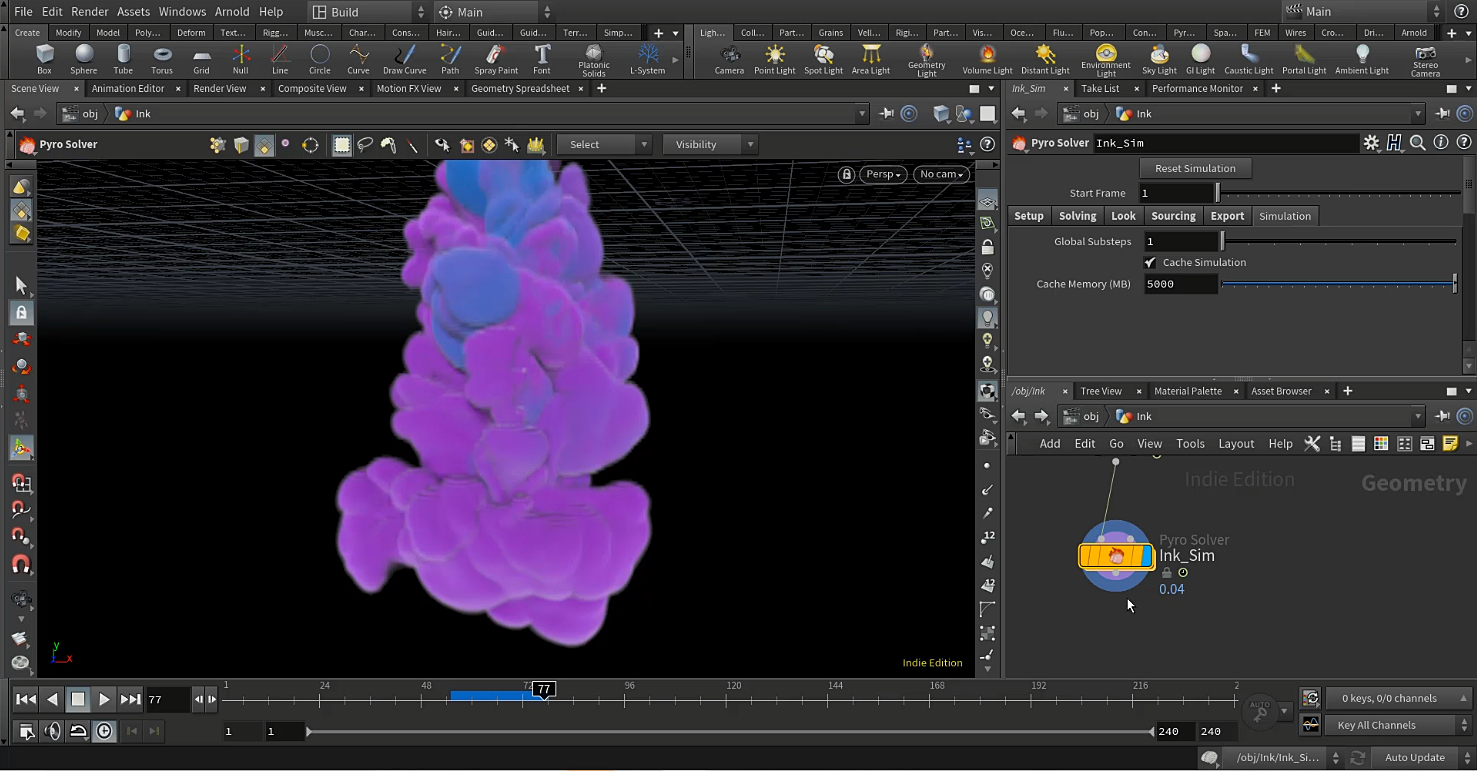
- Setting up the Pyro Solver
- Buoyancy
- Color volumes
- Final tweaks and caching
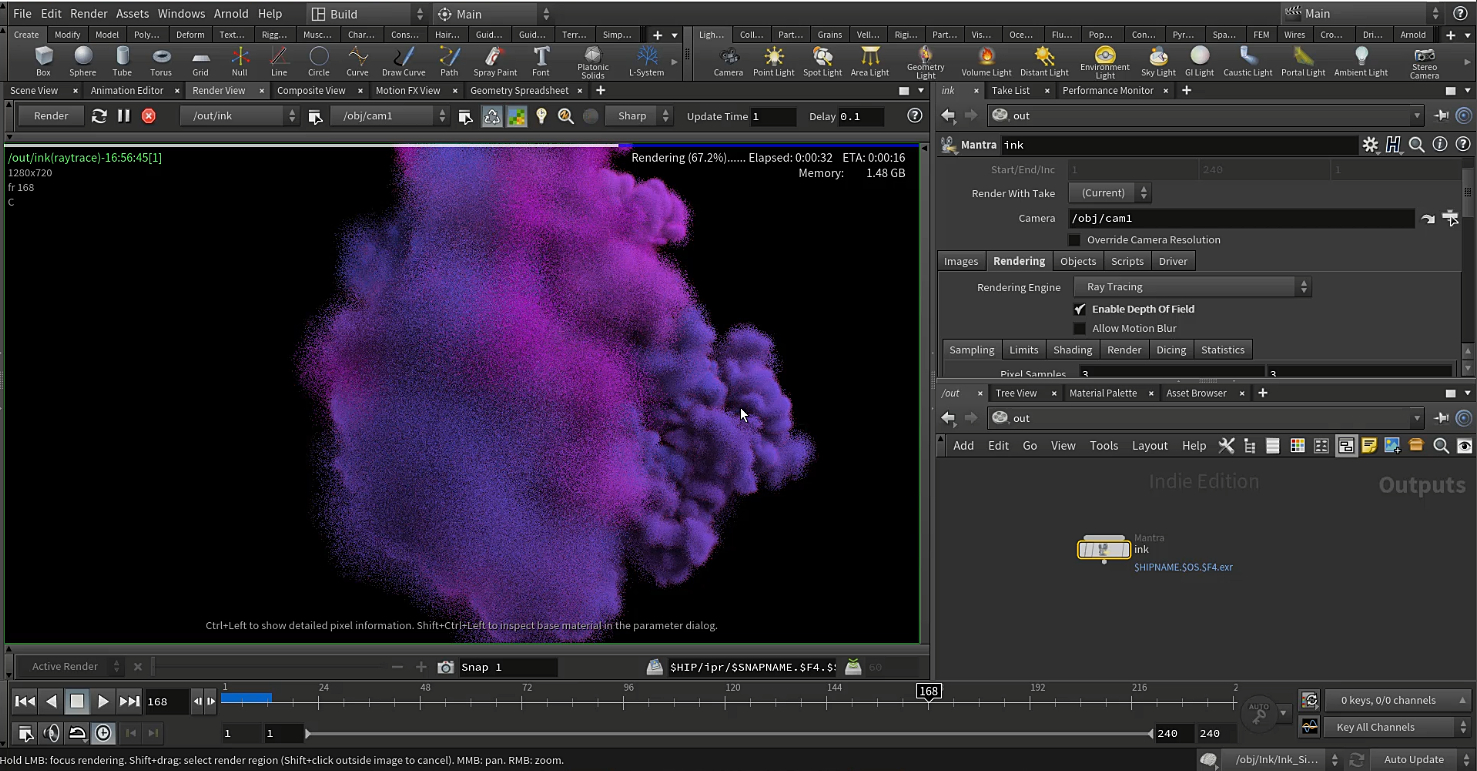
Chapter 2: Rendering with Mantra and Arnold
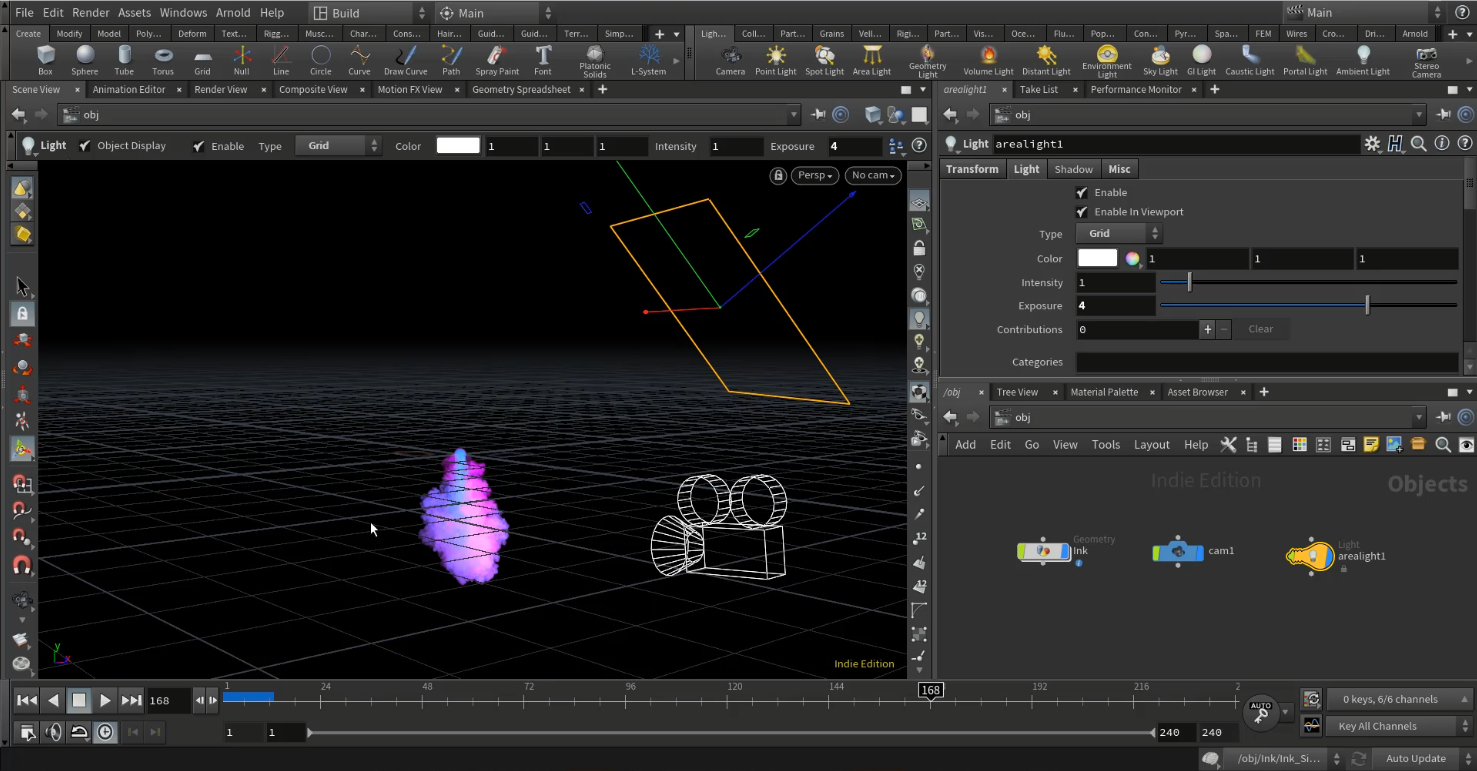
- Setting up a key light and Mantra ROP
- Adding rim light and Depth of Field
- Rendering with Arnold - Part 1
- Rendering with Arnold - Part 2
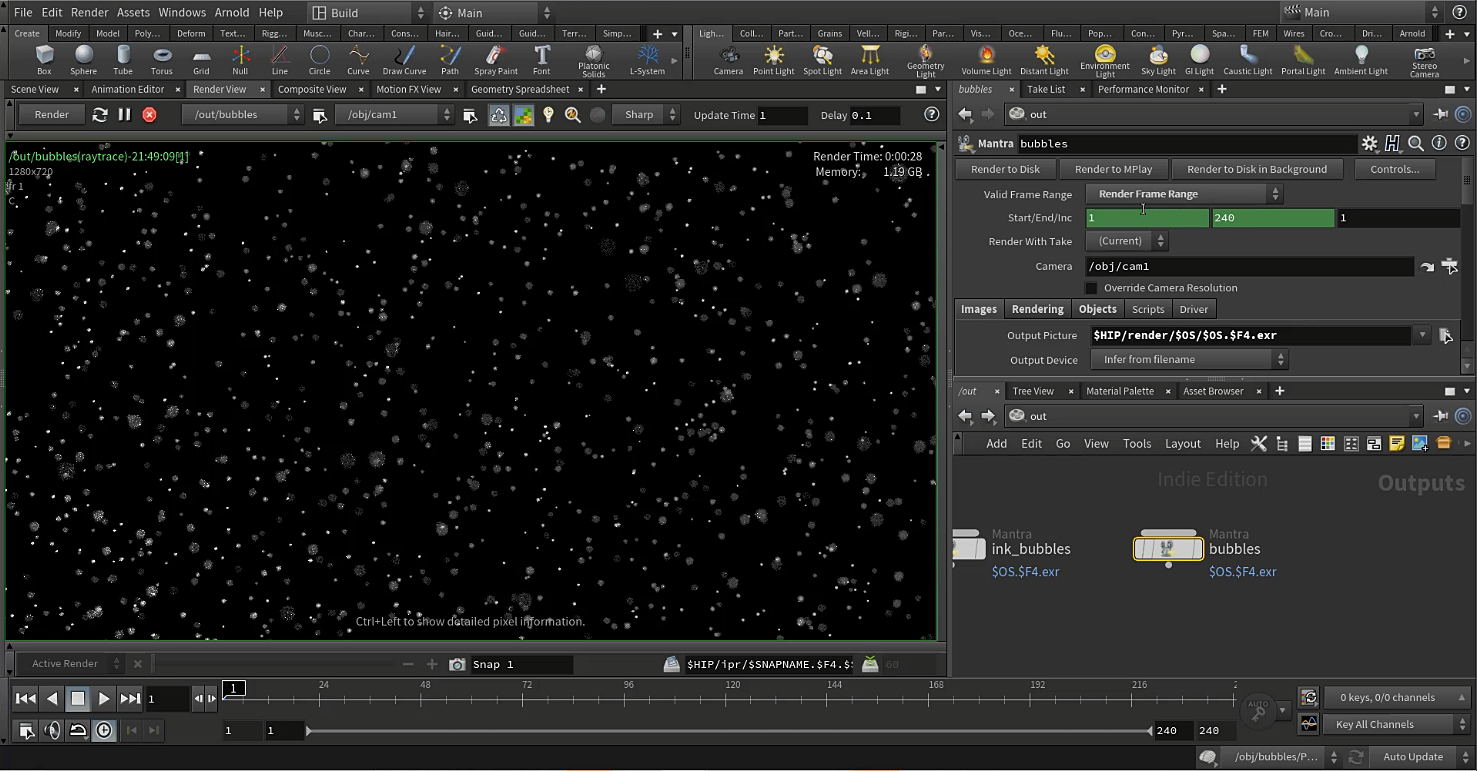
Chapter 3: Advecting bubble particles
- Scattering points on the ink volume
- Masking the emitter points
- Advecting particles with a velocity volume
- Final tweaks to bubble sim and caching
- Controlling final point count and adding geometry to the particles
- Randomize bubble scale and render
Chapter 4: Generic bubbles
- Creating generic bubble particles - Part 1
- Creating generic bubble particles - Part 2
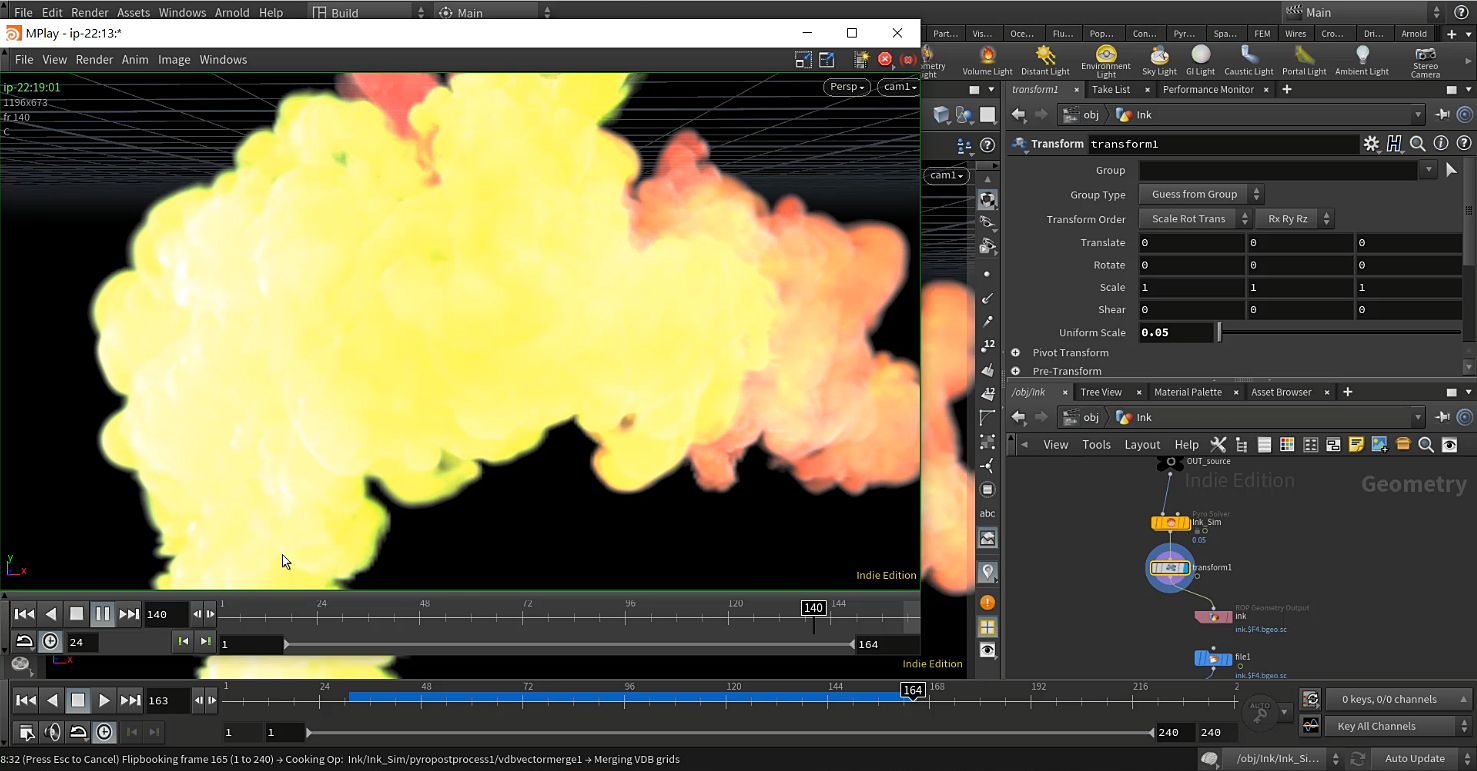
Chapter 5: Compositing
- Compositing the frames within Houdini
- Exporting the final Composite
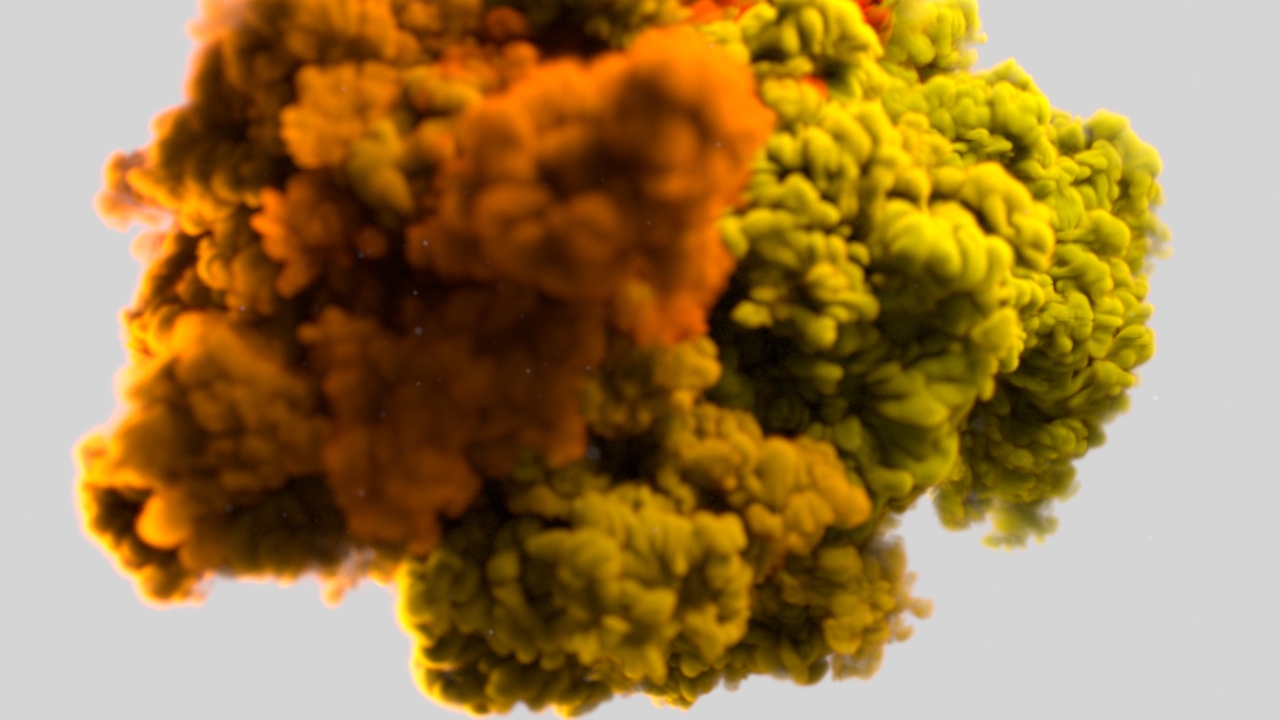
Chapter 6: Bonus exercise mixing two colored volumes
- Multicolor ink effect
- Conclusion
David Adan
Lead FX TD at Cinesite
David Adan is a Digital Visual Effects Artist, Producer and Compositor with more than 15 years of experience working in the Television, Games, Films, Architecture and Education industries.David has a bachelor degree in Graphic Design and received the "Discreet Certified Instructor" title in 2004 to teach 3D Studio Max and Combustion software. Among many other certification programs, he has recently concluded the “FX TDT Mentor Program” with Allan McKay.Early in his professional career David produced several successful Television campaigns for major clients including TV Azteka, Unilever and La Salle University. Also in 2004, he founded Studio 3D, a VFX and animation company where he provided several specialized services like 3D prototyping for companies like Cadbury-Adams, Jumex, Coca-Cola, Unilever, and created game assets and cinematics for companies like Mainfold Studios and Peter’s Packets.In the Architecture industry, he has provided photorealistic renderings and animations for high end projects for the Royal Family of Qatar and the Qatar Armed forces.Parallel to his work in production, David has provided specialized training in post-production for major Television Stations like Televisa and TV Azteka and has taught in important universities like “Instituto Tecnologico de Monterrey” and “Universidad La Salle”.More recently his passion for cinematography and VFX has led him to work as VFX artist and Compositor in films like the Turkish epic “Fetih 1453”, “Herbst” and “Timebreakers”.Tools used: Houdini, 3D Studio Max, ZBrush, Maya, Nuke, After Effects, Photoshop, Mari, Thinking Particles and FumeFX.Skills: VFX Production, Compositing, 3D Modeling, Animation, Consulting.
www.davidadan.com

CREATED BY

COMMENTS
Please log in to leave a comment.