Houdini Connect | Project Blue Book | Stormborn Studios
In addition to our Houdini Connect video feature, Stormborn Studio founders and VFX Supervisors Goran Pavles and Manuel Tausch also provided us with an elaborate project summary you can read below. Enjoy!
Global Collaboration
Finishing our very first water project Bharat in April 2019, containing a cargo ship fighting its way through a stormy ocean at night, helped us get our biggest and most challenging FX-sequence yet! The introduction to the final episode of the second season for Project Blue Book. In short, the protagonists, navy officers on the stern of the USS Wisconsin, are looking out to the ocean, when they see something unusual happening. A trolley that was there a second ago is suddenly gone. Instead, they see a dark object they can't really identify rising out of the ocean and charging at them with unnatural velocity. In their panic, they give order to shoot, causing the unidentified flying object to dive back into the ocean just behind their vessel. It's impact generating a massive splash and tidal wave, rolling under the navy ship, almost sinking it. Later in the episode, we are to have a second encounter with this mysterious object, just to see it dive again and vanish in the depth of the dark Barents sea.
The episode contained multiple sequences of navy ships and UFO's during day and night time on the open ocean. While we were very excited about the project, the amount of shots and level of difficulty was more than we could handle in the given time with our own team. Therefore we teamed up with Megalis, a high-end VFX studio located in Japan, to join us in this adventure.
Stormborn Studios would act as the main vendor building the bridge between the client and Megalis. Additionally we extended our own forces with some of the industry's finest Houdini water-FX TD's, Igor Zanic, Nikola Ilic, and Mirco Paolini. For shading and lighting of our FX elements, Nathaniel Holroyd joined the team together with Patrick Conaty, who took on the compositing of the CG elements over the plates and ship renders provided by the client. Under the supervision of Goran Pavles and Manuel Tausch, our team delivered some of the most awe-inspiring shots of our careers and showed what Stormborn was established for! We are very excited to share our challenges with you in this article and are looking forward for the next big challenges and projects.
Since everything is happening on and in the ocean, let's start with the obvious.
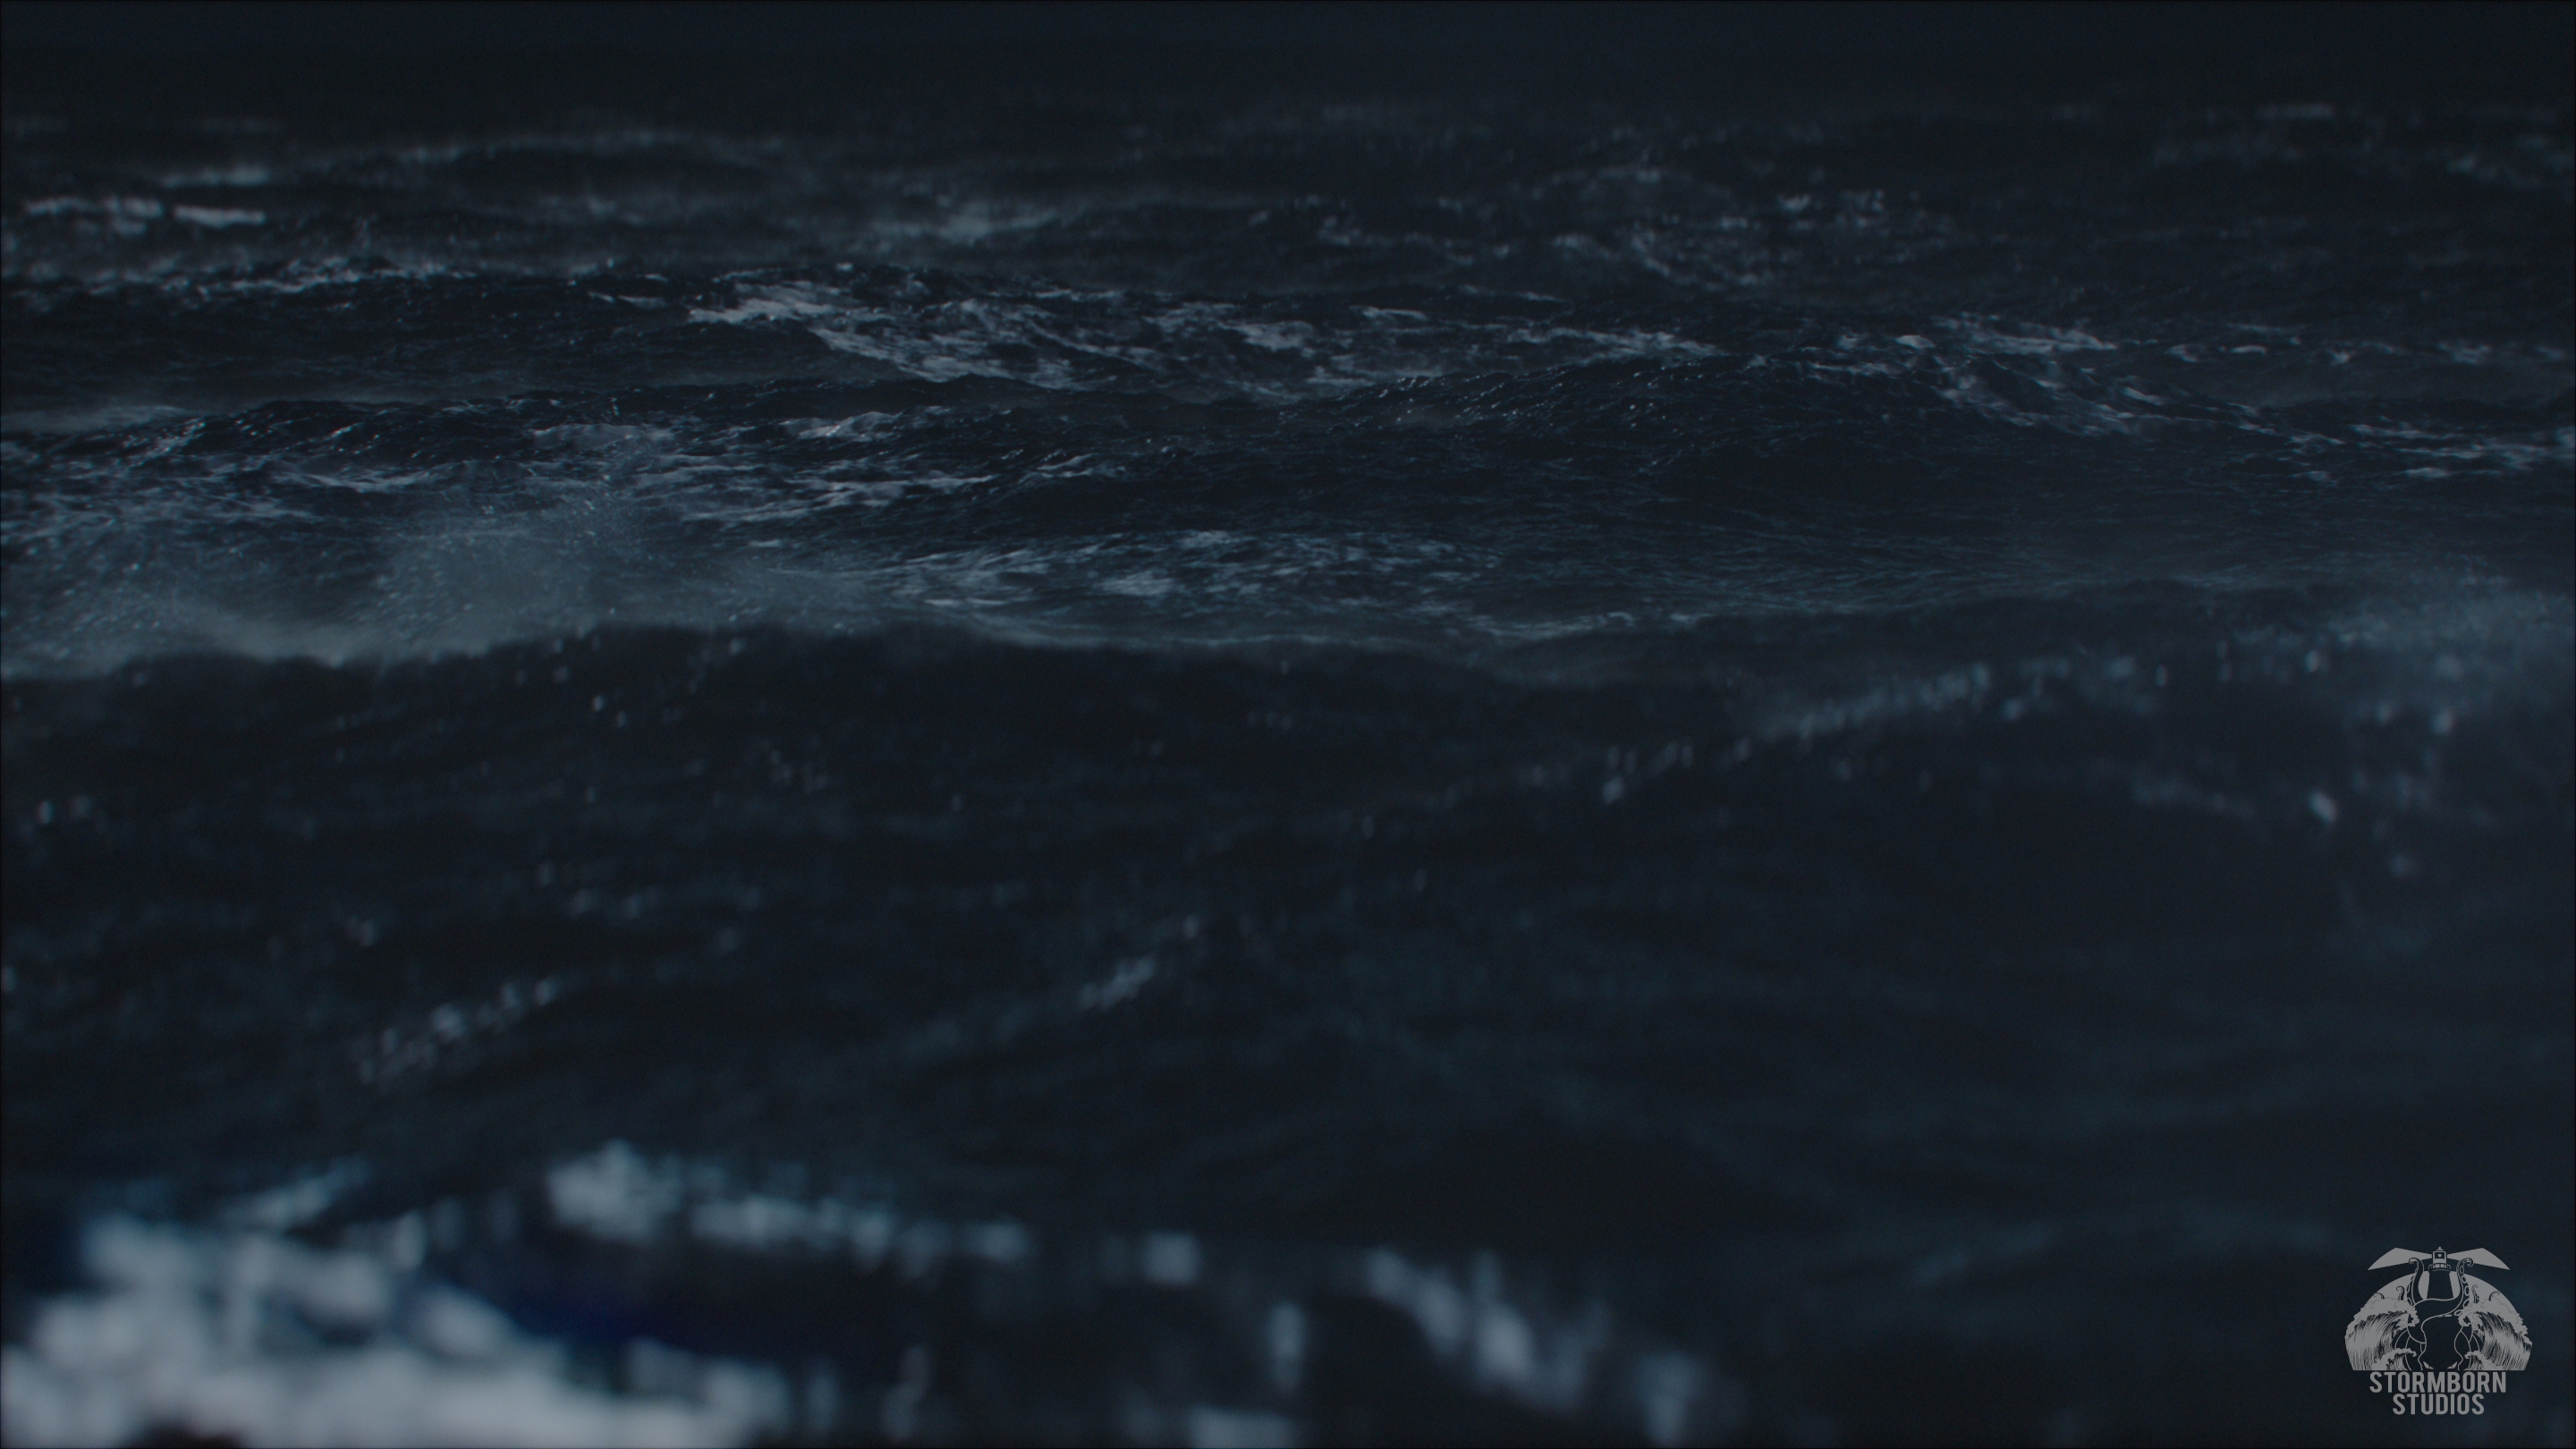
The Ocean
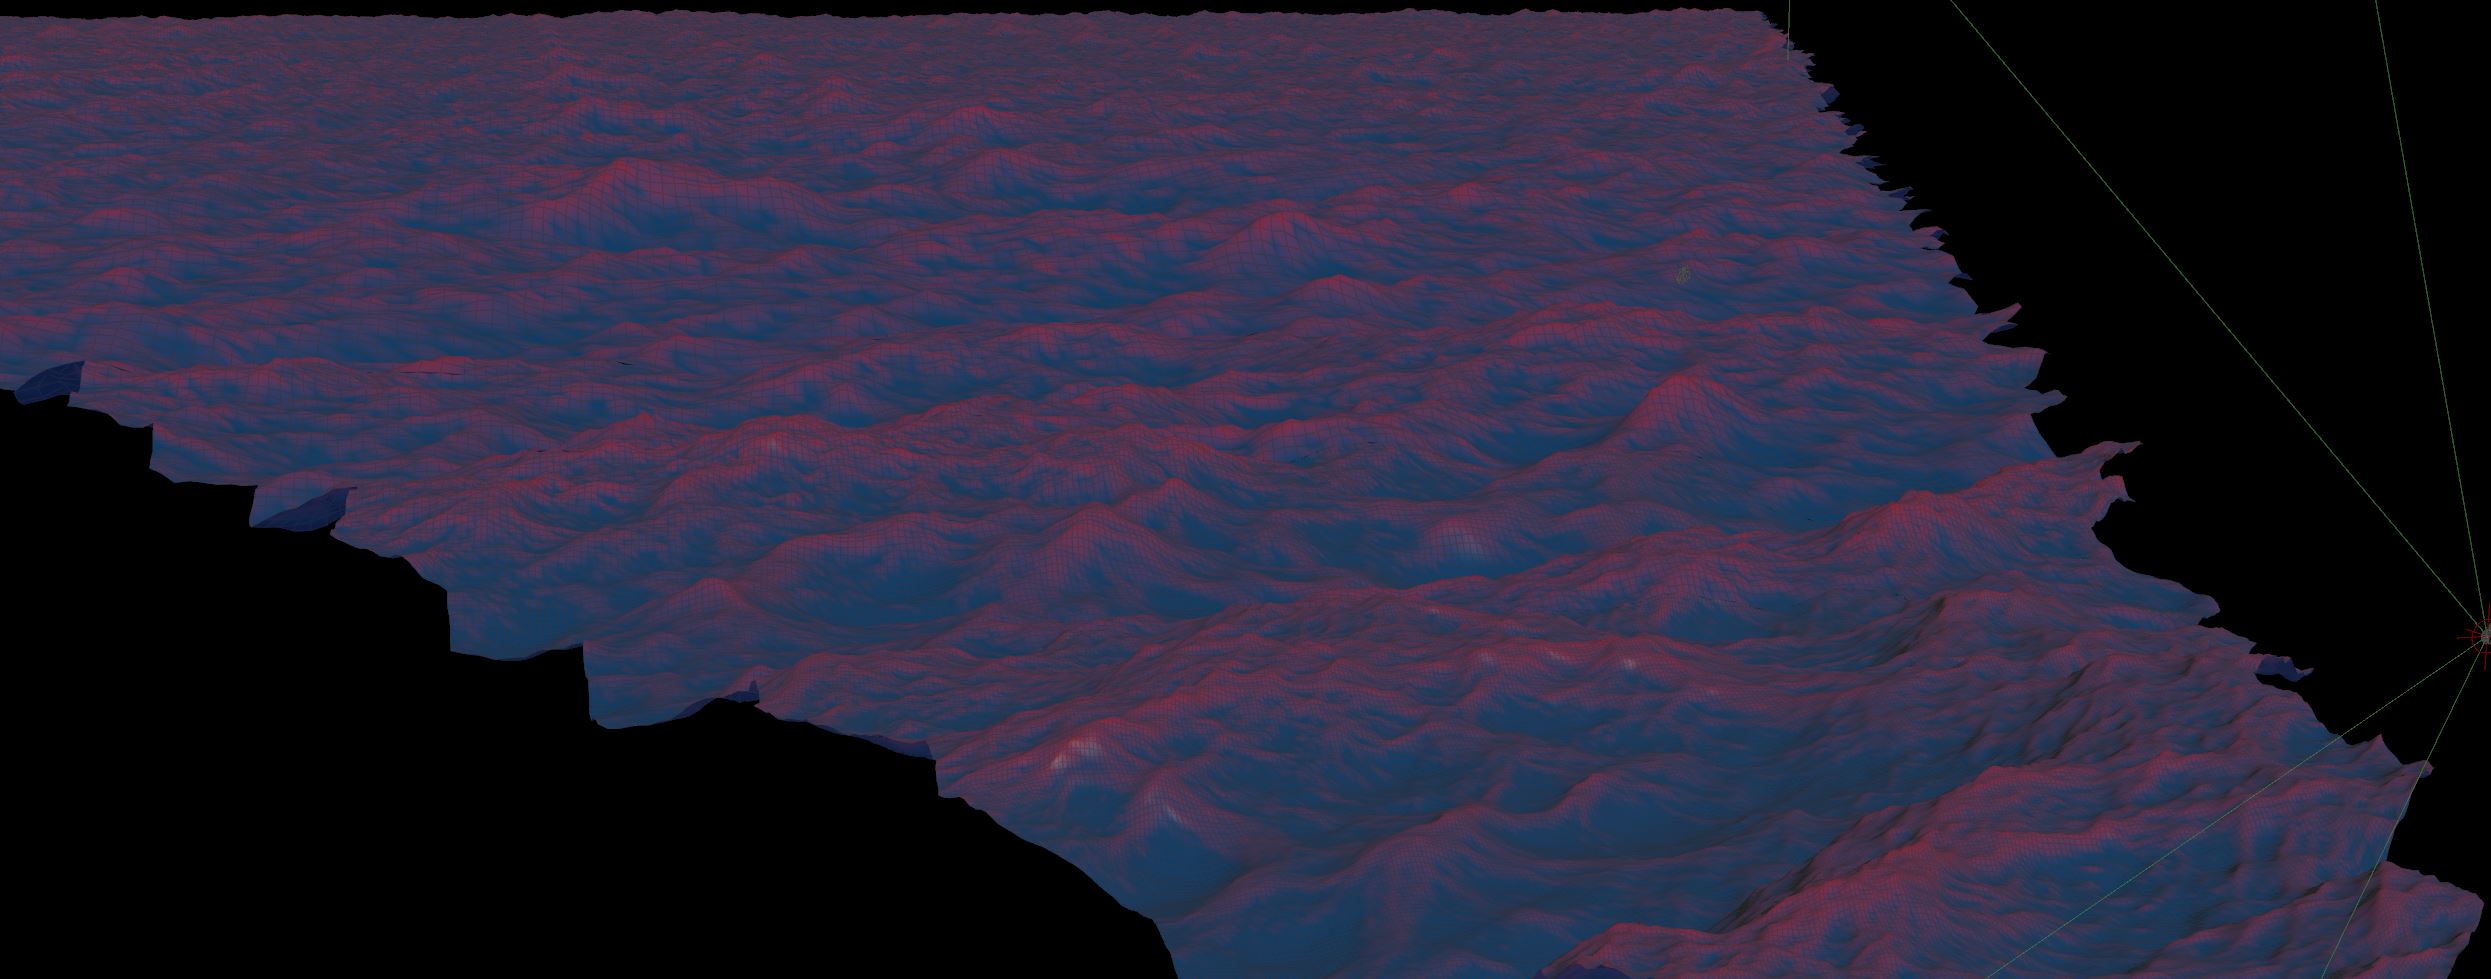
Houdini comes with an Ocean toolkit which is second to none! Additionally it has built in procedural volume field generation and modifications, height fields for displacements, compositing and other tools that are perfect for the task. Compositing tools for oceans you might ask? Yes! That's right! The ocean consists of salty water with tons of other impurities and the surface is under a constant influence of currents, convection and wind forces, causing it to generate foam that floats on the surface. This can of course be simulated, which makes sense for close up water. But since the entire 3D ocean surface is a displacement of a flat surface, which depending on how you look at it is a texture, then why not do the foam patterns as textures as well. It's much lighter, more efficient and looks more realistic, since you can patch a few photos of ocean textures together and randomly place them on the ocean. And since the ocean displacement is a 3D deformation that moves the UV's as well, the texture gets stretched and contracted which gives a very convincing look.
Since we already had developed a working system for our first water show Bharat, we only had to do a few more tweaks to adapt it to the current show. Since we are talking hundreds of patches, you somehow have to stamp them together into one texture, which is a perfect task for a for loop in the compositing context of Houdini. Now that could be done in Photoshop or Gimp, but we are Houdini users and like to walk the extra mile. With Houdini, we were able to generate the correct UV's and have a LOD texture system, where we get a very high resolution texture based on distance to camera, blending properly into a mid and low resolution texture placement. On top, since everything is generated in 3D, we can create texture trails, masks etc.
Stormborn being a GPU-rendering studio with a pipeline based on the Redshift render engine, we weren't able to use the Mantra ocean procedurals as they are not supported by Redshift. Instead, up to this point, we were baking all the Ocean-Spectrum detail into the geometry, with a camera distance based mesh density on SOP level. This was working and rendering fine, but was quite slow to work with.
Having Igor Zanic on the team who has actually made a course on using the ocean tools with Redshift, he convinced us to go the render time displacement route. This has a few limitations and needed some RnD to be able to set up with multiple Ocean-Spectrums, but gave us a much faster workflow and shorter render times with more detail. In the end, we had an HDA which we could point to a geometry, and it would run up the node-tree and collect the displacement data from all the spectrums that are connected to it, and composed a shader that we could plug into the displacement for Redshift. It was a quasi Render Time Procedural equivalent for Redshift.
The client had multiple shots of protagonists in dialogue on the ship. At first we were only to deliver a few seconds of generic ocean for the background in those shots. But soon we realized that a consistency in ocean direction and look was necessary due to the different camera angles and the ship's movement. We figured, we could create a full 360 degree ocean render which allowed our client to put it into their shot composites and rotate it to fit each scene correctly. This was done by rendering the ocean in 8 slices and stitching those together in Nuke.
After the show was delivered, we were really excited about this idea and decided to put more work into it and push it to the next level. We generated a full 360 clouds, rain and storm environment that you can enjoy in VR.
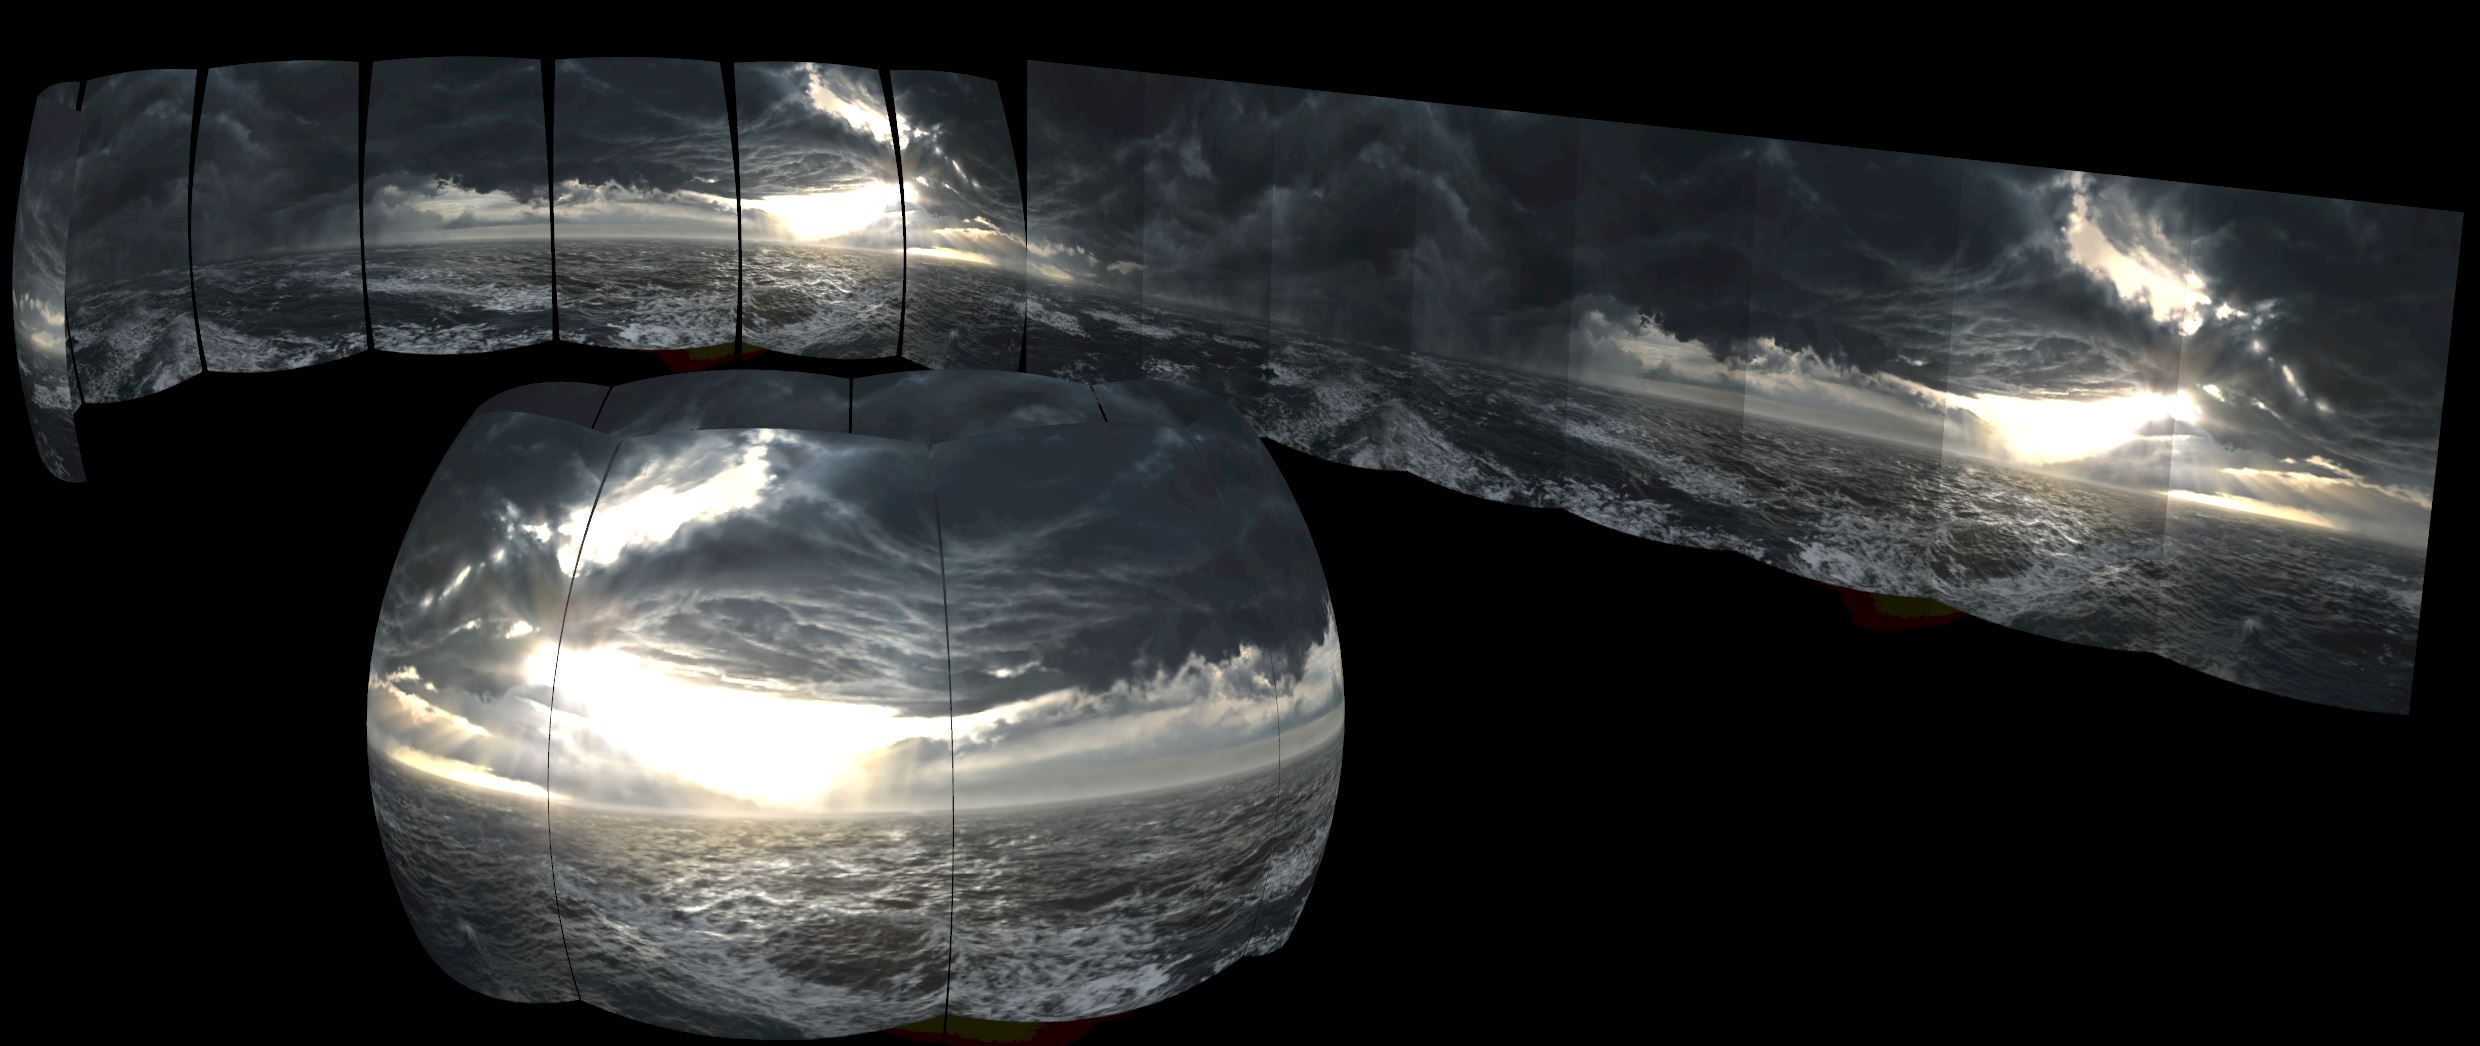
360 Degree View of the Ocean
Next to the challenge of generating a realistically and excitingly looking ocean, our biggest challenges were the impact with the massive splash and the follow up shot with the rolling wave generated by it.
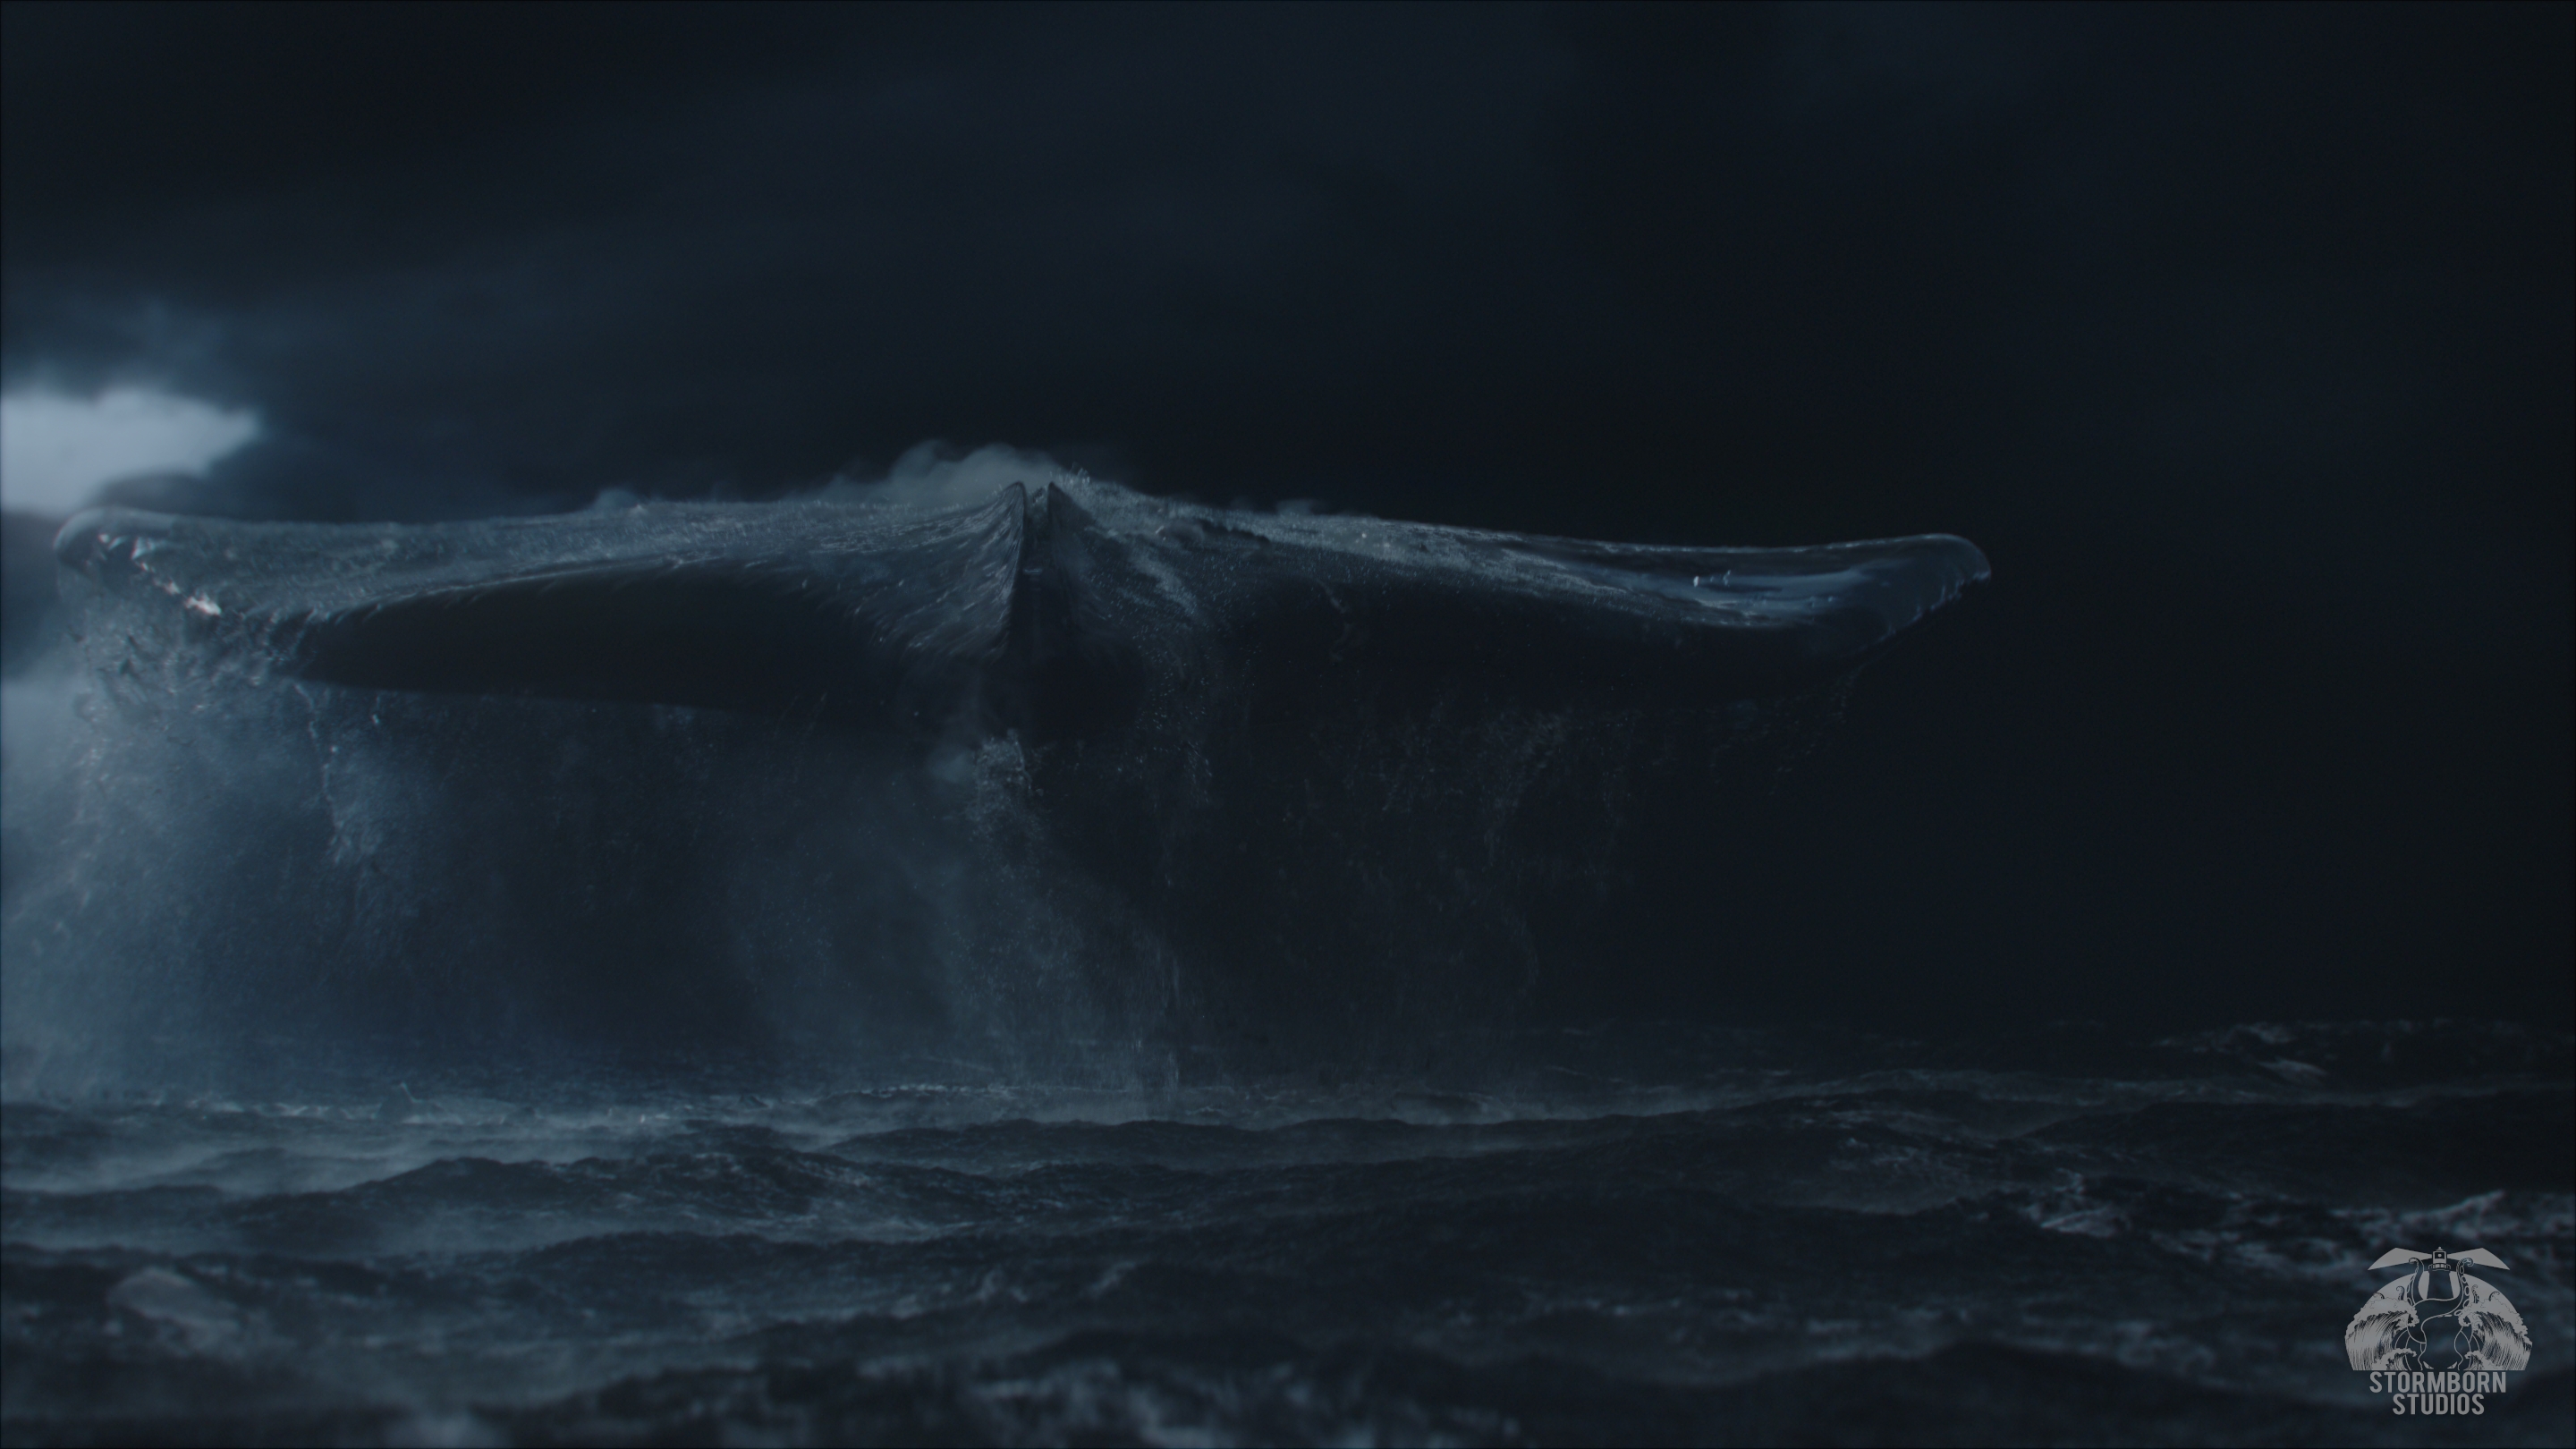
UFO Impact
For the UFO impact shot, the asset changed it's size from 300m to only 50m in size during the previsualization stage. This affected our planning and simulations drastically. The UFO was travelling now faster relative to it's size, and had to impact much closer to the stern of the ship where the actors were standing. It was flying at a speed of 180m/s which initially forced our FLIP simulation to explode due to the incredibly high velocities. Since the splash of the impact would inherit some of the UFO's velocity, water would start flying towards the ship, which required a big container with a volume of ~500,000 cubic meters. To be able to simulate detailed fluids at this scale, a few tricks had to be applied. In the first simulation stage, a low resolution FLIP simulation would be computed whilst applying a strong drag force to achieve believable movement. Procedural noise fields were used to break up the splash which resulted in spikey explosive shapes. The low resolution point cache was then used to drive a series of high resolution fluid and whitewater simulations that would replace the initial simulation based on velocity and age conditions. Those simulations were split up into multiple containers in order to maintain speedy turnarounds and a high fidelity of detail. Using the same attributes to drive masks, the low resolution base cache and high resolution FLIP caches would be combined to produce the final mesh that would be handed off to the lighting department. Instead of using Houdini's out-of-the-box whitewater solver, a custom whitewater solution was developed for the flying spray in order to guarantee fluid-like behavior and intricate features. Last but not least smoke was sourced from all fluid point caches to generate a fine mist to which an additional layer of points was advected.
Up to this point, we had the experience of running a ship through a flat ocean and adding wave displacement post sim in combination with the foam and white water generated by the forward motion of the ship. In short, the ship affects the water and generates foam. A one directional relationship of cause and effect. The Houdini ocean tools in combination with some tweaking can get the job done.
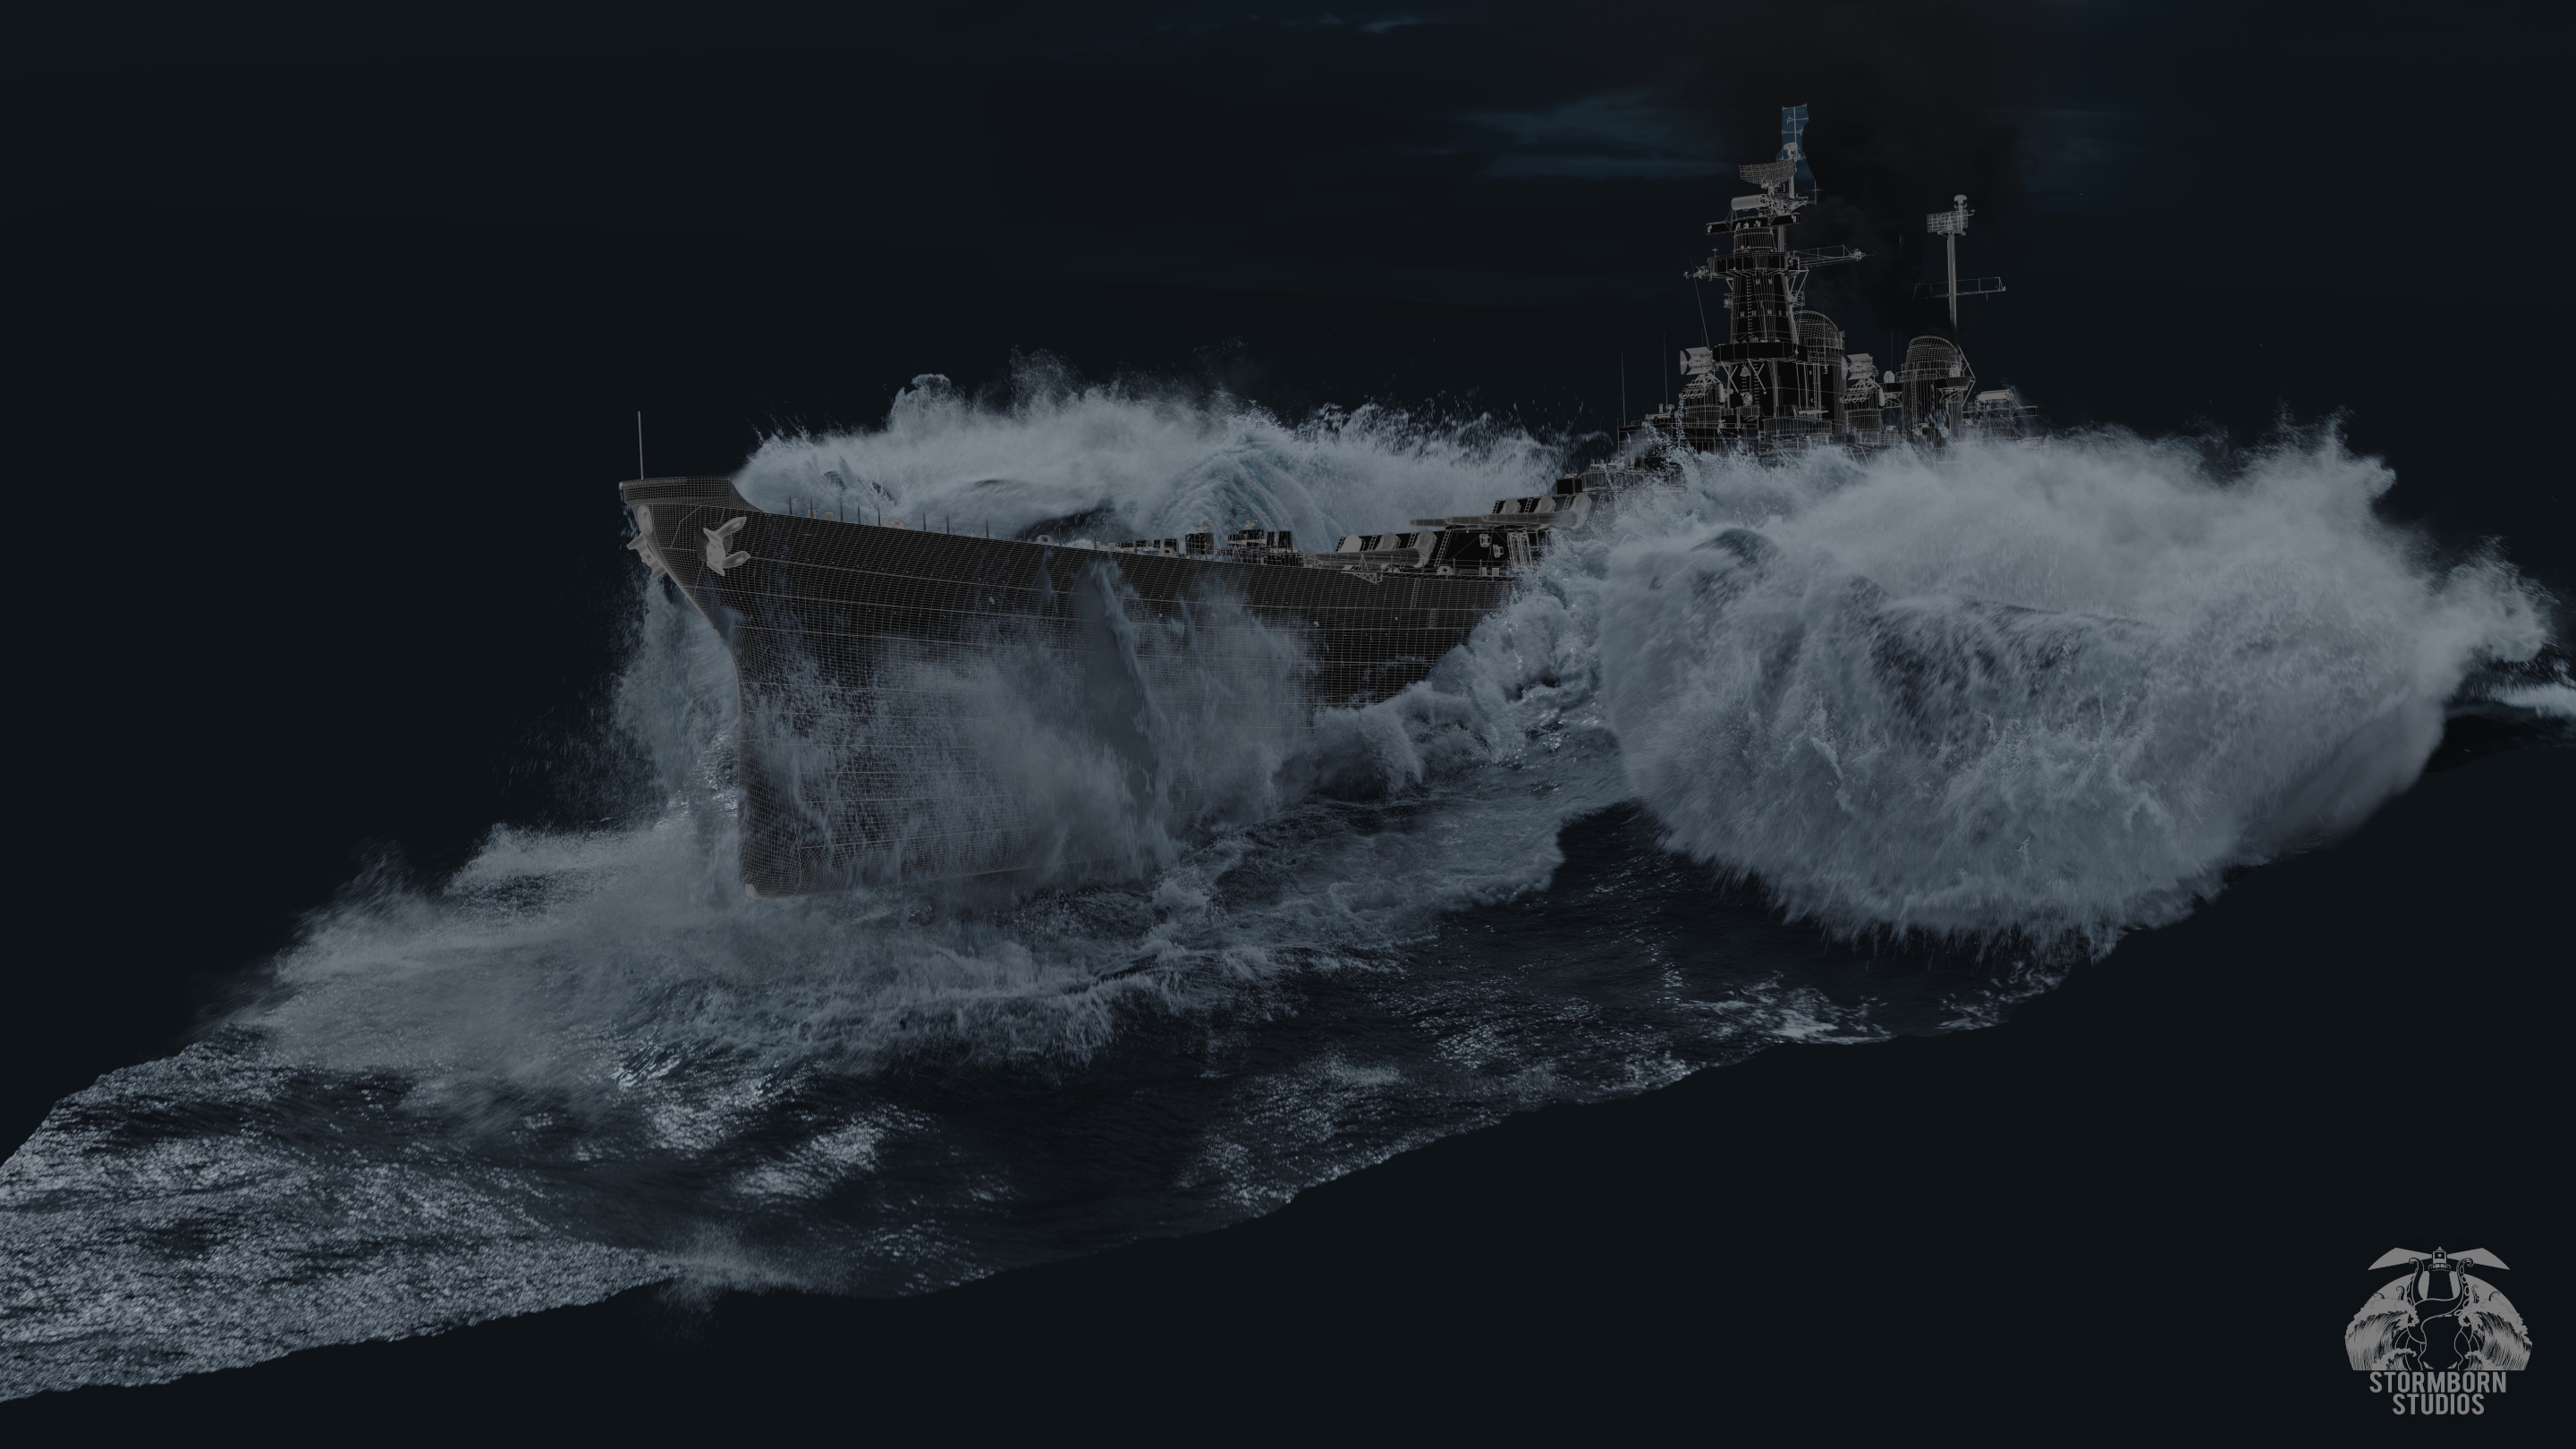
In the case of our hero shot, there was a second, third and fourth element of difficulty added on top. Namely the tidal wave which is so big that it affected the entire ship. A bidirectional relationship of cause and effect. The tidal wave then was barrelling and breaking generating a massive splash that covers the camera with foam and droplets flying right into the camera and transitioning into the underwater scene, which later was handled by the client. So to summarize:
- 350 frames long high-res ocean with a camera just above the water surface
- Ship in full motion generating foam and wakes -> high res water interaction sim
- Massive navy ship affected by the tidal wave
- Wave barrelling, breaking and splashing
- Camera transition from above to under water scenario
Let this sink in for a moment. In the eyes of FX-enthusiasts, it doesn't get much better than that! This is some goose bumps material!
The previz we received was very rough, and the sheer size of the shot and effect were difficult to envision, causing many different opinions, directions and uncertainty. With a tight deadline culture of our industry, and being at the end of the line, this is usually a death sentence for a high quality and successful delivery. So we took matters into our own hands and animated multiple versions with different wave heights, speeds and ship animations. Once our client picked out an animated version, we started with researching the guided ocean presets that Houdini comes with. Soon we realized, that this is only the starting point to a much ... much bigger setup. We decided to keep the tank flat and use the guiding forces only for the tidal wave itself. This would give us a good base where the flip matched very closely the guiding geometry. Being passionate surfers, we've been looking at videos of breaking waves for years. Especially one place in Portugal caught our eye demonstrating the pure force of nature. Nazaré! It has waves that we always wanted to simulate and thought, they would fit into this shot perfectly. We collected a bunch of references and started breaking the elements apart. Timings, speed, motions, crest, lip, spit, foam- ball, shoulder, spray, colors, foam patterns....there is so much to a wave, it is a beautiful and intimidating effect of fluid dynamics!
The idea was to start with the main body of water that flips over, and then, like with all other water FX, add the displacement and white water elements on top. With spray and mist sims as the final touch. So the question was, how do we get the body of water to leap forward and barrel? We looked at the solutions used before and crawled the internet. The obvious one is to use an animation rig described in the Surf's Up paper. It's a beautiful method and worked well for it's time. But after a short period of trial and error, we had to call it and find another solution. We didn't have the time to refine the rig enough so it would give us the look we wanted. The two main reasons were the bottom of the wave, and the nature of our wave with a ship in the middle. We tried the same idea with displacing the flip points post sim, but that as well, wouldn't really work. And lastly we tried twist deforming the flat plane or particles with rotational matrix deformations that caused some headache. Finally we realized a geometry deformation wouldn't work for us, and we had to sim it inside the flip simulation of the ship interaction.
With a few volumetric masks and velocity fields that are generated by the guiding wave geometry, we were able to control when and how fast the water body would leap forward and barrel. And due to the nature of the flip simulation, we would get quite a nice wave shoulder and impact point turbulence. Everything after that could be generated from masked particles areas, groups and velocity fields.Two other tricky shots were the ones of the UFO emerging out of the ocean, and charging towards camera.
Since the shots are viewed through binoculars, the lens was very narrow and covered over a kilometer of water. This required a change in our original spectrum settings. With the procedural nature of Houdini and our foam texture workflow, we were able to overcome this challenge with very little effort. Even repetitions in wave patterns weren't a problem, since we could just mask multiple spectrums with 2D noise volumes, and our inhouse shader HDA would compose the wave displacement properly. It was one of those moments where all the puzzle pieces fall into place and things go smoother than expected. During the production time of less than 4 months, Stormborn Studios delivered 6 shots with water simulations, 4 of them comped inhouse, two comped by the client. Additionally we delivered the LatLong ocean render with mist from two camera angles for the client to use in his own shots. It was used in over 35 shots, of which you can see some in the image below.
Stormborn Studios Team:
- VFX Supervisor: Goran Pavles
- VFX Supervisor: Manuel Tausch
- Senior Compositor: Patrick Conaty
- Senior Lighting TD: Nathaniel Holroyd
- Senior FX TD: Igor Zanic
- Senior FX TD: Mirco Paolini
- Senior FX TD: Nikola Ilic
COMMENTS
bingzuoshuijing 5 years, 9 months ago |
牛逼
Please log in to leave a comment.