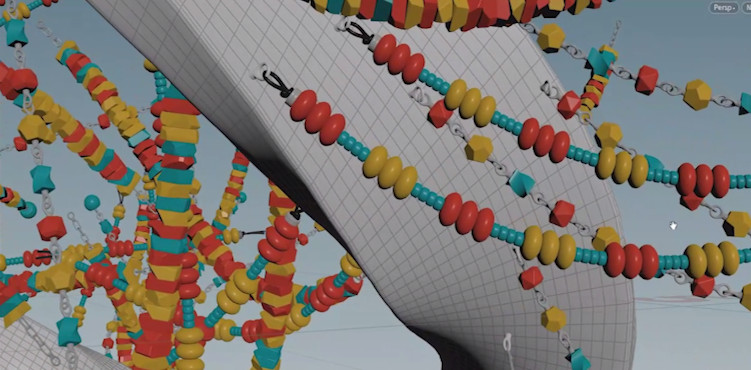
HOUDINI FRIENDSHIP BRACELET
01.Intro
Adam Swaab takes us through the process in which he created a rotating band of many colourful bracelets, using some of the new SOPs that just came out in Houdini 18.5 (Chains SOP and the backported 18.0 Path Deform SOP), as well as vellum. We see how to animate the many strands, and then prepare materials for all the bracelet components (beads, end pieces, etc.) and some rendering in Mantra. This series is for the intermediate-level Houdini user. Let's get started!
02.Path Deform & Chain SOP Overview
 We take a quick look at the Path Deform and Chain SOPs, to understand some basic functionality of what those tools can do and demonstrate how we will be using them to create our multi-bead bracelets.
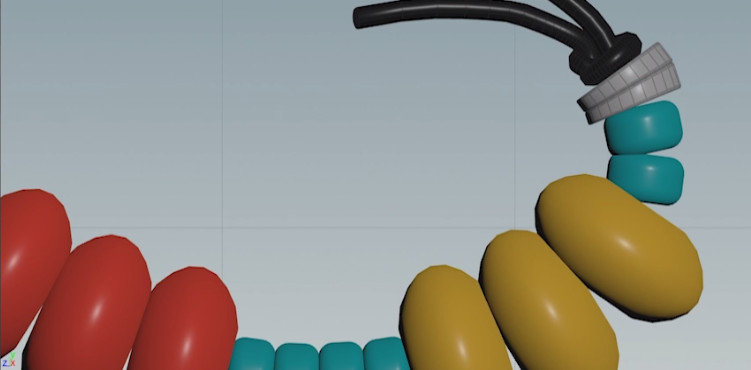
03.Modeling Bracelet Components
 Adam is going to show how to create the various differently shaped beads and connecting parts, as well as start and end-pieces, before all those parts get assembled into their specific strands. Let's do some modeling in Houdini!
 04.Chain Making
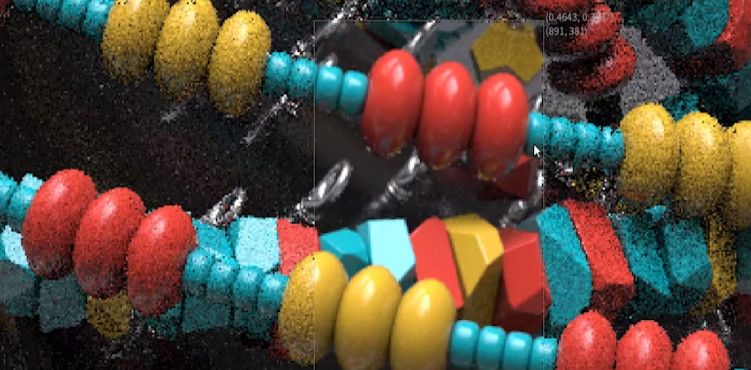
 Now that all the pieces are ready for assembly, we can start to string them all together using the Chain SOP! We will also assign colour to the beads, and debug some issues around bead connections using PathDeform. You can continue with your scene file or grab the one down below and start from here!
05.Simulation
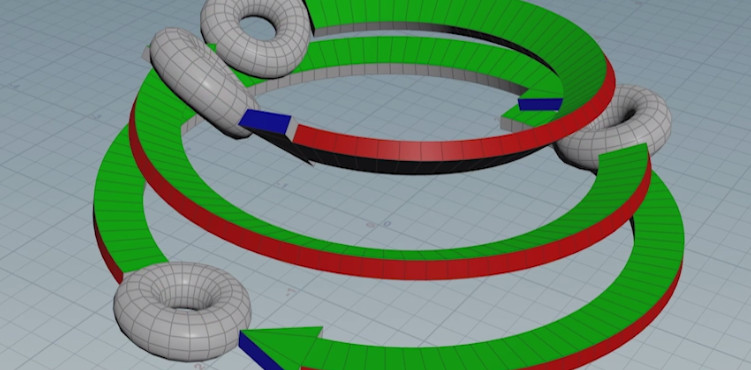
 It's time to make some animation that will show off these bracelet strands, all 1500 of them. The task is now to make a rotating shape that we can pin all the strands to, so that we get some interesting motion as the base object twirls around itself. We will use vellum to give us this nice motion.
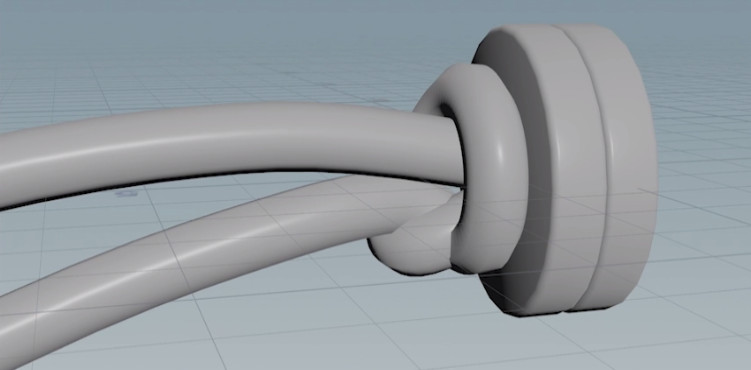
06.Geometry Binding
 All the pins are in place on our animated geo, so now we can vary and connect the 3 bracelet strands across across each of the pins. Some debugging is in order of course, so we will also see how to fix those bracelet components so it looks correct.
 07.Rendering
 We've already gotten the various colours assigned to the beads and bracelet components. Now we will assign a few shaders, prep lighting, background, camera and render settings. This is done using Mantra (though full disclosure, Adam rendered the sequence using a GPU renderer).
 CREATED BY

COMMENTS
bobc4d 5 years, 6 months ago |
thank you Adam for this terrific tutorial. it gives me ideas for other models than bracelet
harishfa31c8f9106440f2 4 years, 10 months ago |
Hi
Amazing tutorial. Thank you Adam
i would like to try recreating this. But i am Unable to download scene files chains.zip
hooverisbad 4 years, 8 months ago |
I've learned a ton of workflow optimizations from this tutorial. The Shift+S thing in the Network window is beautiful.
That said, I've made it to part 06 of the tutorial and I've ran across a couple of problems.
1) The Path Deform that you put inside the for loop of the final Animation folder is copying the geometry onto the hooks, but the beads are all like, 1/10th the original scale, and very spread apart. I've played with all the settings in the path deform and can't figure out how to repair it. I actually even downloaded your project file and it appears to be doing the same thing. I presume there's something about the Path Deform SOP that's changed since you made your tutorial (as you called it out as broken during your video).
2) So I opted to replace the line SOP you put down as part of the copy-to-points just before your Vellum workflow starts. Obviously, I don't get randomized bracelets doing it this way, but that's fine. When I run the simulation, the chains don't hold together. Literally the first connecting piece holds and the rest of the chain (no matter which of the three I use) fall apart.
This is a bummer because I'm 99% of the way through. Just some fine tuning and I can ramp up the scatter and run the sim. Any advice would be lovely.
justinlawes 4 years, 7 months ago |
I ran into the same problem as @hooverisbad. Not sure how to resolve the issue.
SDOAJ 4 years, 6 months ago |
I am relatively new to Houdini so I'm not sure if this is the right way to do it, but I fixed the issue that the previous two commenters had by placing an Attribute Wrangle right before the foreach loop with "@pscale = 1.0;".
maytuxa 1 year, 11 months ago |
yep.thnks! it works. the problem with scale appears in pathdeform. turning off in CaptureAllign - CurveAlignment - OrientUsingPointAttr also solves scale issue but it affects slightly on beads orientation.
Please log in to leave a comment.