VELLUM JEANS | TIPS & TRICKS
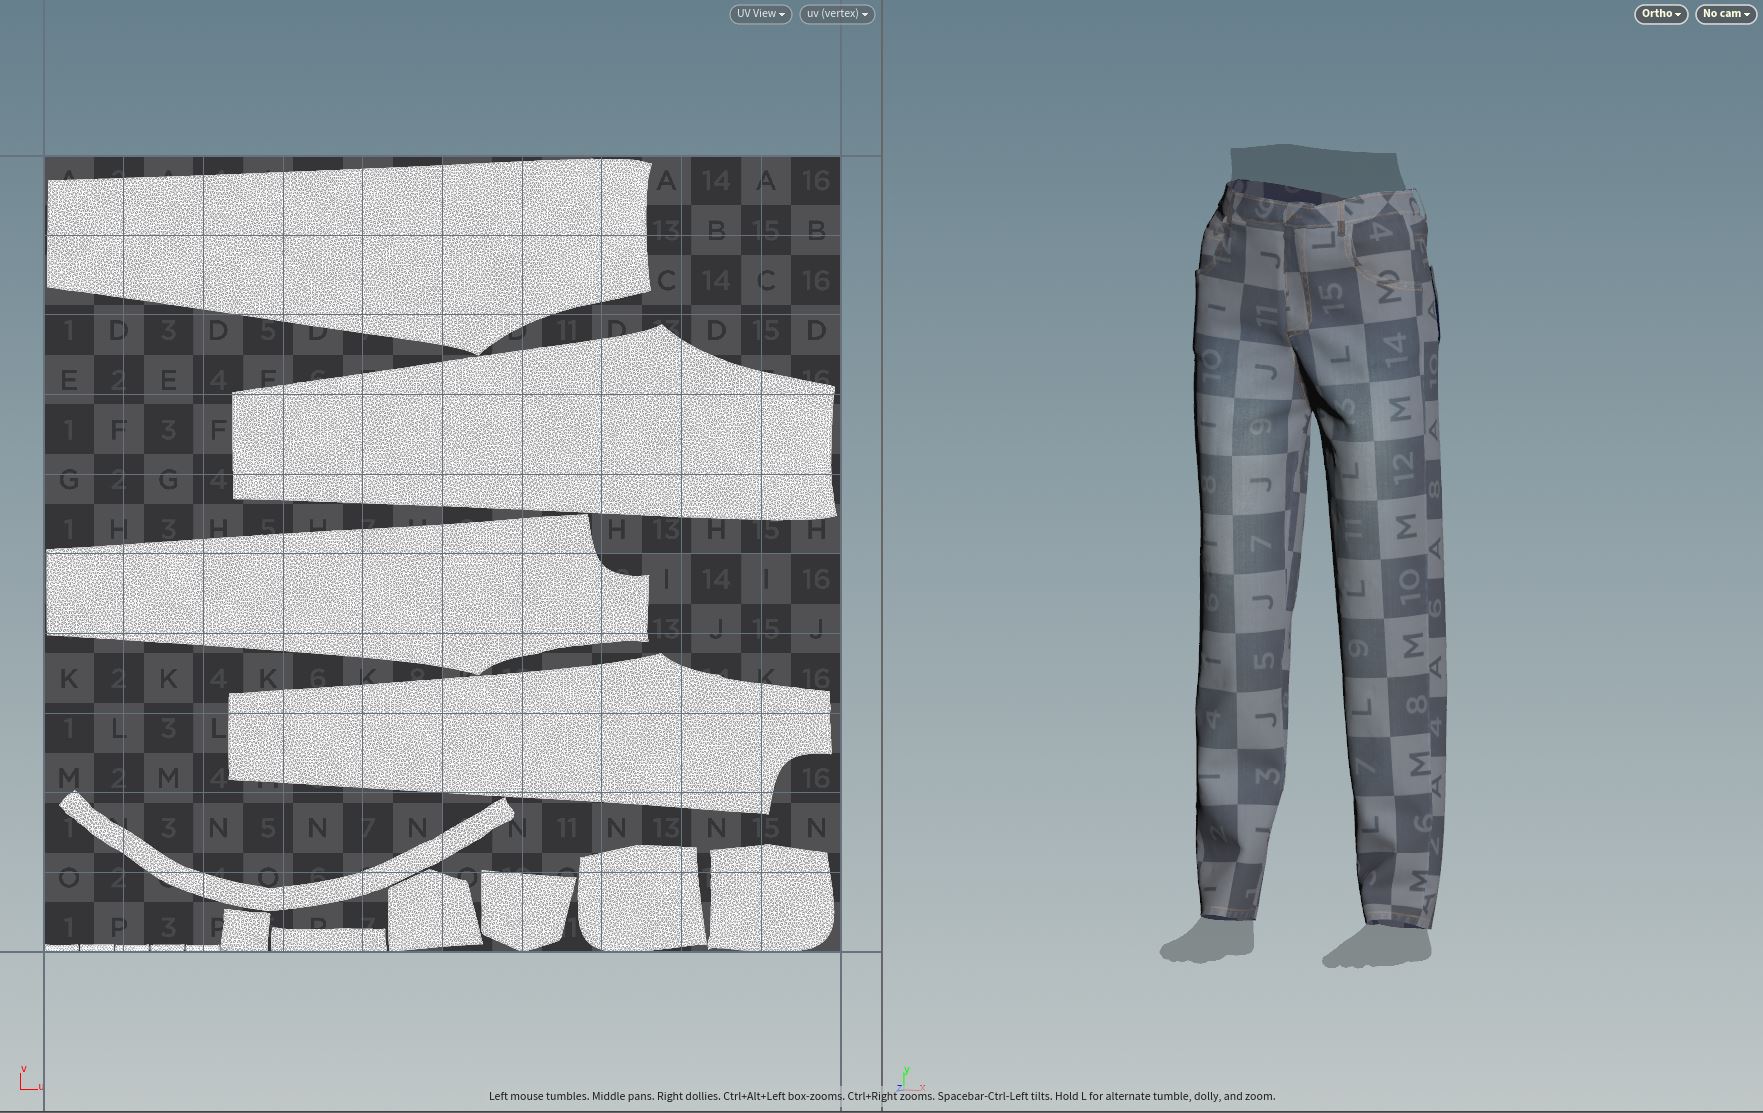
CLOTH PANELS CREATION
If the Attach node is inserted to secure the part for the belt at the waist before the drape, the waist part will drop down to the floor, and the clothes will bump against the body and bounce up. Here are simulations of when an Attach node is inserted and not inserted.
with attached
pants fall down and looks bad, you will be cold and naked.
without attached
Your pants stay on and you don't look foolish.
CLOTH PANELS ASSEMBLY
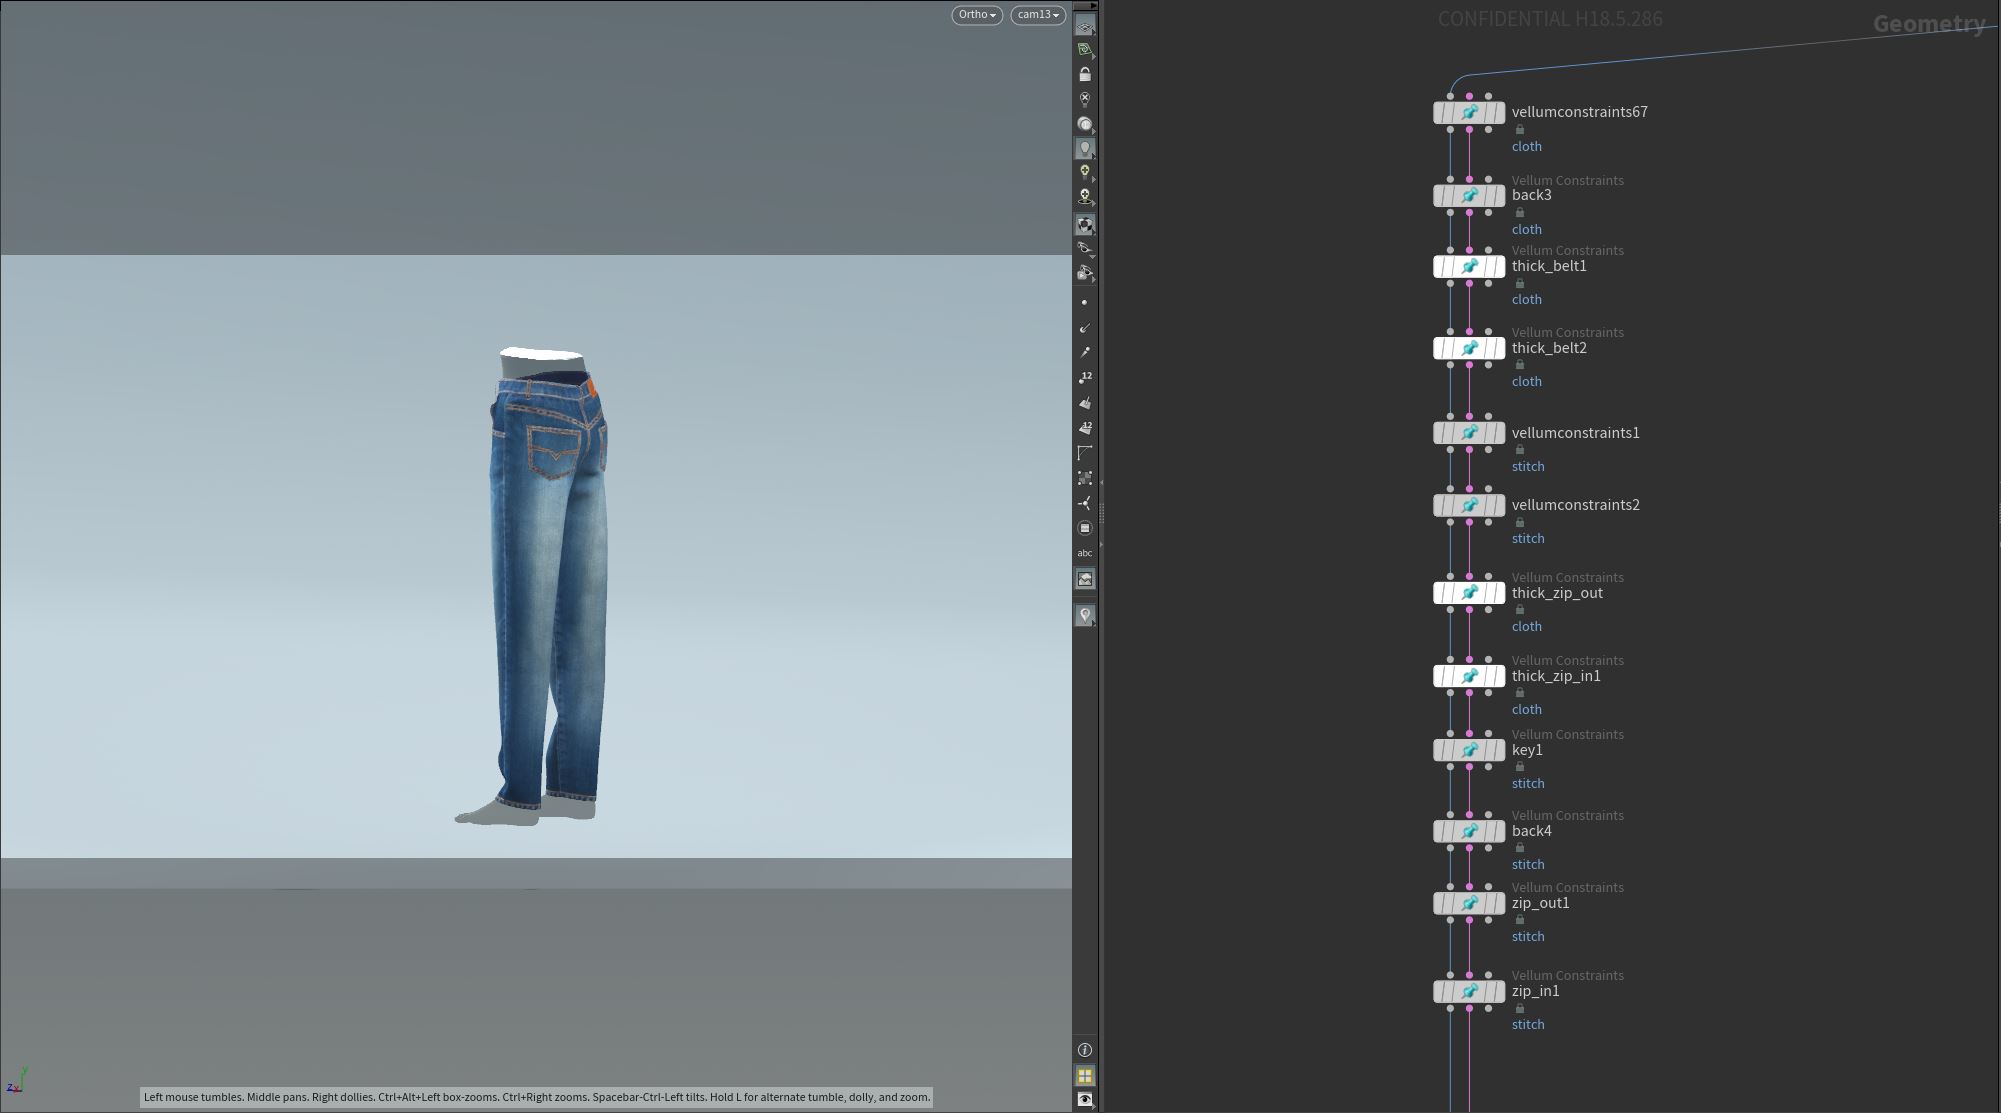
Pants Simulation
If you use a vellum solver, the part that you connected using a Stitch node when you made the pants geometry will fall back. You can connect this part again using Stitch node.
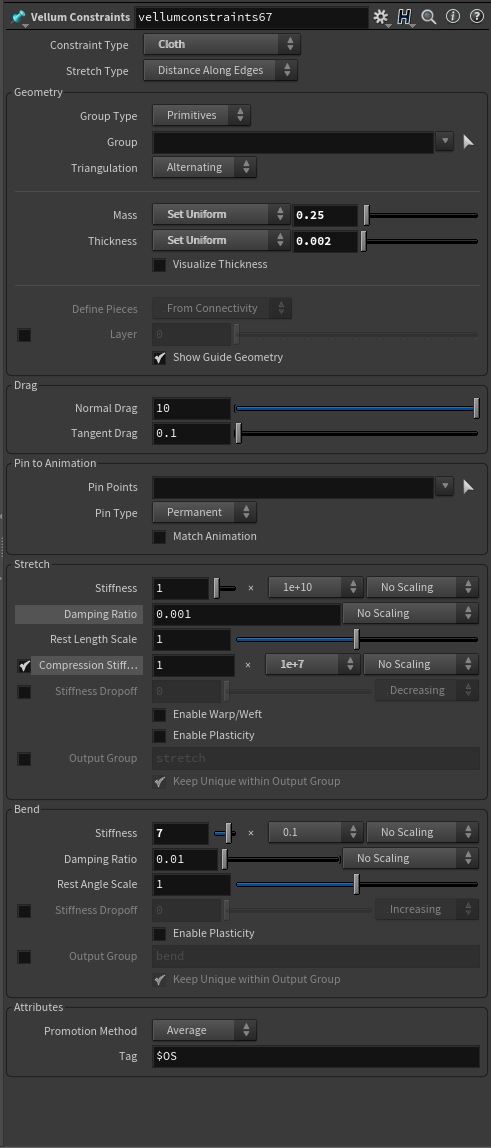
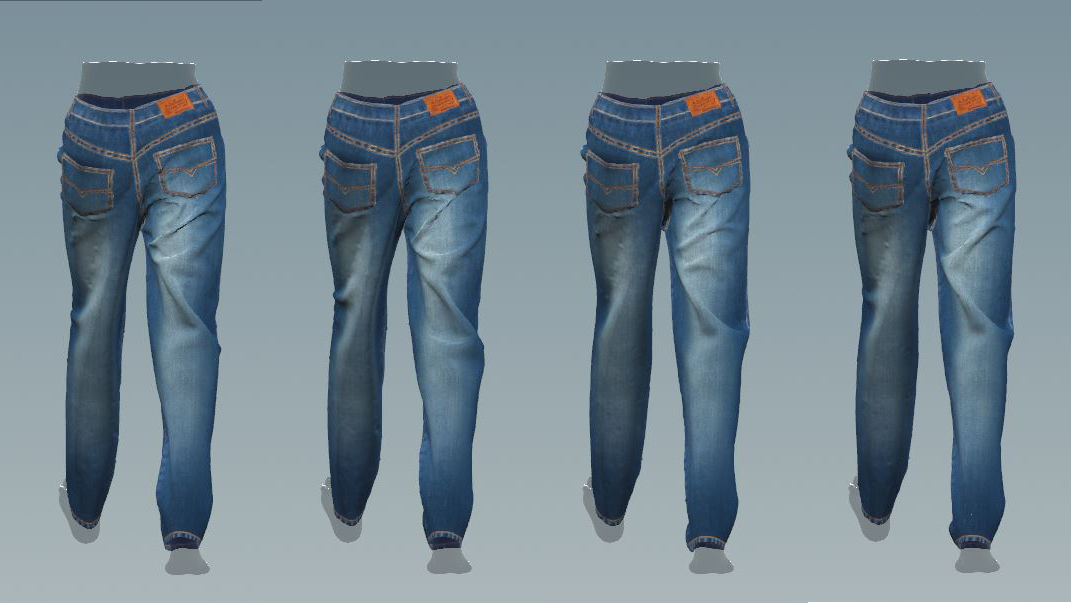
If you look for the right figures for jeans, you will often find them looking like leather or rubber. This can be done by modifying Mass, Thickness, Street Stiffness, Compression Stiffness and Bend Stiffness. This figure is not the answer because jeans vary in thickness, lightness, and style.
The images below show how simulation changes as each value changes.

<stretch stiffness=1e+5> <bend stiffness=0.0007> <compression stiffness=10000> <thickness = unchanged> <mass=0.001> <orginal>
Simulation Detail
The details of the wrinkles will be insufficient when the pants start to walk. To fix this, different numbers should be added to areas with zippers and to areas with different thicknesses of clothing. It is convenient to assign groups to this part when making pants.
The photos below show how wrinkles change as you add details.
<add nothing> <add another figure to the belt part> <add more bend stiffness in back> <add bend stiffness in thick part>
CREATED BY

COMMENTS
callthepeople 5 years, 7 months ago |
Hi, I'm curious how you made attaching groups and targeted groups of trousers.
Jon Lorenz 4 years, 3 months ago |
hip file, please.
noc2 10 months, 1 week ago |
Again, in 2025, HIP FILE PLEASE! A Hip file is worth a thousand words, pictures and/or videos!
Please log in to leave a comment.