| On this page |
Houdini’s distortion methods for heightfields let you add complex patterns to a terrain. This way you can mimic geological formations like lava fields, fluvatile sediments or dried-out plains, but also different types of eroded structures and abstract landscapes. Distortion is a very effective means to enhance and randomize the look of a terrain, but also for adding variation or detail.
Basically you differentiate between four fundamental distortion methods: warping, noise, layer-based distortion and pattern distortion.
Note
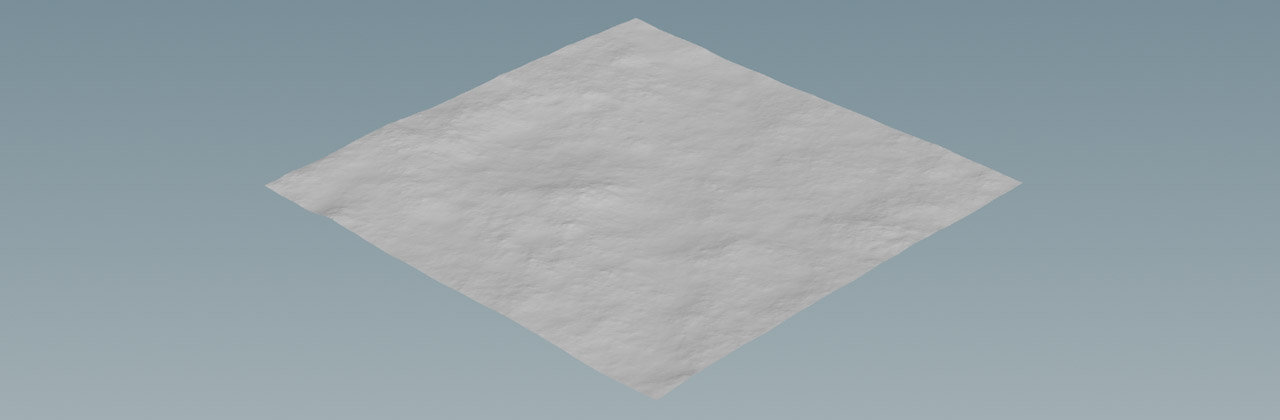
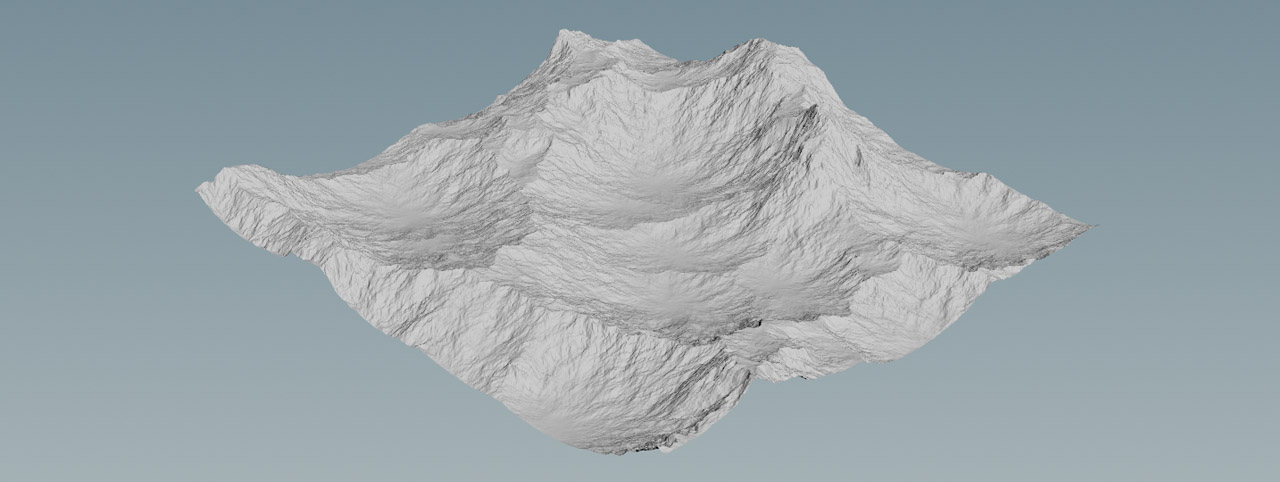
All explanations and examples use a very basic terrain, consisting of a ![]() HeightField SOP and a
HeightField SOP and a ![]() HeightField Noise SOP to get some mountains and rocky structures. To get enough detail, set the heightfield node’s Grid Spacing to
HeightField Noise SOP to get some mountains and rocky structures. To get enough detail, set the heightfield node’s Grid Spacing to 1.
For more information on how to work with this fundamental setup, please read the Generating a height field from scratch introduction.
Lattice Warp 
Warping is part of the HeightField Noise SOP and you can find parameters for two fundamental methods in the Distortion section. Let’s start with Lattice Warp. To get a better impression of how Lattice Warp changes the look of your terrain, set Amplitude to 100.
-
Turn on Enable Lattice Warp. The effect on the terrain is very subtle and hardly visible.
-
Turn off Accumulate Lattice Warp.
-
Increase Lattice Warp to
2. -
When you change Freq to
6, you get crater-like surface structures.

Lattice warp adds a swirly look to the terrain and this effect becomes very obvious when you turn on Accumulate Lattice Warp. Now you can see a folded and kneaded terrain. When you decrease Freq, e.g. to 0.6, the surface starts to look natural again and reminds of a landscape that was formed by water.

Gradient Warp 
The Gradient Warp function widens the peaks and valleys of the noise and you can get completely different looks with positive and negative values. As with lattice warp, the gradient method strongly depends on the Accumulate Gradient Warp option. This function emphasizes the distortion effect and creates distinctive patterns.
To see the effect of the settings, described below, turn off Enable Lattice Warp and reset Amplitude and Element Size to 500 each.
-
With negative values you get a terrain with sharp crests. Try a value of
-0.1to get the result shown in the image comparison below. -
When you enter a positive value around
0.2, you get landscapes with rounded, almost pillow-shaped structures. -
Of course it’s possible to combine both distortion methods and create hybrid heightfields.
Noise-based distortion 
This type of distortion is available with the ![]() HeightField Distort by Noise SOP. The node provides a Noise Type dropdown menu with two methods: Curl and Simplex. The parameters for controlling the noise are identical for both types.
HeightField Distort by Noise SOP. The node provides a Noise Type dropdown menu with two methods: Curl and Simplex. The parameters for controlling the noise are identical for both types.
When you work with the node’s noise types, consider the ratio between Amplitude and Element Size. High Amplitude values create lots of noise and spikes. To “stretch” the noise pattern and get usable patterns, increase Element Size. Another parameter you can use to flatten extreme spikes and reduce the amount of small details is Roughness. Another interesting parameter is Substeps for balancing extreme differences in the noise function.
-
Curl is the node’s default noise type to distort your heightfield. You can use this method to create “flowing”´structures, e.g. for riverbeds, glaciers, solidified lava fields or even organic effects. The noise also adds a terracing effect to the mountains' cliffs.
-
Simplex is a noise type similar to Perlin noise, but creates smoother results. With Simplex it’s also possible to achieve a moderate terracing effect and “flowing” structures.
In conjunction with the HeightField Noise SOP’s Worley F1 Noise Type, you can create realistic mountain ranges with sharp crests.
Layer-based distortion 
The ![]() HeightField Distort by Layer SOP.
HeightField Distort by Layer SOP.
-
Layers defines the layer(s) you want to distort. Usually you want to distort
heightormaskor both. -
Control Layer expects a scalar or vector field. This can be the same or another heightfield, but also any other volumetric field.
-
You can also use a Scale Field to drive the node’s Displacement Scale.
You can connect a mask or even another heightfield network to the second input and a layer to Control Layer. However, the results are hard to predict, because the parameter combinations are nearly endless. In many cases you need rather high Displace Scale values to get a visible effect. Substeps also have a strong impact on the terrain’s look.
Pattern distortion 
Another method to create interesting shapes and perhaps more abstract terrains, is pattern-based distortion. When you use the ![]() HeightField Pattern SOP, it’s a good idea to start with a plain HeightField SOP without noise or any other distortion/elevation. Then connect the pattern node’s first input with the output of the base grid and you're good to go.
HeightField Pattern SOP, it’s a good idea to start with a plain HeightField SOP without noise or any other distortion/elevation. Then connect the pattern node’s first input with the output of the base grid and you're good to go.
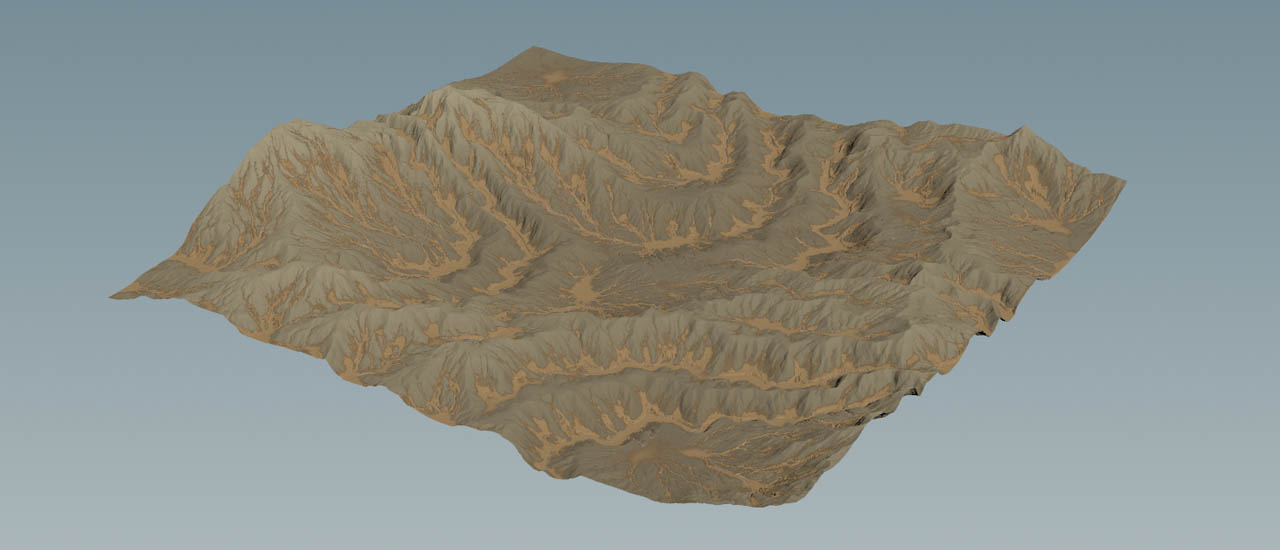
The node provides a Pattern dropdown menu with six entries you can choose from. The default is Start, but the most versatile and customizable pattern is Ramp, because here you can define a custom curve. The image shows a distorted ramp pattern combined with a HeightField Noise SOP. Erosion and noise distortion give the terrain its final look.
To get the terrain’s base wave pattern follow the steps below.
-
On the Heightfield Pattern SOP, choose Ramp and you will see a saw tooth pattern.
-
On the Pattern ▸ Position section, go to Remap Remapping and click the
 Presets button. From the menu, choose Hill to create rounded stripes. This pattern is also suited for dunes.
 -
On the same section, set Size to
200to decrease the number of waves. -
The bands are also very high. Decrease Scale to
20. -
Go to the Distortion section and turn on Distort Pattern. The pattern is now slightly displaced.
-
Now play with the Amplitude and Element Size parameters to add a curly noise pattern to the stripes. For the image below, the values are
600and500. -
The terrain is now extremely distorted. To fix this, decrease Roughness to
0.2. This parameter is responsible for the noise’s coarseness and higher values add more high-frequency spikes.

You can also try different presets from Ramp Remapping or define a custom curve. Another interesting approach is to set Pattern ▸ Position ▸ Mode to Concentric. This mode creates a very organic pattern with a SciFi touch. Also consider changing Center to shift the “eye” of the pattern.
Mask distortion 
The distortion methods, describes above, also work in conjunction with masks. For example, the ![]() HeightField Mask Noise SOP is just a regular
HeightField Mask Noise SOP is just a regular ![]() HeightField Noise SOP with the Noise Layer parameter set to
HeightField Noise SOP with the Noise Layer parameter set to mask. You can still turn on the Lattice Warp and Gradient Warp methods and apply them to a mask.
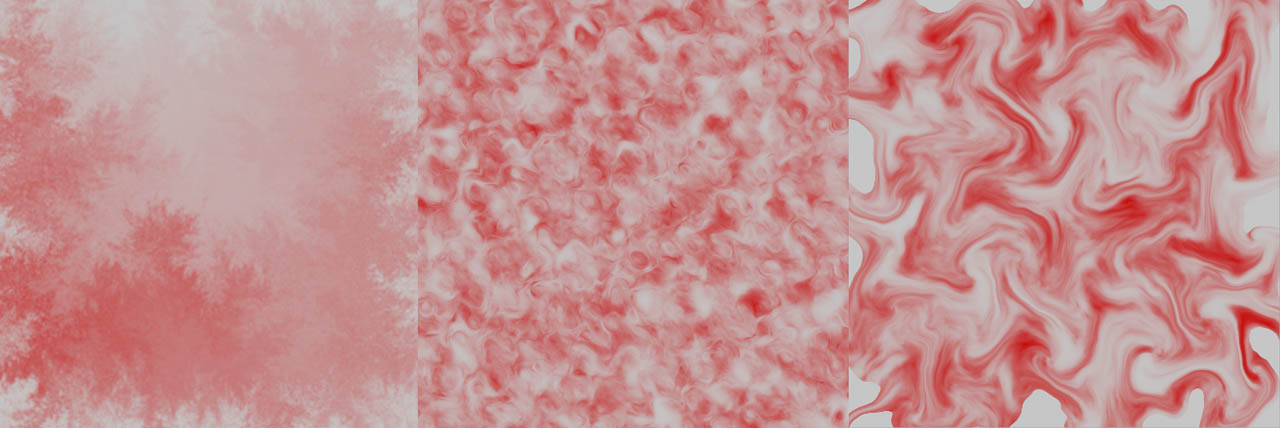
This also applies to the HeightField Distort by Noise and HeightField Distort by Layer SOPs. Below you can see various distorted masks in a side-by-side comparison.