| On this page |
Layers are a very good way to visualize certain features like snow, water or certain types of rock. A layer is basically a mask that was copied and stored separately for reuse. You can also use them to break regular patterns and repetitions. Houdini’s heightfields write out a wide range of layers such as debris, flow, sediment, water, bedrock and others. And you can also create an almost infinite number of custom layers and masks.
On the Texture basics page you've learned how to visualize terrain structures through colors and various layers. This chapter explains how to bring the various layers to Solaris and Karma for texturing.
Note
For better visibility and to simplify the descriptions, the following guide uses colors instead of real textures.
SOP setup 
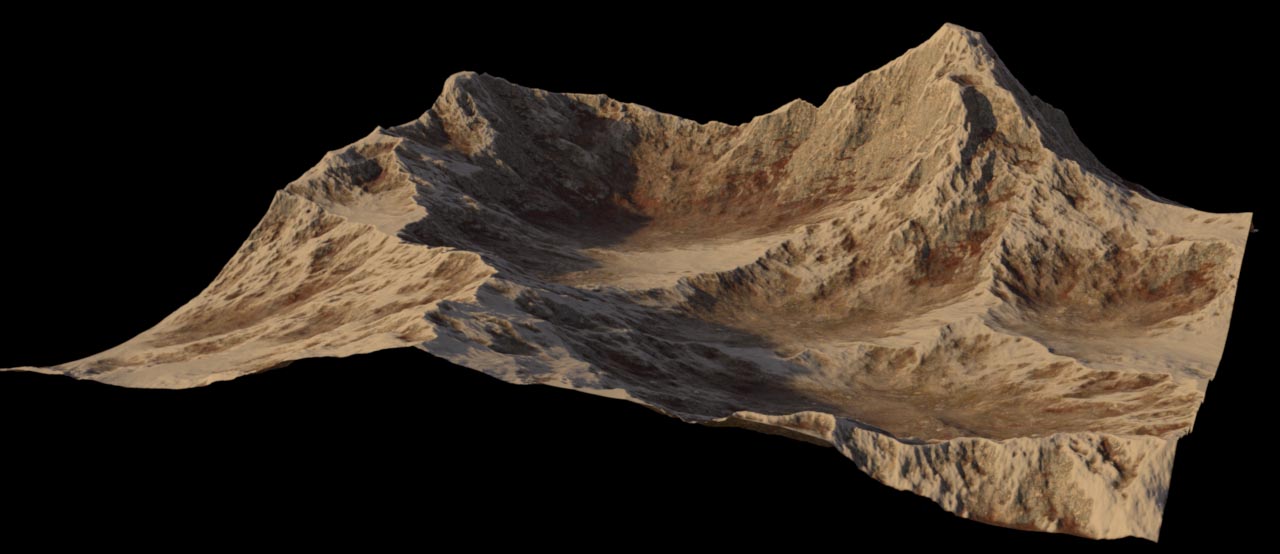
You can use any terrain, but please make sure to have at least two layers. A good source for layers is the ![]() HeightField Erode SOP. Here you get
HeightField Erode SOP. Here you get debris, sediment, and flow layers, but you can also create custom masks.
Houdini’s heightfields are volumetric fields, but the Solaris framework expects polygons. You therefore have to convert the terrain. One method is to use a ![]() Convert HeightField SOP. Another way requires a
Convert HeightField SOP. Another way requires a ![]() SOP Import LOP on the stage (see “LOP setup” directly below).
SOP Import LOP on the stage (see “LOP setup” directly below).
LOP setup 
You need the above mentioned SOP Import LOP to bring the heightfield into Solaris. Next to the SOP Path parameter, click the ![]() Open floating operator chooser. Use the panel’s tree representation to navigate to the last node of heightfield SOP network - typically a
Open floating operator chooser. Use the panel’s tree representation to navigate to the last node of heightfield SOP network - typically a ![]() Null SOP.
Null SOP.
If you don’t want to convert the terrain before the import, open the import node’s Primitive Definition. There, turn on Import HeightFields as Mesh option. You also need a material. Follow these steps to create and apply a shader.
-
Lay down a
 Material Library LOP and connect its input with the SOP Import LOP’s output.
 -
Double-click the library to dive inside. Press ⇥ Tab to open the tab menu and choose Karma Material Builder. This tool adds a subnetwork and inside the node you can find a basic shader setup.
The centerpiece is the ![]() MtlX Standard Surface VOP. This shader node provides a wide range of categories that finally define the look of a material. When you expand a category, you can see its associated parameters. For the following example, expand the Base parameter group. The relevant parameter input for the following discussion is
MtlX Standard Surface VOP. This shader node provides a wide range of categories that finally define the look of a material. When you expand a category, you can see its associated parameters. For the following example, expand the Base parameter group. The relevant parameter input for the following discussion is base_color.
To apply the shader to the terrain, return to the stage level.
-
On the material library, click the Auto-fill Materials button. The material is now added to the Material VOP and Material Path parameters.
-
Turn on Assign to Geometry.
-
For Geometry Path, enter the Solaris path to the heightfield. By default, this is
/sopimport1/height, but if you've applied a custom path and name, you have to use it. -
Dive into the material’s subnetwork again.
Shader setup 
Let’s start with a base color to represent the terrain’s bedrock. Add a ![]() MtlX Mix VOP and connect its
MtlX Mix VOP and connect its out pin with the shader’s base_color parameter. From the mix node’s Signature dropdown menu, choose Color (Color). you can now see three black color definitions named Fg (foreground), Bg (background) and Mix (mask).
-
Click the Bg color field and choose an orange color.
-
For Fg, define a red color.
The heightfield turns orange, although it’s the background color. The reason is the Mix color. Pure black means that the background color will be shown with 100% intensity. When you set Mix to pure white, the terrain turns red. Values (= shades of gray) create mixed colors. You can check this by clicking through the Color Editor’s grey color fields. With each click, you can see how the terrain’s appearance changes. The layers of the terrain take on the role as a mix map and control how the colors are blended.
-
To get a layer’s values put down a
 MtlX Geometry Property Value VOP.
 -
For the Geomprop parameter, enter
flow. Heightfield layers are always of type float, so you don’t have to change Signature. -
Connect the
outoutput of the property node with themixinput of the mix node.
To finally see the result you need to render the viewport. In the upper left corner of the viewport you can see two dropdown menus. Open the first menu and choose Karma XPU for a fast preview. You should now get a terrain similar to the image below.

Adding more layers 
In a more complex terrain network you often write out a wide variety of layers, for example from a ![]() HeightField Mask by Feature SOP. The next example shows to combine the already existing
HeightField Mask by Feature SOP. The next example shows to combine the already existing flow layer with an occlusion layer to accentuate the terrain’s ridges.
-
Inside the shader, add another MtlX Mix VOP. The result of the first mix will now serve as the background for the occlusion mix. Connect the
outpin ofmtlxmix1to thebginput of the new mix node. -
Lay down a new MtlX Geometry Property Value VOP and connect it to the new mix node’s
mixinput. -
On the new property node, set Geomprop to
occlusion. -
Connect the
outpin of the new mix node with the shader’sbase_colorchannel.
Here’s how a terrain could look with two layers - here with an ![]() Environment Light LOP.
Environment Light LOP.

What you're doing here is to cascade and stack multiple maps and each MtlX Mix VOP gets the result of the previous mix plus a new map or color. If you also want to add maps for specularity, roughness and other properties, you have to combine those maps through layer mixes as well.
Maps 
The above description uses colors, but in most cases you want work with textures. Houdini’s heightfields come with UVs, but in very steep areas you might observe stretching and distortion effects. Visible seams or repetitive patterns are also often an issue with large terrains.
It can therefore be better to use triplanar mapping. The MaterialX system provides a ![]() MtlX Triplanar Projection VOP. We also recommend our very own
MtlX Triplanar Projection VOP. We also recommend our very own ![]() Karma Hexagonal Tiling Triplanar VOP. This nodes “scatters” maps over an area by creating a hexagonal pattern. The patches can have random scale and rotation to avoid seams and patterns.
Karma Hexagonal Tiling Triplanar VOP. This nodes “scatters” maps over an area by creating a hexagonal pattern. The patches can have random scale and rotation to avoid seams and patterns.
The triplanar node expect texture maps and you can connect their out pins to the fg and bg inputs of the MtlX Mix VOP to replace the colors.