| On this page |
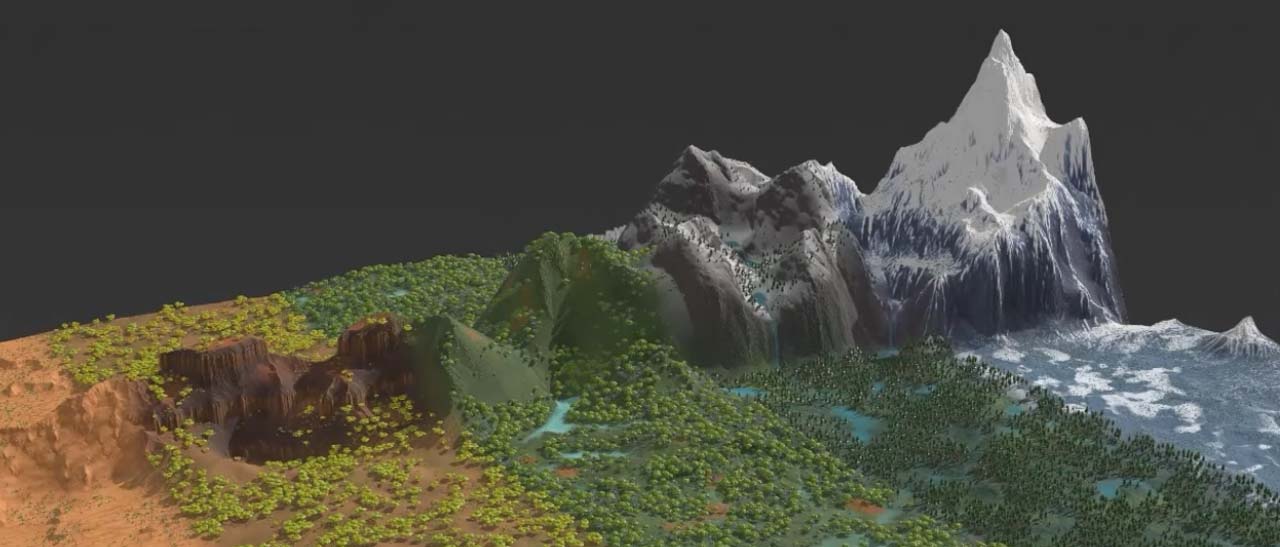
Scattering is an essential technique that brings your terrains literally to life. Scattering lets you populate a landscape with thousands of objects to make it look realistic. On the Projection page you can already find a basic example that scatters boxes of variable size over a terrain to create mountain chains. The projection scene illustrates the flexibility of the scattering process. This chapter, however, deals with the creation of landscapes, forests, meadows and complete ecosystems.
Scattering is not only good for adding plants and creating forests. You can also use it for decorating the vertical areas of a mountain. Those parts are not considered by heightfield systems for technical reasons. Another idea is to add rocks, stones and gravel to the terrain’s ground. Or you cover a riverbed with pebbles.
Tip
The  Houdini Labs team is currently working on a world-building system for heightfields. The Biomes system uses rules and mechanisms from Mother Nature to create realistic and controllable environments.
This guide is split into four pages:
-
Scattering: SOP illustrates how to prepare your scene.
-
Scattering: Removing points shows methods for controlling the number of scatter points.
-
Scattering: Attributes creates attributes like
pscaleandorient. -
Scattering: Solaris shows how to render your terrain.
Initial considerations 
Before you start to populate your landscape, please take a minute and think about the end of the entire scene creation process: rendering. The reason why it’s a good idea to do that at such an early stage is that Houdini provides different strategies for bringing your scene into Solaris.
The perhaps most convenient method is to create all aspects of the scattering process inside the SOP environment where your heightfield lives. Then you can import the entire scene to Solaris and render it with Houdini’s Karma engine. As said, it’s a convenient way, but it’s definitely not the best way. When you think about memory, performance and scene organization, then we recommend to split the workflow. It’s therefore important to know what you can (or should) do inside SOPs and what’s better done in Solaris.
Note
In this example, terrain and points are created on Houdini’s obj level. This is - as always - just one method to assemble a scene. Another common way is to use a ![]() SOP Create LOP in Solaris to have everything handy on the stage level.
SOP Create LOP in Solaris to have everything handy on the stage level.
Scale 
Scale is certainly one of most important things to consider with scattering. You should always bear in mind that a default heightfield measures 1000 m by 1000 m. If you're not used to working at such a huge scale, please take care that you don’t create oversized trees or rocks.
It can be a good idea to add reference objects to give you a sense of scale. You can, for example, create objects with different sizes to illustrate the average height of a tree, the diameter of a large rock, or the dimensions of a building.
Basic setup 
This setup requires just a couple of nodes. The guide shows the way from landscape creation to rendering in Karma. You’ll also learn why it’s (normally) better to do the instancing directly in Solaris instead of SOPs. Let’s start with the landscape.
-
On Houdini’s obj level, press the ⇥ Tab key to open the Tab menu. From there, choose the HeightField entry to create a preconfigured
 Geometry OBJ. Double-click the node to dive into it. Inside the node you can see
  Heightfield SOP.
 -
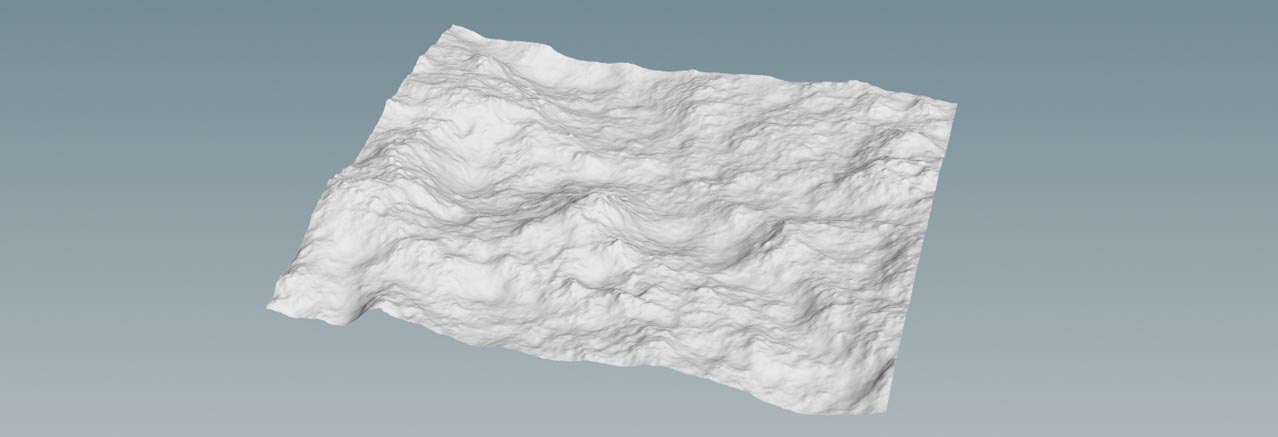
Add a
 Heightfield Noise SOP and connect its first input with the output the heightfield node. This node generates the actual terrain with hills and valleys as shown below.
Scatter points 
Scatter points are like placeholders and define, where the instance objects appear. Scatter points can also carry attributes like orient or pscale that drive the instances/prototypes. Instancing is the process of copying your objects to the scatter points. The scatter node creates the points that will carry the instance object(s).
-
Scatter points are always created in SOP networks and then transferred to Solaris.
-
Instancing should be done directly inside Solaris.
To create the node, follow these steps:
-
Add a
 Heightfield Scatter SOP.
 -
Connect the scatter node’s first input to the output of the noise node.
-
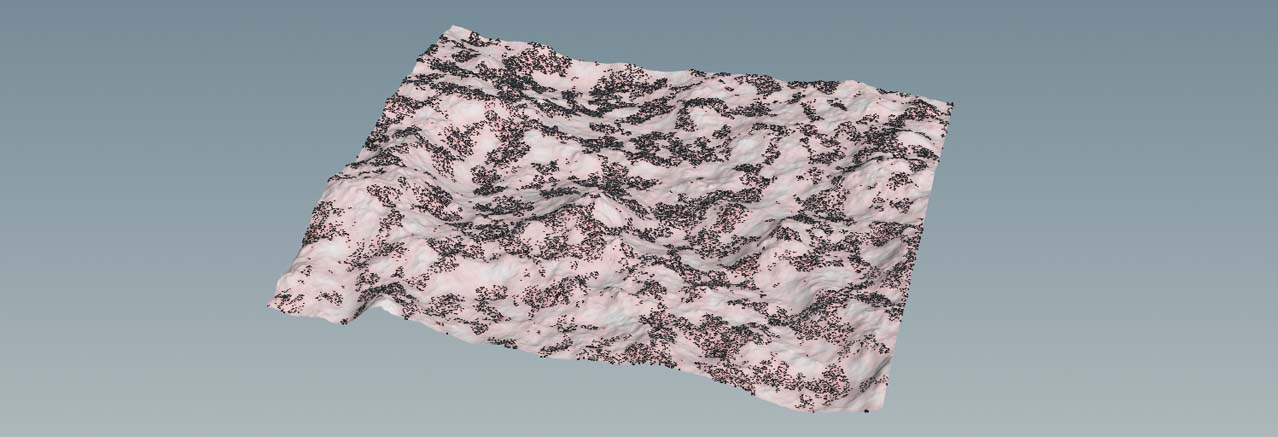
Turn on the blue Display/Render flag to see the result.

What you get is a densely covered terrain. The scatter node provides several parameters to get more variation. On the Scattering section you can find a Covering parameter that lets you indirectly control the number of points/instances. If you want to specify the actual number of points, set Scatter Method to Total Points using Mask Layer. Then set the Total Point Count.
For explanations of the other parameters, please read the HeightField Scatter SOP’s ![]() help.
help.
Masking 
Masking helps to get rid of a possible uniform look and creates more or less dense areas. You can use a mask layer to create points only in those regions that are covered by the mask. The intensities of the mask’s colors also determine the density of the point cloud. You can use any masking method provided by Houdini’s terrain system. Another method is to create custom masks through VEX scripting.
A fast method to get a naturally looking mask is to use a ![]() Heightfield Mask Noise SOP.
Heightfield Mask Noise SOP.
-
Add the mask node and connect its input with the output of the HeightField Noise SOP that creates the terrain.
-
Link the mask’s output to the second input of the scatter node.
When you go to the scatter node’s Mask Layer parameter, you can see a ![]() Add a Mask Paint button. Once you've connected a mask layer, this button becomes active. When you click the button, Houdini will add a
Add a Mask Paint button. Once you've connected a mask layer, this button becomes active. When you click the button, Houdini will add a ![]() HeightField Paint SOP and you can paint a custom mask.
HeightField Paint SOP and you can paint a custom mask.
Tip
If you don’t want to use a separate mask node, you can also connect the output of the HeightField Noise SOP to the scatter node’s second input. Then you have access to the default mask layer that comes with the heightfield.