| On this page |
You can write attributes to the scatter points to control the behavior of the instances and their shaders. Typical attributes are orient and pscale, but it’s also possible to randomize colors. Or you maybe you want to store distances, height values, temperature and wind direction? Your possibilities are endless. You can also override existing attributes such as pscale with VEX code or appropriate nodes.
Note
In Solaris/USD, attributes are called primvars (short for primitive variable) and some attributes are also named differently in Solaris.
This part of the scattering chapter explains how to apply custom hue and saturation attributes to drive the colors of a shader. In the last chapter you’ll then read out the attribute values and connect them to your material.
The process of defining and creating attributes is basically the same as for any other geometry inside Houdini. One common way is to create an attribute and define its type. Then you randomize the attribute values over the points.
This guide represents page two of a four-pages workflow description about scattering.
-
Scattering: SOP illustrates how to prepare your scene.
-
Scattering: Removing points shows methods for controlling the number of scatter points.
-
Scattering: Attributes creates attributes like
pscaleandorient. -
Scattering: Solaris shows how to create instances.
Isolating points 
With heightfields, however, there’s one thing to consider. Click the ![]() HeightField Scatter SOP to select it and open the Geometry Spreadsheet. In Points mode, look at the first two entries,
HeightField Scatter SOP to select it and open the Geometry Spreadsheet. In Points mode, look at the first two entries, 0 and 1. They describe the heightfield and when you apply attributes, the terrain will be considered as well. What does that mean?

Let’s assume you've applied a random Cd color attribute. The circumstance that the heightfield is represented through two points will result in a colored terrain. It’s therefore a good idea to store scatter points and heightfield in separate streams. Then you can go on and write attributes to the scatter points without falsifying the result. This workflow is not only convenient for attributes, but for the entire processing pipeline in Solaris.
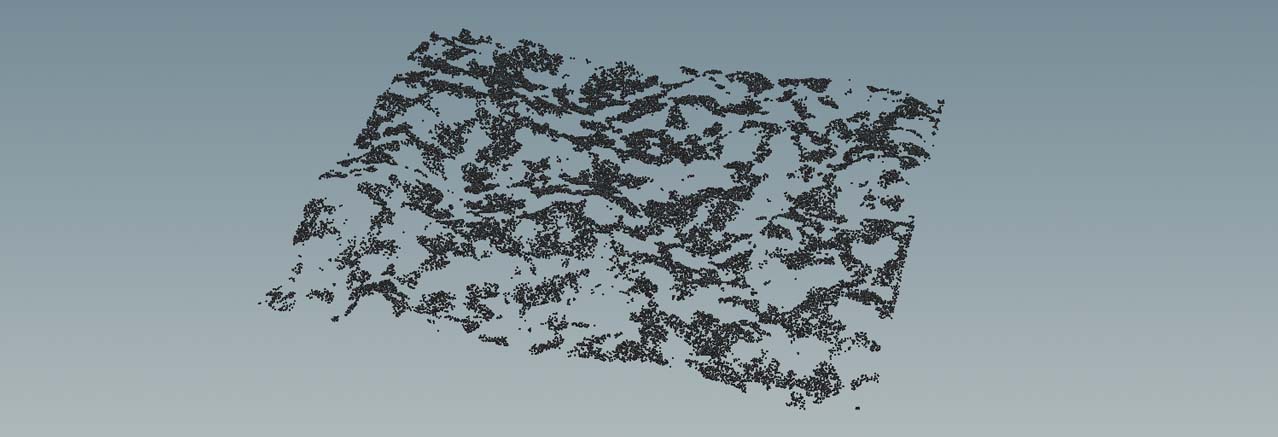
On the ![]() HeightField Scatter SOP, go to the Relaxation section and turn off Keep Incoming Terrain. Now, the viewport shows only the scatter points.
HeightField Scatter SOP, go to the Relaxation section and turn off Keep Incoming Terrain. Now, the viewport shows only the scatter points.
Scale and orientation 
On the HeightField Scatter SOP you can find a Variability section with a Range parameter. Here you can define minimum and maximum scale factors for each point. In fact you're changing pscale here. The Method dropdown menu also provides three options for adjusting scale.
If you have already worked with the ![]() Scatter and Align SOP, you most probably heard about the
Scatter and Align SOP, you most probably heard about the orient attribute. This attribute controls a instance’s rotation values around the base object’s normals and other axes. The HeightField Scatter SOP works similar and you can find the appropriate parameter’s in the Relaxation section.
According to the help, the Randomize Up parameter “specifies the number of degrees to jitter the computed normal direction of the instance.”. In plain words, this parameter avoids that all instances are perfectly aligned with the terrain’s normals. Imagine a forest where are all trees are exactly perpendicular to the ground. This is something that hardly occurs in nature and some trees grow at 94 degrees, others are have partially fallen, some grow at 85 degrees and so on. Randomize Up lets you mimic this behavior.
The Randomize Yaw parameters rotates the instances around the terrains normal. Yaw ensures that not all objects face the same side.
The requited normals are calculated on the fly by Houdini when you add a scatter node. However, you can influence the normals' direction with the Match Normals with Terrain and Match Direction with Slope parameters.
Of course, you can override both attributes anywhere in your network, for example with VEX scripts or appropriate nodes (see directly below).
Hue and saturation 
To define the hue attribute, you lay down an ![]() Attribute Create SOP. Connect the new node to the scatter node. Then, on the Attribute Create SOP, change Name to
Attribute Create SOP. Connect the new node to the scatter node. Then, on the Attribute Create SOP, change Name to hue. The remaining parameters don’t have to be changed, because the new attribute is a float that lives on the scatter points.
Then, add an ![]() Attribute Randomize SOP and connect its input with the output of the create node. On the randomize node you need a couple of settings.
Attribute Randomize SOP and connect its input with the output of the create node. On the randomize node you need a couple of settings.
-
For Attribute Name, enter
hue. -
Go to the Distribution tab and set Dimensions to
1. This value represents the aforementioned float. -
Now you’ll be choosing Min Value and Max Value. The attribute should control the saturation of a texture map. You typically change color-related values within narrow limits to achieve subtle change. Try
0.9and1.1to avoid unnatural colors. -
For the
saturationpoint attribute you can repeat all the steps explained above. You need one more Attribute Create SOP and one Attribute Randomize SOP.Since a value of
1represents the original saturation, you only change Min Value. A value of0, however, creates grayscale map and this is normally not what you want. A good values is, for example,0.7. Houdini will now add random values between 0.7 and 1.0 to the points.
On the HeightField scattering: Solaris page you’ll see how to connect the color correction attributes to a shader.
Deleting attributes 
With high particle counts and lots of attributes you bind computer resources you might need for the rendering process. When you delete the unneeded attributes, you can save time and memory.
You can use the ![]() Attribute Delete SOP for this task. There, go through the various (…) Attributes parameters and enter the attributes you want to remove. You can also choose the attributes from the parameters' associated dropdown menu.
Attribute Delete SOP for this task. There, go through the various (…) Attributes parameters and enter the attributes you want to remove. You can also choose the attributes from the parameters' associated dropdown menu.
Last steps 
Now you can add ![]() Null SOPs to make certain parts of the network more accessible, e.g. when you import SOP geometry to the Solaris stage. Here, you're going to use one Null for the heightfield and one for the scatter points.
Null SOPs to make certain parts of the network more accessible, e.g. when you import SOP geometry to the Solaris stage. Here, you're going to use one Null for the heightfield and one for the scatter points.
-
Lay down a Null SOP and connect its input with the output of the network’s last node. This is most probably an Attribute Delete SOP. Rename the new node to
POINTS. -
Add another Null SOP and connect its input with the output of the HeightField Noise SOP. Change its name to
TERRAIN.