HOUDINI EDGE WEAR
Houdini Blog: Edge wear
Recently I found a way to make procedural edge wear on (highpoly) models.
This all started some time ago when I modeled a gun based on Simon Fuchs his videos. I followed his videos but did everything in Houdini and part of that is adding edge damage.
Here is a sneak peak of how the gun model looks.

Now Let's start talking about how to make some procedural edge wear/damage. Before I often used a technique shown here in this video. ( Look at 6min https://www.youtube.com/watch?v=Vx_kYEUvYCA )
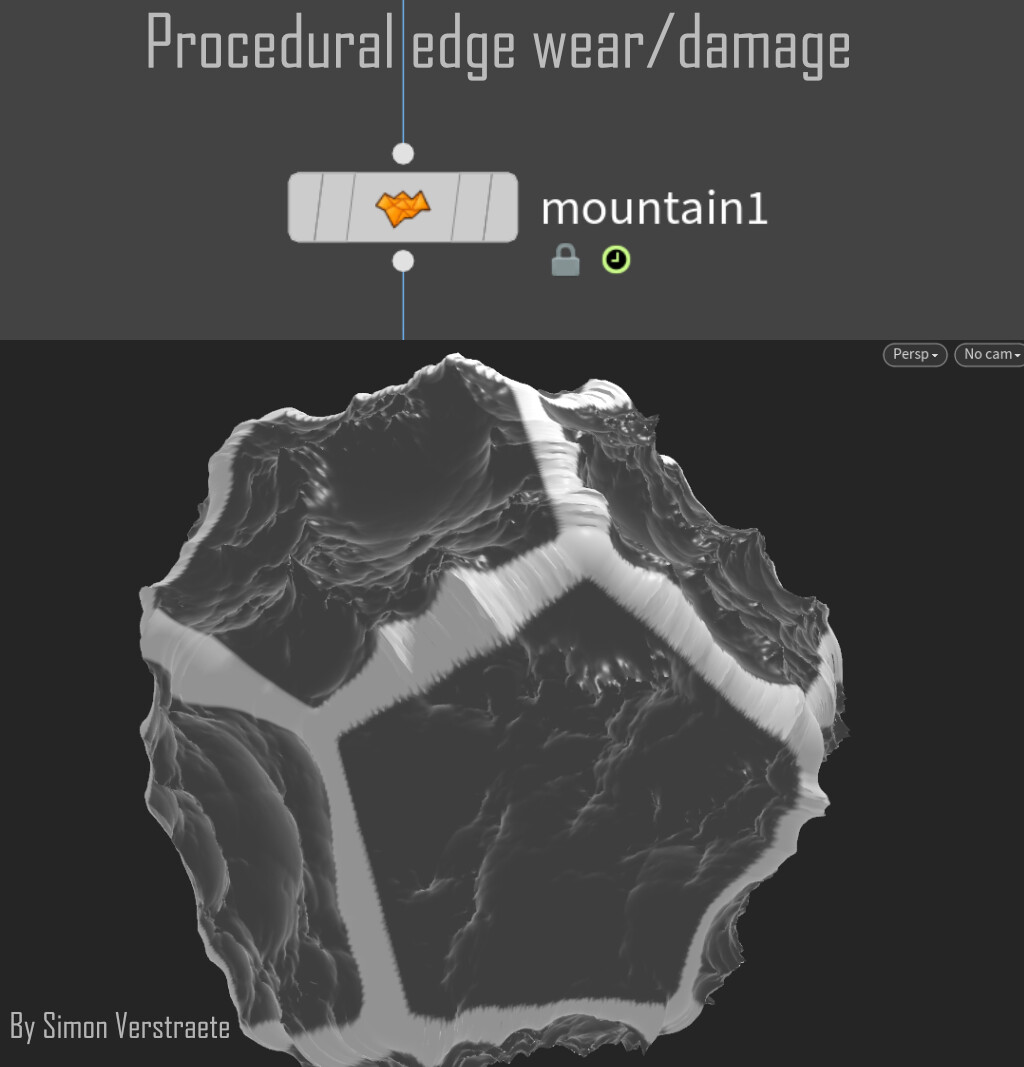
The down side of the technique is the video is that on complex models it can often fail, so using my gun model it had a hard time adding edge damage. The mountain and the boolean play a big part here in creating the effect and these 2 nodes are also the limitation.
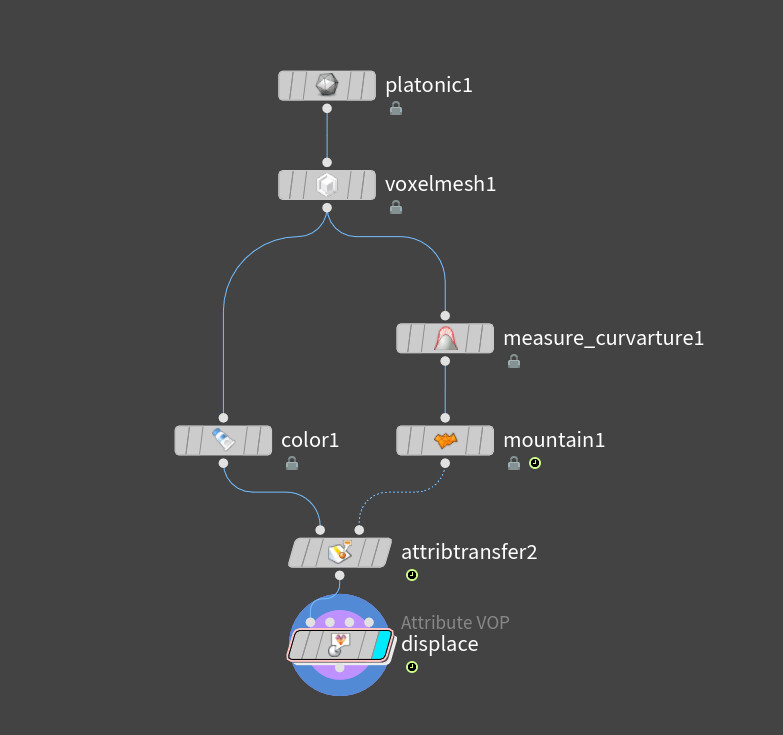
Other ways I have tried a few ways of approaching edge damage but the more successful ones are with highpoly models and calculation curvature.
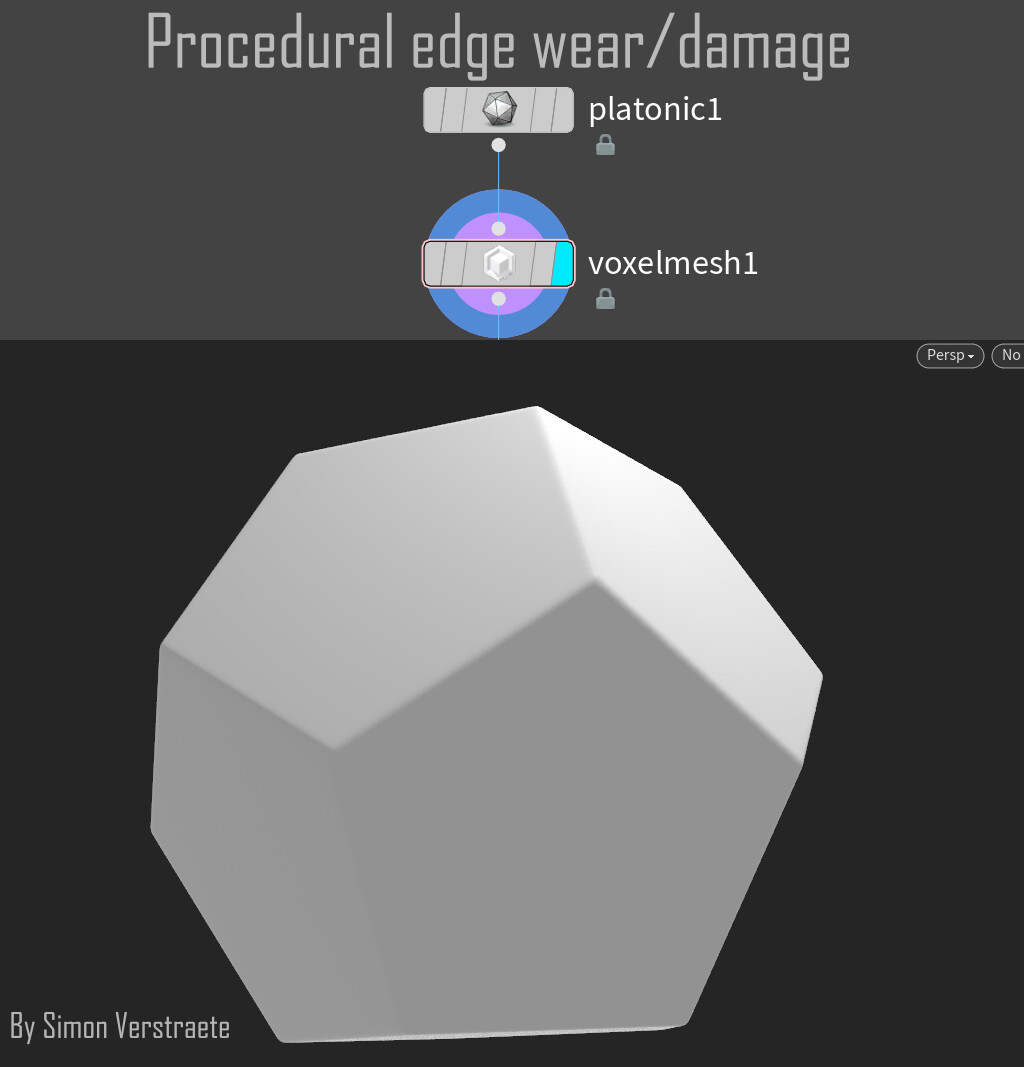
At the moment I ended up with this technique and decided to keep it as simple as possible. My other experiments where large networks and this "new" technique uses only 5 nodes to start with.
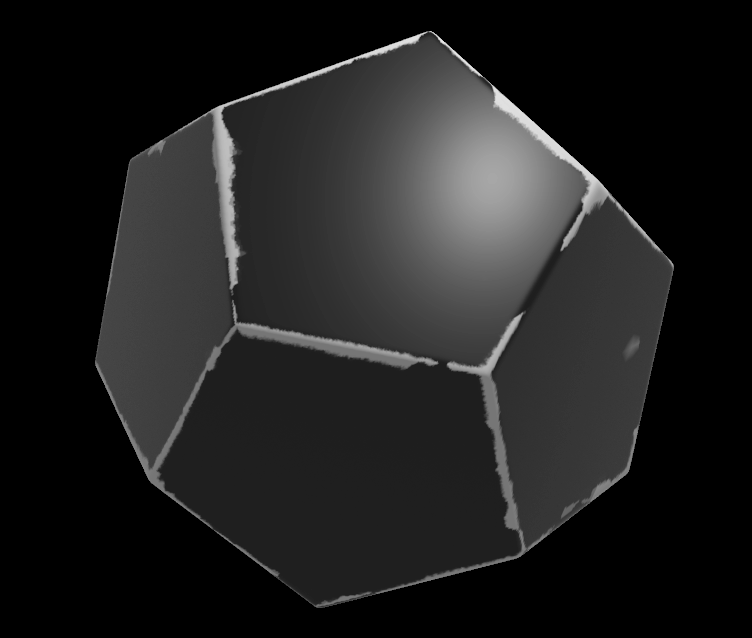
Here is a gif of what the effect looks like, a mask is created like this and then use it as displacement. (gif realtime)
Breakdown Edge wear/damage
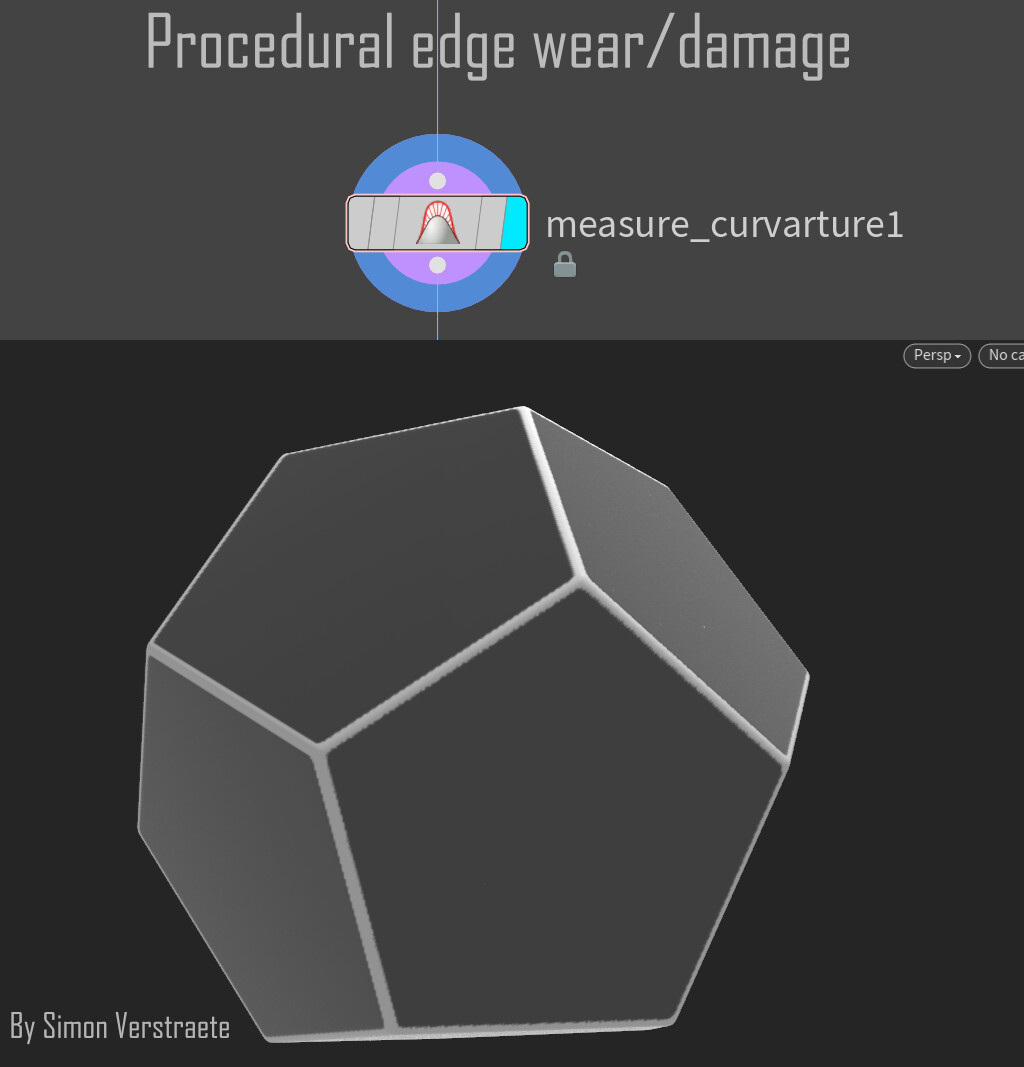
Now we have a high poly model and can calculate the curvature. The curvature will the be saved in the Color (Cd).
To calculate the curvature use the Labs Curvature or the measure node. ( there are many other ways of calculating the curvature.) For the result here you have to tweak a few settings in the Labs curvature node, I changed range scale and enabled Single Color Value + Fit to 0-1.


You can take this network further and polish it more. You can for example add a small blur or the Labs mesh sharpen works nice here.
Let me know if what you think of this technique.
Thanks for reading, see you on the next one!
CREATED BY

COMMENTS
demoncase 5 years, 10 months ago |
Nice tutorial! I normally use the Curvature node on the Redshift but that's more elegant! Thanks, worked like a charm.
r362628 5 years, 10 months ago |
tnx bro
Fred Eric 5 years, 10 months ago |
cool
nox_zahra 5 years, 10 months ago |
nice!
Radius_Dei 5 years, 7 months ago |
Very useful and concise, thanks!
GreggoryAddison 4 years, 4 months ago |
Is this workflow similar for baking edge wear into vertex colors?
Please log in to leave a comment.