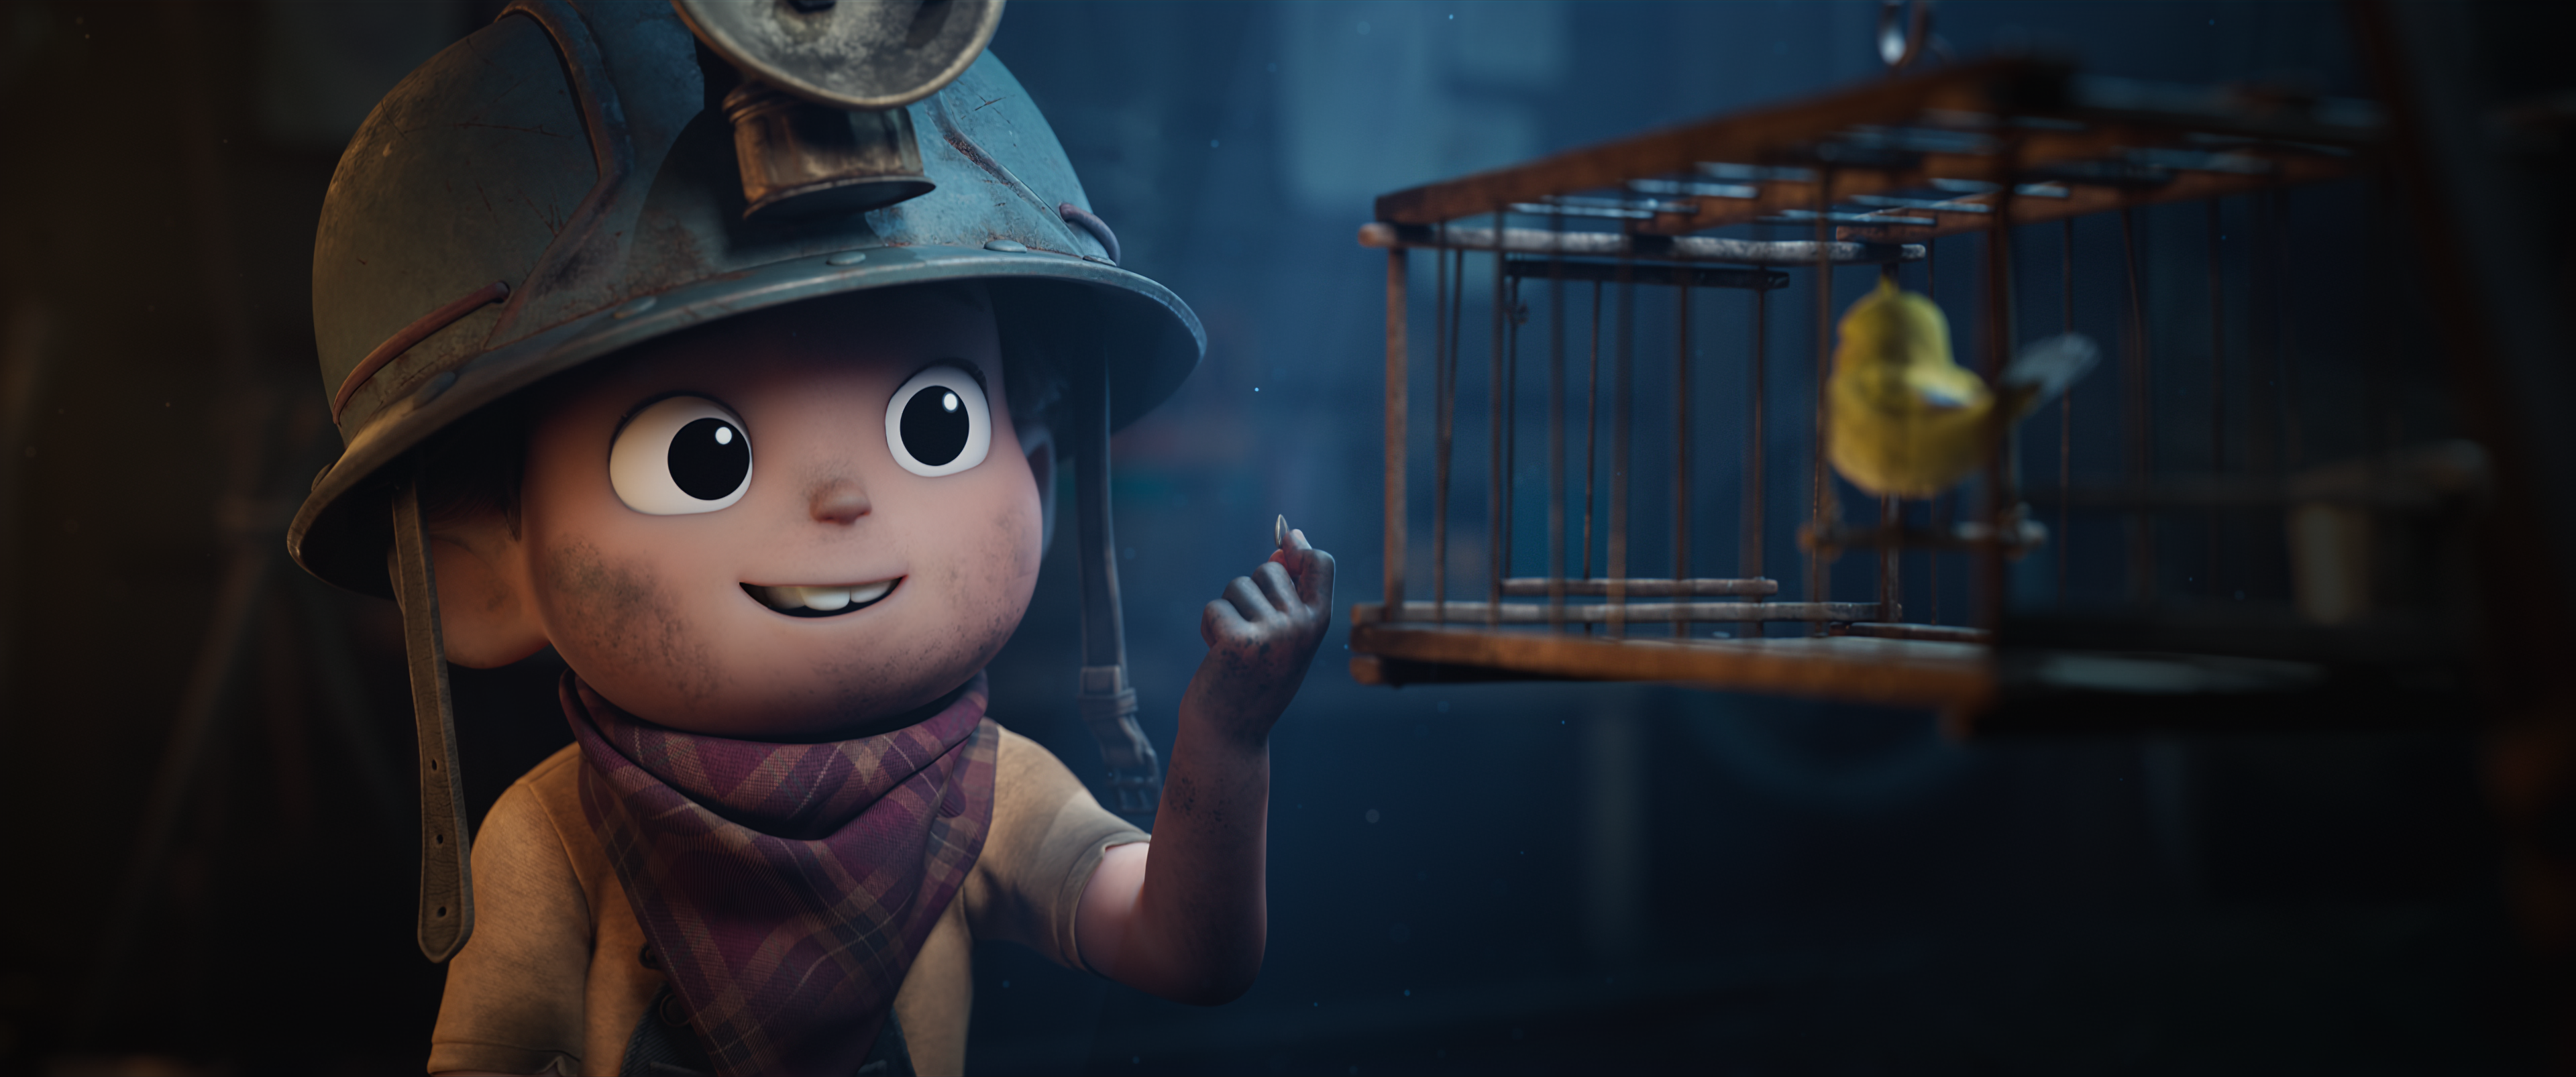
Watch the 'Canary' Houdini Connect feature with Ben and PH.
One of the first projects to be completed at Rodeo FX Animation — the new animation division of the award-winning visual effects company — is the short film Canary. Directed by Pierre-Hugues “PH” Dallaire and Benoit “Ben” Therriault, Canary tells a cautionary tale set in a coal mine in 1922, where a young boy called Sonny looks after the canary tasked with detecting lethal methane gas. Forming a unique bond with the bird, Sonny starts playing pranks on the miners. But little does he know that his trickery will have tragic consequences.
PH & Ben joined Rodeo FX after having forged a successful career in commercials at the design and animation studio Shed, based in Montreal. Here they surrounded themselves with a close-knit creative team working primarily in Softimage. When Autodesk discontinued support for Softimage in 2016, the team turned to Houdini and began developing an animated short film called Outside, a story about a plucky black house cat with a bell around his neck who dreams of catching the birds outside. Only after escaping does the cat discover how hard it is to catch birds when you have a bell around your neck.
Faced with the need to build a new Houdini-eccentric pipeline, PH & Ben gained support from SideFX, which provided developers and artists who worked in-house with the team. Ultimately Outside never progressed beyond a trailer promising the film’s release in 2018. Soon afterwards PH & Ben joined Rodeo FX as part of the team establishing the company’s new Content Creation wing. Their initial pitch for Canary led swiftly to a green light from president Sébastien Moreau, at which point they began assembling a new team, which included a number of former colleagues.
Canary took around 15 months to complete. Before and during production, the newly-formed Rodeo FX Animation team built a new pipeline using a USD framework. This enabled artists to establish a non-destructive, collaborative workflow within Houdini, employing the Solaris toolset. Final images were rendered out of Houdini using Maxon Redshift, hitting a high bar in terms of both speed and image quality. The partnership of Houdini and Redshift facilitated the creation of richly-detailed 3D environments filled with instanced geometry all the way to the horizon.
“Ben and I always strongly believed in the advantages of Houdini's node-based procedural approach,” said PH Dallaire. “The improved ability to art direct and for the artists to be able to quickly iterate was evident to us from the start. Houdini has always been a part of bringing our best creations to life, the tool of choice for our team of talented long-time collaborators.”
Keen to make the most of the new pipeline’s potential, Canary’s director of photography lighting, Philippe Sylvain, proposed a radical approach to rendering. “Most of the time you split renders into many passes and put them together in comp,” said Sylvain. “I had a strong desire to render the image in one beauty pass. That was something I really pushed for. That meant that if the camera was moving around, the depth of field would be rendered correctly and with precision. Even for the extended sequence after the explosion in the mine, I created particles for the flying embers directly in the scene and the renderer picked up the accurate intensities and sizes for the depth of field.”
While Sylvain’s single-render approach meant less work for the compositing department, it required all lighting and focus decisions to be made early and effectively baked in. “We had to split the renders sometimes,” Sylvain acknowledged, “but we didn’t split every single component of the image — usually just foreground and background or extra fire passes for render optimization. This approach put power in the hands of the lighters directly in Solaris, and I think it gave us a really great cinematic quality to the image.”
As the film’s title character, the diminutive yellow canary had to look beautifully groomed in every scene. Houdini’s grooming tools, combined with the one-pass rendering approach, delivered feathers that looked immaculate in even the closest shots.
However, one aspect of the canary’s design posed some unique challenges. “The feathers had color patterns on them,” said character rigging supervisor Carlos Valcárcel. “Usually with hair, you assign a color to each hair strand and maybe a gradient, but it’s rare that you would print an image onto the hair. Unfortunately the version of Redshift we were using did not support hair texturing, which prevented a straightforward approach.”
A task force including Valcárcel, Sylvain, lead groom artist Martine Chartrand, look development lead Thea Yau and head of CG Sylvain Lebeau explored ways to meet this challenge. After much experimentation, the team hit on a two-stage process using Houdini’s Mantra renderer to provide the crucial intermediate step.
“We took a feather and applied our image onto it as a UV projection,” Valcárcel explained. “So each point on the hair now understood what color it was supposed to display.” Unfortunately Redshift was still unable to interpret this critical information, so the team took the individual hairs from the feather and resolved the issue in Houdini, mapping the hairs individually onto a square tile, arranged to align with Redshift’s unique use of UV space in which the U value defines the hair’s identity, and the V value defines its gradient. “Say we had 100 hairs. We would place the first hair at U:0.01, then straighten it vertically to the extent of the tile, giving us a gradient from 0 to 1 in the V coordinate.”
The next step was to render a top view of this square tile in Mantra. “That render was very strange to look at,” Valcárcel recalled. “Even if a hair was very short on the feather, it would get stretched to fit the tile. So the finished tile just looked like random columns of colors.” However, once this odd-looking tile was ingested into Redshift via the OSL (Open Shading Language), it was possible to sample the texture color at the necessary UV coordinate on the tile, allowing the renderer to impose the image pattern correctly onto the feather. “It was like this transformation phase — we textured the feather in one renderer, to make a distorted texture that would be understood by another renderer.” Once it was up and running, this multi-stage workflow enabled the team to apply the required textures to all the feathers on the canary.
“Rendering the feathers needed lots of problem-solving,” observed Valcárcel. “There were lots of long nights after work. It was a logical step that led us there but it was hard to imagine it working because right up until the end it just looked like a mess of color. Then suddenly everything fell into place. It was really an incredible team effort.”
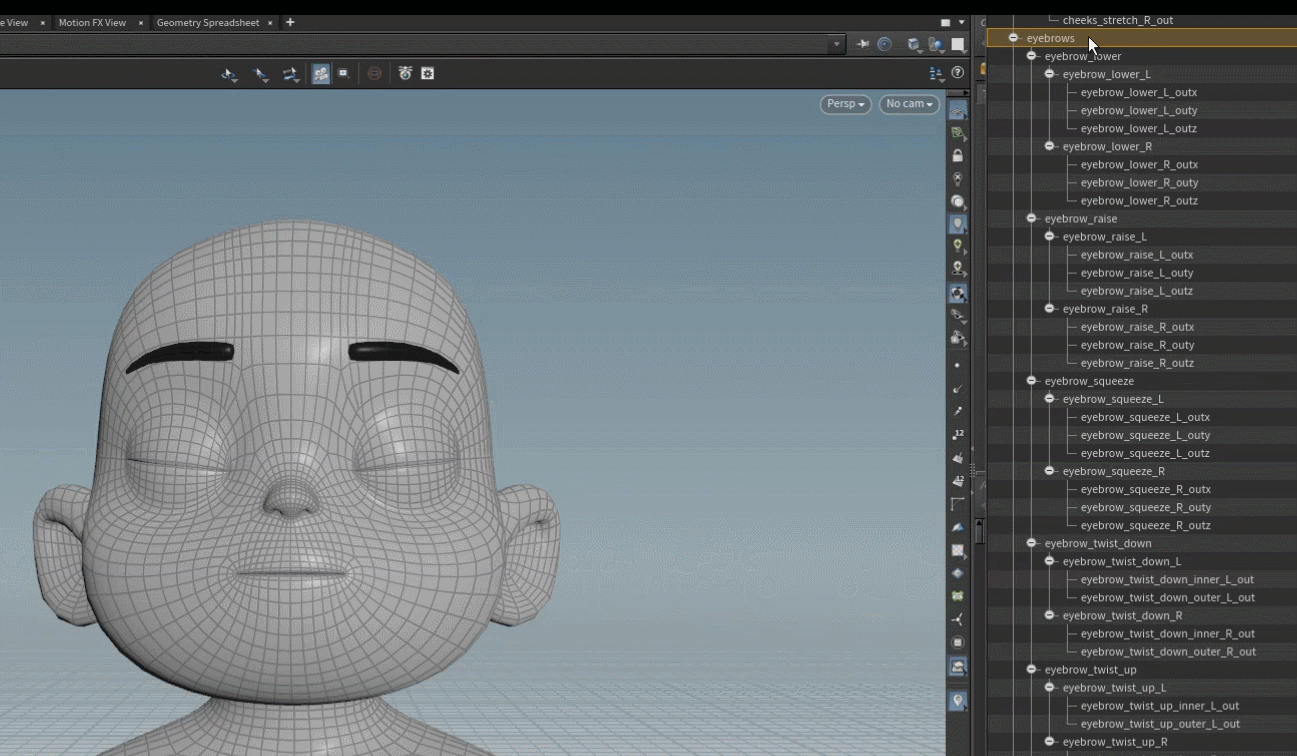
Canary’s characters — both human and avian — were rigged and animated in Autodesk Maya. Facial rigs employed blend shapes — around 200 shapes per character — and closely resembled the setup that had served the creative team in the past.
In order to generate the individual blend shapes needed for the facial rigs, Carlos Valcárcel abandoned Maya in favor of Houdini. “Even though we were hoping to use manually-sculpted blend shapes in the end,” said Valcárcel, “we were not sure that we were going to have a modeler available to accomplish this. Because of that, we planned first to generate blend shapes with deformation operators and use them directly in the rig as a backup. That strategy also allowed us to provide a first pass of the blend shapes — ensuring proper point direction and falloff — as a basis for the modeler if required. We discovered that some of those shapes were blending very well and did not require retouching after all, thus saving modeling time. Since we needed a flexible and powerful platform to build those custom geometry-deforming operators, I decided to use Houdini to produce the shapes that were going to be utilized by the Maya rig.”
The starting point for each character’s set of blend shapes was the master high resolution facial geometry. From this, Valcárcel either worked with primary blend shapes provided by the modelers, or created the primary blend shapes himself using procedural operators in Houdini. “I would give them my blend shapes as a first pass, and they would re-sculpt over these and make them awesome,” Valcárcel related. “Then I would take those blend shapes back into Houdini and split them into different sub-regions.”
Valcárcel began by building a graph containing all the deforming operators necessary to rig the face without any blend shapes. “For the brow area, I would trace a vertical curve describing a path along the forehead that I wanted the geometry points to follow,” explained Valcárcel. “Then I would paint in the weighting, defining those parts of the forehead that would follow the curve’s direction when they moved up or down.” A second operator defined equivalent parameters in the horizontal axis. “I had other curves for the mouth and there were puffing operators for the cheeks as well — those were spheres that pushed the points of the cheeks outwards. For the eyelids I set the points to rotate around a pivot at the center of the eyeball and again painted the weighting.”
Having built his operators, Valcárcel tested them in Houdini using slider controls. Once satisfied that the rig was providing the correct deformations, he set the sliders at the most extreme positions — full smile, full frown and so on — and exported that geometry, ready to be finessed by the modeling team. “They would open those files in ZBrush,” Valcárcel commented, “then refine them and send back the final sculpts for me to ingest into Houdini. At that point I would disable my operators, because I didn’t need those any more. However, I still used the same weight maps of the different regions — brows, mouth, cheeks, eyelids — as a way to isolate the changes that the modelers had made. We could then procedurally split every weight map into many sub-regions to obtain a local control, in addition to the global region control.” Valcárcel exported all of these final, locally-split shapes which were then used in the main facial rig inside Maya to animate the performances.
“I found that all this shape-splitting was easier to do in Houdini than in Maya,” reflected Valcárcel. “Houdini also allowed me to brainstorm — I used it as a kind of sketchpad to prototype and test ideas. It’s non-destructive, with a good mathematical framework, and awesome tools for driving geometry and making relationships between objects. What’s interesting — and a little sad at the same time — is that the facial rig I had in Houdini gave a much better deformation than the linear interpolation between points of the Maya rig that the animators used, because it actually interpolated along curves. I think it was evaluating faster too. It was quite fun and interactive to move the rig in Houdini with a custom Python viewer state — that enabled me to activate the rig by using the mouse over the geometry directly instead of picking controller objects”
Canary also offered some opportunities to test Houdini’s rigging and animation framework KineFX. One tool that is often required in animation pipelines is a ‘sticky tool.’ Such a tool provides ‘on demand’ controllers for animators that can be placed at any point on geometry and follow the rig’s deformation. This gives the animator an extra deformation layer on top of all the other deformations. “We didn’t have time to develop such a tool in Maya. But in Houdini it is so simple to extract points from geometry and use them as joints with KineFX, so building that tool was really easy. It provided us with a safety net for fixing some deformation problems at animation or CFX.”
For Valcárcel, working in Houdini has restored the enjoyment he used to experience when using Softimage. “I used Softimage professionally for over 15 years,” Valcárcel remarked, “and I was always amazed by the functional design and engineering of that software. I would open it in the morning confident that I could do stuff quite easily, and I would learn new things every day. It was a joy.
“I feel the same about Houdini. The design is cohesive and I am constantly discovering new ways of doing things. I would even gamble on it for the future of animation. Everybody uses Maya as a default because it’s the only viable solution right now. I understand that in the business sense and also in terms of technology. But the future is USD and I wouldn’t be surprised if at some point an animation framework will be developed in that. Because of how it handles USD, because of the new ways of thinking about animation and the possibilities that are being discovered with KineFX, and because of how much it empowers the user, my feeling is that the best software for that job is going to be Houdini.”
COMMENTS
Zbaobao 3 years, 7 months ago |
能不能干点人干的事情,好好升级完成你的karma渲染起,拉跨的软件
1449686498x 3 years, 7 months ago |
有点素质好吗
wanglifu 3 years, 6 months ago |
真的太给国人丢脸了
harryabreu 3 years, 7 months ago |
Wonderful that pipeline is incredible.
Houdini for character animation is very promising.
netlander 3 years, 6 months ago |
Now I understand why I subconsciously never fully committed to Maya rigging and animation, it's because I was waiting for KineFX. Hope I won't be disappointed.
Please log in to leave a comment.