Muscles Masterclass
Advanced & Special Topics
These videos build on the concepts covered in the Essentials part of this Houdini 20.5 Muscle masterclass series. Although this section is described as “advanced” - it is still aimed to be accessible to users of all levels. What differentiates this from the Essentials section is that none of these approaches are critical for getting a muscle setup up and running. However, these videos cover topics that can help speed up your workflow or push your results to the next level. The example files will be available for download to follow along.
DOWNLOAD
1. Muscle IDs from Path Attribute
Hip file muscle_id_from_path_attribute.hip
Building on a concept covered previously of using an existing name attribute to create a muscle_id attribute, we show you how you can extract the muscle_id value from a part of a longer attribute value. A typical attribute that you would use for this, the path attribute, stores the hierarchy of the geometry pieces when importing an alembic or USD file. We show how to extract the value with VEX, as well as with an Attribute String Edit node for those overwhelmed by VEX, although we walk you through the very simple VEX code so give it a try!

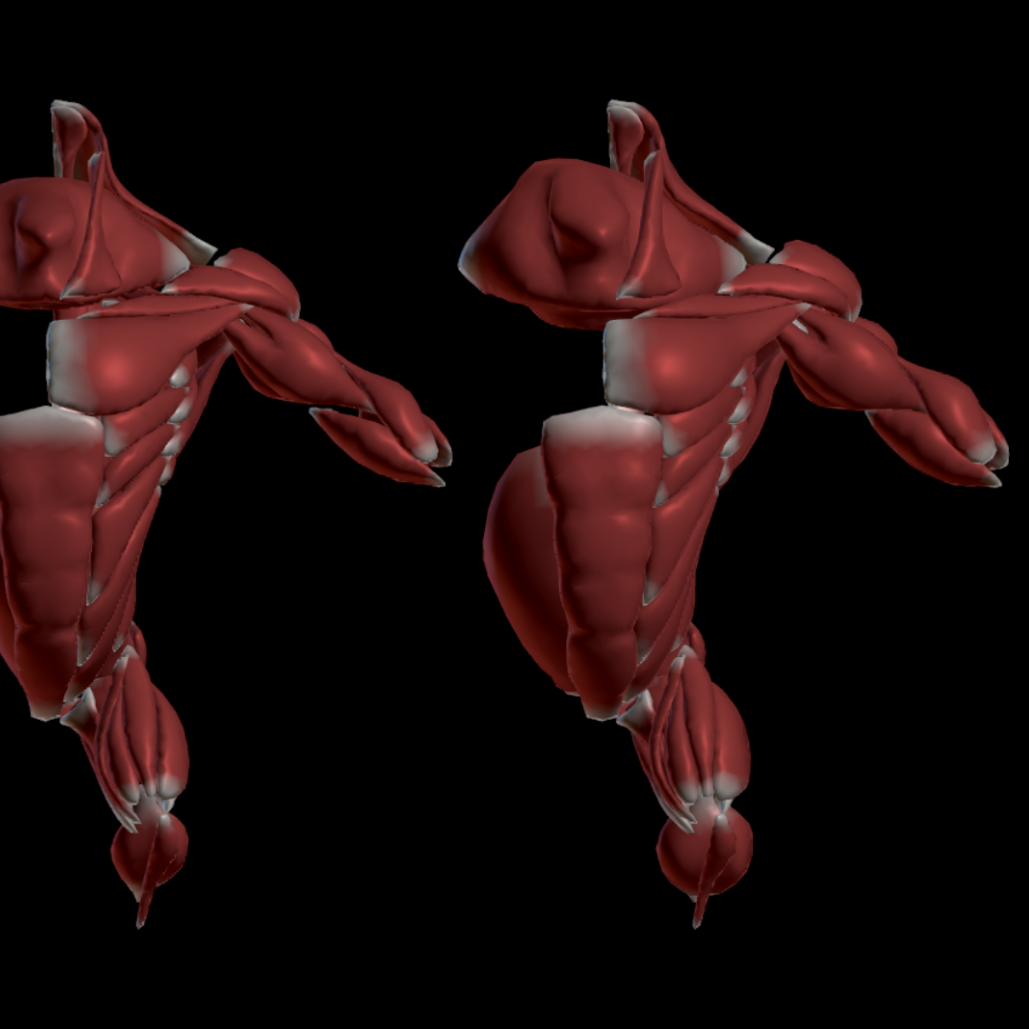
2. De-intersecting Rest Muscles
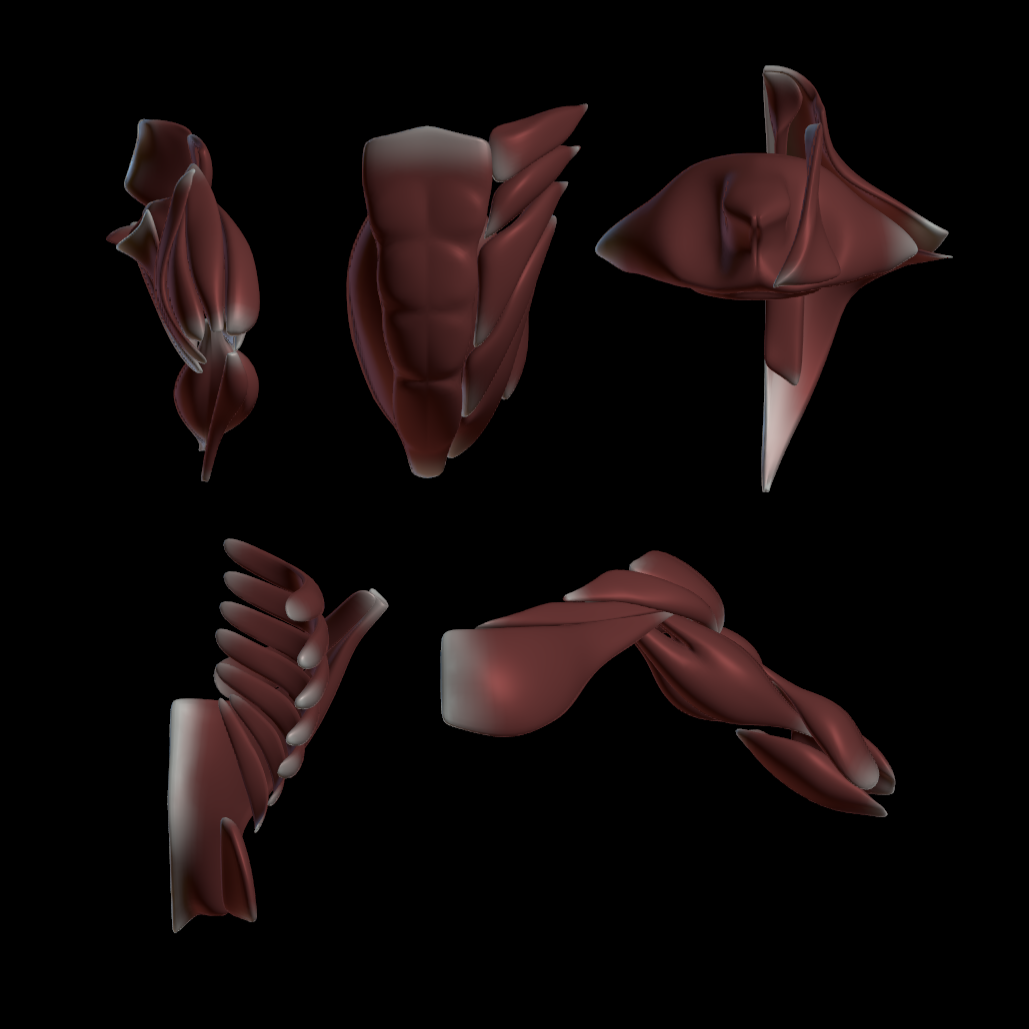
3. Target Shapes for Flexed Muscles

Hip file deintersecting_rest_muscles.hip
In this video we walk you through how the Minotaur rest muscles were de-intersected. Firstly, we cover how to fix self-intersections in muscles. Next we show how to set up a basic Vellum simulation to inflate the muscles from a scaled down starting position to the target position to resolve muscle-to-muscle and muscle-to-bone interpenetrations. We then demonstrate how to mirror shape changes on central muscles from one side to another, which includes a handy tip for fixing point order scrambling from splitting and merging geometry. Finally, we show how to fix muscles that lose their correct shape as a result of being solidified.
Hip file Minotaur_targetshape_examples.hip
We demonstrate different methods for creating activation target shapes either manually or procedurally. These are predefined shapes that the muscles blend to during the simulation when the muscles are flexed. You will learn how to transfer target shapes from polygonal geometry to the tetrahedralized muscles using an FEM deform node, how to check for tet inversions on the target shapes, how you can use the new Sculpt node to manually create target shapes, how to procedurally create target shapes using thickness and the tendon mask, and how to specify how you want the muscles to look when fully relaxed.
4. Non-muscle Shapes
5. Muscle Merge

(no Hip file)
In this video we discuss how you can add geometry pieces to your muscle simulation that aren't anatomical muscles but can help you out with your tissue sim. We show an example from the H19.5 launch video where we created "bumper" muscles which keep a gap between the muscles on the arms and the chest to allow space for tissue, skin or cloth simulations. In this case these extra "bumper muscles" are deleted after the muscle simulation is complete. We also discuss how the geometry pieces can be used to represent fatty volumes, which are then kept for the tissue sim, allowing for more control over the sim properties of that region, as well as preventing some known issues with tissue sims collapsing with large volumes.
Hip file Minotaur_muscle_merge_example.hip
Learn the importance of using a Muscle Merge node if you split up your muscle setup into separate streams. We explain when a Muscle Merge node is required and why as well as when it is safe to use a regular Merge node. In addition, we show why it’s best not to split up the Muscle Flex into separate streams, gotchas to look out for when splitting and merging separate muscle streams and how to work around them, plus an alternative to splitting muscles into separate streams.

6. Alternative Procedural Methods to Muscle Paint
Hip file procedural_muscle_masks.hip
We give examples of how you can edit or replace some of your muscle masks without using Muscle Paint - namely using procedural methods. The advantage of this is you reduce issues caused by Muscle Paint recache strokes not working - so your masks are a bit more stable to various changes to the inputs. We start off by looking at the tendon mask and how there are certain muscles with more complex shapes where the automatic tendon regions are wrong. We show how you can use the point positions to find the distance along the axis perpendicular to the tendon edge and control the tendon falloff. We also demonstrate how to procedurally create a Muscle Glue mask down the center of your model.
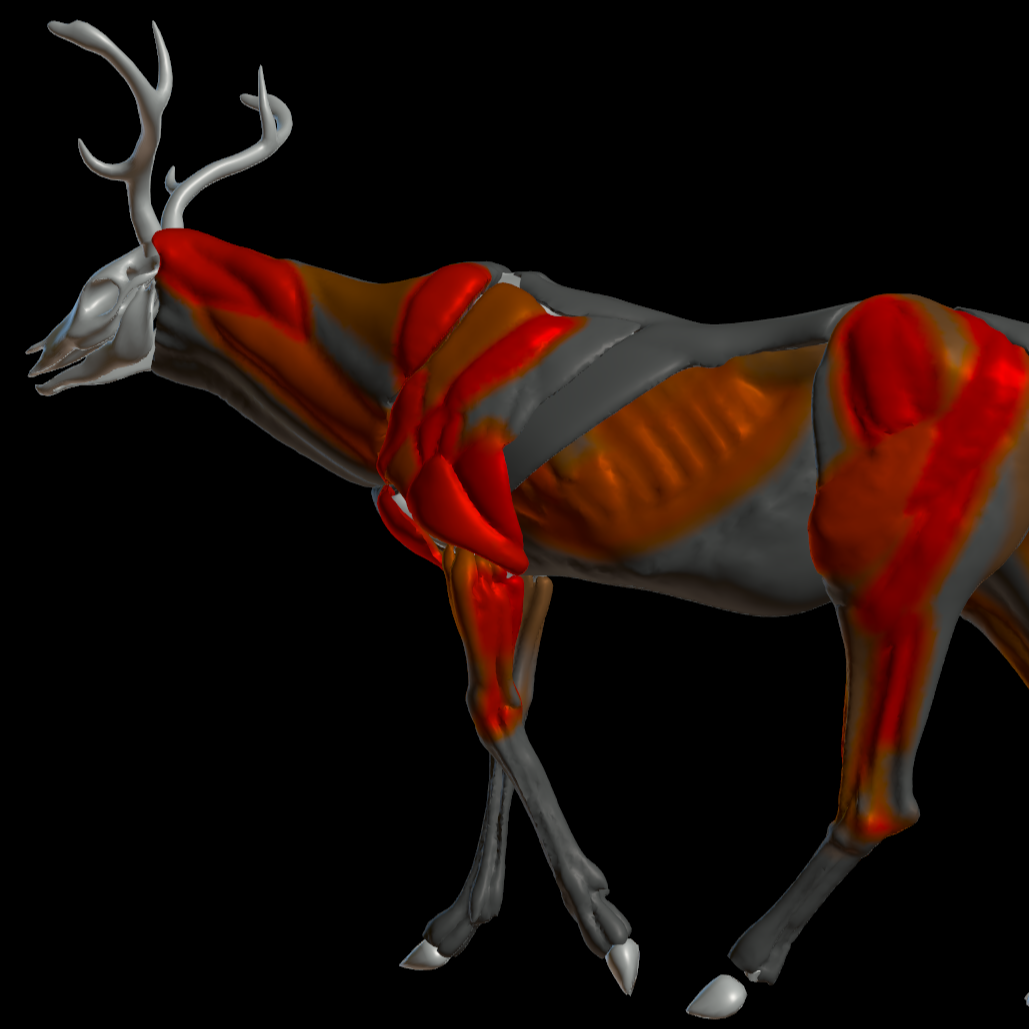
7. Franken Muscles
Hip file Frankenmuscle_examples.hip
In this video we introduce Franken Muscles and give a motivation for using them. We do a walk through of some different simple Franken Muscle examples which demonstrate how to use: the Franken Muscle Paint node; target shapes with Franken Muscles; the Franken Muscle node to create muscle ids from reference muscle pieces; VDBs to combine muscle pieces into a single mesh; the Quad Remesh node on converted VDBs; Attribute Sharpen to emphasize muscle definition on skin; and curvature to split skin into muscle pieces for Franken Muscle IDs. We conclude with a walk through of a full deer Franken Muscle setup.