OVERVIEW

So you dream of working in VFX?

If you are passionate about VFX and want to succeed in the VFX industry, it is essential to learn how to harness the power of Houdini.

In this first season of Film FX Program, you will learn how to use Houdini FX from scratch in an easy and smart way as well as you will find out how the procedural approach can help you to be more effective and efficient.

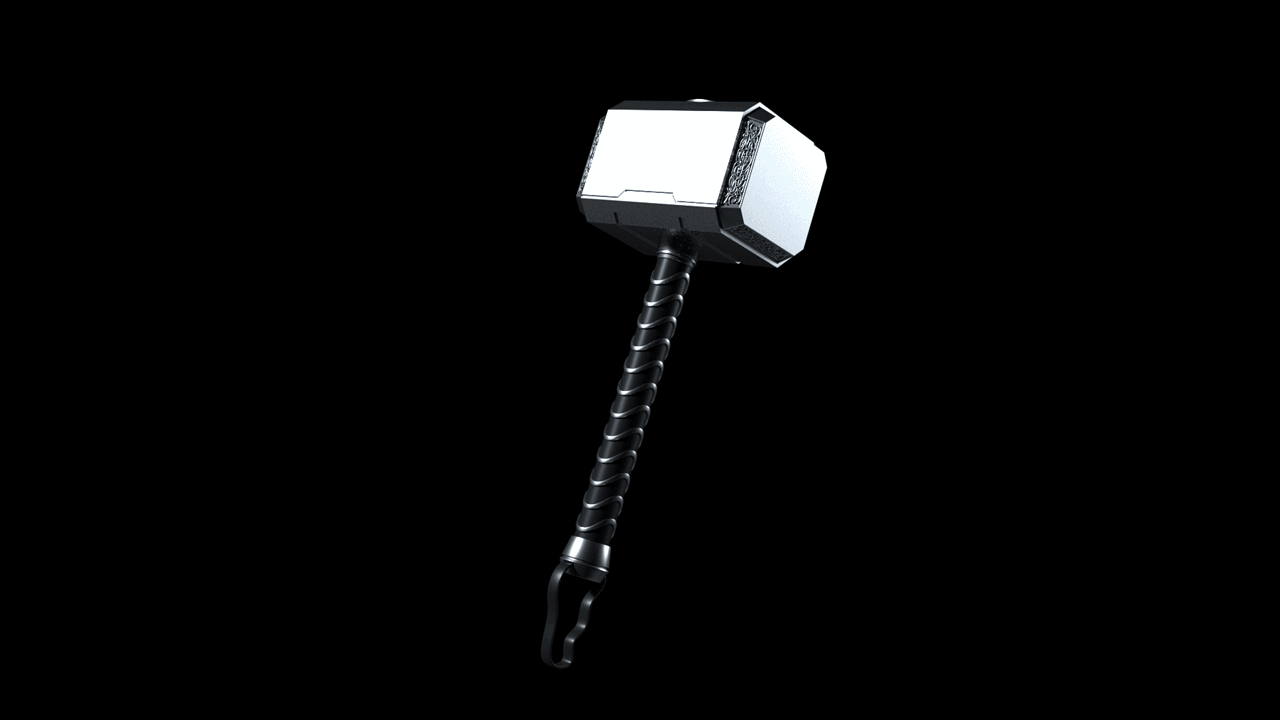
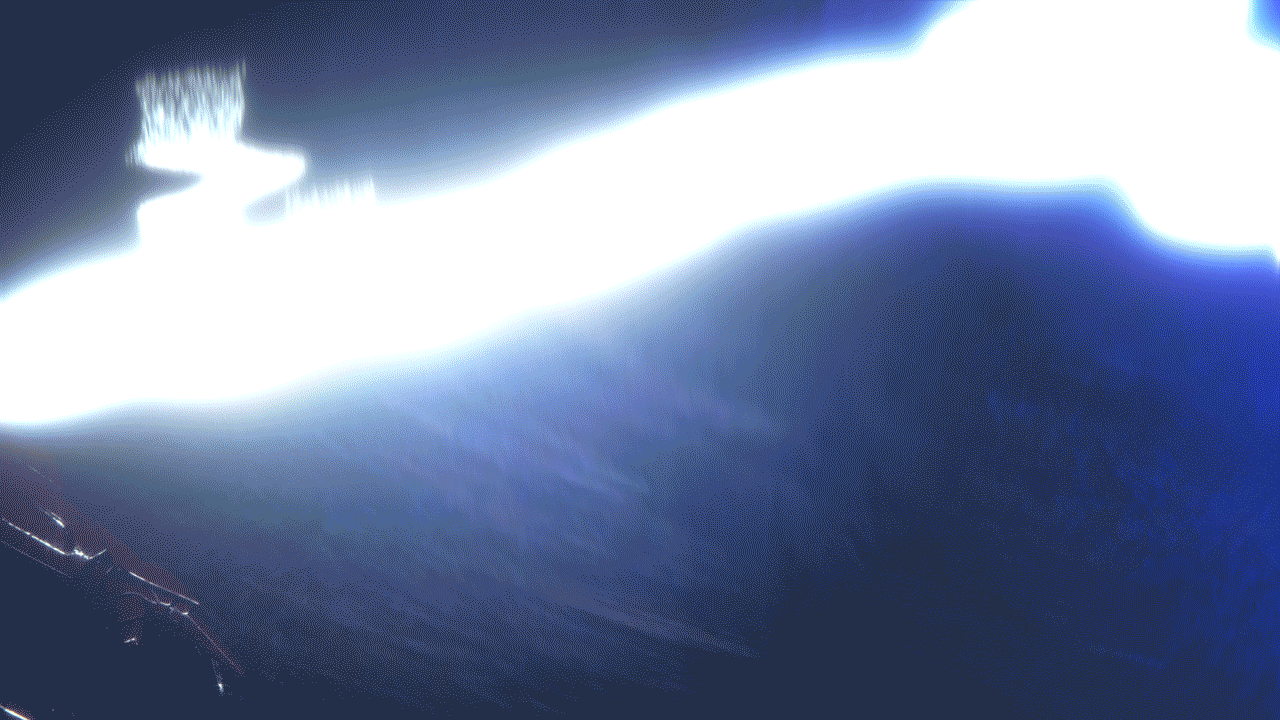
This course objective is to create and replicate awesome FX of a specific shot inspired by The Avengers from start to finish.

After completing this course, you will have a strong knowledge base to face new FX projects successfully. You will also be able to create your own version of the shot taught in this course to include a high quality and interesting movie project in your professional Demo Reel.


WEEK 01


In this first week, you will recognize the power of Houdini and what distinguishes this software from other 3D packages.


We will find out the differences between Houdini versions and will talk about the hardware requirements.

Next we will get into the interface and will start our first project of the course, so we will be modelling the Mjolnir, the Thor’s hammer, which we will grip it later to shoot at Iron Man a great storm of rays.

At the end of this first week, you will be able to move around the interface, understand the procedural workflow, model a high quality asset, create shaders and make render to submit your asset with a professional final look.


WEEK 02


“Whosoever holds this hammer, if he be worthy, shall possess the power of Thor”. Will we be worthy?

In this week, we will set up the scene to start working on the final project and will animate the Thor’s hammer that we modeled previously, using CHOP’s in Houdini.

Once the scene is ready to work, we will get on with the main ray setup, ray ramifications and extra rays.

After completing the second week, you will have learned how to control some of the most important nodes of Houdini as well as how to use VOPs to modify geometry and create ramps for a better control of attributes.

We will teach you as well to reuse processes to create new FX variations.


WEEK 03


Points, particles and collisions… We will introduce you to these three concepts quickly and will develop a simple example making use of two systems to get to know the advantages, disadvantages and differences.

Then, we will continue working on the final project and will set up the geometry to create a spark system.

Here you will acquire the necessary knowledge to develop and control particle systems in an efficient way.


WEEK 04


Now it’s the volumes turn! Here we’ll learn everything about volumes, what they are and how they work. We will work on a particular example while learning all the necessary concepts and tools to control the powerful Pyro Solver and understand how volumes work.

We will then continue creating the smoke pass caused by the rays impact we’ve developed in week 2.

By the end of this 4th week, we’ll have already created all the FX of this first season project.


WEEK 05


Although this is not a shading and composition course, we will teach you to create materials for the different FX of this course, make render passes and compose the shot using COPs in Houdini.

So at the end of this course, you will be able to compose your own version of the shot and submit your project with a professional final look.


CREATED BY

THE VFX SCHOOL

Our Houdini courses are taught by active professionals, experts in the Houdini software and experienced in the VFX industry, who will be willing to teach you every detail and solve every doubt to succeed in your professional career.

More from The VFX School