Physics Painter is a Houdini Digital Asset (HDA) that allows users to paint physics objects onto any other object, and simulate gravity. The result of the previous simulation can be fed into a new iteration of a simulation as often as required. The user gets control over a couple of parameters, which allows the user to get their desired result.

User Interaction
The tool has been configured to be very easy to work with. You should only be a few button presses away from an already cool looking simulation result. At the top of the interface, the user can press on three buttons. Dry Current Paint will convert the dynamic objects marked in green to static, and feed them back into the next simulation. Clear Current Paint will clear the active objects, and let you start over immediately. (Keeping the already dried objects). Clear All Paint will clean the entire canvas, including the already baked objects. Use with caution, this cannot be undone.
Quick Settings
The Quick Settings tab provides the user with the parameters they will touch most. These all include "generic" settings, not directly related to the meshes to be used as paint. For object specific settings, see "Objects". The quick settings provide options for Stroke Padding, to increase or decrease the density of painted objects, initial surface offset, initial rotation (XYZ Rotation) and Scale.
These settings only affect the currently active objects, and should not be changed after the simulation has started. It is however possible to scroll back to frame 1, and change them there.
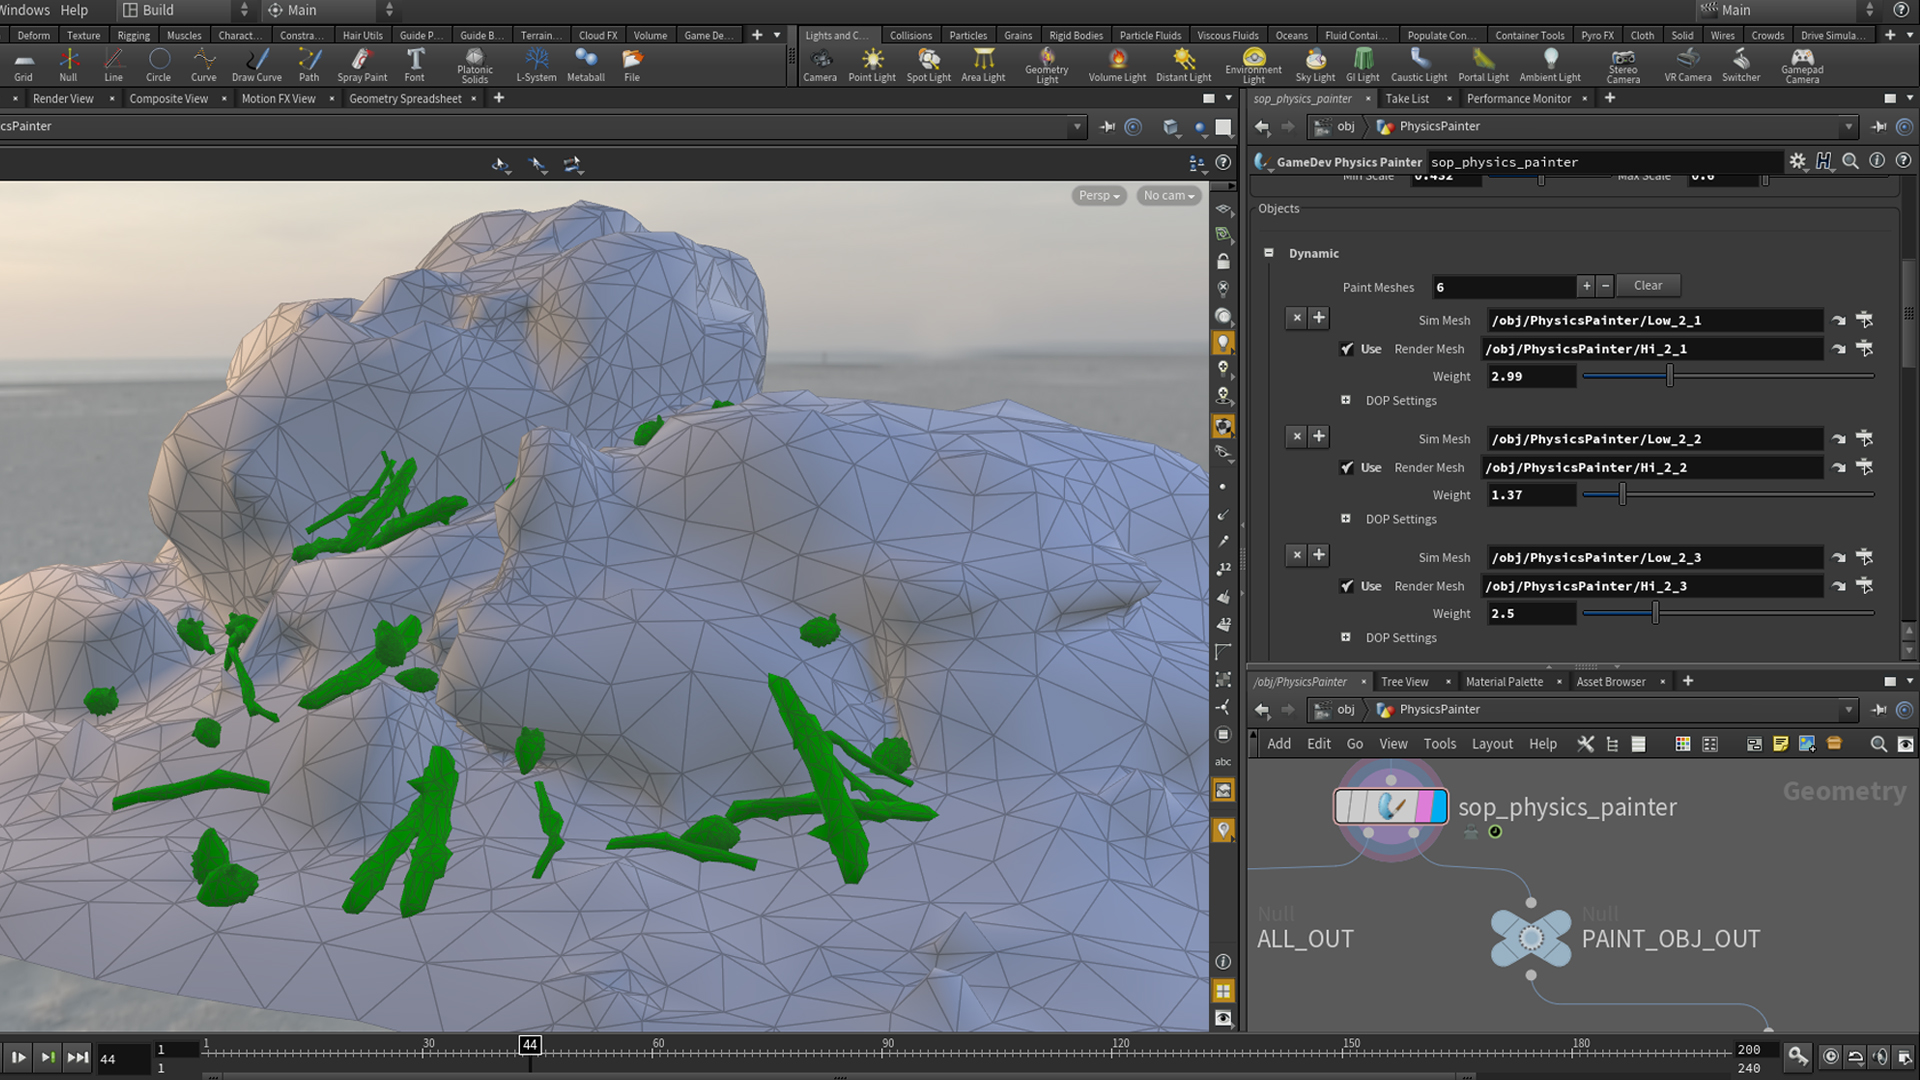
Paint Objects
The objects tab gives the user control over which objects to paint with, and if using multiple what their probability of instantiating is. The user is able to feed in a mesh to be used as the simulation mesh, and an optional rendering mesh. The weight parameter (slider), controls the weight of that particular object to be instantiated through a weighted random selection process.
Paint DOPs Settings
Each unique object entry also gets the option to change some of its dynamics properties. These include Density, Mass, Rotational Stiffness, Bound and Friction. This goes for both the painted object, and the static objects. (separate drop-down).
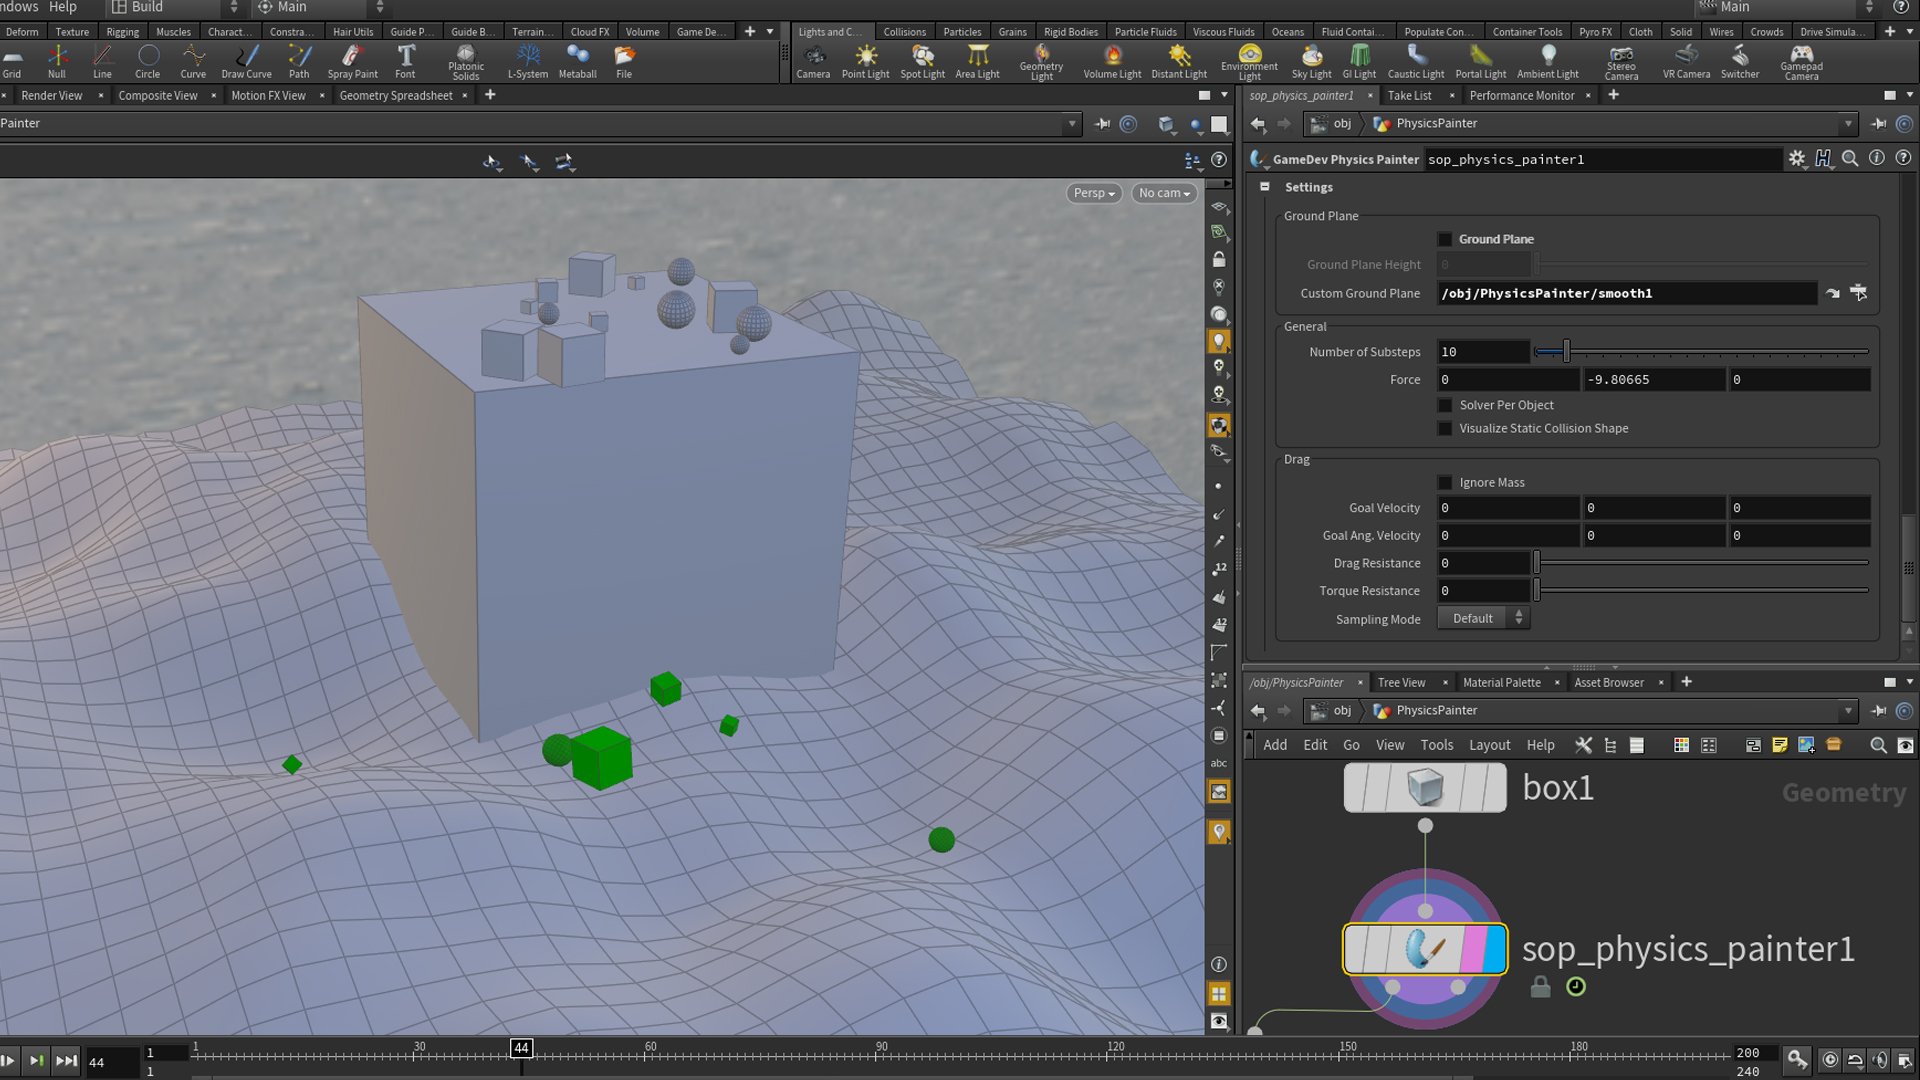
General DOPs Settings
Last but definitely not least on the interface, the user can find some more general DOPs settings that can change the overall look of your simulation. These include Enabling / Disabling a groundplane, setting its height, or even specify a custom groundplane as seen in the image above.
The user can also change the number of substeps taken in the simulation. Higher numbers mean better precision, but at a slower computation time. The user can also change gravity settings here. Perhaps create a cool space scene? In addition to gravity, the user can also add some drag forces to slow things down faster.
CREATED BY

COMMENTS
McKormick 8 years, 5 months ago |
That is a brilliant tool. I just start to explore the world of Houdini and you keep me amazed all the time. Great work Paul and the whole team.
Ambrosiussen 8 years, 5 months ago |
Hi,
Thank you! We hope to make things a lot more faster and creative with our toolset :)
teak421 8 years, 5 months ago |
This is amazing! Thanks for this tool...
akvahouse 8 years, 5 months ago |
Hi, this tool works in Houdini 16?
exile4u 8 years, 5 months ago |
Great tool. But the download button takes me to the GAME DEVELOPMENT TOOLSET OVERVIEW page.
IvanNinichuck 8 years, 5 months ago |
There are only so many words for brilliant, but that is beyond brilliant. Cannot wait to put it into my workflow.
johnchen 8 years, 5 months ago |
great stuff , thanks!
simonvdhende 8 years, 1 month ago |
this is very nice but it's not showing up in my Game dev toolset in houdini, its on development mode, do I have to download extra files for this to work?
Ambrosiussen 8 years, 1 month ago |
Hey, which version are you downloading? Try downloading 1.9 Development or newer. That should give you the tool in the sop context! :)
cdevens 7 years, 8 months ago |
The newest release that shows up for me is 1.53. "Production builds only is unchecked". What do I need to do to see later versions? Also, I am using Apprentice. Thanks!
omaryo 8 years, 1 month ago |
It's Amazing >.< !
JohnDraisey 8 years ago |
Could you screenshot what was typed in the Unpack and AttribWrangle nodes? I'd like to apply quick materials to my physics painted objects as well.
Thanks! It's an amazing tool.
Ambrosiussen 8 years ago |
Hey, with the Unpack node I transfer the "InstanceID" attribute stored on each physicspainter object.
With the wrangle I basically isolate all the unique objects based on that attribute. Which could also be done with a blast node.. group parm set to ex "@InstanceID=1", delete non-selected.
Every unique "paint object" type has a unique InstanceID value, which makes it easy to do material assignment.
Cheers
JohnDraisey 8 years ago |
Got it, thank you for explaining!
OscarTorres 7 years, 9 months ago |
Thanks for making this great tool. This is amazing. I'm new to Houdini and I love it more and more. Is possible to render those objects as instances (redshift instances) instead of the original geometry to save render VRAM? Or to output a point cloud with position, orientation as normal, scale as pscale, and instance id attributes. Or to output multiple point clouds one for each type of instance?
OscarTorres 7 years, 9 months ago |
It would be cool to have variation on the possition too.
DCornibert 7 years, 8 months ago |
Looks very impressive what does Press and hold my right key mean?
Ambrosiussen 7 years, 8 months ago |
Hi,
That means the right arrow key (play animation forward). It essentially means you dont need to click the play button with the mouse.
DCornibert 7 years, 8 months ago |
Thanks that had me stumped there for a second!
DCornibert 7 years, 8 months ago |
ooohhh I get it right arrow key.
vinyvince 5 years, 6 months ago |
It's a great and convenient tool like the more recent pick and place... I having issue now when painting as even if I remesh and increase the resolution, the painted objet are going inside the mesh before the mesh. I could get rid of then later but will be great to update the had to avoid such a case as even on a basic example like the sidefx duck toy and some primitive mesh, 1/3 are placed inside...
or very often objets are placed just in front of the camera, just like if it is colliding with a mosquito stuck on the camera lens :)
Maybe an SDF check before the sim to be sure they are far away at the first sim frame Paul?
________________________________________________________________
Vincent Thomas (VFX and Art since 1998)
Senior Env and Lighting artist & Houdini generalist & Creative Concepts
http://fr.linkedin.com/in/vincentthomas
vinyvince 5 years, 6 months ago |
Ah sorry i haven't note the surface offset... just discover it when undressing your HDA :)
Please log in to leave a comment.