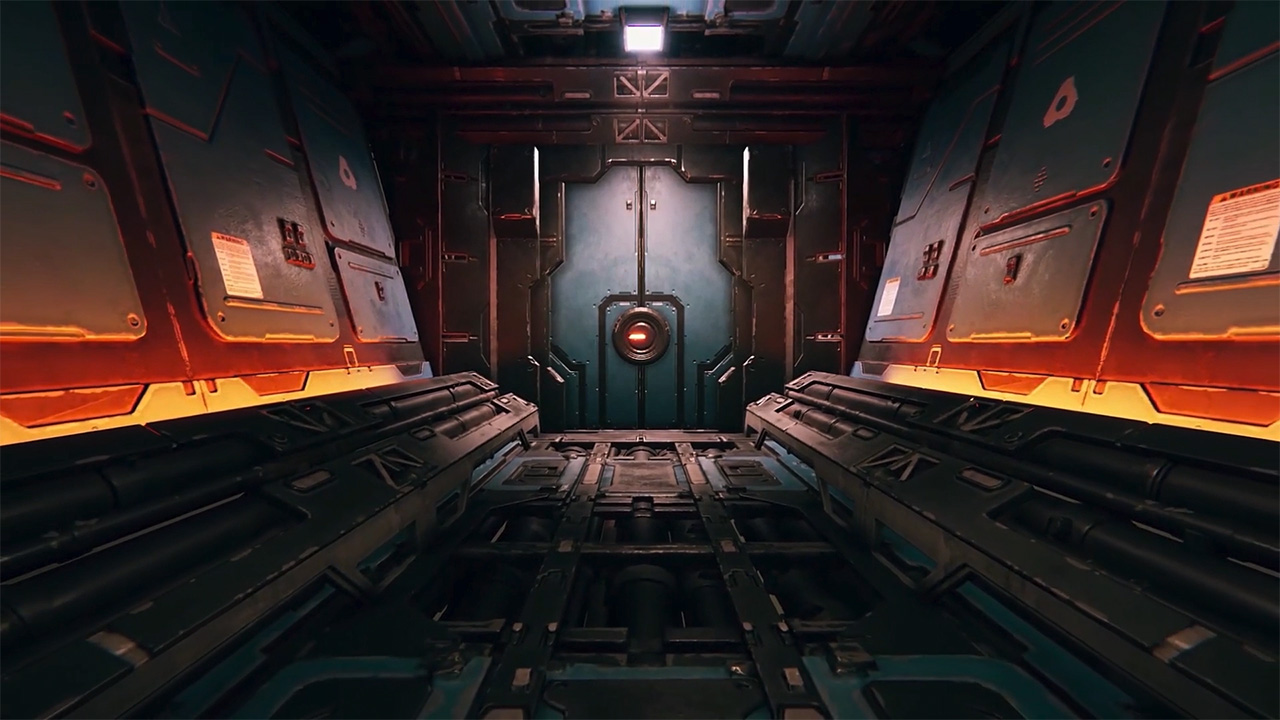
SCI FI DOOR GENERATOR
In this lesson, you will learn how to create a functioning door asset that can be used to rapidly add doors to a level. Each of the doors will be consistent with the design aesthetic of the level, while allowing your designers to customize the shape, size and detailing on a door to door basis. One asset built this way can generate multiple doors in the Unity editor that are all game-ready with efficient poly counts, uvs, collision geometry and texture maps.
You will start by creating a procedural model in Houdini then you will set it up as a digital asset that can be opened up in Unity using the Houdini Engine plug-in. The asset will generate both high res and low res geometry which will feed baking tools built right inside the asset. These will create texture maps that can be used in Unity to feed a shader that can be customized for each door. You will then reference a script so that each door is automatically set up to control the opening and closing of the door based on trigger geometry.
NOTE: This lesson uses the Quick Groups and Sci-fi Surface Detail assets which are included with the project files directory. Please take these and put them in your home directory in an otls directory (which may or may not already exist). This way the assets will be available for your Houdini sessions and your Unity sessions when you are working with the Sci Fi Door Asset.
INTRODUCTION
Before you build the asset, this video will show you the finished tool to give you an idea of what you are trying to accomplish. You will see the tool in action inside the Unity editor then take a quick tour of the node networks in the Houdini scene file.
Length: 07:07
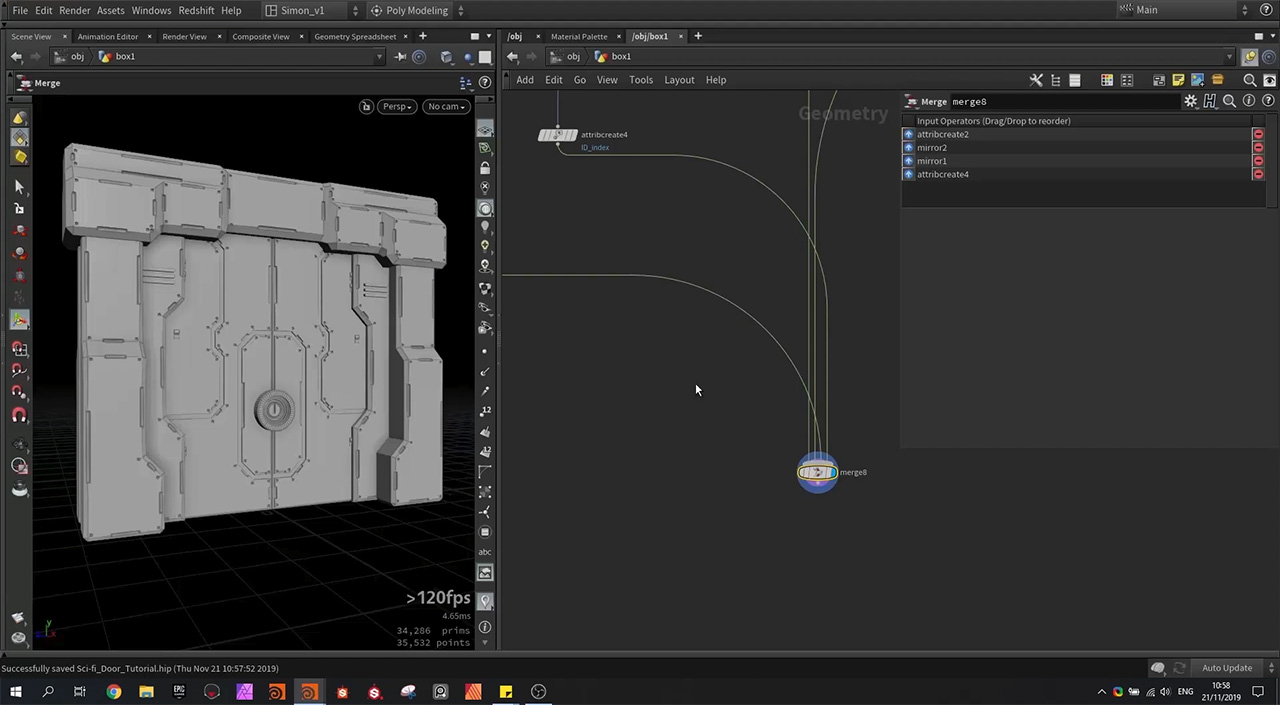
PART 1 | MODELING THE DOOR
Most game artists can model a door like this easily but making many of them for a game can become repetitive. In this lesson, you will learn how to work procedurally in Houdini to create a system that can be used to generate different doors with unique sizes and surface details.
Length: 36:59
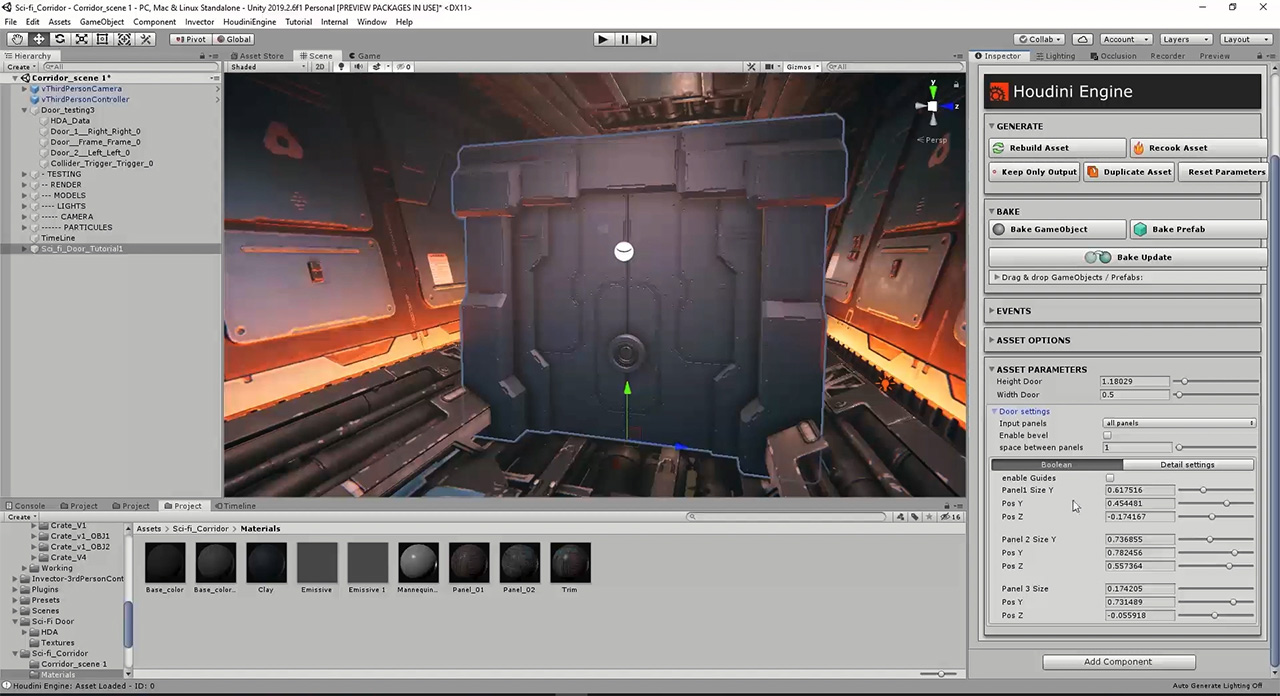
PART 2 | CREATE THE DIGITAL ASSET
In order to share your procedural Houdini setup with level designers in Unity, it is important to wrap up the node network into a Houdini Digital Asset [HDA] which can be loaded into Unity using the Houdini Engine plug-in. You will load the asset early in the process so you can see how each step taken to build the UI of the asset affects how you use it in the editor.
Length: 28:30
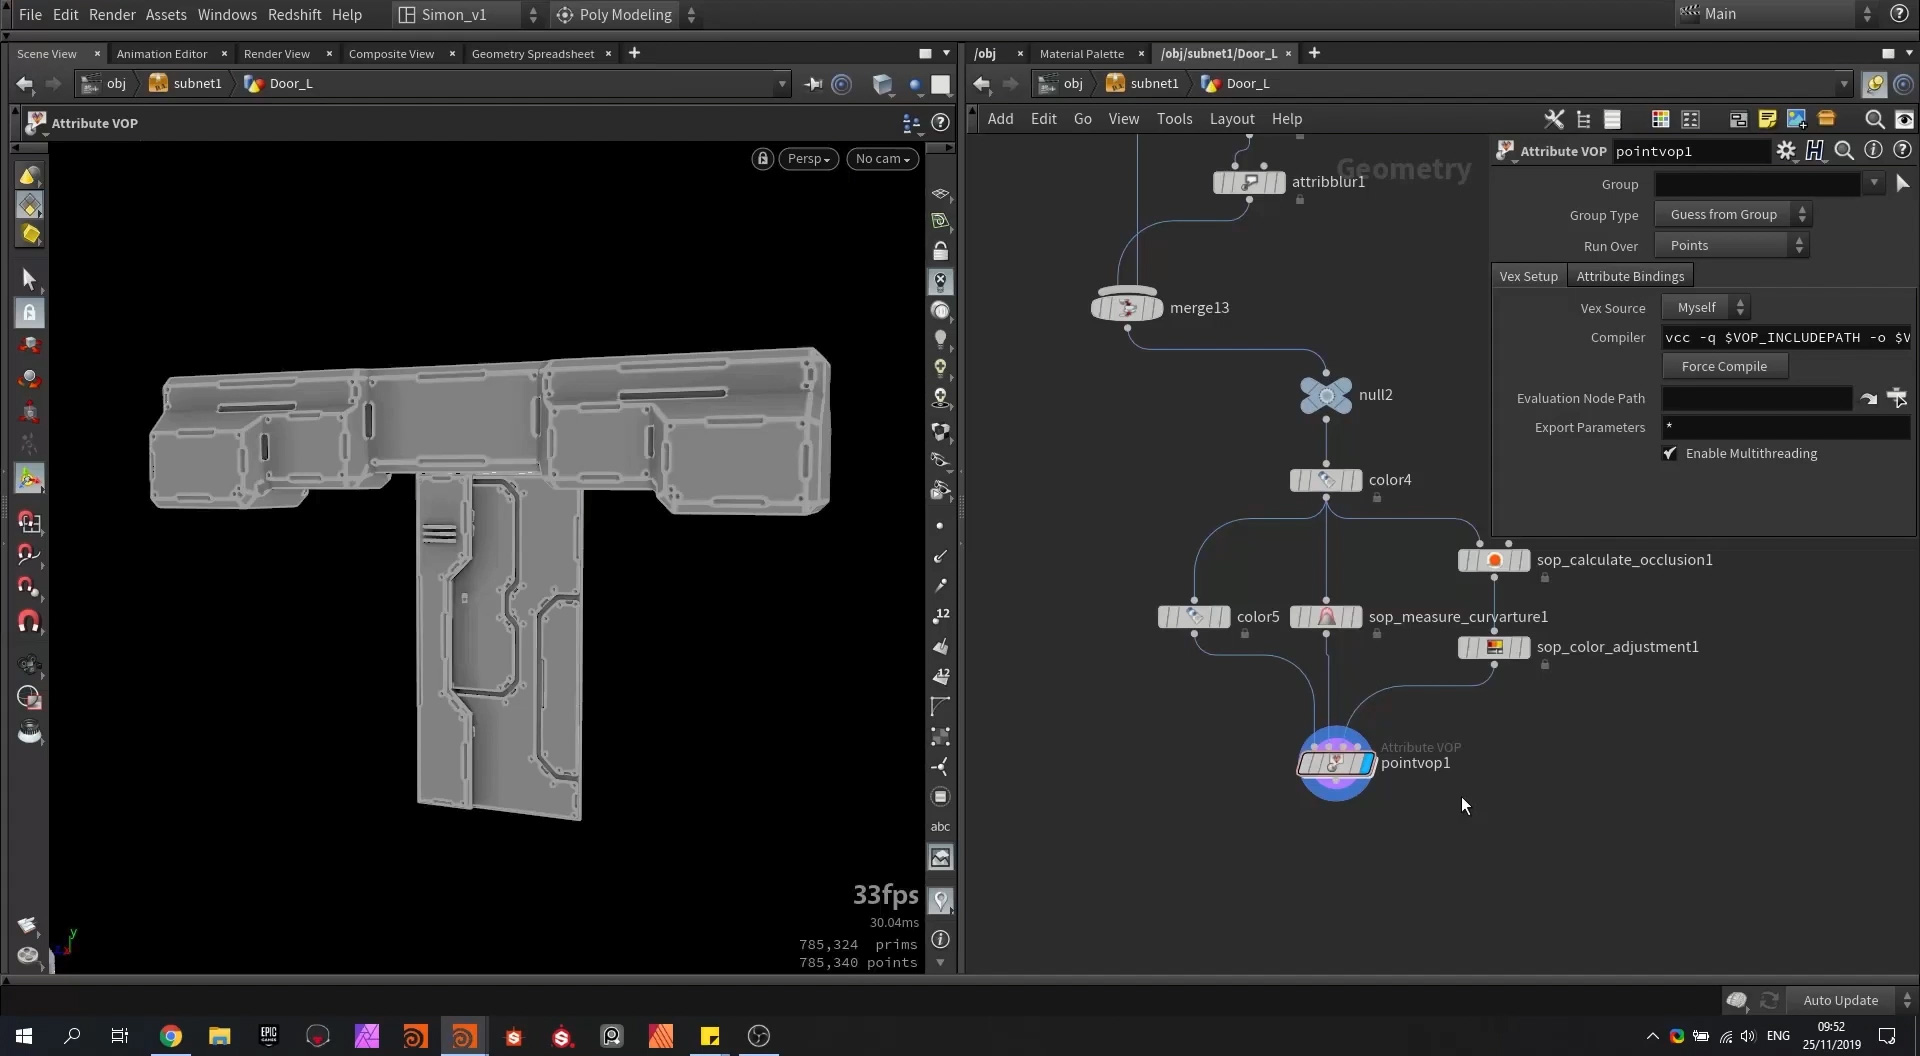
PART 3 | HIGH POLY/LOW POLY
To create game-ready art, you will prepare high resolution and low resolution geometry which can then be used to bake out textures. You will also use curvature and occlusion to find areas where you can add dirt maps. These get baked out too and will be used in the next lesson to create the final shader.
Length: 27:56
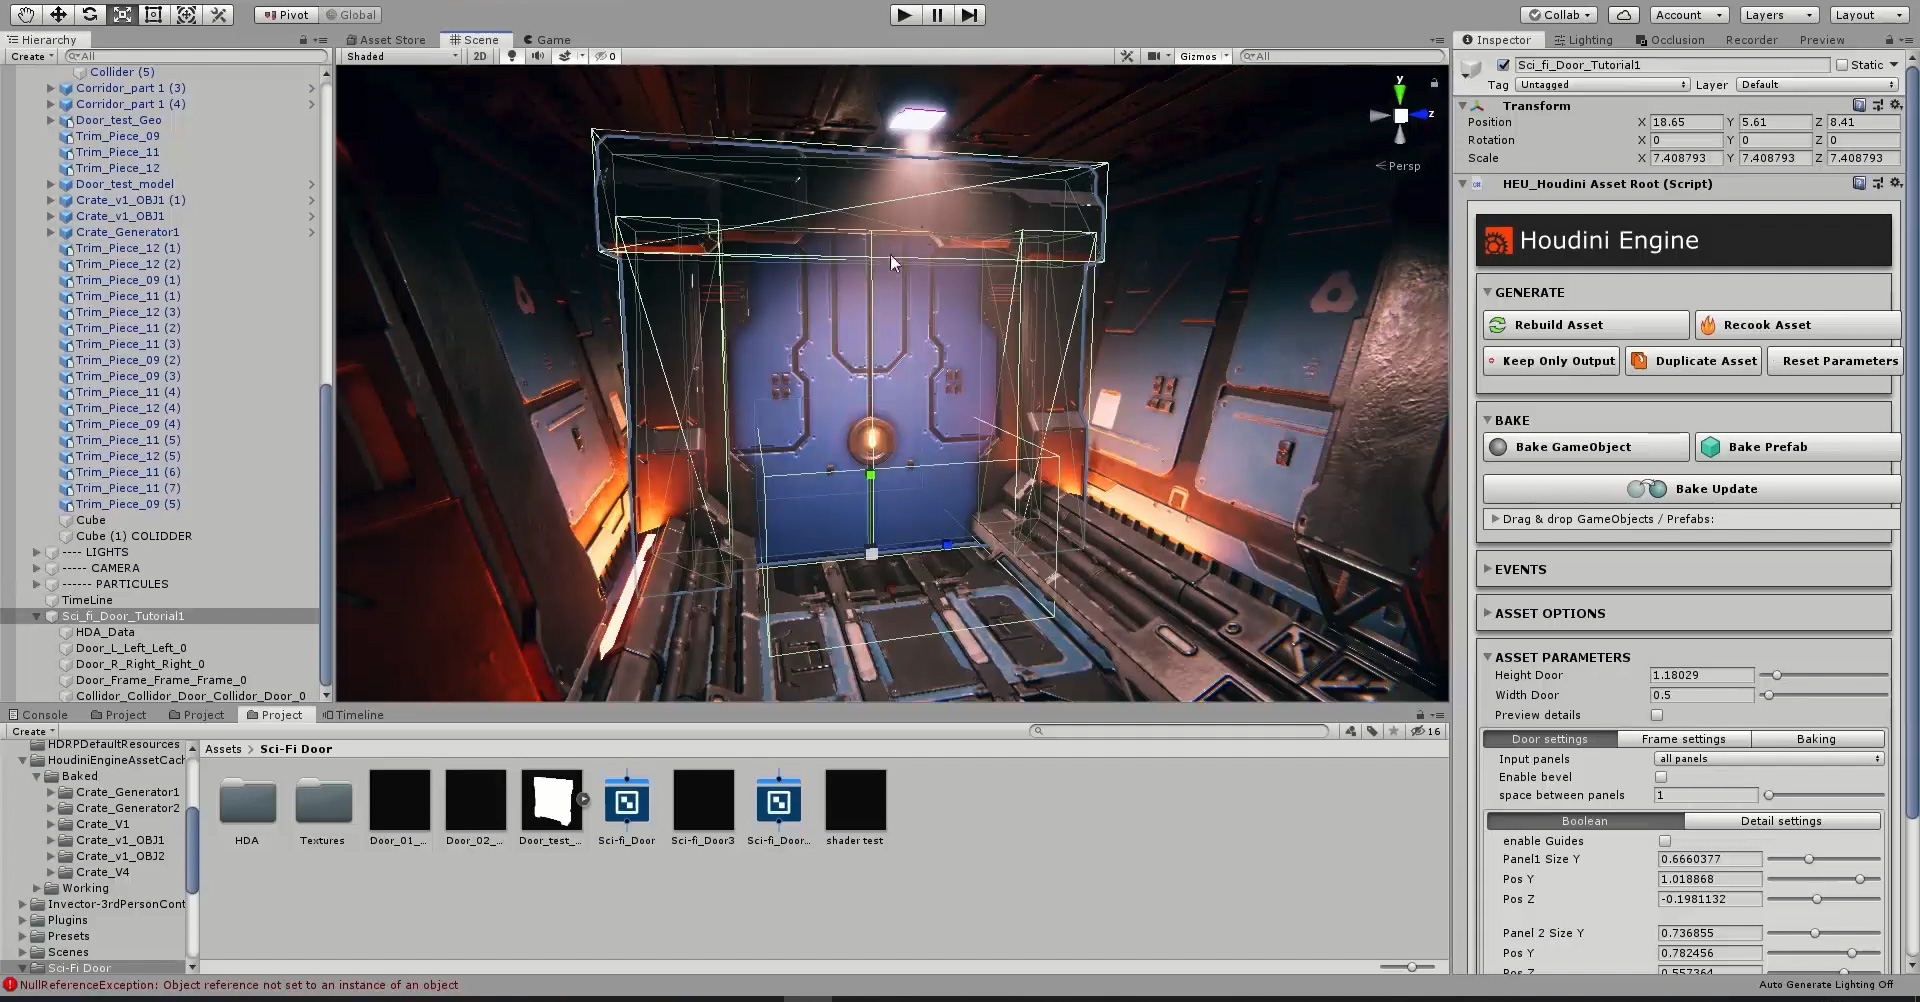
PART 4 | WORKING IN UNITY
Now that you have the model in Unity and the geometry baked out, you can use the generated texture maps to build a Unity material. This material can be set up in the Houdini network so that it is picked up automatically by the asset. You will use a similar technique to add a script to the asset designed to open and close the door when collision triggers are set off.
Length: 22:46
CREATED BY

COMMENTS
ivovanroij 6 years, 7 months ago |
Hele gave dingen Simon! Top om te zien en een inspiratie!
Simon_V 6 years, 7 months ago |
Dank u :)
teotigraphixllc 6 years, 7 months ago |
Kickin them out!, nice job man.
MaxDFr 6 years, 7 months ago |
I can't found the quick group and sci-fi surface detail HDA in project files, only a sci-fi door tutorial but I don't know how to extract them
MaxDFr 6 years, 7 months ago |
curiosity offer me a solution ;)
MaxDFr 6 years, 7 months ago |
But still a problem : This node is using an incomplete asset definition. It will not function properly until the asset library containing the full definition is installed.
And I ignore what to do.
Simon_V 6 years, 7 months ago |
We are currently looking at it. What you can do is place the HDA files in where you installed Houdini (Like: C:/Program Files/Houdini18 ).
In the folder look for a Houdini folder in the Houdini folder you should find another folder called otls. In this otls folder place the HDA files.
Restart Houdini and Unity if they are open and once restarted check if the HDA is working.
MaxDFr 6 years, 7 months ago |
not solved, I make all you wrote but it's not working on my 17.5 version, so I dowload the 18, make instruction again, but i'ts still not working.
and to be sure restart my computer and no change.
If you have a tutorial for create these HDA, I'm in.
and thanks for your time.
Simon_V 6 years, 7 months ago |
If you type "quick groups" or "sci-fi surface detail" in Houdini 18, you can't see them, right?
So then they are not installed correctly. So first of all you can download them on this page at the top then place them in the documents folder and search for Houdini18.0 and then place them in the otls folder (create a folder named otls, if it isn't there).
Restart Houdini, do you see them now in Houdini if you search for them?
MaxDFr 6 years, 7 months ago |
Thanks a lot, it's working know, but you change files or I'm totaly blind ?
thanks for your time again.
MaxDFr 6 years, 7 months ago |
I've a last question, I use Unreal, but in your tuto you use Unity, your hda are good for unreal too ?
Cause I realy want to finish your fascinating tuto but I'm not ready to begin Unity now XD
And thanks for one of my best modeling tuto ever.
Simon_V 6 years, 6 months ago |
The tool will work in Unreal engine to. But the last video here is setup in Unity so that part will not work for Unreal Engine.
You can follow part 1 , 2 and 3 with Unreal.
Rhuan 6 years, 6 months ago |
Very nice tutorial thanks :) I even manage to make my own surface detailer after the course! I also went inside the quick groups and understand all it took to make it, thank you !!
Rhuan 6 years, 6 months ago |
Could you guide me with the baking from high poly to low poly? Im not getting a clean normal map like yours and even my color map is not baking right. I tried to change the ray bias lower and higher but dont get a good result. The normal map is not capturing all the details. (there are some yellow areas which i know means those details are not being caught by the rays) problem is when i go lower i capture thos yellow parts but then it creates yellow parts elsewhere. Same problem with simple baker node. Could it be because im using Houdini 18 and its now labs maps baker( beta) ? When i export the high and low version and bake it in substance painter it works no problem and the ray distance is the same as in Houdinis baker. Thank you for some guidence :) Another note, i dont find the soften normals with harden UV is a good option too, when i do this the bake is even worse. Is it not true that when you bake details from higher res that you keep the base model shading just as 100% smooth since the high res takes care of the sharp edges?
Simon_V 6 years, 6 months ago |
For the Normal map baking I have seen that issue before, where parts are yellow. This means that in the blue channel some values are black and not properly baked. In general the blue channel shouldn't have a huge influence on the normal maps. (Some games remove the blue channel to save up texture space, like Overwatch https://us.v-cdn.net/5021068/uploads/editor/jm/n97k4e3xz5ik.jpg) Anyway I will report this baking issue so in the future is works better. Feel free to always report bugs in Houdini on the site to help improve the software https://www.sidefx.com/bugs/submit/.
You could also check if the Sidefx Labs (They renamed game tools to Labs in H18) are up to date, you can find it in the shelf tools.
Then for the soften normals it depends sometimes. I noticed that the soften normals node works great with Unity, but for other engines like Unreal Engine I don't always use it there. You have to try for your self what works best, the default normal can also do a good job (The by face area option can also be great).
HeVen 6 years, 6 months ago |
Fail to download the Project file,Even with VPN. Base in China......Is anybody has the same issue?
motionblur 6 years, 6 months ago |
This is super cool. Thanks for all of the Tutorials. For a Software as complex as Houdini the Intro, Help and Tutorial section is really well structured and actually helpful so far.
Also Don't know where the correct place to say this is but: The QuickSelect Node has a Typo in the selection. -Z is labeled with -X a second time.
Simon_V 6 years, 6 months ago |
Hey, great to see you liked the videos!
Thanks also for pointing out the typo.
MuhammedYasinEin 6 years, 3 months ago |
I'm using 17.5 version. I'm try to install Quick Groups and Sci-fi Surface Detail but it's not working. Are these tools not working in 17.5?
Simon_V 6 years, 3 months ago |
The project was made in 17.5, so it should work.
Place the HDA's in the documents folder and search for Houdini17.5 ( or 18) and then place them in the otls folder (create a folder named otls, if it isn't there), then restart Houdini.
MuhammedYasinEin 6 years, 3 months ago |
Thanks!
renderlux 5 years, 10 months ago |
Videos are not playing!
dirtydog 5 years, 4 months ago |
The Labs maps_baker won't save the vertex colour map inside Unreal, the normal map saves ok. The maps are saving from within Houdini, is there an issue with the maps_baker node?.
Thanks
Simon_V 5 years, 4 months ago |
The maps baker should work fine. Are you using the latest version (or non-production version) of the Labs tools.
ToddDurant 3 years, 5 months ago |
Thank you so much for this valuable resource Simon_V!
yufang900809 2 years, 10 months ago |
Thank you for such a great tutorial, Simon! I run into a issue with the "GameDev Calculate Occlusion" and "GameDev Color Adjustment" nodes in Part 3 at arount 7:45, I found out that their latest version in SideFX Labs ("Labs Calculate Occlusion" and "Labs Color Adjustment") are no longer suported and aren't working anymore, is there still a way to do it now?
Please log in to leave a comment.