ZOMBIES FOR EVERYONE | QUICK INTRO TO CROWDS
INTRO.
Also, if you just got assigned a crowd shot, but don't have time to read the docs. Or you have to render USD crowds, yesterday.
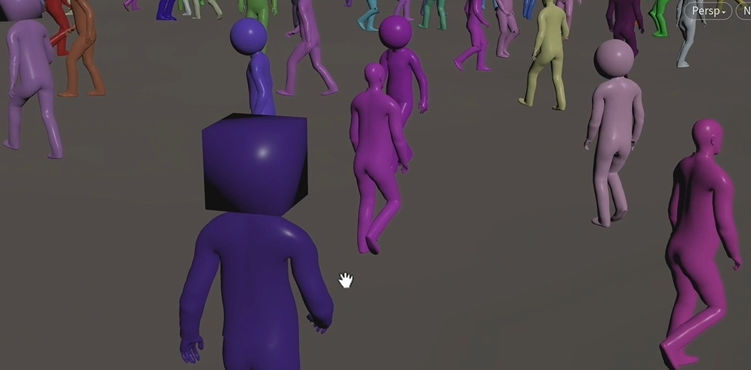
Mikael Pettersén - Head of Simulation at MPC Episodic - has prepared a quick introduction to crowds in Houdini. This series is broken down into short videos (between ~1-10mins each), which provide critical foundation knowledge to help you understand and generate your crowds in Houdini 18.5. The last part will cover how to render out your agents with varied materials in Mantra using Material Style Sheets, as well as in Karma. There's going to be party zombies, ragdolls and a police cruiser - grab the project files and get started!
CH 01: The Agent Definition
 What is that, agent definition? Why you even need to care about this? You'll need to understand this fundamental of crowds and it starts with Agent SOP. We will use the default mocapbiped, but you can certainly substitute your own!
CH 02: Agent Layers
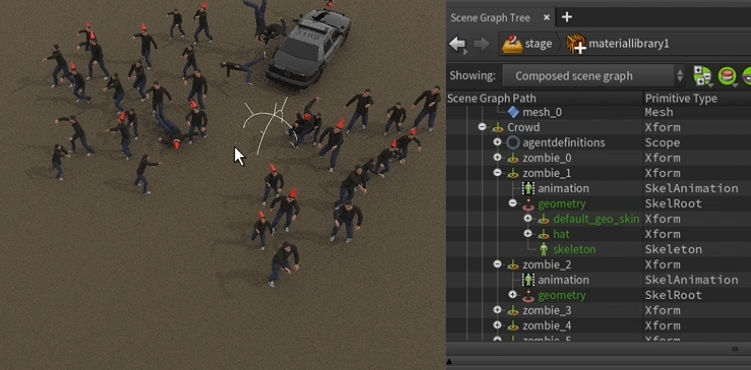
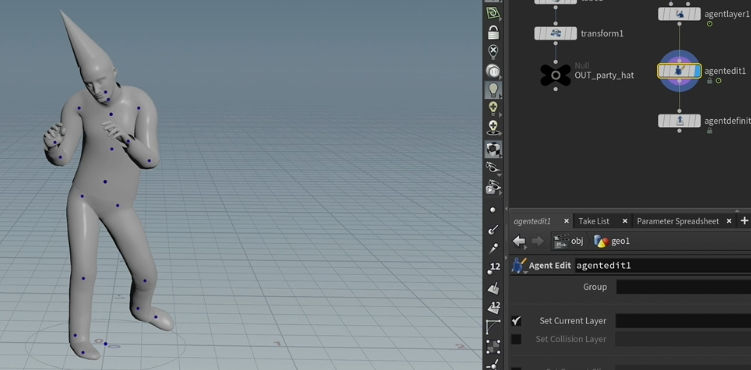 Zombies aren't just about death and decay. There can be zombies who party and have some life in them still! Ok, this is where you will assign props and things to your agents. Via Agent Layers.
 CH 03: Agent Clips
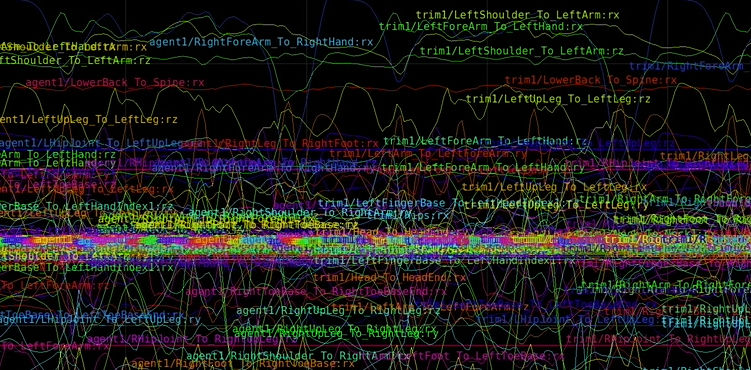 This looks like a ratnest, but in fact, it's not scary at all (just animation curves ). We'll be using the Agent Clip node to animate our guy. You can use FBX, CHOP, USD, and MotionClip (new KineFX thing, since Houdini 18.5) - we'll stick to Character Rig, which gives us some default clips to work with.
 CH 04: Locomotion
 What is locomotion? You're going to come across sliding agents, which most likely is not what you want to get. So how do you extract the constant speed, and record the actual forward motion from any clip you will use? Press
 CH 05: Clip Mirroring
 Double your clips! It's cheap and adds variation to your scene. We will use the new MotionClip option. You're going to get mangled geometry probably, so how do we fix that? Let's operate!
 CH 06: Transform Groups
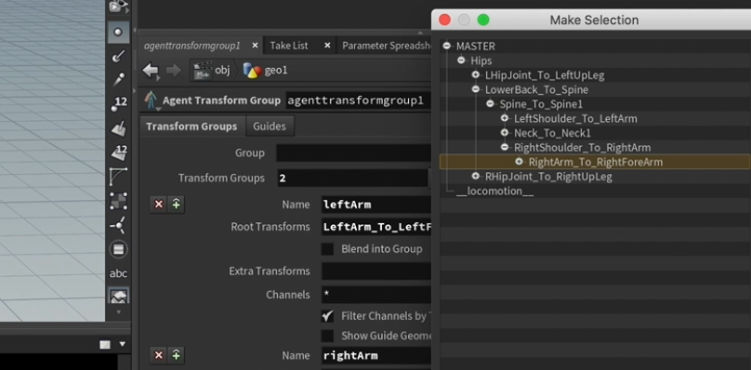 We have the Rig, Agent Layers, Shape Library and now, we only need Transform Groups. Why do we need it? This will be important when we want to do partial ragdolls later, on the limbs of our agents. So let's just get this ready now.
CH 07: Clip Properties
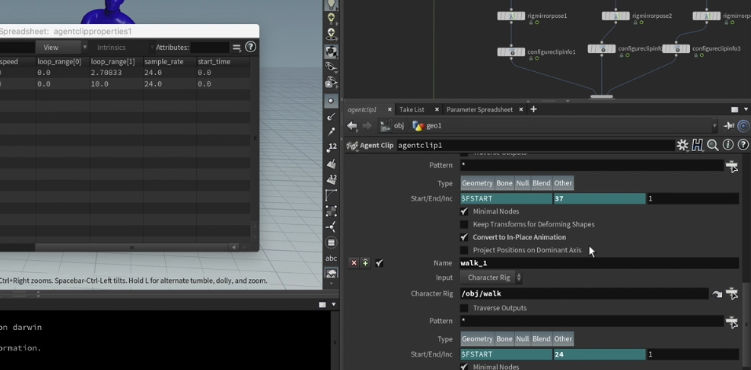 Agent Definition is now complete. The next step is to prepare Clip properties, which tells the simulation how to use it. Clip properties are the instructions for it. We will load our prepared clips (original and mirrored) and cover some gotcha's like mismatched clip ranges in what we mirrored earlier.
 CH 08: Clip Transitions
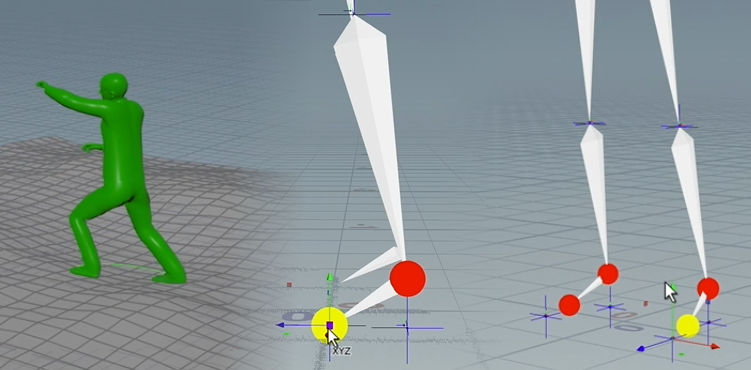
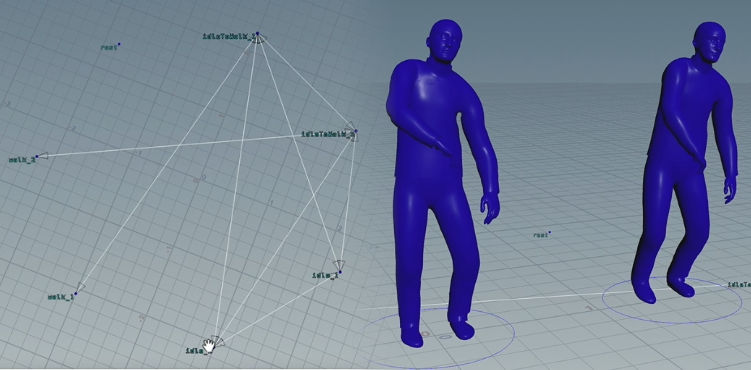 No, we're not drawing pentagrams. This is how to visualize clip transitions for our agents - where they will walk to, the angle they move from, to which clip, and so on. The Agent Clip Transition Graph will give us this visualizer in the viewport, to help us make decisions.
 CH 09: IK Chains
 Should you need your agents to walk on uneven ground, you will want him to not hover above the ground, and also the feet to not go into the geometry. So how do we fix this? We can use IK Chains to do this, via the Agent Prep node.
 BREAK!
Now the basis of crowd agents have been established, the next block of videos will get into why you are here in the first place. Load the scene with agents and make them do stuff. We're going to cover Crowd States, DOP solver, using Transition clips, rotating your agents for natural randomized movement, setting up forces to affect your agents and of course, the quintessential ragdoll bit.
CH 10: Get Ready to Sim!
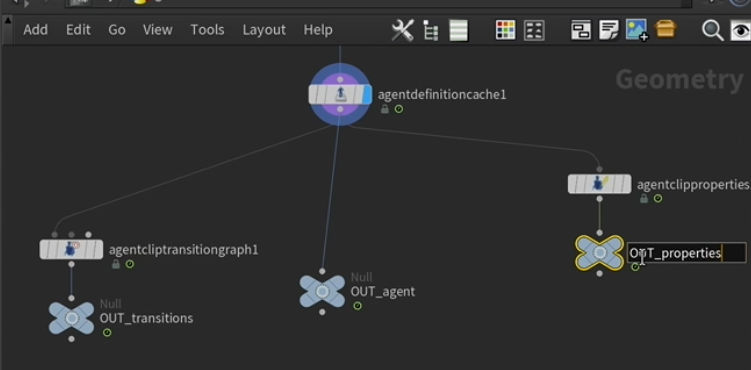 Now we need to output all the different parts - the clip transitions, clip properties and agent definition. Just some housekeeping on nodes.
 CH 11: Layout
 How do we load the scene up with crowds? With the Crowd Source node. We use this because it gives us all the attributes necessary for simulation later.
 CH 12: Enter the DOPs
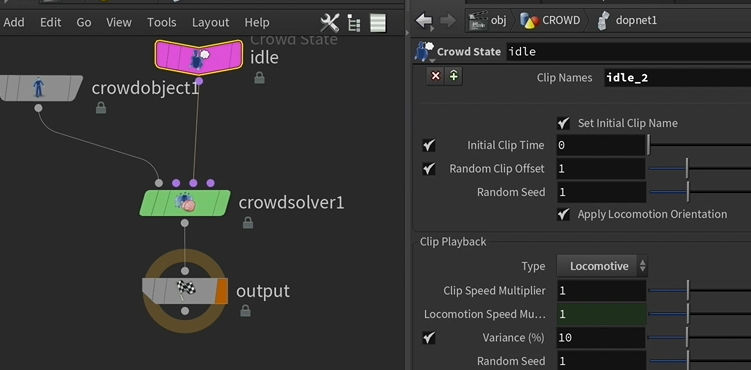 Drop in the DOP network and inside, a Crowd Solver. We don't need a whole lot. Just pull in our agents and give them some behaviours via Crowd State. You can for example, have an agent go from idle state, and triggered into walk state.
CH 13: Transitions
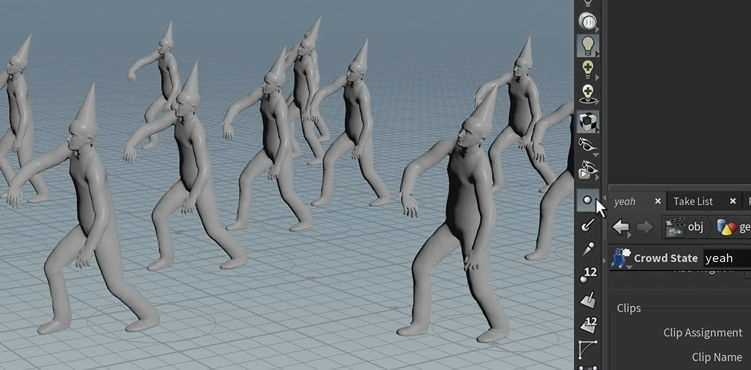
 This is essentially the blend, in which you blend the different clips. You have your agents all start off in an idle state, for example. Then you can use something trigger them (activate) and take them into another state, which for example, load the next clip we want to use. So they go from idle, to walk.
 CH 14: Rotate your Agents
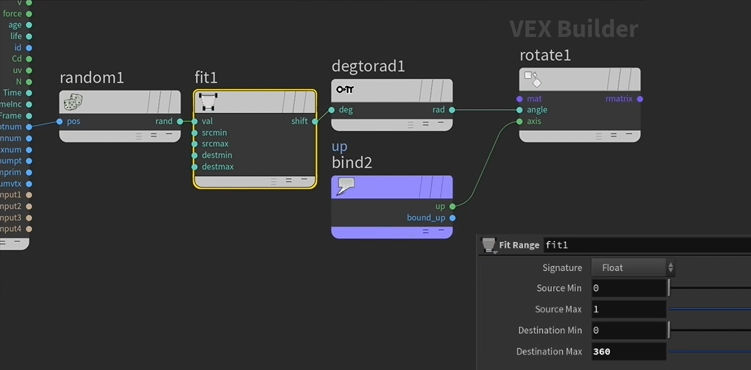 Unless you are working with a bunch of robots in your scene, you probably want them to be randomized in some way, shape, or form. I'm going to show how you can specify your UP axis and get your agent to rotate around that. You won't always have bipeds, so you can use this for whatever axis you will need later.
CH 15: Forces
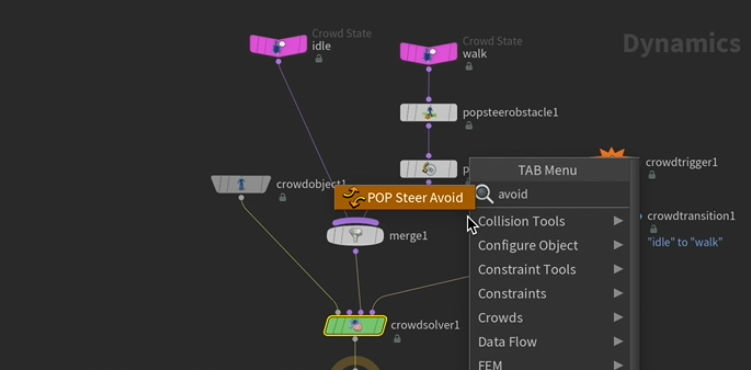 Rotations, states are all good to go. We also have avoidance. But we want to affect our crowds some other way - we can do this POP Force. The crowd-specific one is POP Steer Path. This one allows us to direct our agents in a more controlled way. Let's go!
CH 16: Setting up Ragdolls
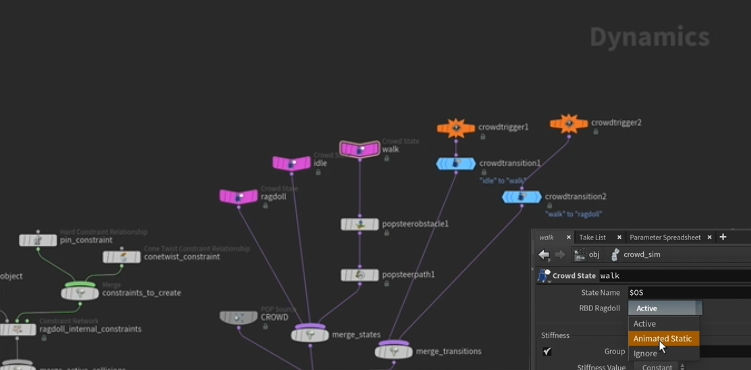
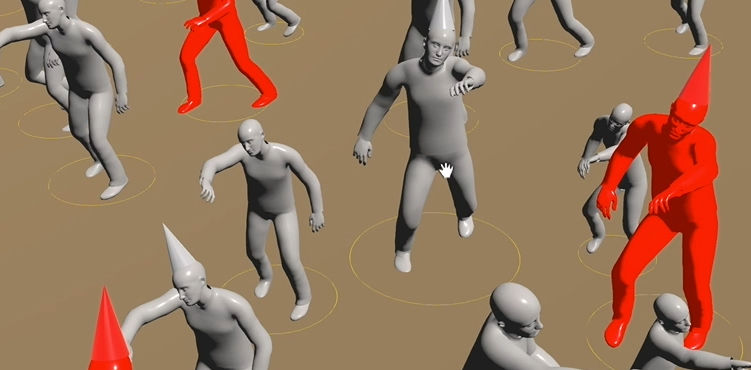
 Finally we are here. This is just the basic coverage of ragdolls, as this is a general rundown of how to do crowds and I'm keeping things short. Let's toss him weee!
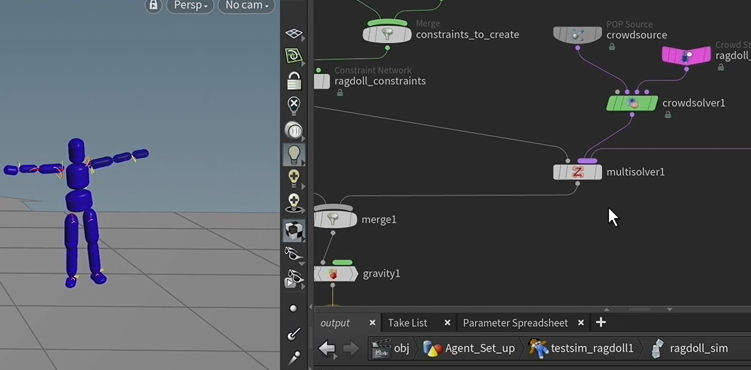
 CH 17: Simulate Ragdolls
 Get the ragdoll magic into the simulation! What? We're going to use a shelf tool?Yes, we are. Don't feel dirty, it works. Just going to do some copy/paste after.
CH 18: Time to Have Fun!
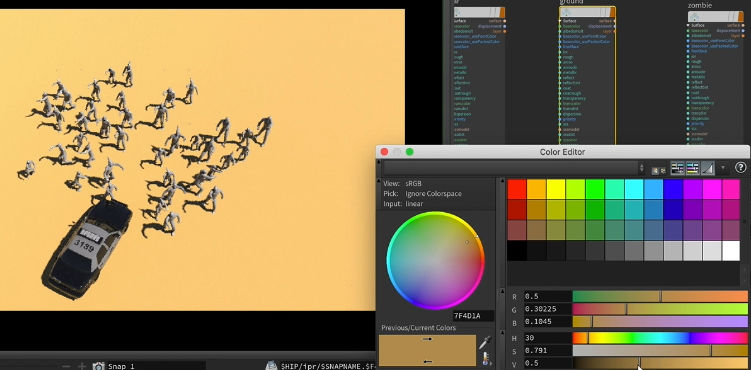
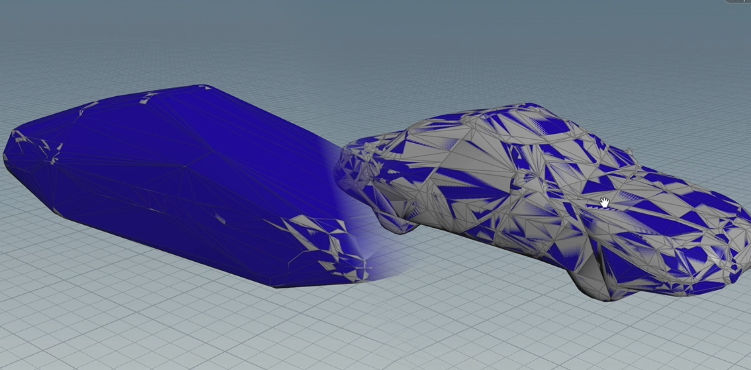 The image looks crap but it's fun, you'll see. Don't forget to download the project file, cause we're going to ram a police car into the zombies. Even the party ones.
Mantra & Karma Render Options
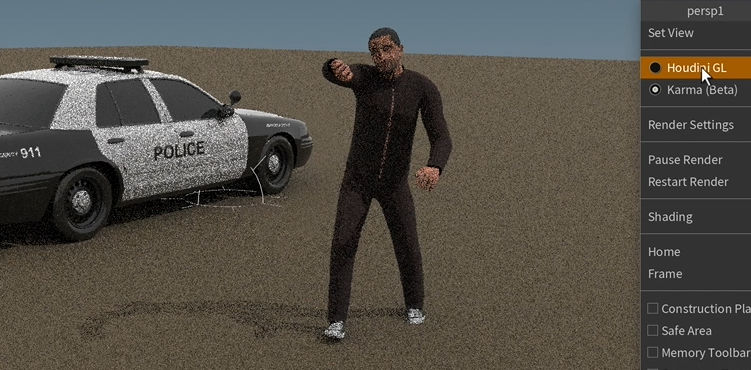
We're going to look at rendering out crowd agents with both rendering engines. Each have their own way to vary material assignment on agents. If you don't care for working in USD format, you can stick to the Mantra and Material Style Sheets workflow. Else, you can see how its down with the Material Variation LOP in Solaris, and rendering out with Karma (which is currently still in beta).
CH 19: Partial Ragdolls
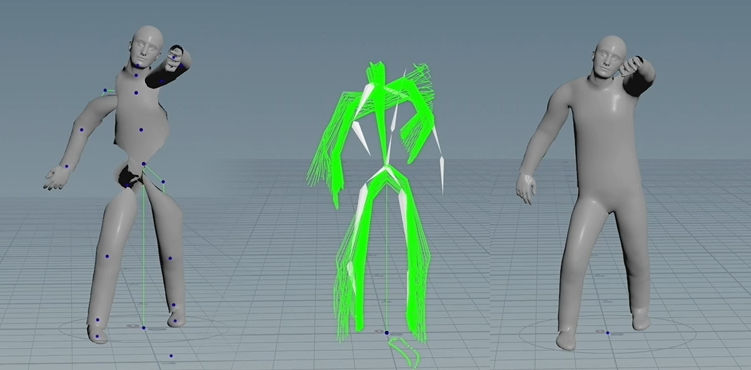
 Ok one more thing before rendering, actually. Just want to hang his arm around.
CH 20: Render in Mantra
 All this is useless if you can't output some images. Let's start with Mantra first.
CH 21: Material Style Sheets
 Mantra gets instructions from MSS at render time. I want to colour the party hats, and also randomize zombie textures. We'll do that using overrides.
 CH 22: Randomize Those Textures
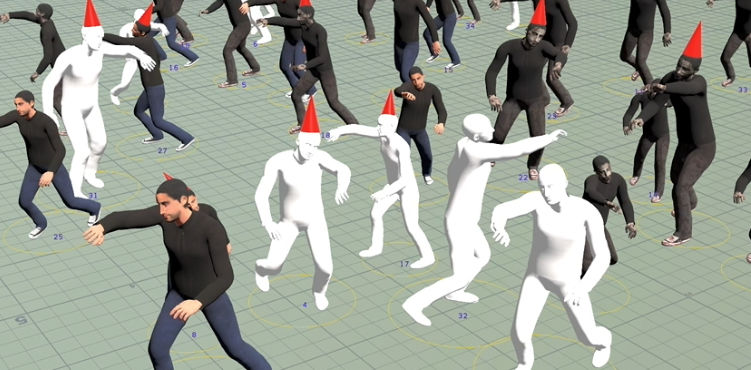 Now we will do the actual texture randomization. You will see also how to debug and make sure that textures are truly randomized. attribrandomize 321!
CH 23: Render in Solaris
 Solaris is the context where we work with USD format. We're going to use Karma to render our crowds out. Let's move our stuff over into the LOPs context. And keep in mind Karma is still in beta at the time of recording this!
 CH 24: Randomized Textures in Solaris
 We'll use the equivalent of MSS for LOPs - that is the Material Variation LOP. Recording this tutorial, there's some stuff I came across with the viewport (refreshing probs), but SideFX knows about this, so likely to be resolved soon.
 CH 25: The End
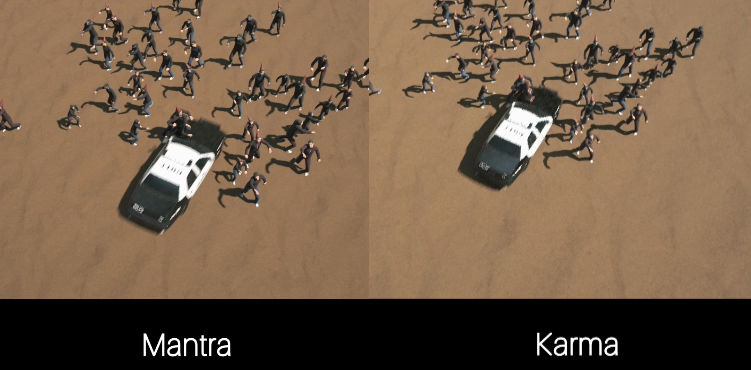 You made it to the end! I have these two renders to show, from both render engines. It's nothing super fancy, but I just wanted to show the workflow and leave you to try something of your own and hopefully share it online!
 One is the setup with Solaris, working with USD data. And the other is set up to render using Mantra.
There is also the police car with textures, should you so wish to play more with rendering your agents and a more-detailed-than-box collision geo
COMMENTS
mth1647 5 years, 4 months ago |
Thank You, Mikael!
This is fantastic! Greatly appreciated!
M
popokiki 5 years, 4 months ago |
wow...
many many thanks.....
Motionaut 5 years, 4 months ago |
Awesome!! Thanks
iisslunawat 5 years, 4 months ago |
Much needed tutorial. thanks Mikael! :D
m1zayani 5 years, 4 months ago |
great effort, much appreciated.
vusta 5 years, 4 months ago |
hello houmans, zombies have feelings too, you know.
jim707jim707jim 5 years, 4 months ago |
awsome, thanks
janssond 5 years, 4 months ago |
huge! thanks a lot Mikael! :)
jim707jim707jim 5 years, 3 months ago |
short and sweet!
vudinhhieu246 5 years, 2 months ago |
thank you, Mr. Mikael!
skkeeper042 4 years, 5 months ago |
A mega-useful master class, Thank You, Mikael!
If I may, I have a question regarding its implementation in hou19: has anyone had any problems with assigning materiel to agents within LOP?
The same bunch of nodes, on the example of the attached project, in 18.5 and in 19 give different results: in the 19 version, the materials simply aren't assigned.
Zigmund 3 years, 5 months ago |
I do have the same issue in 19.5:((( unfortunately i cant assign 2 materials, they just don't show at all, unless you import the crowd not as instanced skelroots, but just as skelroots, which increase the load time:((((((
Please log in to leave a comment.