BRICK WALL DESTRUCTION
Blockbuster movies are filled with amazing destruction shots and many of them were created using Houdini. In this series of lessons, you will learn how to smash a brick wall starting with shelf tools then open up the node network to add attributes and refine the resulting simulation. Next you will dive a little deeper and add some bending and more realistic chunking of the bricks to get an even more realistic result.
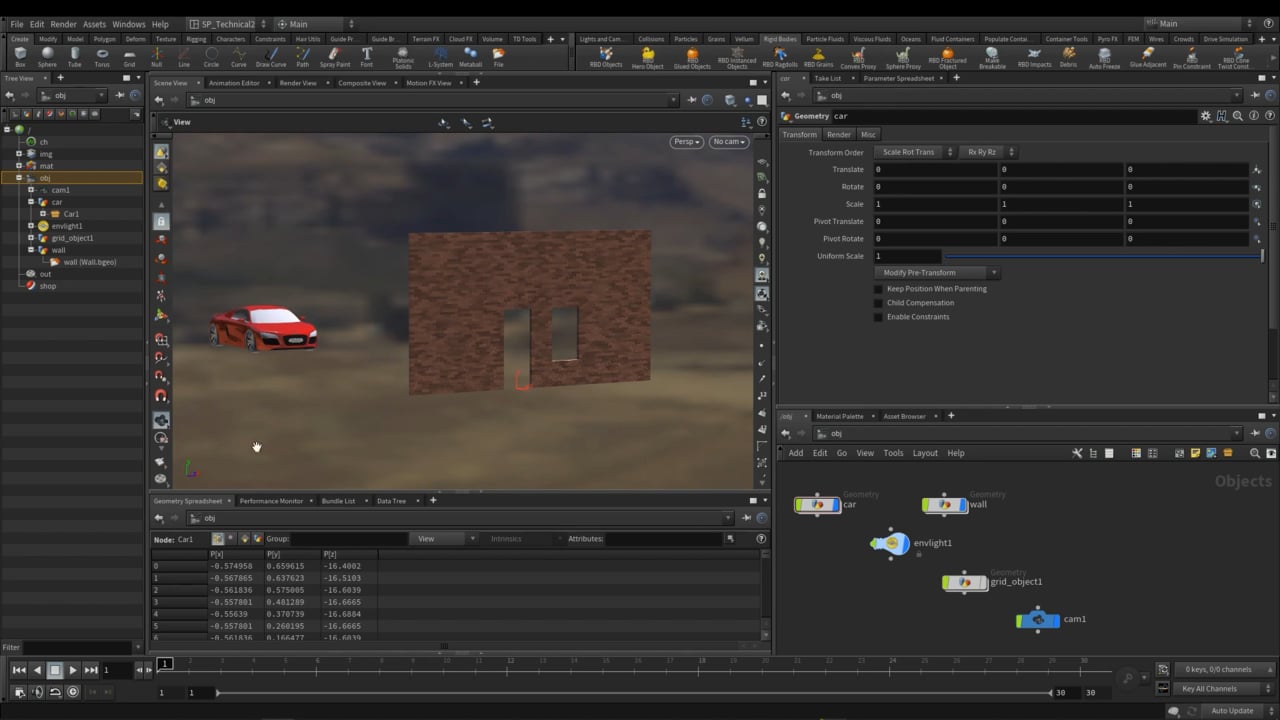
To follow along, you can download the project files which include the brick wall and animated car. There are start files for all three parts of this lesson and a final scene file if you want to explore the end results. The lessons get more challenging as you go along but all the information is provided to get you smashing this wall like a seasoned professional.
Part 1 | Off the Shelf
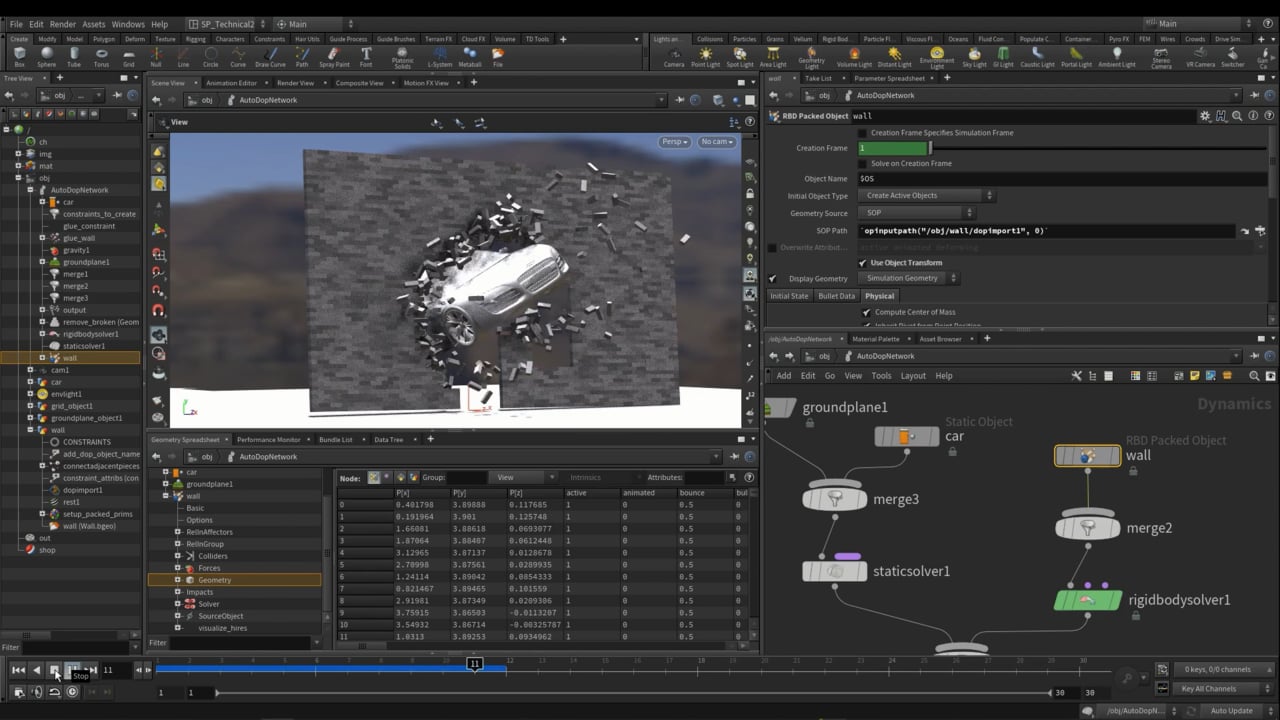
In the first part of this lesson, you will use shelf tools to set up a Bullet RBD simulation. You will create the dynamics network and learn how to cache out the results and load them back in for fast feedback. You will also learn how to flipbook the resulting simulation to evaluate the shot.
Part 2 | Under the Hood
In part 2, you will dive into the network and explore how the contributing nodes work together to create the simulation. You will then add attributes to define some bricks as active and some as passive and use this to control how your final sim looks.
Part 3 | Next Steps
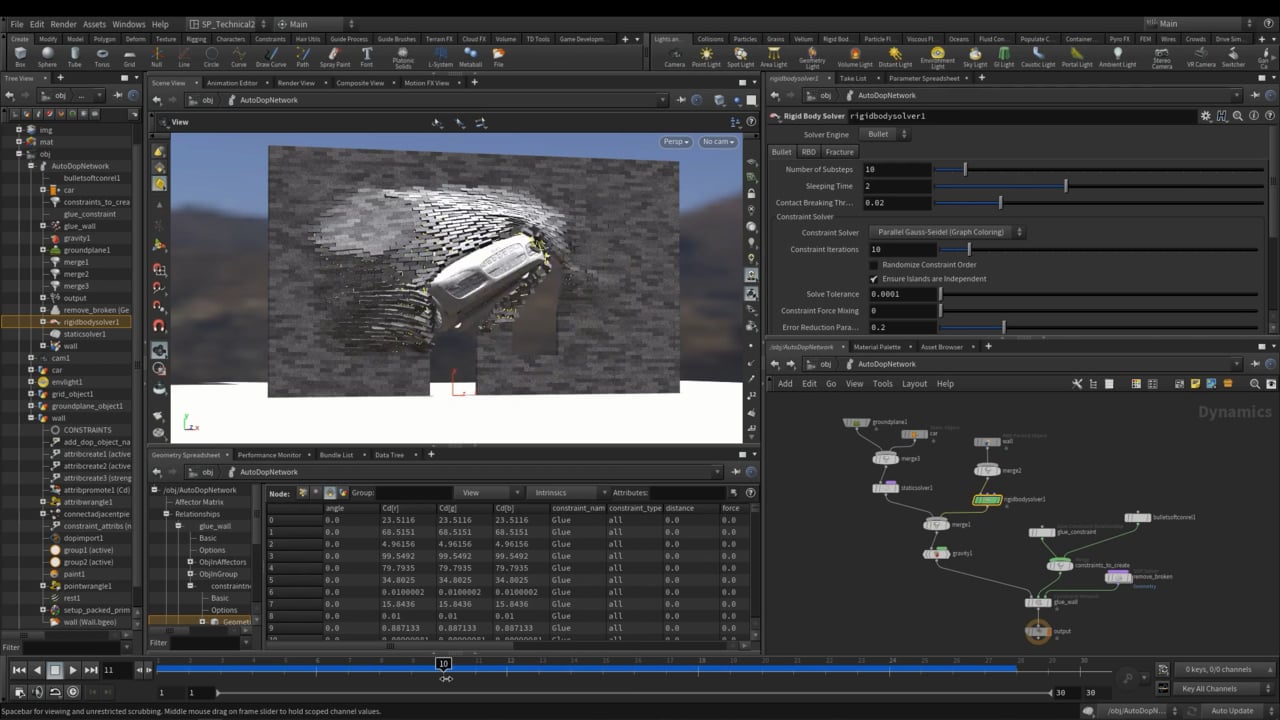
In the last part, you will work with the glue constraints and use a Bullet Soft Constraint to create some bending to add even more realism to the shot. You will also learn how to use impact data to control the breaking of the wall and how to clump bricks together. These secondary effects give your simulation a more authentic feeling that helps bring it to life.
CREATED BY

コメント
alex_budulan 7年, 8ヶ月 前 |
Great tutorial! Thanks Mark
hound2003 7年, 8ヶ月 前 |
thanks.
great!
Can U make a tutorial - how to use new tools in car crash?
Metal - first deforming - then apart?
hound2003 7年, 8ヶ月 前 |
Metal - first deforming - then breaks apart?
spev 7年, 8ヶ月 前 |
Hello hound2003
We can crtainly look into that
ta
charlesgclark 7年, 7ヶ月 前 |
Hi Mark,
I really enjoyed this tutorial, you have a great natural way of teaching a subject. I really like the method of explaining using the shelf tools and then drill down deeper.
Please do more tutorials!
Thank you
spev 7年, 7ヶ月 前 |
Hi Charles,
Thank you for your kind words. They are really appreciated.
I would like to do more of this series. What would you like to learn about next?
Best wishes
Mark
charlesgclark 7年, 6ヶ月 前 |
Hi Mark,
I would really like to see (wish list)-
-How to dent the car as it goes through the wall
-A more complex multi fractured destruction - ie. a simple building using the new rbd material fracture with concrete, wood and glass
-how to transform a deforming static object into an rbd fractured object (i.e a spaceship is animated until it hits something then switches over to bullet)
I appreciate these are probably beyond the beginner level, I’ve done a lot of tutorials from Applied Houdini and pluralsight etc and always got a result, but yours is one of the few where I’ve understood every part and could actually apply it elsewhere, mostly due to the way you’ve explained it and using the shelf tools which most of the other tutorials ignore. I like to keep wrangles to a minimum! But I’ve only been learning for 6 months.
Anyway hope to see some more from you
Best
Charles
chunjim720 7年, 7ヶ月 前 |
i use houdini 16.5 .
i cant find bullet soft constraint.
spev 7年, 7ヶ月 前 |
Hi Chunjim720
The bullet soft constraint in one of the many new cool features of houdini 17.
Best wishes
Mark
bowdownb4via 7年, 5ヶ月 前 |
As a beginner this is the most complicated effect I've ever attempted, but surprisingly was the easiest to follow and the most enjoyable, all because of your clear, detailed, and step-by-step explanations. Thank you so much!
The audio could be a bit louder though, but maybe that's just me.
spev 7年, 5ヶ月 前 |
Thank you bowdownb4via for your kind comments. I am pleased that you enjoyed the videos.
Jerry Hat 7年, 2ヶ月 前 |
Very clear and concise tutorials, thank you.
I've followed the tutorial and - apart from my own errors - everything went well.
However, when I tried to reproduce something similar with my own wall (well, a building) everything started to go wrong. I import my building, make it a RBD Glue object, add a ground plane and run the sim. My wall starts sagging with some bricks intersecting others. If I load your wall into a fresh Houdini and go through exactly the same process it's absolutely fine.
Any ideas how I'm going wrong with my wall/building creation?
spev 7年 前 |
You could try displaying the collision surfaces in the rbd object node in dops. Your collisions may not be resolved well enough.. On the rbd object node you can reduce the collision padding for a more accurate result.
suntemple777 7年, 1ヶ月 前 |
Thanks for the well presented information. I have never done this just using the shelf tools and it really quick! Also, as someone else pointed out, the sound levels were way too low on this video recording.
Thanks!
anon_user_85781213 7年 前 |
This is one of the best tutorial I ever seen!! Well done!!!^^
spev 7年 前 |
Thank you for your kinds words..
anon_user_85781213 7年 前 |
Just one thing, when I send to flipbook into the wall during the impact I saw all color of bricks change position( like if they move all around the wall) just the color not the bricks. You know why?
Tnk
best regards
anon_user_85781213 7年 前 |
It would be nice, when you have some time, if you make a tutorial with some impact (damage) on the car. Or another object!!!! just to understand how can i make it.
Tnk a lot
best regard
Please log in to leave a comment.