Welcome to 'VEX Isn't Scary'! This is a beginner tutorial series for learning to code in Houdini using VEX and is a companion series to the 'Houdini Isn't Scary' tutorial series. No prior understanding of coding or VEX concepts is necessary. Everything from variables to if-statements to functions are explained in this series. By the end of the series, you will be able to code in Houdini and have some carry over knowledge into other coding languages. Let's dive right in!
PART 1 | Basics
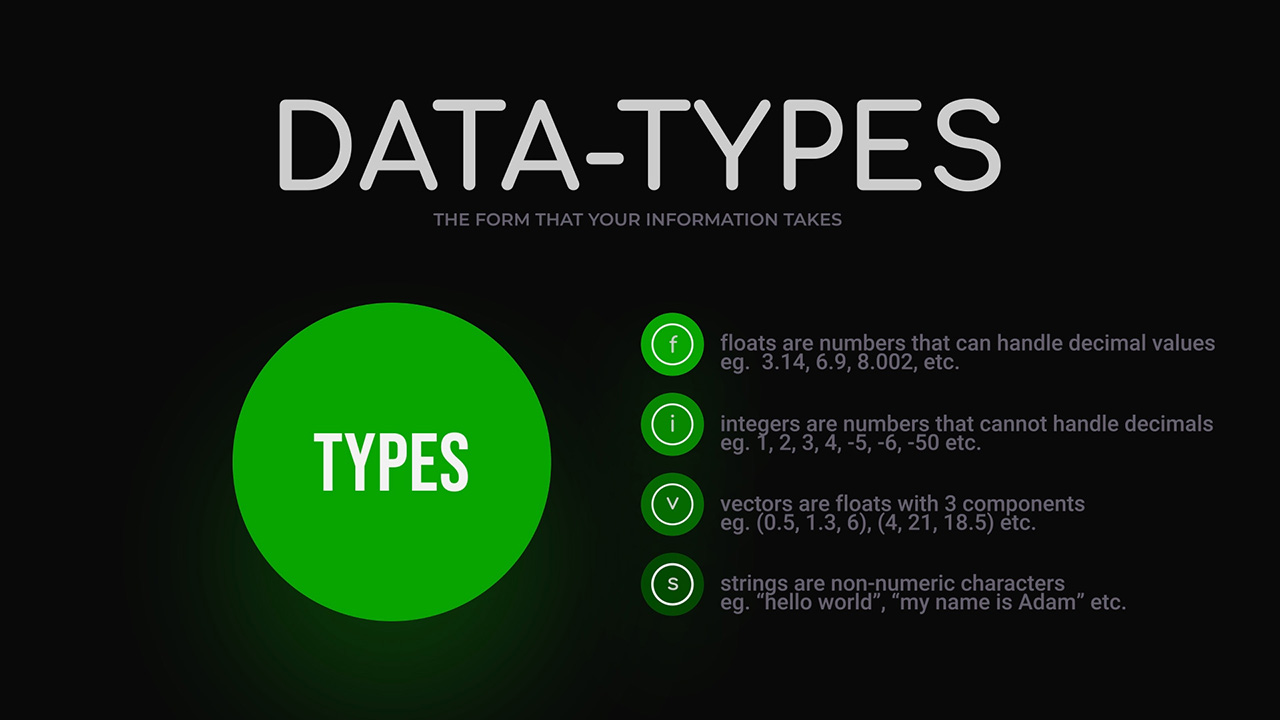
Gain a broad overview of what VEX is, how it works and the terminology that is necessary to understand it. Learn some basic coding using the Attribute Wrangle node then tackle variables and initialization as well as the necessary conventions that are used in VEX.
Length:17:27
PART 2 | Conditionals
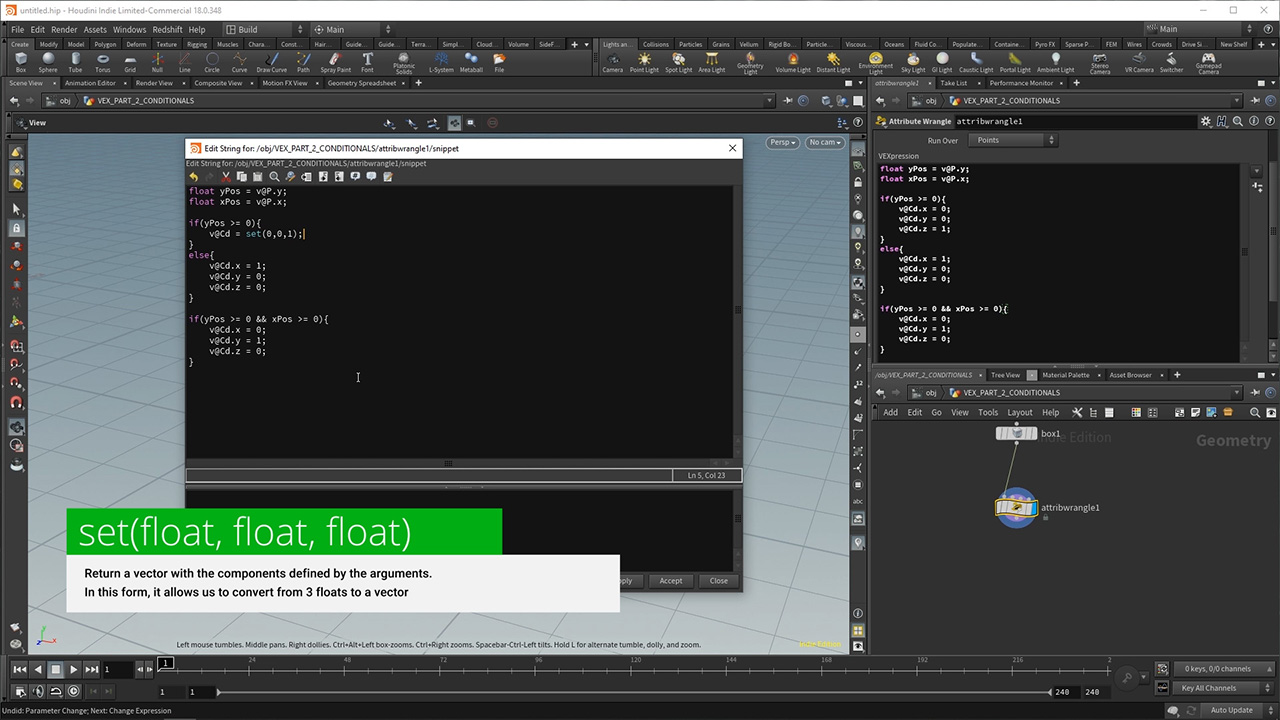
This lesson reiterates a lot of what you learned in Part 1 but now with the inclusion of Conditionals. Conditionals let you to control the logical flow of the code. You will explore the anatomy of an if-statement and how you can use conditionals to do things that are difficult to do with any other node in Houdini.
Length: 18:09
PART 3 | Functions
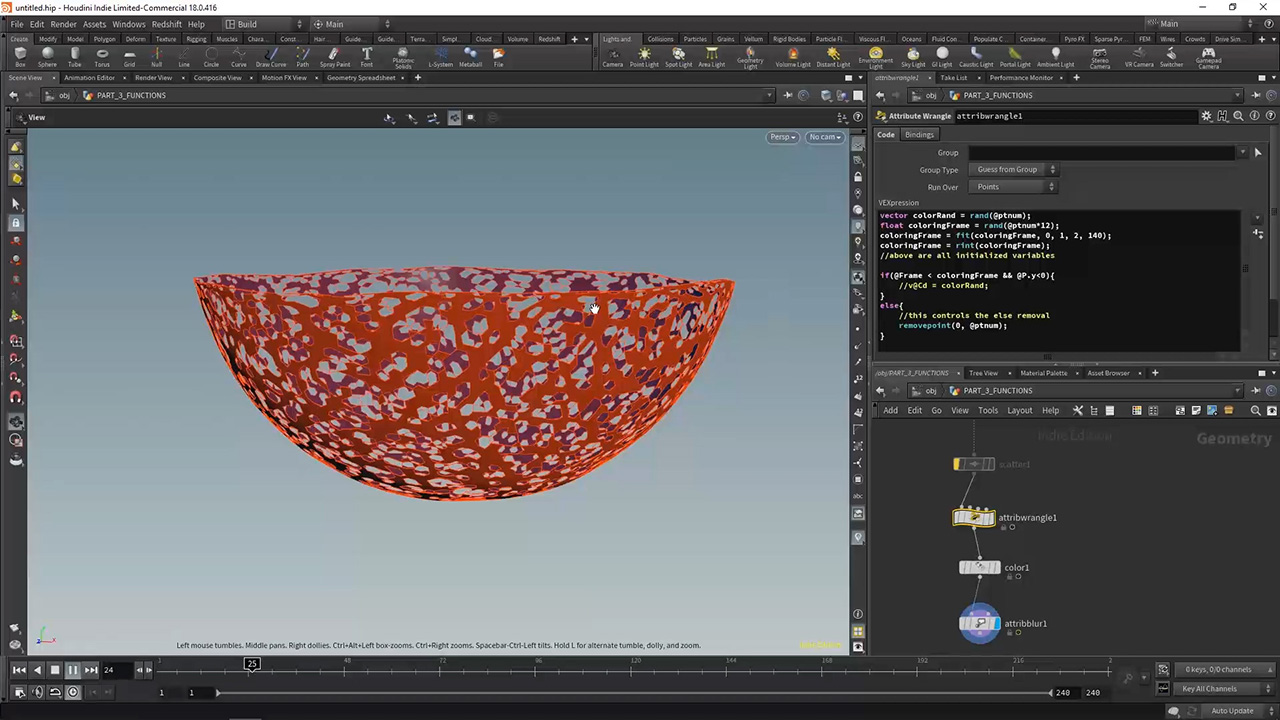
Next you will begin using Functions. Functions are pieces of code that you can call upon to shorten your code and make your life easier. They are a core part of VEX and can be used for a wide variety of actions. In this part, you use a few functions including set( ), rand( ) and removepoint( ). You will also learn about geometry handles and the existence of global variables such as@Frame.
Length: 21:46
PART 4 | Channel Functions
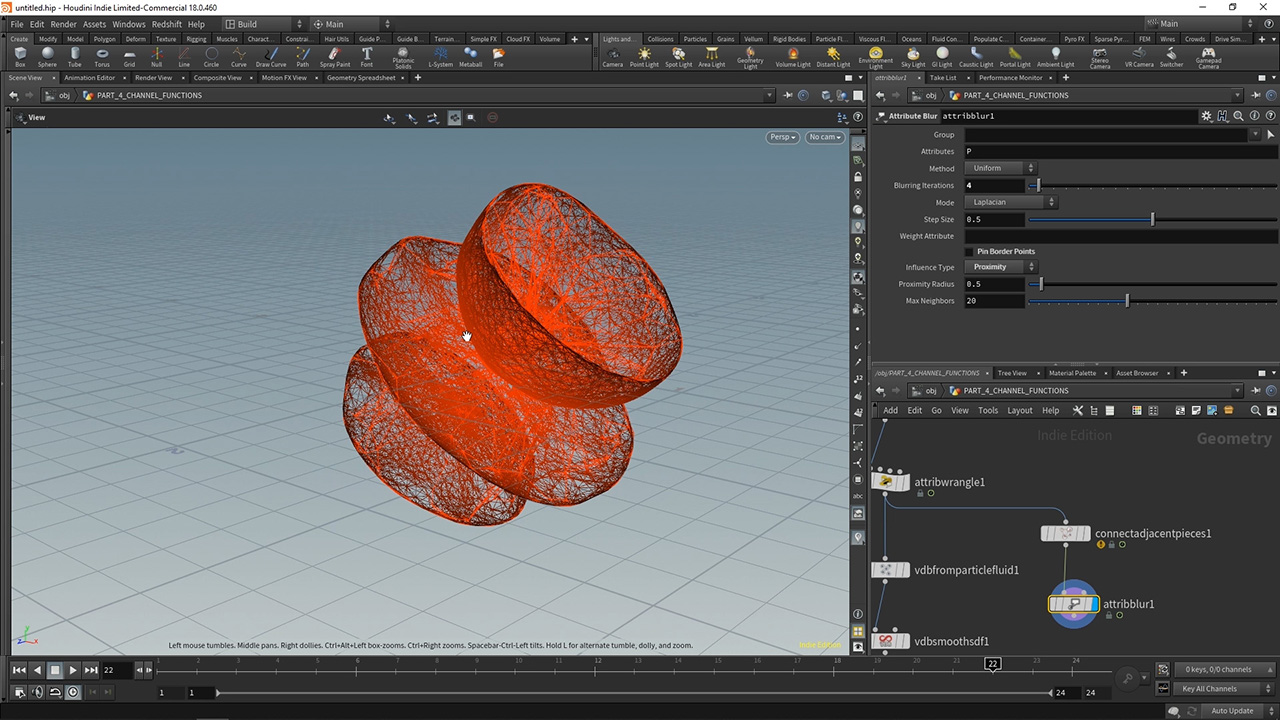
Channel Functions are special functions that Attribute Wrangle recognizes. You can create UI tools such as sliders, text-fields and ramps (to name a few). You will understand the common way to create a Channel Function as well as how to edit the parameter interface to better reflect the type of data you need. Next you will further explore another global variable - @Time.
Length: 19:28
PART 5 | Loops
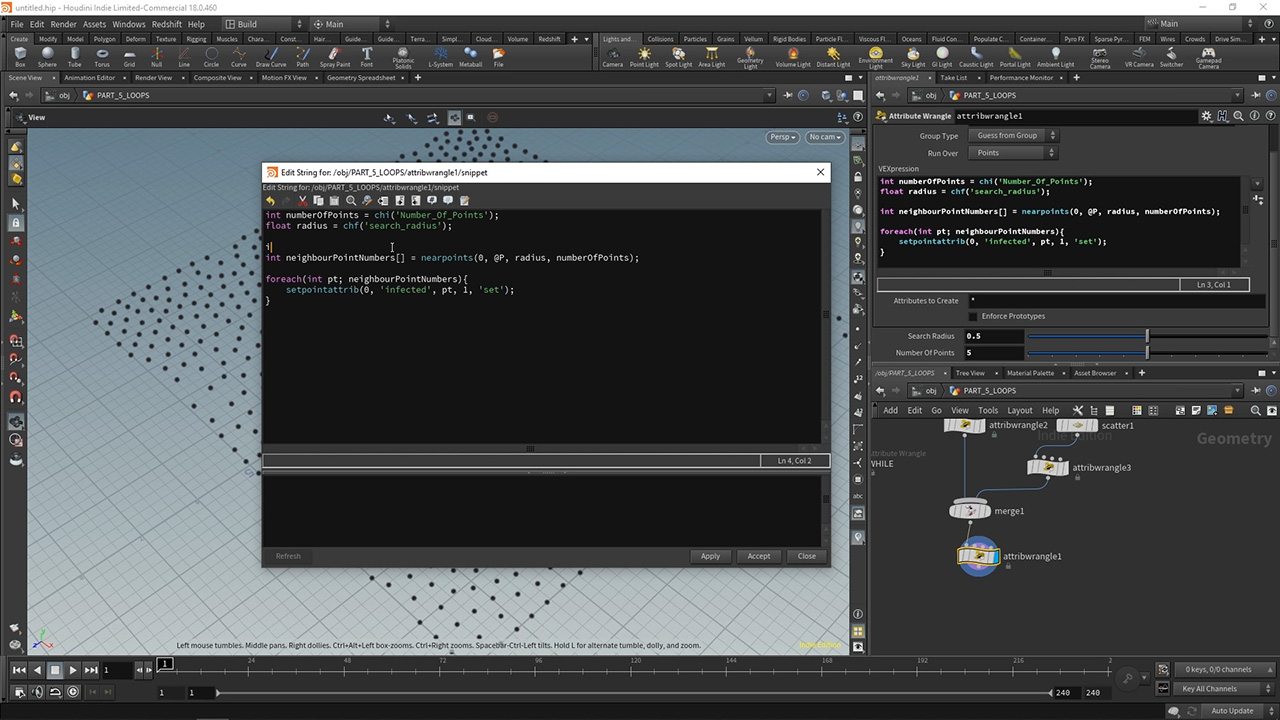
Explore more of the conditionals – loops. Loops are useful for running over multiple instances of something or for repeating code under particular conditions. Break down how the For-each, For and While loops work at their core. You will learn about when to use each one, and end with creating a basic infection solver.
Length: 29:18
PART 6 |Clarification
In part 6, you will learn about some of the areas that you may be uncertain about. This includes theway variables function within conditionals, how else-if statements can act as switch cases, howdetail attributes can control geometry independent values and how you can control your geometryand renders with common attributes.
Length: 21:28
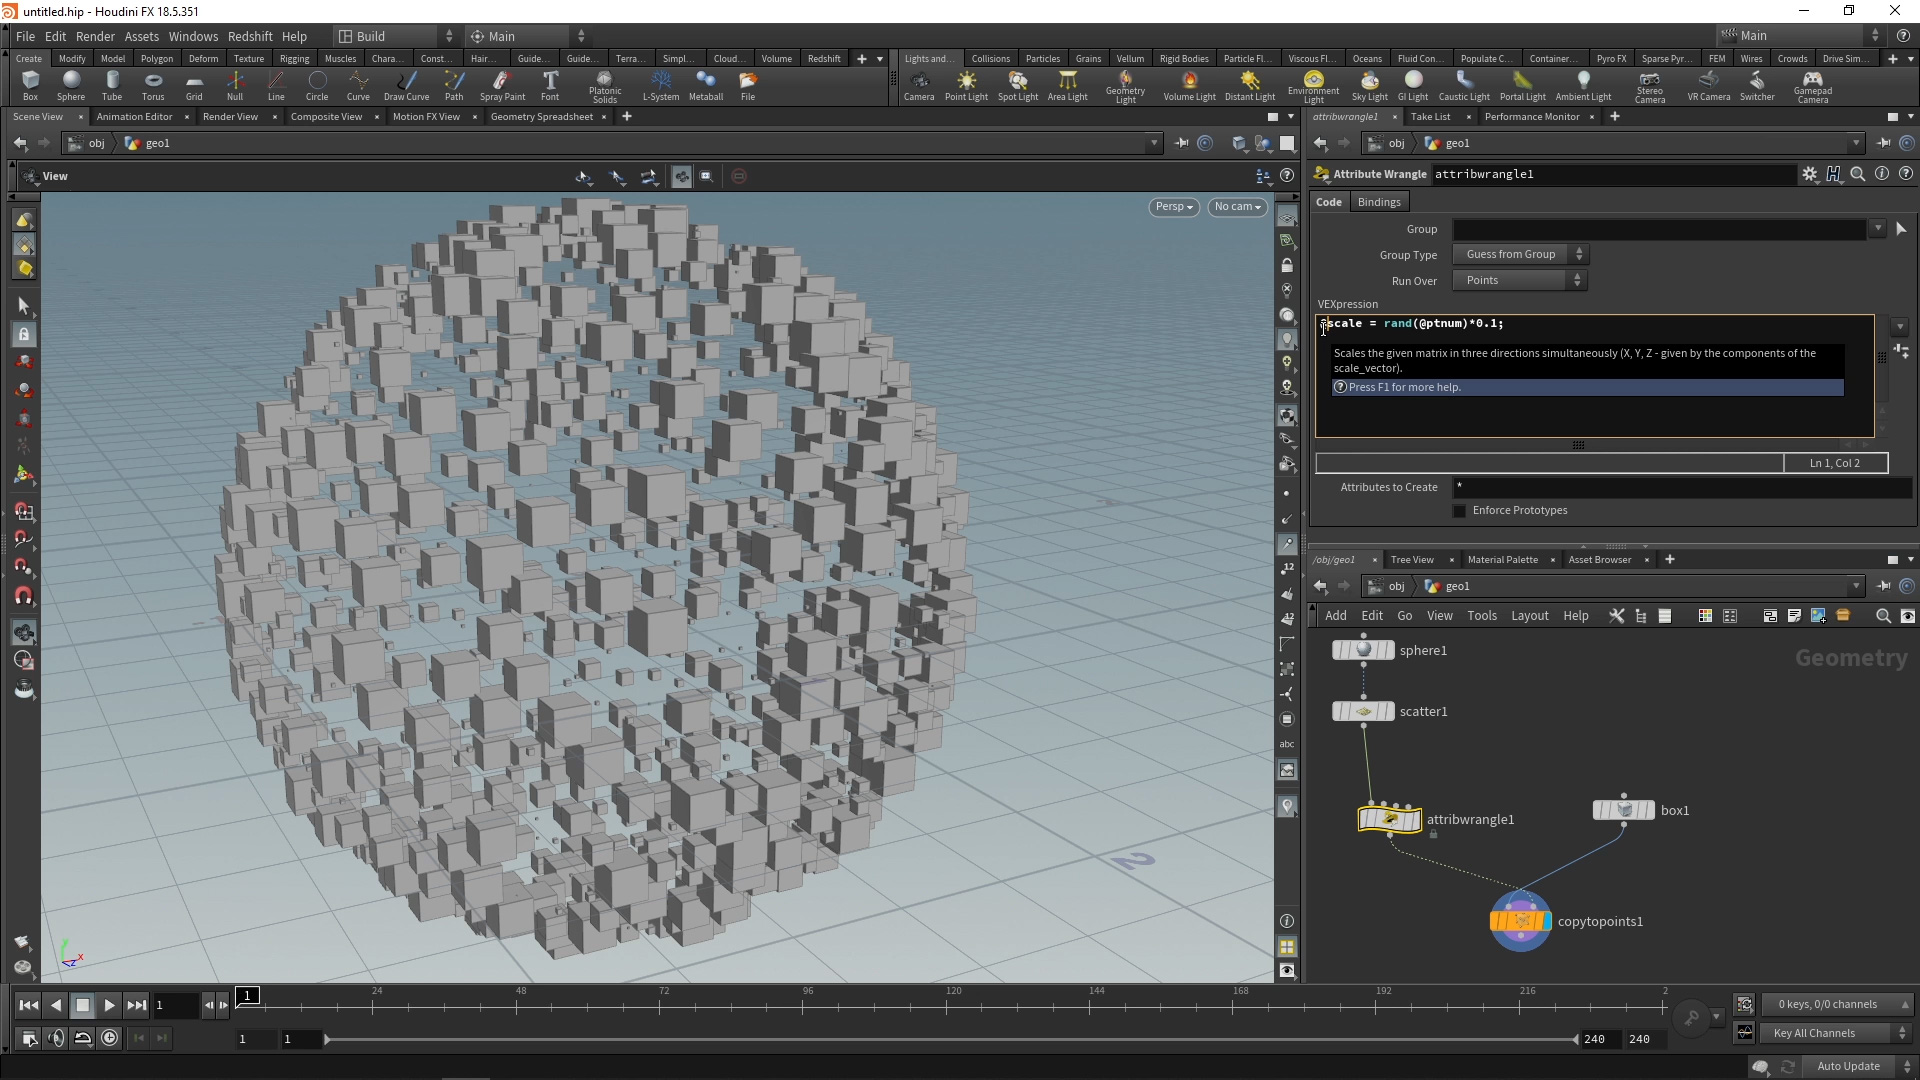
In these lessons, you learned the main aspects of VEX. However, to understand VEX at a practical level, it is a good idea to work through a full VEX based project from start to finish. Below is a link to this kind of project.
COMMENTS
noc2 4 years, 3 months ago |
Part 5 links to Part 4, please correct it!
Moeen 4 years, 3 months ago |
Thanks for letting me know. It has been fixed :)
ChristopherRutledge 4 years, 3 months ago |
nice!
Moeen 4 years, 3 months ago |
Hey, thanks Christopher!
blackurco 4 years, 3 months ago |
Nice resource!
Moeen 4 years, 3 months ago |
Glad you liked it! Thanks for watching :)
Alex Amos 4 years, 3 months ago |
Stoked to see some more South African Houdini Artists out there, definitely going to give your series a go, looking forward to seeing more !
Moeen 4 years, 3 months ago |
Thanks Alex,
I've only recently seen how many great South African artists there are.
I hope to see many more. I don't think many South Africans know that this exists as a hobby/career path.
Cheers Alex!
anon_user_75466869 4 years, 3 months ago |
Hi Moeen,
I am fascinated and I have loved all this. Thank you!
It explains how to get to the functions and how to use them, although there are more than 200, and it has many tricks in midle.
I have already studied this prototype thanks to a Spanish who included that do many functions and how to use them.
Little by little I will now come to understand exclusively the functions.
thanks again.
Moeen 4 years, 3 months ago |
Hey Alfredo,
Great, I'm happy to hear that. The functions are the tricky part about VEX but the documentation is great and the forums can also be extremely useful.
All the best with your learning!
anon_user_75466869 4 years, 3 months ago |
in my knowledge as a beginner I would be lucky if all functions had a little example on its side in F1.
yes that would be easy : )
Fakit Reel 4 years, 3 months ago |
Many thanks for your work!
Its very instructive and comprehensive.
I already love houdini, but this is the cherry!
Thanks! :)
Moeen 4 years, 3 months ago |
Thanks for the great comment!
Houdini is awesome and you're right, VEX just adds a little something more.
All the best Fakit!
Renzell 4 years, 3 months ago |
The If/Else Statements was easy to follow, I understand them a bit more now.
at the end of Part 4, you went through the VDB/ Connectivity stuff too fast for me to understand.
VDB isn't scary plz?
Moeen 4 years, 3 months ago |
Awesome, glad it helped! Sorry about the VDB and Connectivity bit at the end. It was a quick example of what could be done. I'll be addressing VDBs soon in the next parts of "Houdini Isn't Scary".
ali.em0007 4 years, 3 months ago |
Thank you so much sir :-)
ali.em0007 4 years, 3 months ago |
wowww , Thank you so much sir
Moeen 4 years, 2 months ago |
No problem, Ali! Thanks for watching.
deepfx 4 years, 2 months ago |
Hi Moeen,
I`m so glad I found these tutorials. I really like the way you explain things. I understand it better. Thank you so much for making this series of tutorials, I really appreciate all your effort in making them. Can`t wait for part 6 and I`m looking forward for more of 'Isn`t Scary' series.
Thanks again!
Moeen 4 years, 2 months ago |
Thanks for the kind words! I'm happy to know that these series have helped you out. There will definitely be more of these series in the near future.
ryamchhusyaki 4 years, 2 months ago |
Hello Moeen,
You are awesome. Your tutorial really bring me to in the right track and encourage more to learn houdini. I searched many tutorials regarding VEX and finally found yours.
I hope you make tutorials on pointVops also. Please also leave a reply on how actually can steps be taken to be a professional Houdini fx TD. I am in confusion that either to learn attributes first, or VEX or pointVops. This make me frustrate. What are the actually correct steps ??
Moeen 4 years, 2 months ago |
Hey, thanks for leaving a comment. When it comes to learning VEX or VOPS, it comes down to a couple of factors, but there is no right or wrong answer. You can use either one. I have a video over on YouTube comparing VEX and VOPS. You can take a look here: https://youtu.be/JH7ERh-qIIk
You should take a few things into consideration. For one, what are you more comfortable with? If you use nodes, you don't have to learn code. If you learn code, you can keep your setups neater. If you're working with a team, it is often better to use VOPS because more people can understand what is happening in a VOP setup than in a VEX setup. It is also easier to use noises in VOPS.
I hope that helps a bit!
ryamchhusyaki 4 years, 2 months ago |
Thank you very much sir. You are really nice and professional mentor. I hope you will make videos on VOPs like of VEX in detail in near future. Thank you.
Yamatoto 4 years, 2 months ago |
before watch this video series i always confuse how some tutorial in youtub using VEX , now i understand more for the basic attribute, conditional, looping etc, thanks ! and that black cat always give nice hint, awesome.
can't wait your next isn't scary series for other topics, great work
JohnLarryGroff 4 years, 2 months ago |
I love all the extra effort you put into making these tutorials understandable and interesting for a novice- just perfect for a beginning Vex student like me. I will be impatiently looking forward to your future vex videos and I'm so happy that I switched to Houdini and that Side Effects puts so much effort in making training like yours available for free (better than many of the paid tutorials I've seen) Thank you!
moskthescribe 4 years, 2 months ago |
Have watched all five of these VEX tutorials now. Direct, concise, comprehensive within the scope they're trying to address, and readily digestible. Brilliant job and very much appreciated!
aganztracy 4 years, 1 month ago |
Love these videos!May I translate these videos into Chinese and repost them on the bilibili website in China?
I will indicate the source and the original link, and it is only for learning and not for commercial use. Looking forward to your reply!
Thank you so much!!
vrparmar 4 years ago |
it's starting from basic and going to dipper thanks for helping me to learn about VFX.
djspy 3 years, 11 months ago |
theBestTutorialsEver.
Thanks a ton.
Damegami 3 years, 4 months ago |
Definitely BEST series for beginners about VEX even among paid courses
hysteria_13 2 years, 2 months ago |
Wow, I love this series! Thank You very much for the effort! You explain everything really well, it can be followed easily (ofc some programming knowledge helps a lot). I loved the "I don't feel so good" reference! :D
On the other hand, the chramp in PT4 does not work as it should I think. The ramp does not reset. It runs just once and that's it. I cannot really see, what is the issue.
I'm using version 19.5.303. Do You think there was a change in between these versions?
Thanks for the help and keep up with the good work!
All the Best!
hysteria_13 2 years, 2 months ago |
Okay, I've just checked, it is said that it is clamped, without cycling.
https://www.sidefx.com/docs/houdini/news/19_5/transition.html
Could You please give us an alternative way to create that really cool effect in the most effective way?
Thanks!
hysteria_13 2 years, 2 months ago |
Sorry for spamming. Just found out that we need to apply frac() on the 'blend' variable in order to be able to cycle the animation.
Still, if You have a better solution, I'd be glad to see it!
Thanks again!
Please log in to leave a comment.