Problem solving. It’s one of the principal things visual effects artists need to do. Presented with a story they must help realise, or some plates they need to add photoreal imagery to, VFX artists look to their experience, skills, and often specific tools to solve these problems.
The problem presented to the artists at Milk VFX for Baltasar Kormákur’s Adrift was water, and lots of it. In fact, the Milk team would be charged with what was the most significant water shot in the film - the ‘pitch pole’ sequence, which sees the yacht helmed by two lovers on the open sea capsize from ferocious waves in a heavy storm.
By keeping the assets within Houdini we were able to maximize the flexibility in how simulation data and ocean geometry was handled, keeping the emphasis on the creative process and quality of output.
James Reid | Milk VFXTo help generate those waves, and other ocean scenes in the film, Milk turned to Houdini and its accomplished ocean tools. “We knew from the outset that the most challenging part of our work on this film was going to be creating stormy ocean shots with huge skyscraper waves,” says Milk VFX’s head of VFX James Reid, who was CG supervisor at Milk on Adrift. “From a CG point of view, this meant layers of complex simulations and heavy assets being passed between departments. A condensed timescale between shot turnaround and final delivery added to the importance of coming up with a solid and consistent pipeline for this work."
“Houdini’s open architecture combined with a good set of ocean tools provided us with a solid starting point for the stormy ocean R&D and the ability to develop methods further where needed,” adds Reid. “By keeping the assets within Houdini we were able to maximize the flexibility in how simulation data and ocean geometry was handled, keeping the emphasis on the creative process and quality of output.”
The motion of the ocean
So how did Milk VFX pull off those shots? The studio began with a reference phase, looking at ocean and sailing yacht clips, fishing trawlers in stormy conditions footage, and sailing races.
“The team really studied the life-cycle of white water, from its birth in energetic areas of ocean, through its airborne phase from peaks of waves, to its complex dispersion after settling back onto the water surface,” says Reid. “Artists even found themselves collecting first-hand reference from holidays, which proved invaluable due to the complex and varied nature of these effects!”
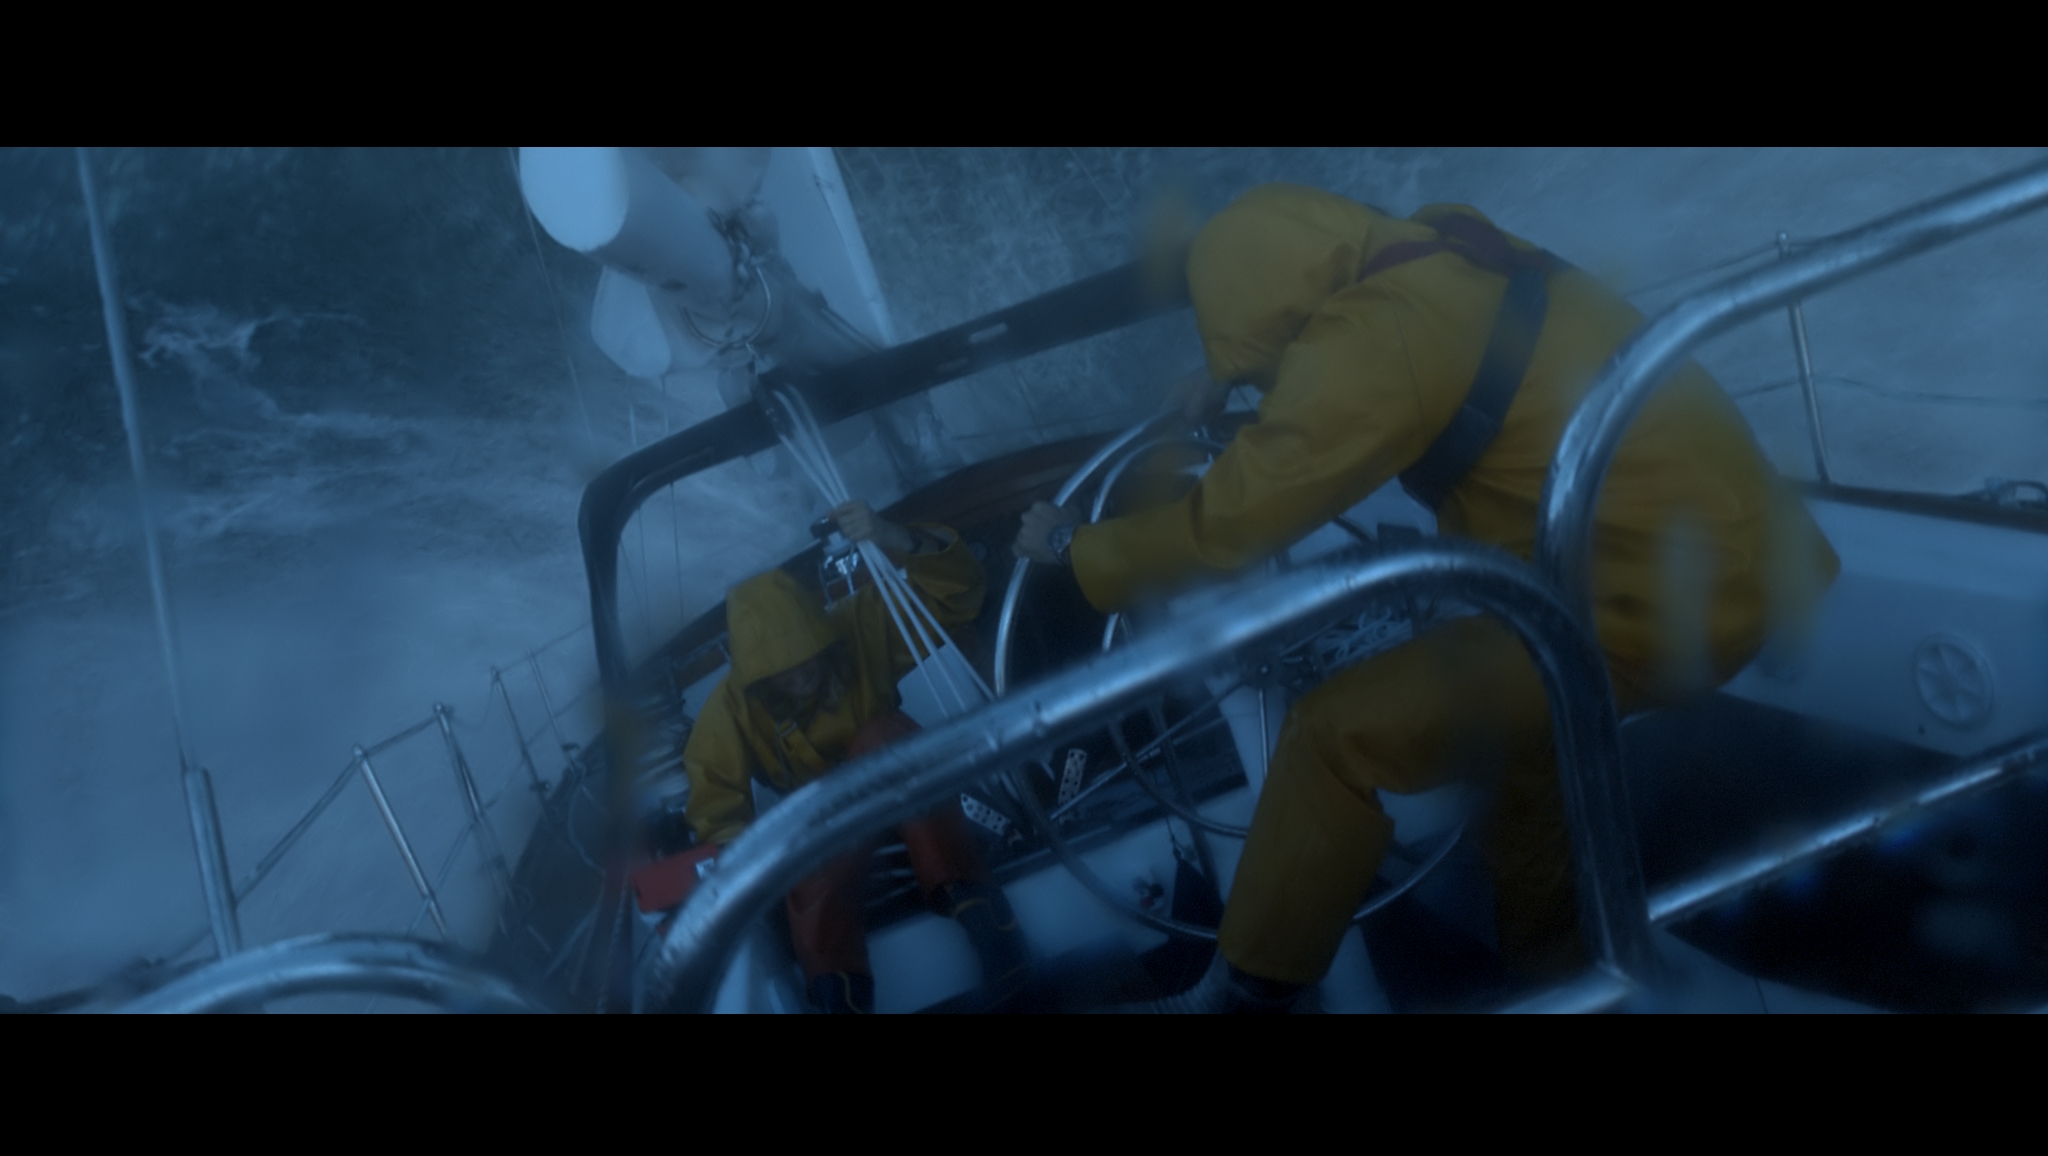
Right in the middle of the storm, the characters face a giant wave.
In studying real water, Milk noticed that there were many different types of water that would need to be simulated. Their early pipeline work therefore involved developing a tool for layout and animation using Houdini Engine to create broad ocean surfaces within Maya, exporting the data to Houdini for simulation. In this way, waves could be hand-positioned and animated for the purposes of client choreography, and to match live action boat movement.
The simulation had to provide a stable and natural looking patch of particles around the boat that adhered closely to a rapidly undulating ocean surface.
“Repetition in the ocean waves became much more apparent due to the increased visibility distance so we had to be much more careful at layout stage by introducing more instanced patches and suppression noise,” says Reid. “The opening shot of the movie revealed the destroyed boat in the aftermath of the storm with a camera that pulled out to show an expansive open ocean. Maintaining the level of detail out to the horizon throughout the transition from close to far required a blend between polygon deformation and render time displacement, with careful attention paid to z-importance settings.”
In Houdini, artists at Milk developed an underlying water simulation that would be integrated into plates or renders of the wider ocean. “The simulation had to provide a stable and natural looking patch of particles around the boat that adhered closely to a rapidly undulating ocean surface,” observes Reid. “Houdini was used due to its open architecture, allowing us to develop existing systems further in order to cope with the extreme wave environments presented by the stormy ocean shots and skyscraper waves described in the movie script.”
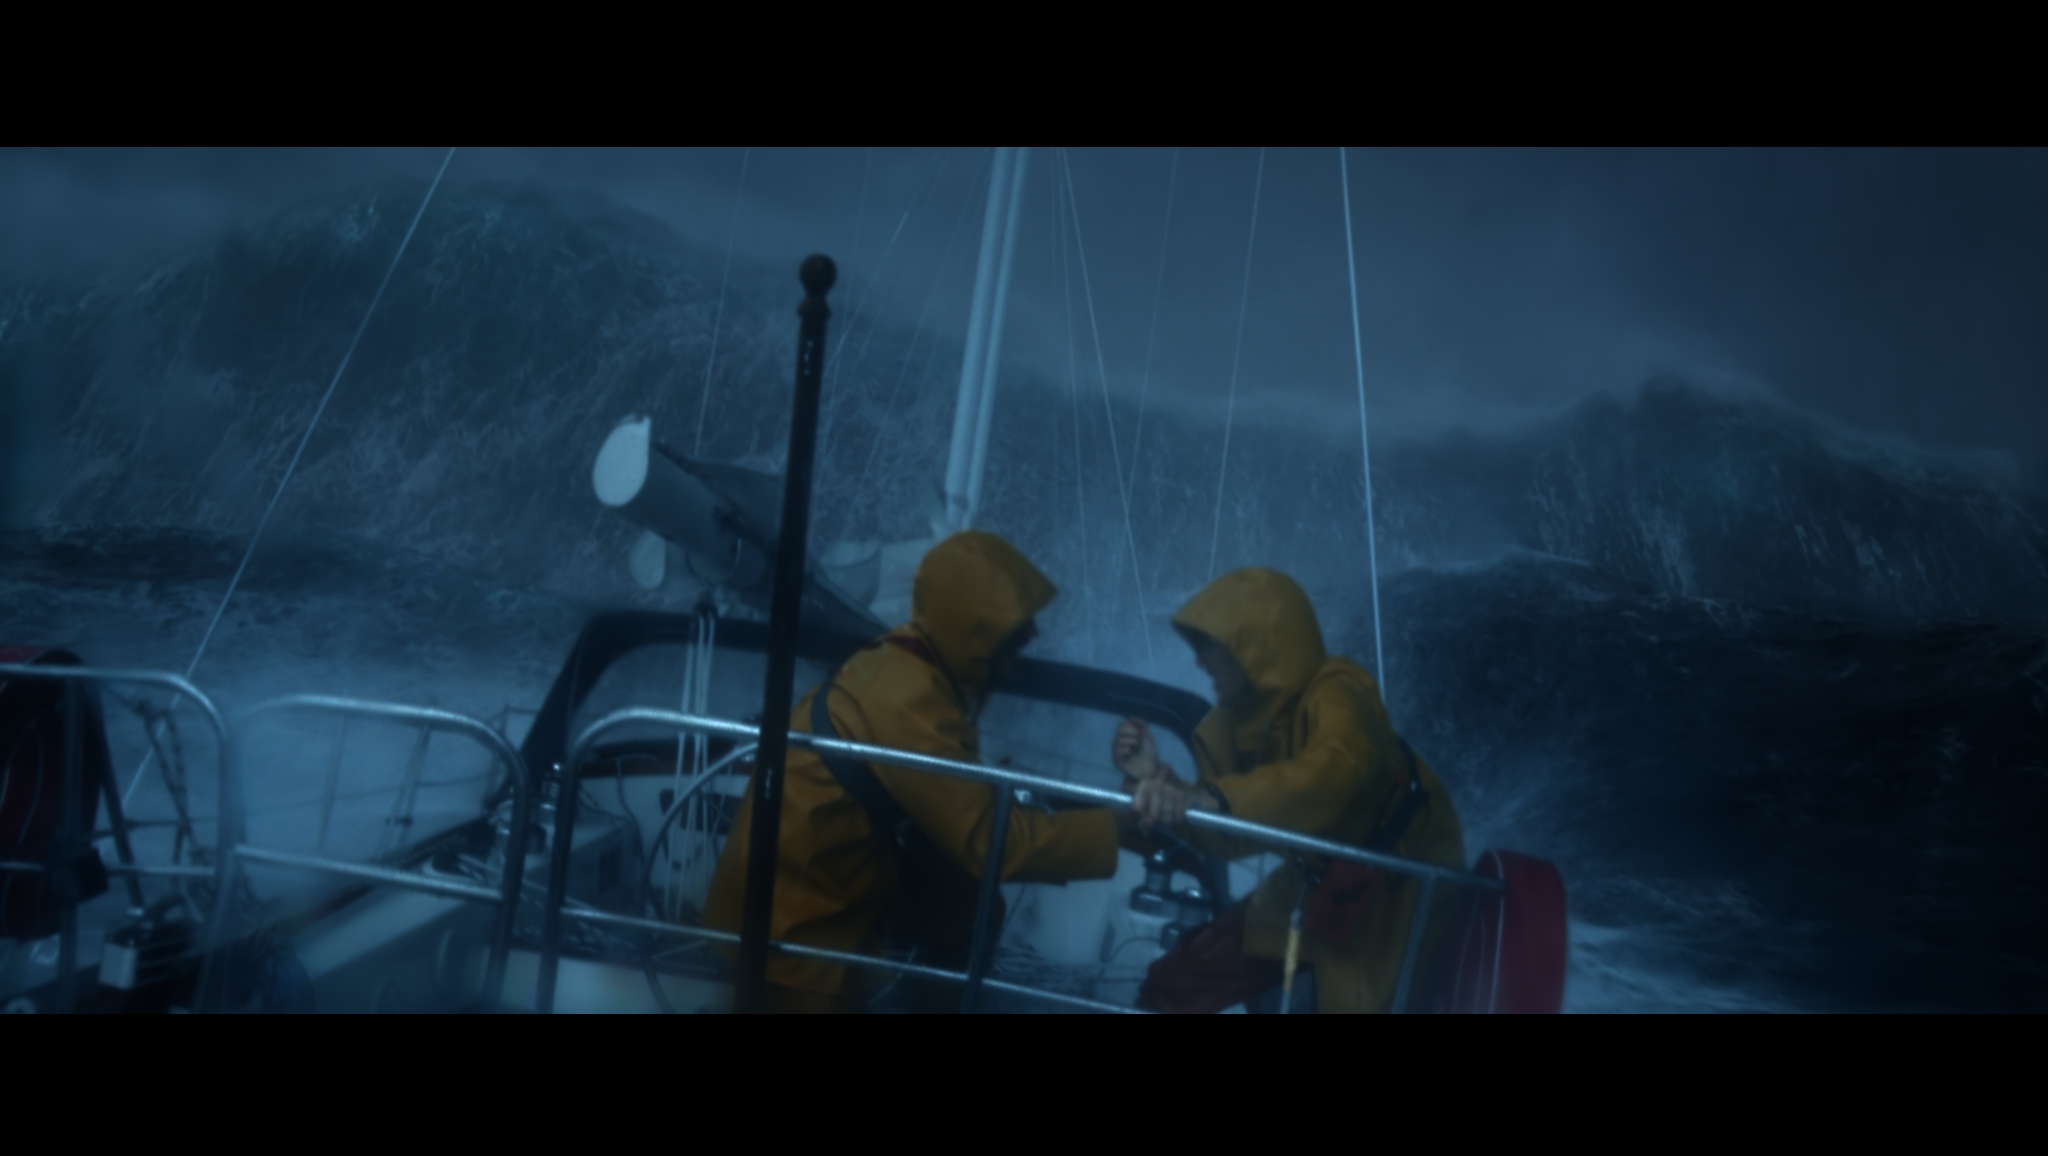
The wave ends up ‘pitch-poling’ the yacht and sending the boat and the characters upside down.
The team built upon the guided ocean layer setup, using custom guiding velocities to control the particles more accurately. One of the challenges they encountered was needing to reduce particle slippage on the steepest waves. For that, they adjusted the gravity direction so that it acted perpendicularly to the ocean surface rather than vertically.
Reid explains this further: “When extending and meshing the resultant surface, rather than flatten to a plane at y=0, it was necessary to use a mixture of polygon deformation and render time displacement in order to eliminate stretched displacement problems at the edges of the flip bounds.”
All in the details
That work in Houdini gave Milk a gross movement of the waves, but it was also boat spray and a white water layer that Reid says added a crucial level of detail and energy into the shots. These elements were driven by the core water simulation, with the white water layer in particular sometimes being lifted into the air to indicate the intensity and chaos of the surround storm.
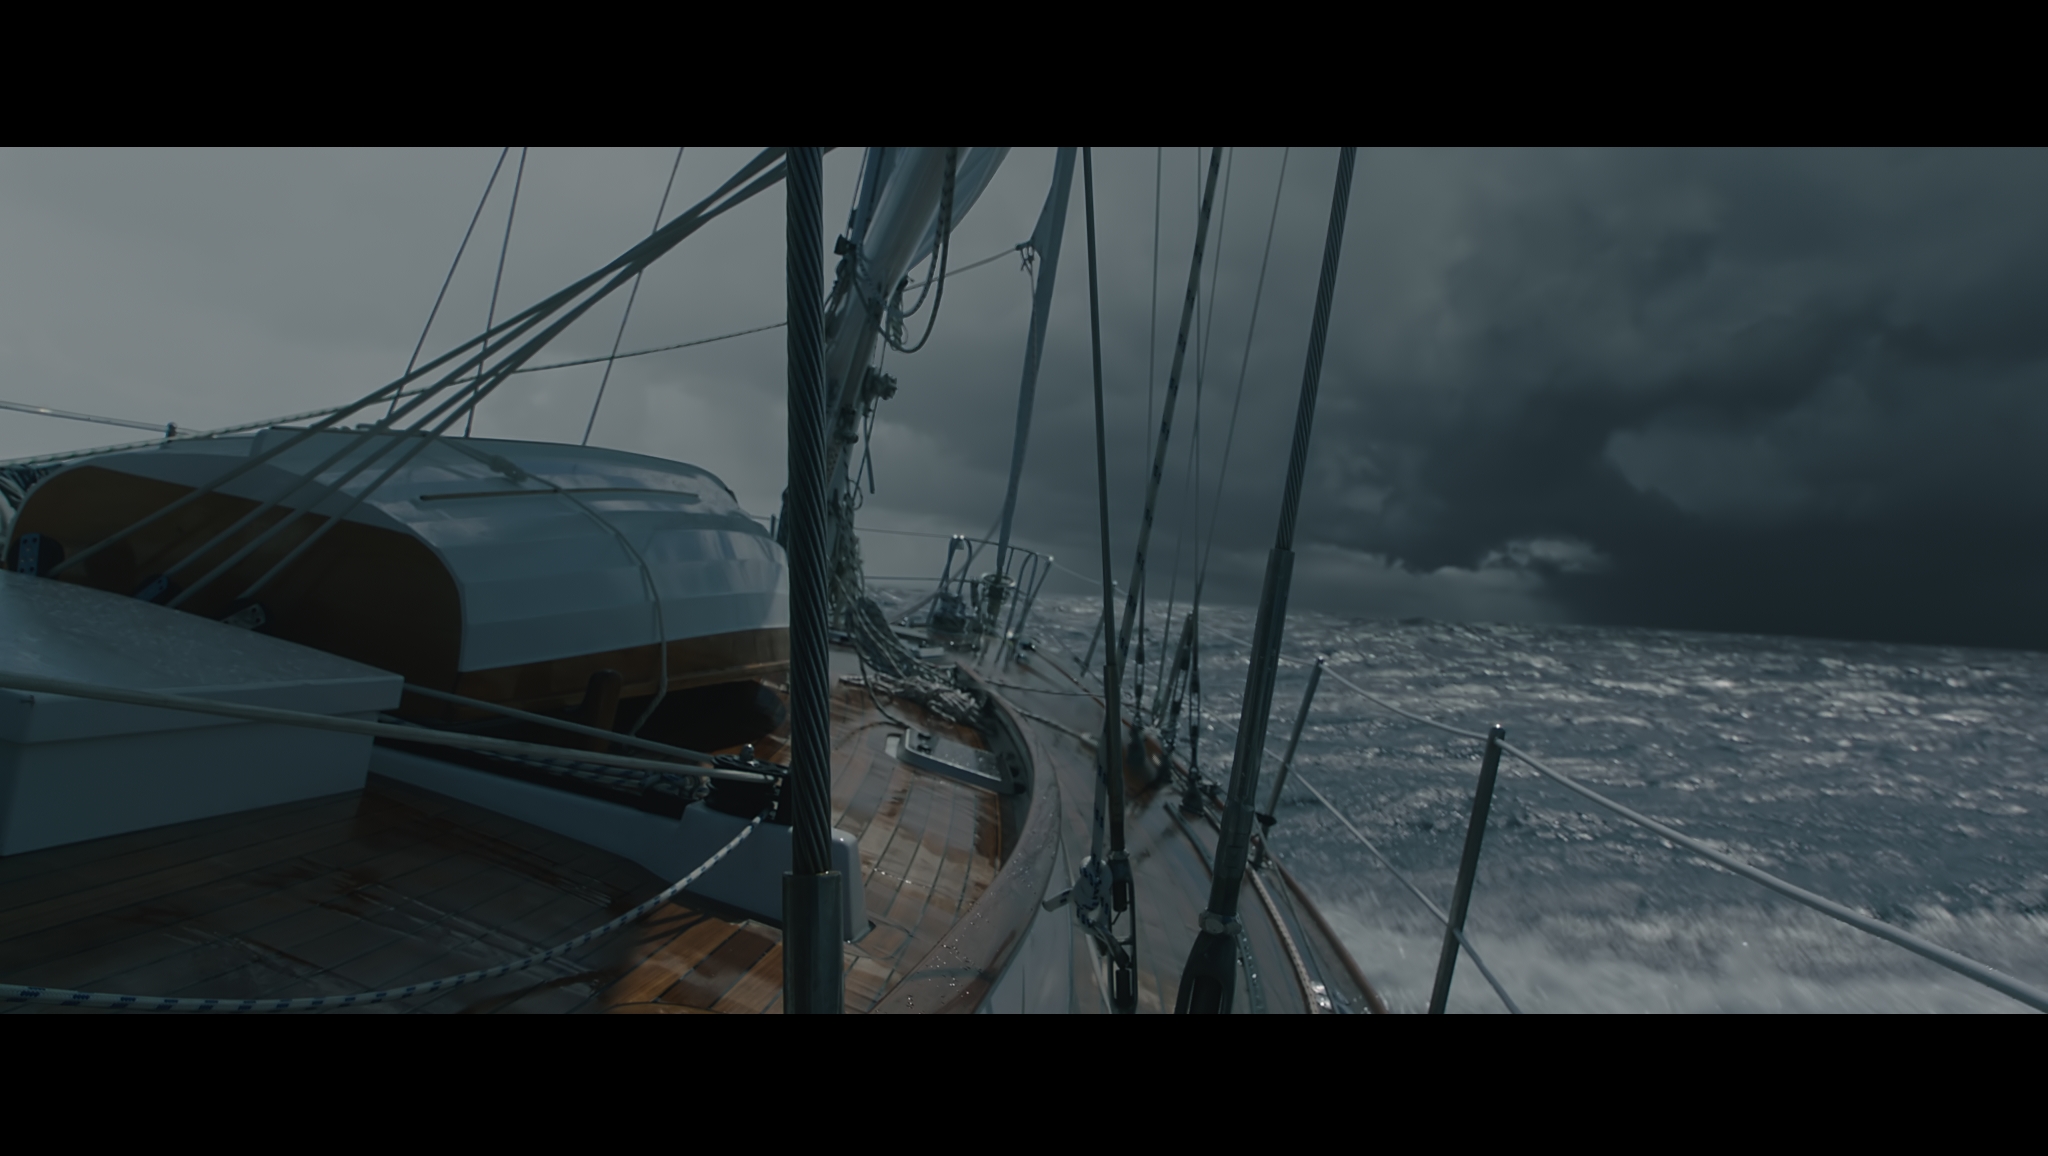
More subdued shots were also crafted by Milk VFX.
Then, notes Reid, “as the white water settled on the ocean surface, it had to continue beyond the bounds of the simulated water patch and leave a seamless wake behind the boat. We studied the process of how this type of foam dissipated over time to give realistic-looking webbed patterns and a brighter subsurface look to the churned up aerated water below it. One of the challenges faced with this part of the work was in finding a way to blend between CG layers; from polygonal ocean surface, into the white water particle layer, with it finally vapourising and becoming a fine mist volume.”
Simulations and shaders were developed simultaneously in order to create a realistic look with aerated areas of ocean, procedural foam and dynamic particles working together.
To generate the spray from wave peaks - another way of selling the intensity of the storm - Milk considered the life cycle of such phenomena. It tends to build up in intensity and then dissipate over time. “The use of Mantra for rendering played a very important role in this process,” states Reid, “enabling FX to work closely with lighting in building the final look. Simulations and shaders were developed simultaneously in order to create a realistic look with aerated areas of ocean, procedural foam and dynamic particles working together.”
“An extra layer of detail was added for shots requiring interaction with our rain system, which was more noticeable on the calmer ocean sequences,” states Reid. “After trying a couple of ideas, we used the ripple solver and some custom deformers to give the impression of small rain hits on the water surface as well as a thin volume layer of atomised spray to give an additional sense of depth.”
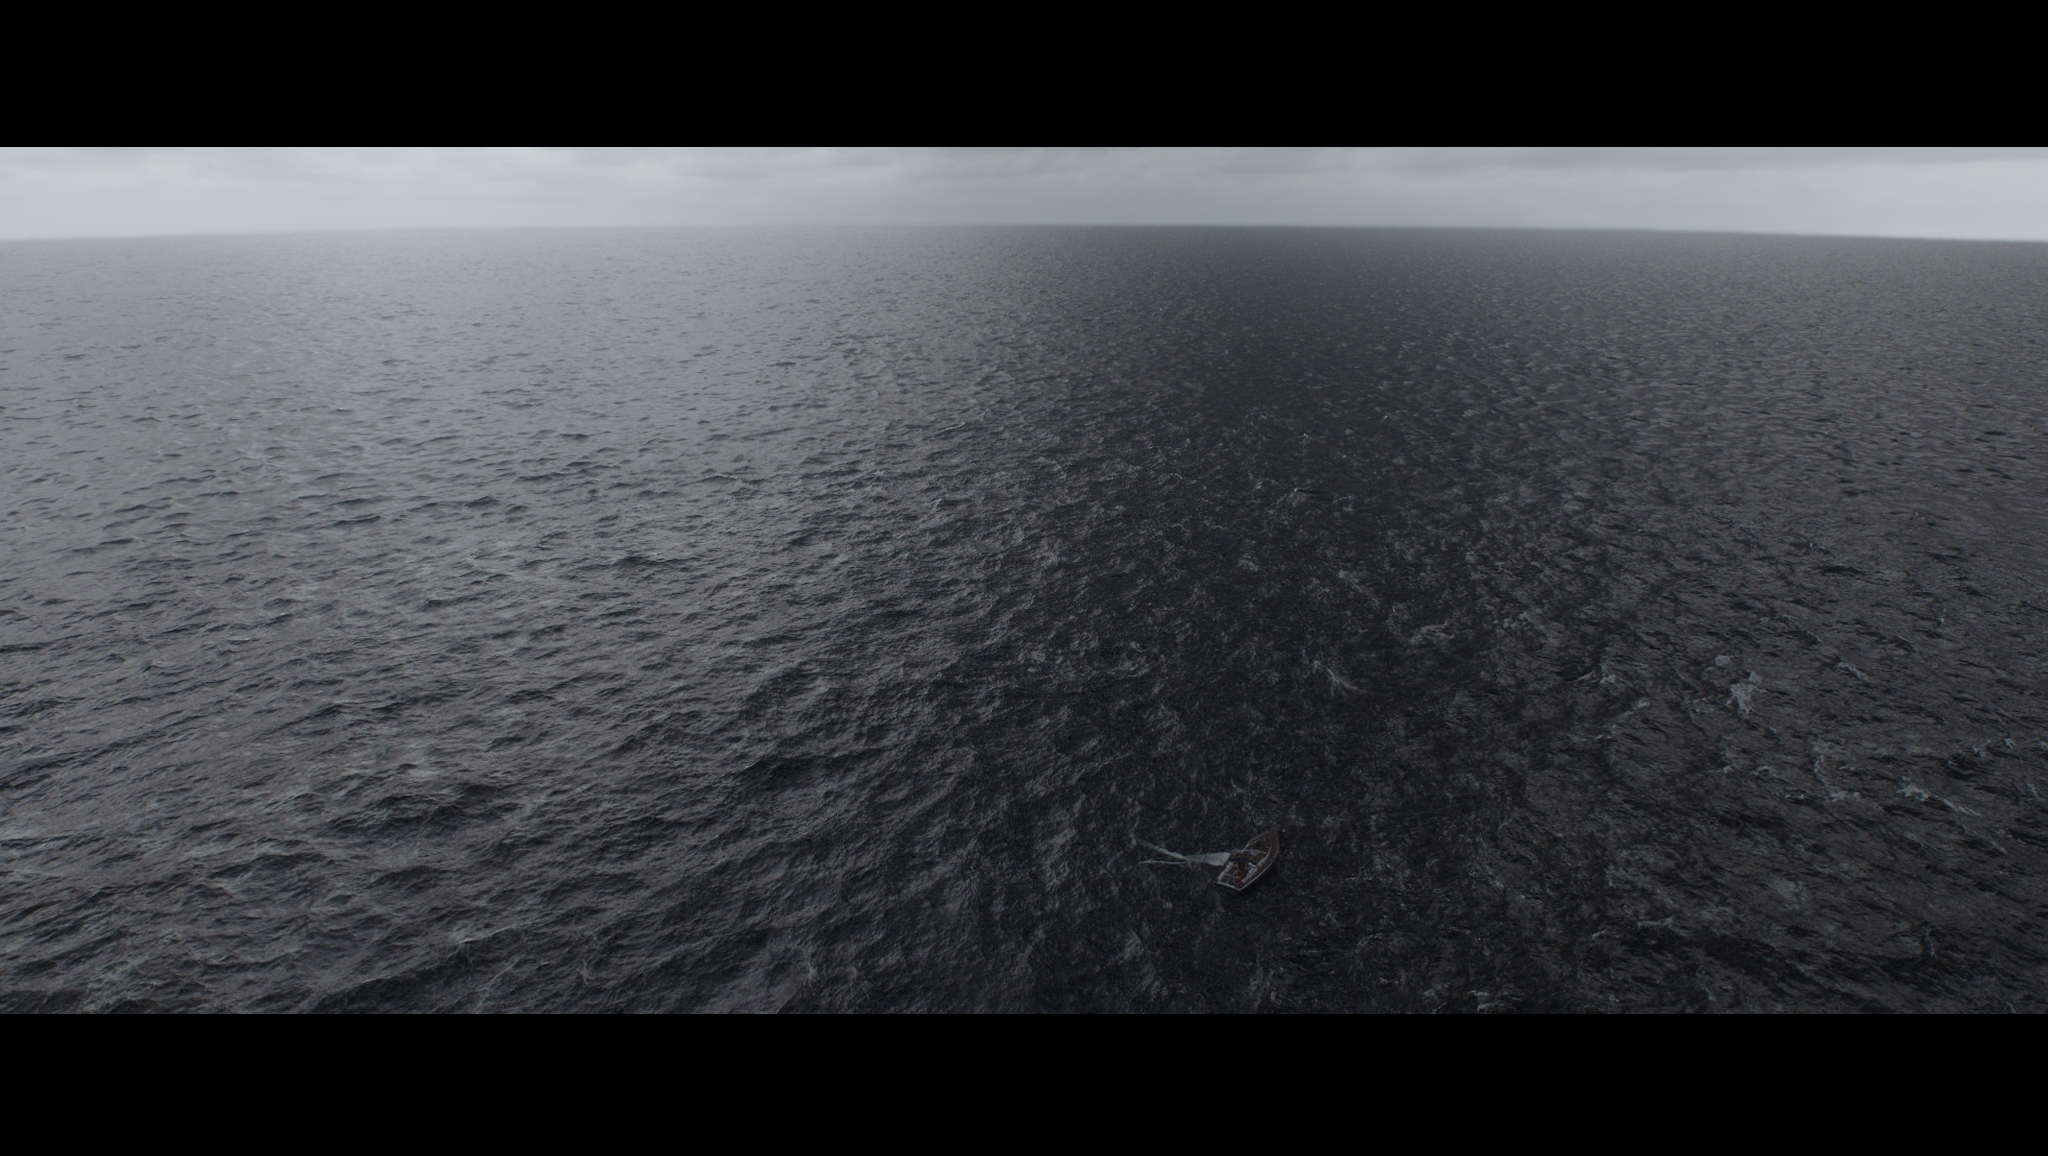
A wider ocean view from the film.
The final look
Milk utilised a template lighting scene in Houdini in order to generate a consistent look to the work across a series of shots; it also came in handy considering there was a relatively small team behind the shots.
The studio then set about rendering the scenes - which typically had a large number of particle and volume sims and therefore a large amount of date - in the cloud. Initially, Reid was hesitant about rendering this way.
“Rendering this type of work in the cloud had the potential for problems due to bandwidth limitations,” he says. “So we put a strong emphasis on data efficiency that started with obvious techniques such as attribute and camera frustum culling. Using packed disk primitives in combination with a custom ROP node for pre-caching data in the cloud ensured no large intermediate files were created at render time, and kept usage time of cloud machines to a minimum by only releasing the job when all data was available.
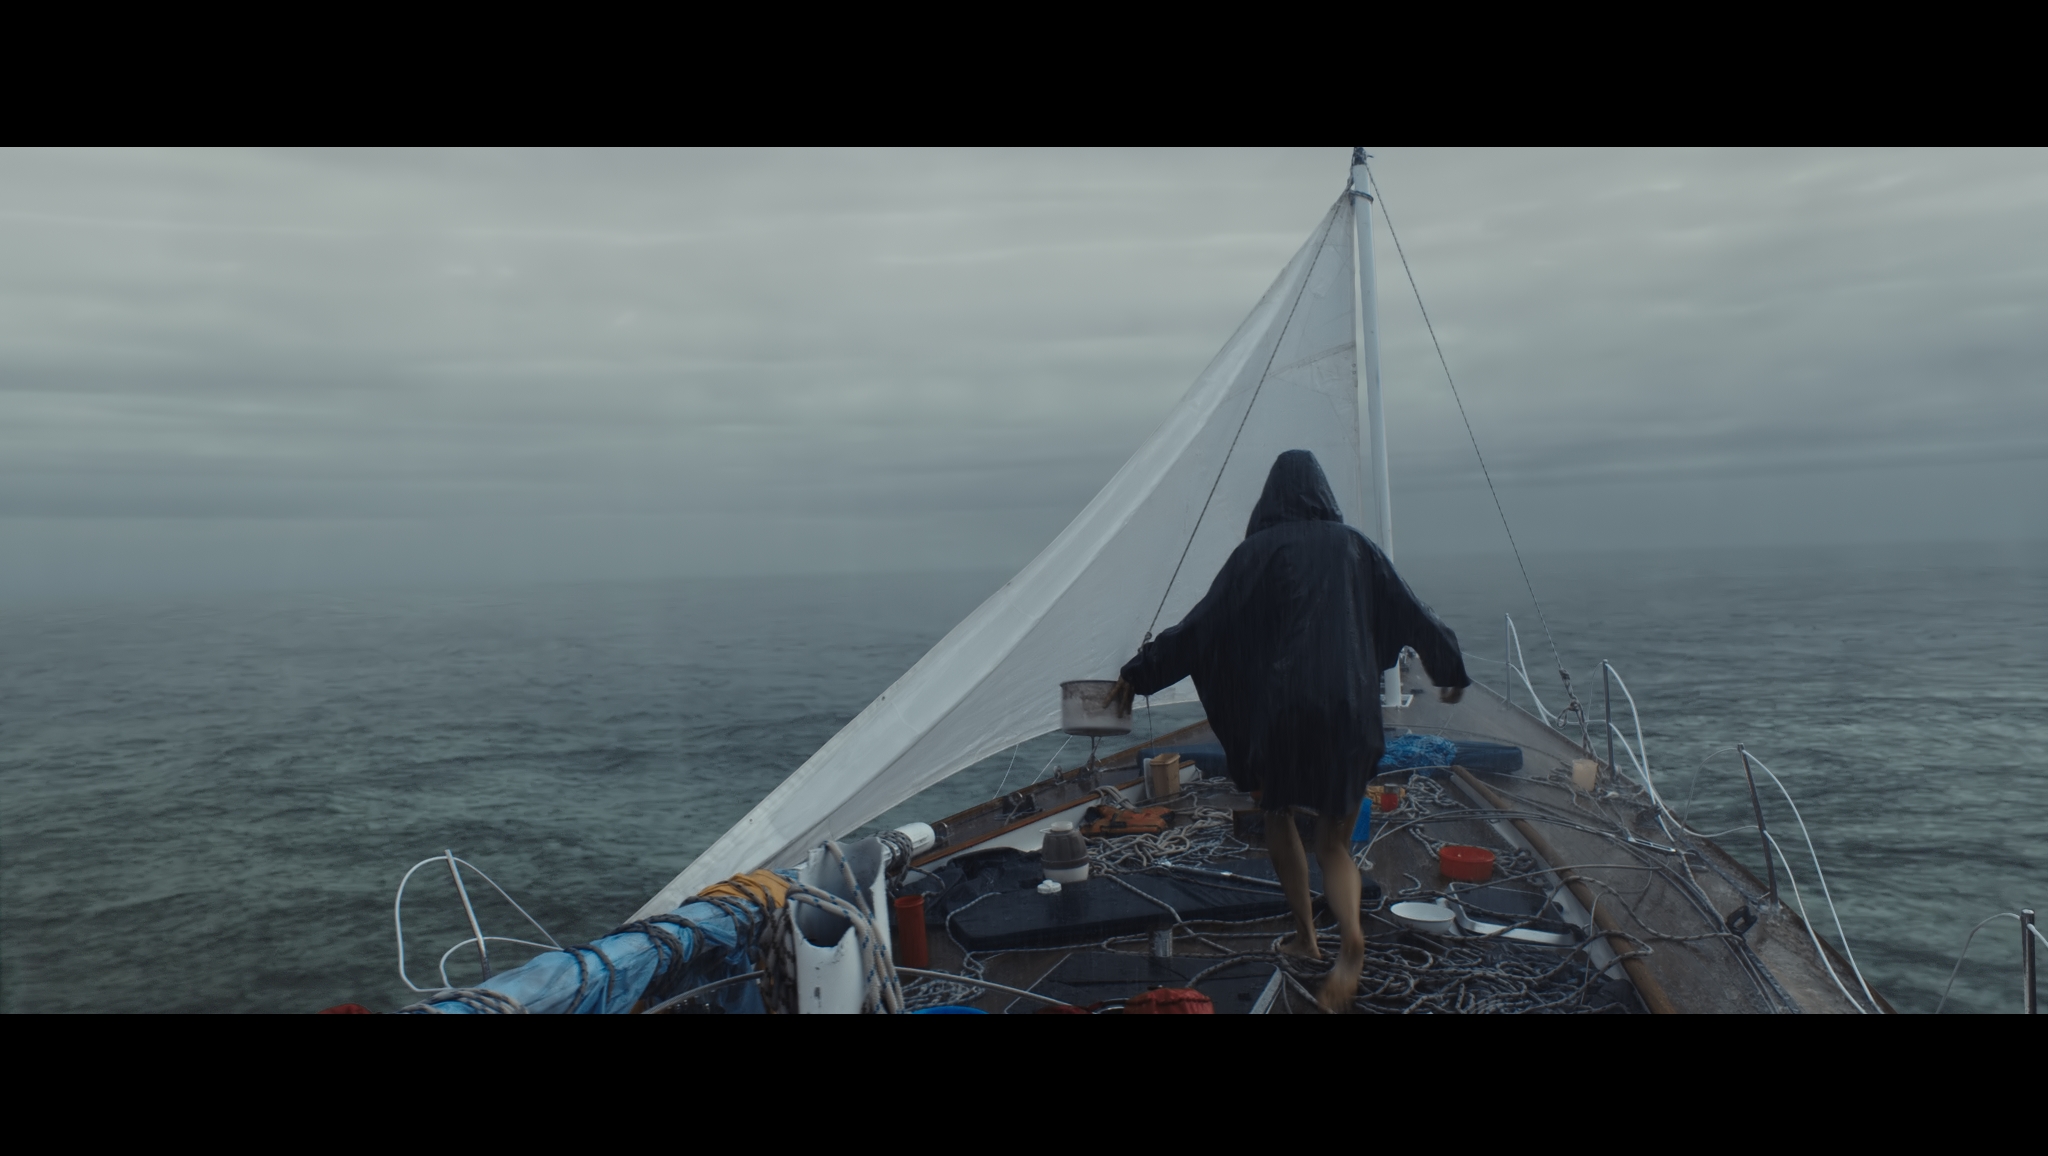
After the storm, the yacht is left to drift.
“Using Mantra enabled us to work directly with Houdini’s ocean spectrum format at render time,” continues Reid. “This was essential for some of the bigger shots in order to maintain the highest level of detail as the camera swept between extreme close and wide framing of the ocean surface. Keeping data size to a minimum by avoiding the creation of huge displacement maps was of particular importance to us due to rendering in the cloud.”
Problem solved
Adrift was, in fact, Milk VFX’s first entirely Mantra project. It meant the studio had to come up with some new workflows, but Reid says they enjoyed the process of tackling shots with the renderer, and working out how to take advantage of it in the best way.
“Examples of this included investigating the behaviour of z-importance in shots whose level of detail requirements varied greatly over their duration, or noise busting in challenging interior lighting environments,” discusses Reid.
“We quickly developed a set of best practices based around data efficiencies such as using packed geometry types and delayed load rendering. Assetising various repeat components such as shaders and custom ocean management tools was incredibly useful when rolling out updates across sequences in a short time frame.”
COMMENTS
FJSam 7 years, 4 months ago |
Damn!
1e093d374c0c42c0b206cf8ce 7 years, 4 months ago |
who can teach me
Van Darkholme 7 years, 4 months ago |
Damn!
Richard Costin 7 years, 4 months ago |
Very nice work chaps.
Please log in to leave a comment.