HMSS Invincible

   34356   30   3
User Avatar
Member
295 posts
Joined: Oct. 2008
Offline
Couple more updates. I think this is a pretty decent look for the hull, just a matter of applying the same thing to the tower and other pieces.

Low lighting:


More light…


Houdini Models [learning3dfromscratch.blogspot.com]
User Avatar
Member
349 posts
Joined: Aug. 2006
Offline
With all the deatils and effort put into this, perhaps its time to make a proper lighting setup, and make some nice renders to show it all off.

Nice work Jim.
User Avatar
Member
295 posts
Joined: Oct. 2008
Offline
Yeah, that's coming

I still have a lot of part to add materials to.

Do you have suggestions for a good lighting rig for outer space? The idea is that it starts in a drydock, in low Mars orbit.

As far as I can tell, the basic lighting would be the spot lights on the drydock itself, the Sun, and maybe some reflective light from Mars?
Houdini Models [learning3dfromscratch.blogspot.com]
User Avatar
Member
4 posts
Joined: March 2010
Offline
Mind if I ask for some broader tech details on this? Trying to wrap my head around the workflow used to create this… Obviously not looking for the tiny details .. But is this all one geometry object? is it just very hand crafted small primitives just added to each other in large amounts?

I assume you just make the one “part” and then instance it to the larger object?

Really awesome work. Love seeing it evolve. Would be wicked to see even earlier shots.

Cheers
User Avatar
Member
295 posts
Joined: Oct. 2008
Offline
For some earlier shots see:
http://www.foundation3d.com/forums/showthread.php?t=8222 [foundation3d.com]

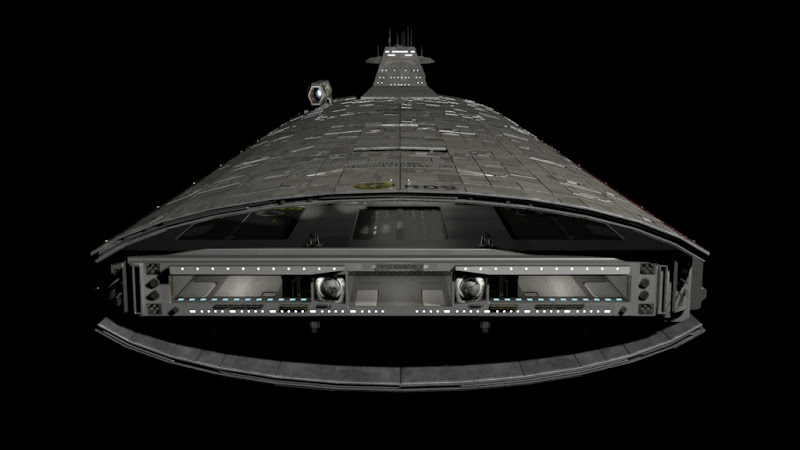
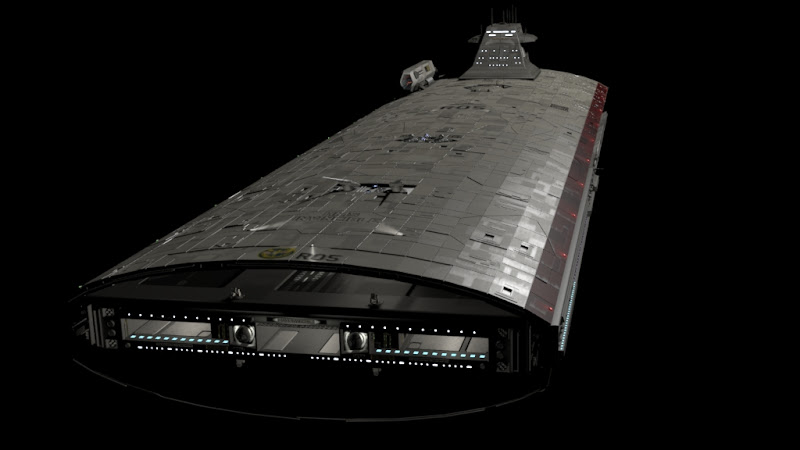
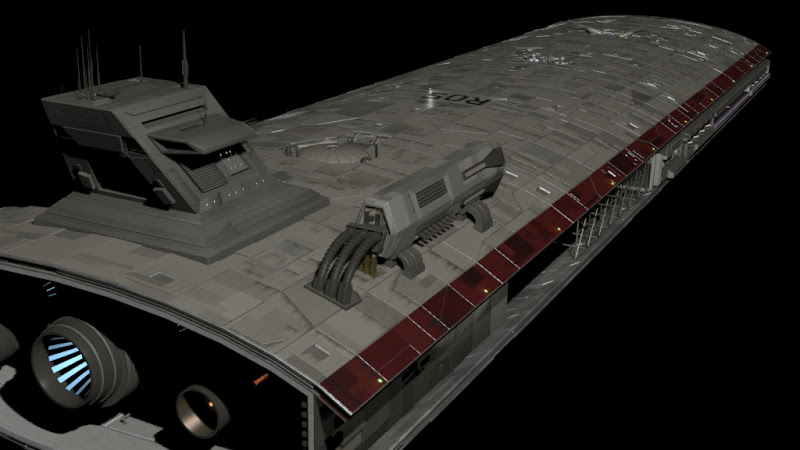
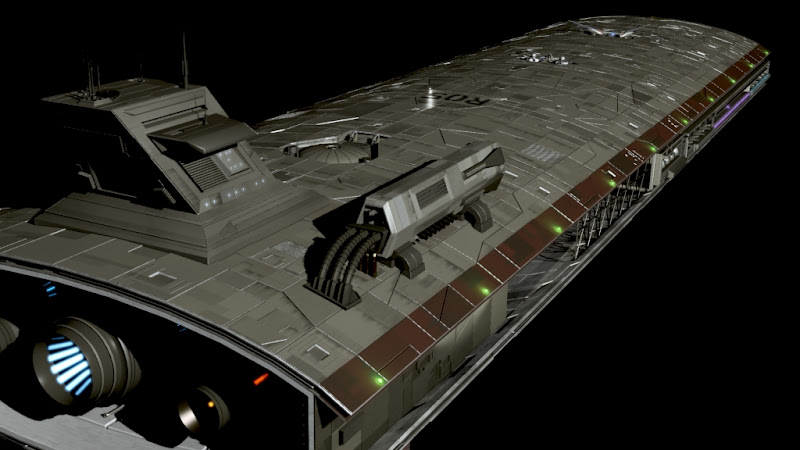
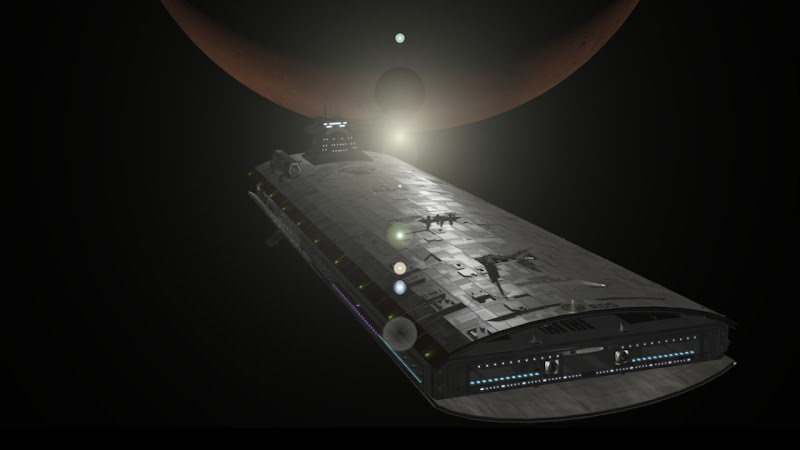
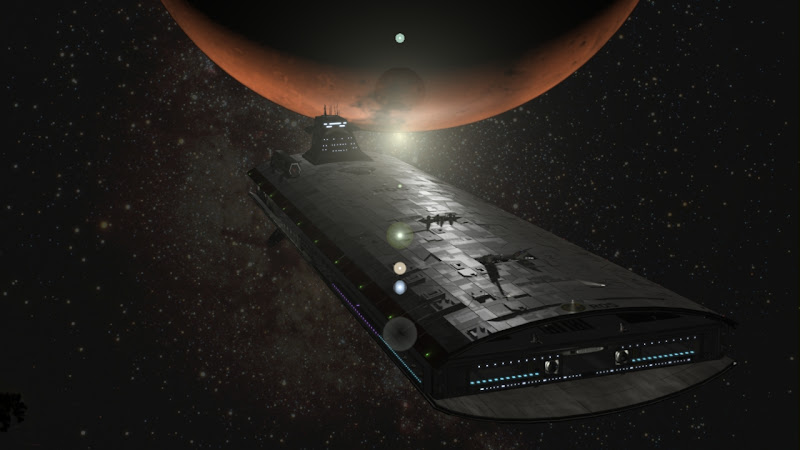
The basic shape was blocked out first, just to establish volumes. This is the first time I had done a model this way, and I was pleasantly surprised at how helpful it was to do things this way (I suppose that's why so people recommend using it as a technique!).

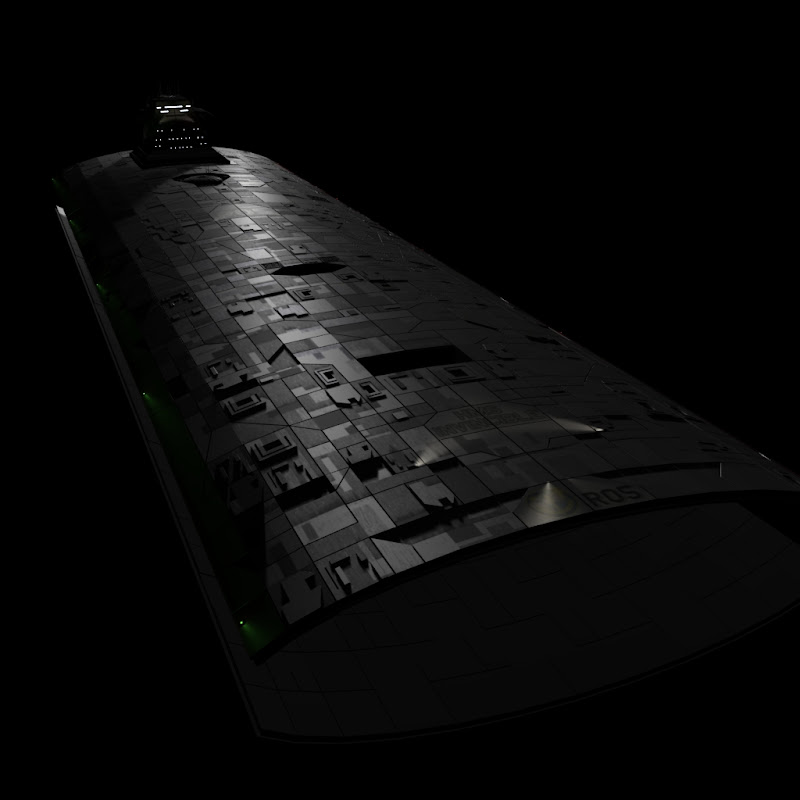
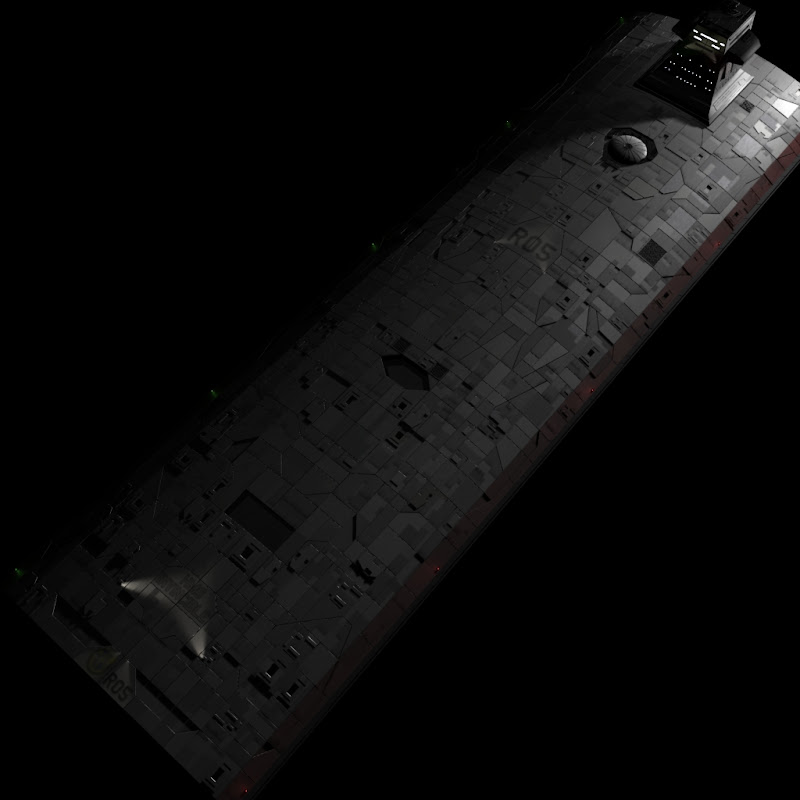
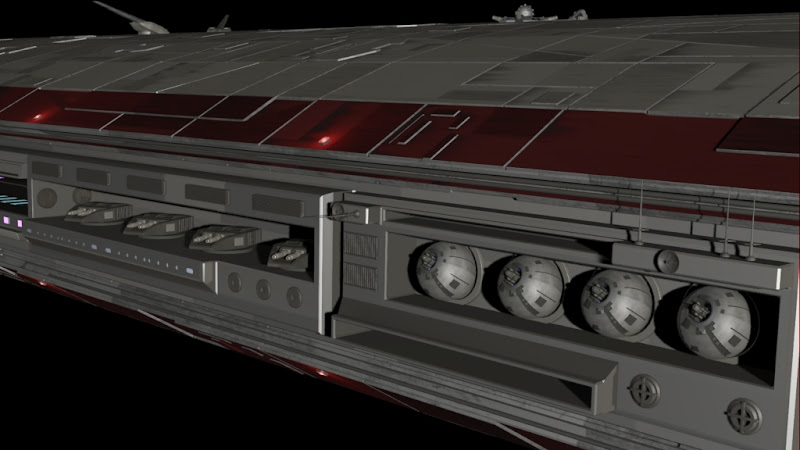
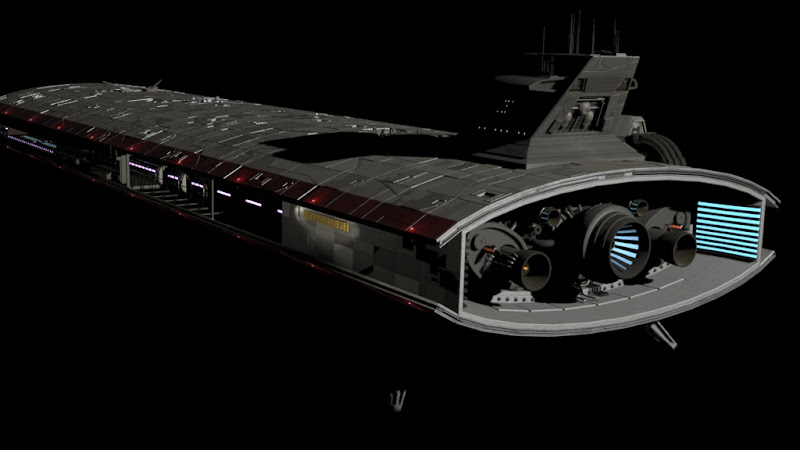
The full model has about 18 different geometry objects, plus another 18 or gun objects that can be animated.

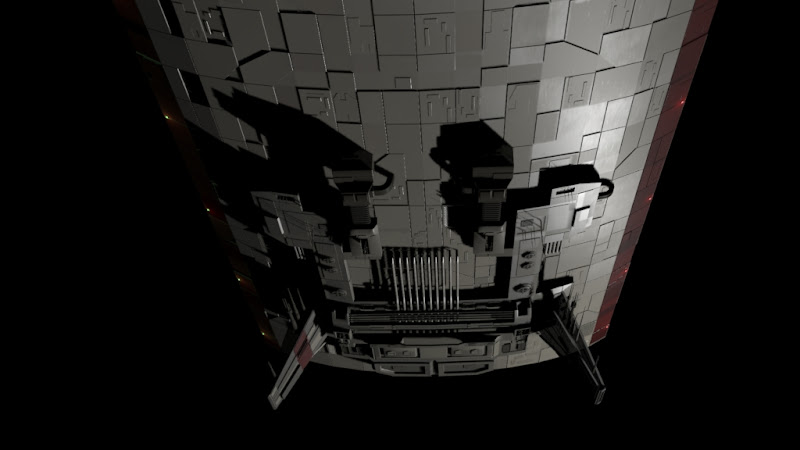
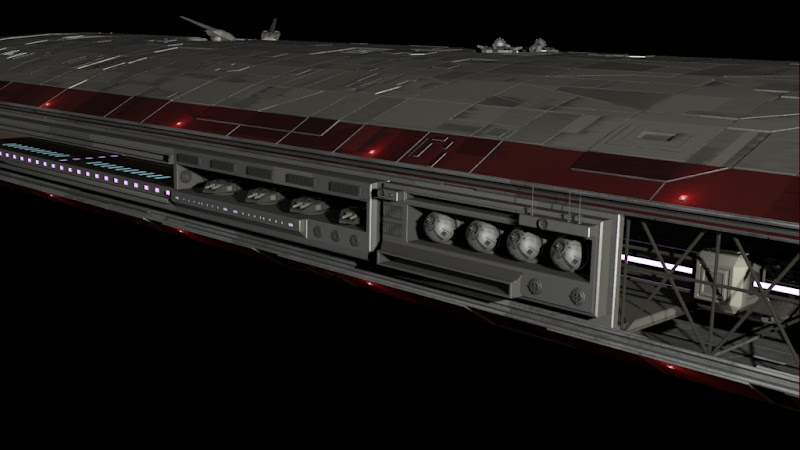
For the greebles, I created a whole slew of various little odds and ends, and then saved each one to disk. I then made a SOP DA that has a slider that lets you pick a number and then reads in the appropriate file from disk. Then I just move and scale them into place. Tedious to say the least.

Some of the parts are then run through a copy SOP to make things a bit quicker.

For the modeling phase the SOP network was terminated with a Facet node, and then a Geometry ROP to output the whole section to disk (a million thanks to circusmonkey for explaining the technique and how to set it up). The display node then just reads this file in, instead of cooking the network all the time.

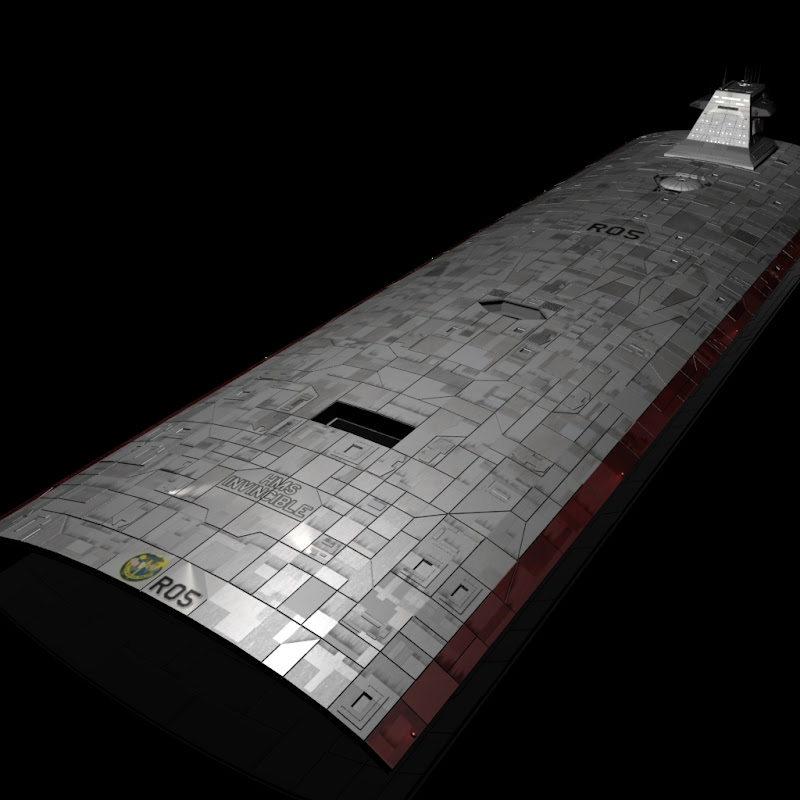
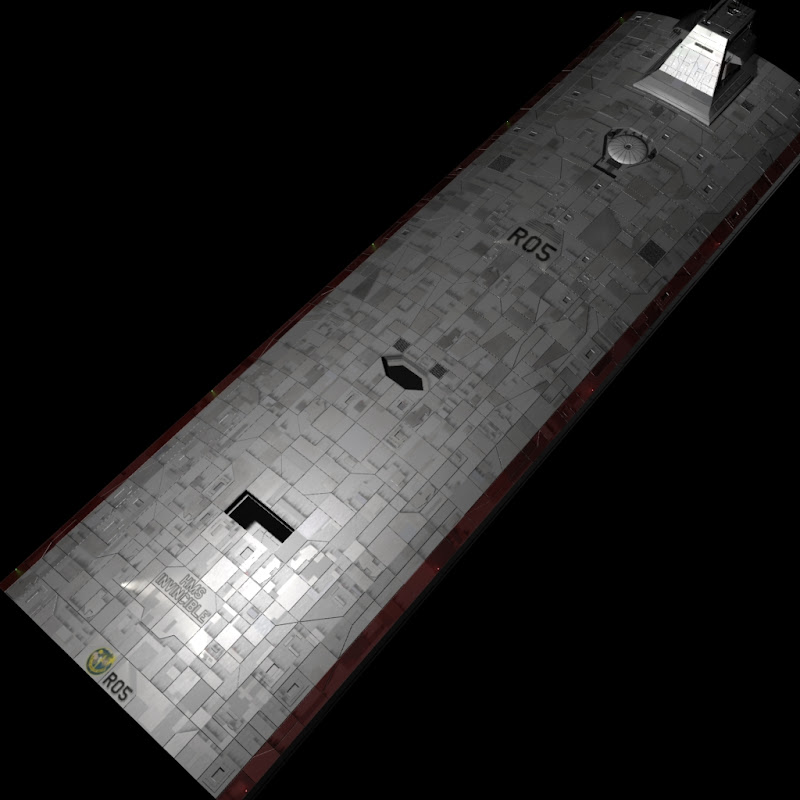
The texture phase is a new hip file, with the same geo objects and hierarchy, but each SOP network is now just a file node to read in the already saved .bgeo files from disk. From there I just add a couple of extra nodes necessary for UVs, grouping and for material assignment.
Houdini Models [learning3dfromscratch.blogspot.com]
User Avatar
Member
48 posts
Joined: Sept. 2008
Offline
man that is a great job on modeling and texture a true inspiration
User Avatar
Member
7 posts
Joined: Oct. 2009
Offline
Thanks for the post explaining your workflow… it's really helpful!
Great project!
Every journey starts with one step…
User Avatar
Member
295 posts
Joined: Oct. 2008
Offline
Here's the last bits of the texturing. At this point it's basically done. The next phase is to learn some more about compositing with Houdini and animating it.


Another angle:


Close ups of the main guns:


Back side view:


Close up of side guns


Engines:


Long view


Some quickie experiments with compositing. The renders were done with additional render layers for diffuse, specular, emissions (Ce), light (Cl), and paint. I brought in the .pic file and then used the Channel Copy COP to break out individual layers (Ce, diffuse, and spec). For each channel I added some color effects (like blur, brightness, etc), then brought them together with a Layer COP. Added a Color correct node to add a bit of sky blue to the mid tones and (that's all guess work, I have no clue as to what I'm actually doing), and added a Gamma COP at the end to bring it back to around 2.2. I think the glow is bit overdone


Houdini Models [learning3dfromscratch.blogspot.com]
User Avatar
Member
295 posts
Joined: Oct. 2008
Offline
A further update, this time trying to make more of a scene. This uses the lensflare mentioned here:
http://www.sidefx.com/index.php?option=com_forum&Itemid=172&page=viewtopic&p=89426#89426 [sidefx.com]

and a simple sphere for Mars.

Then composited together with the main model shot, I got:


Houdini Models [learning3dfromscratch.blogspot.com]
User Avatar
Member
43 posts
Joined: Feb. 2009
Offline
Nice! Are you using Apprentice or HD for those renders?
User Avatar
Member
295 posts
Joined: Oct. 2008
Offline
I'm using HD.
Houdini Models [learning3dfromscratch.blogspot.com]
  • Quick Links