FROM GEOMETRY TO RENDER: BUILDING THE TOUCAN SCENE
References
To create a proper environment for the toucan, I found some of the reference videos with actual birds. I decided to follow them precisely. Here are some screenshots from them:
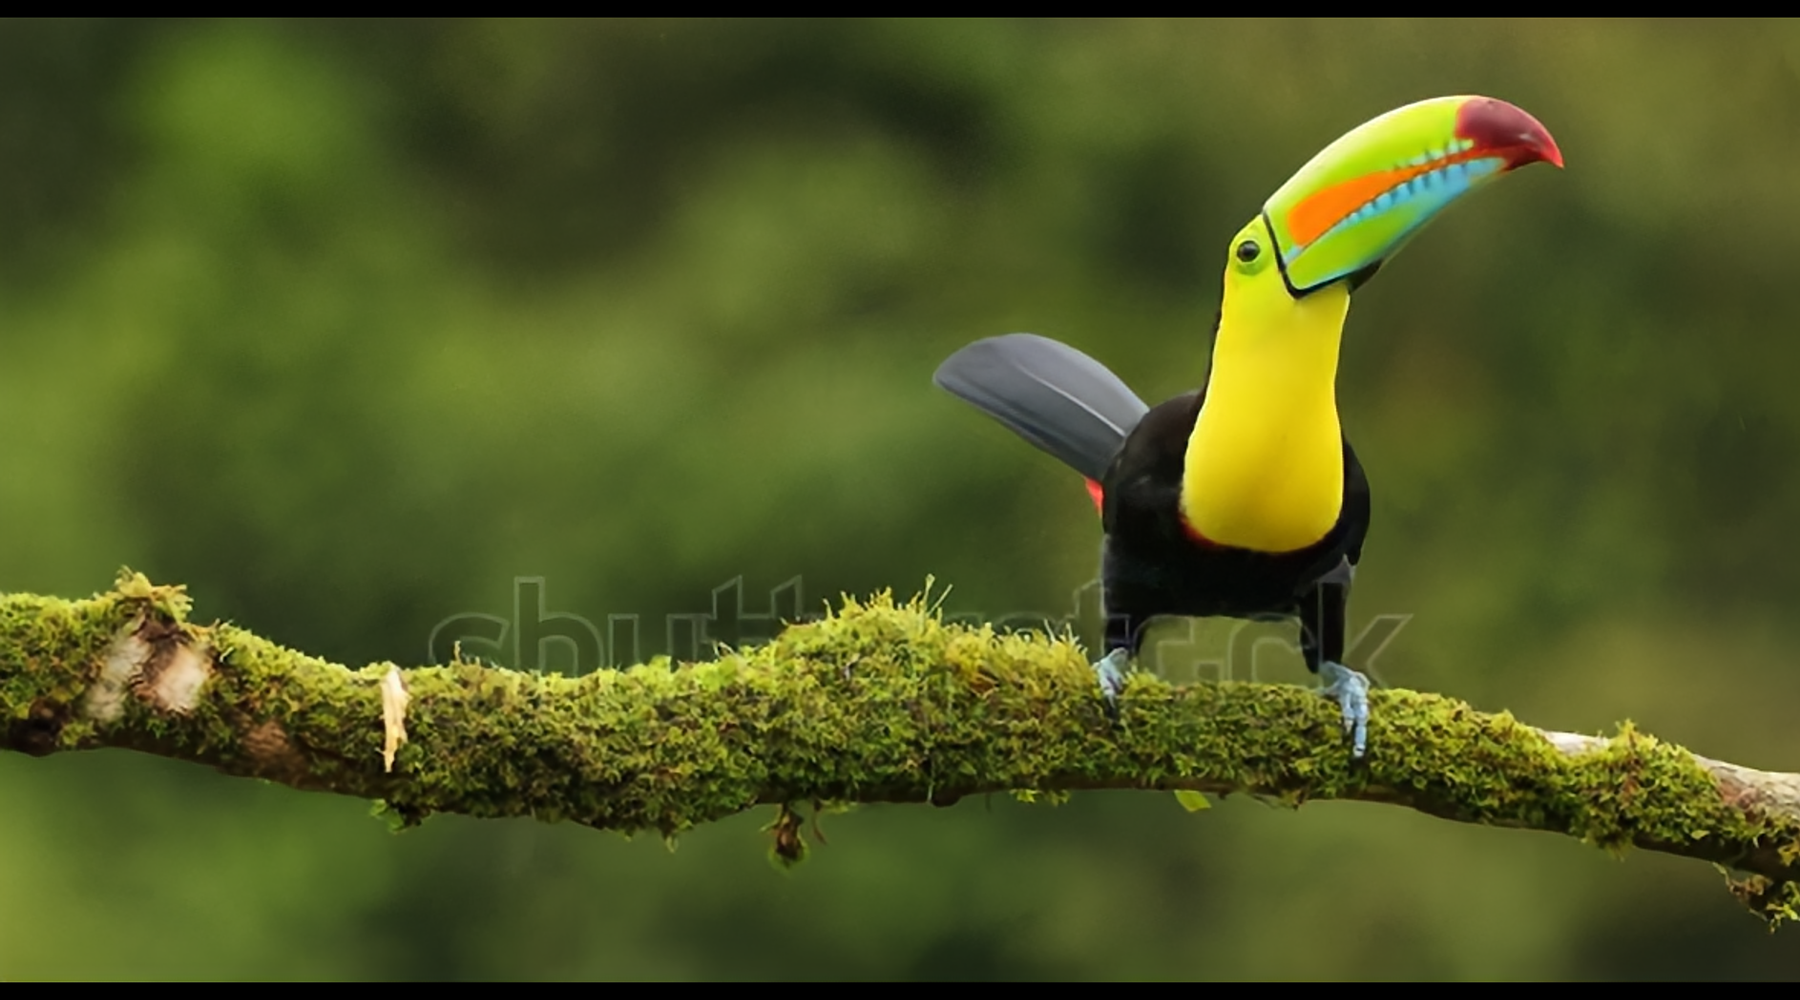
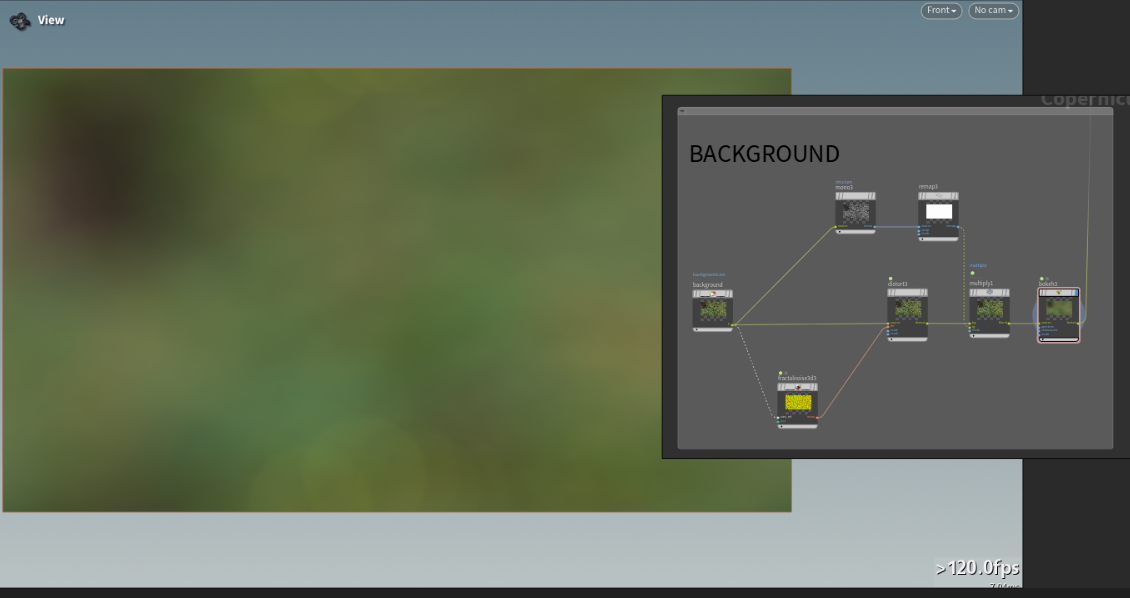
As you can see, the background is extremely blurred. Most likely the cameraman used a very long lens, maybe 100-300 mm, to have a proper zoom for the bird. To replicate the reference, I started with a background.
Plants
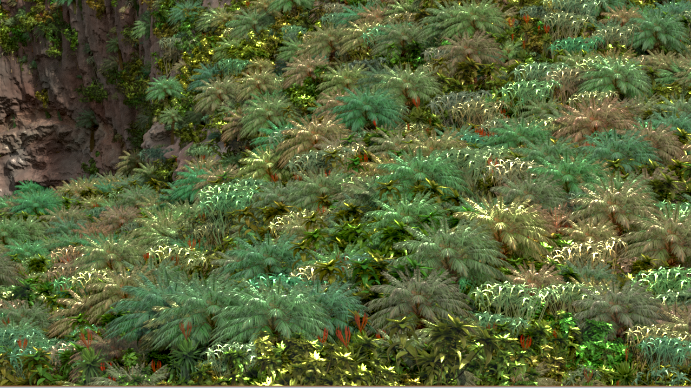
Because the background would be extremely blurred, I decided not to render the actual geometry but to go with cards. I used some models from our internal archive for that. I placed the camera in the way that the lower part of the model would be occluded. I rendered each of them with some tiny focal length to have minimal distortions. I tried to render all of them in neutral lighting. I used a simple photo studio HDRI for that.

After that, I created 16 different grids and assigned an index attribute to each of them. For ease of debugging, I also used quick material node to apply texture to check if they are working correctly, Each grid is a perfect grid and each texture is also a perfect grid:
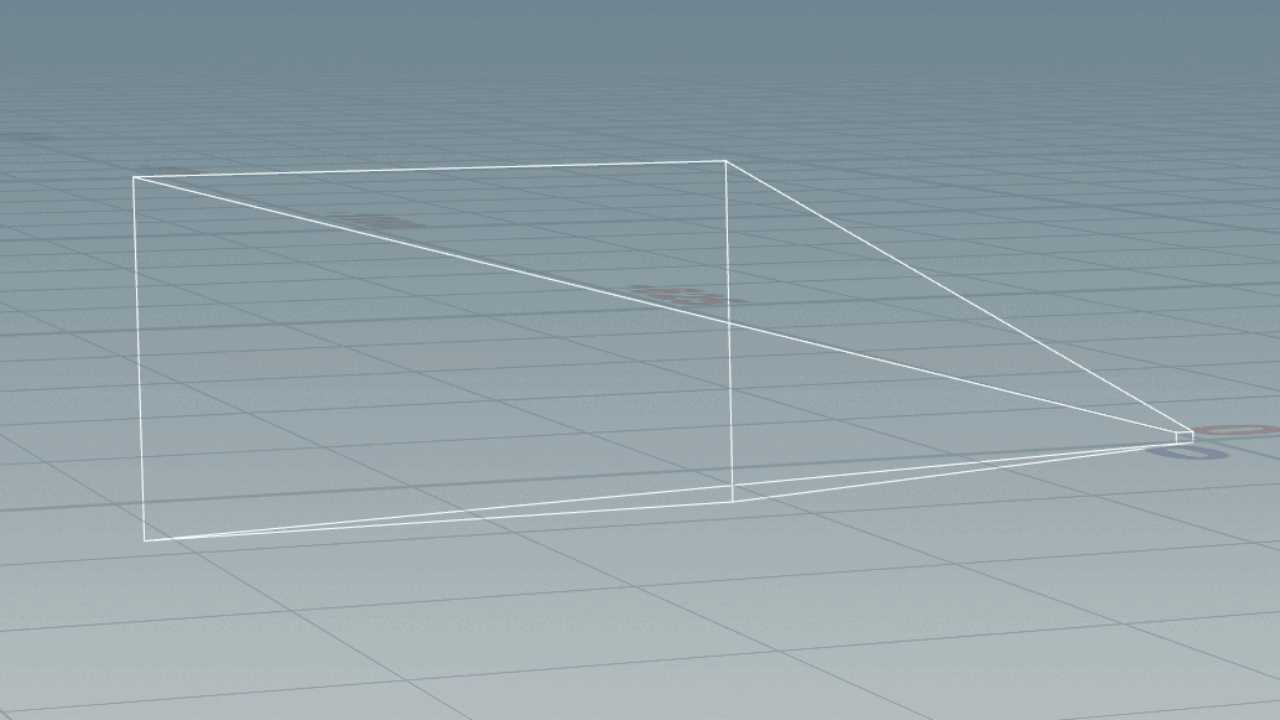
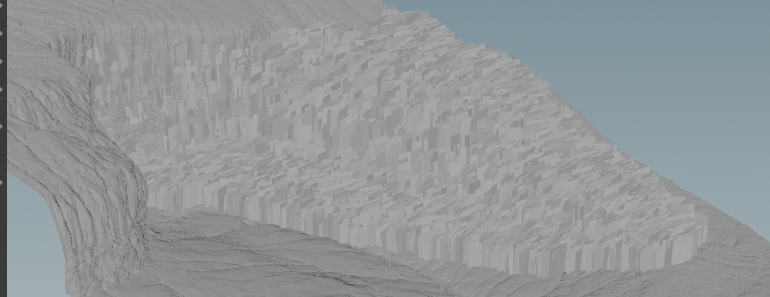
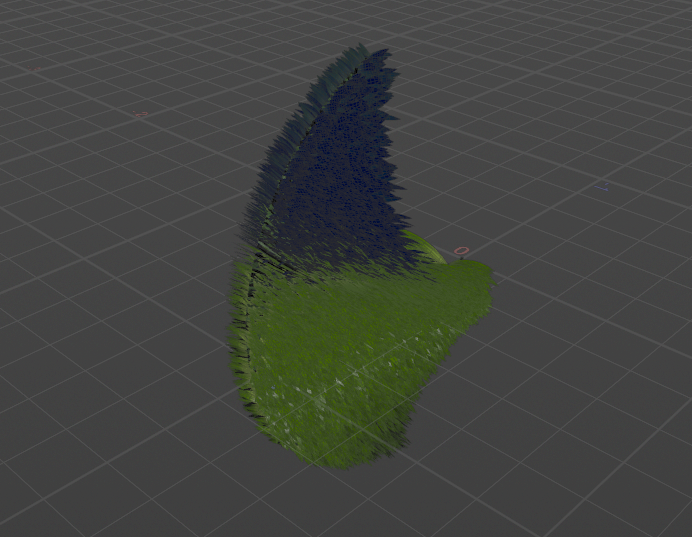
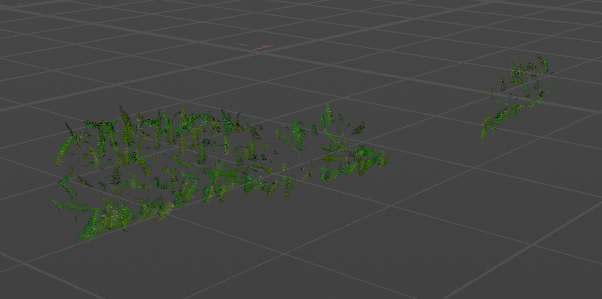
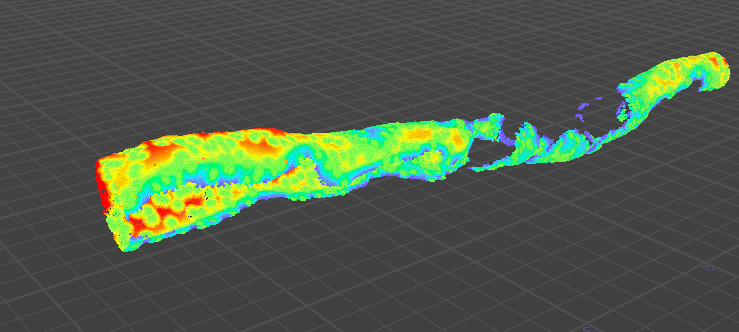
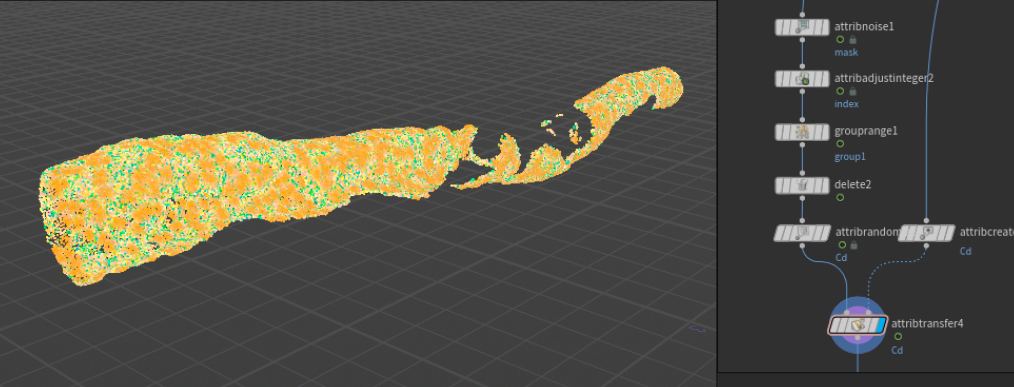
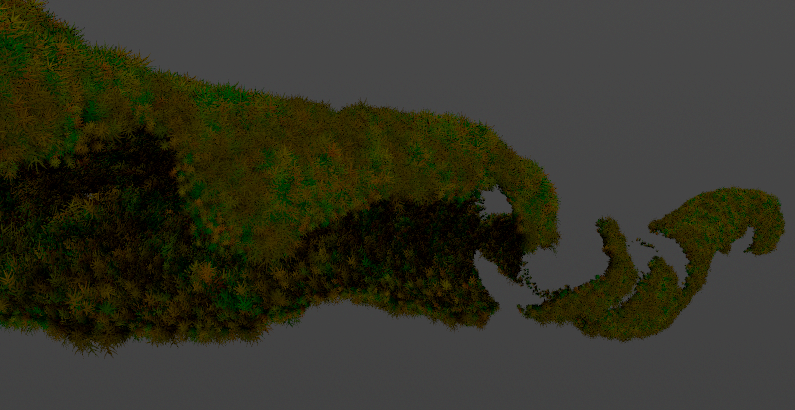
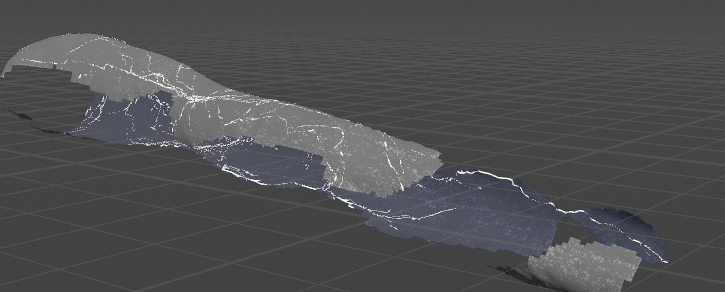
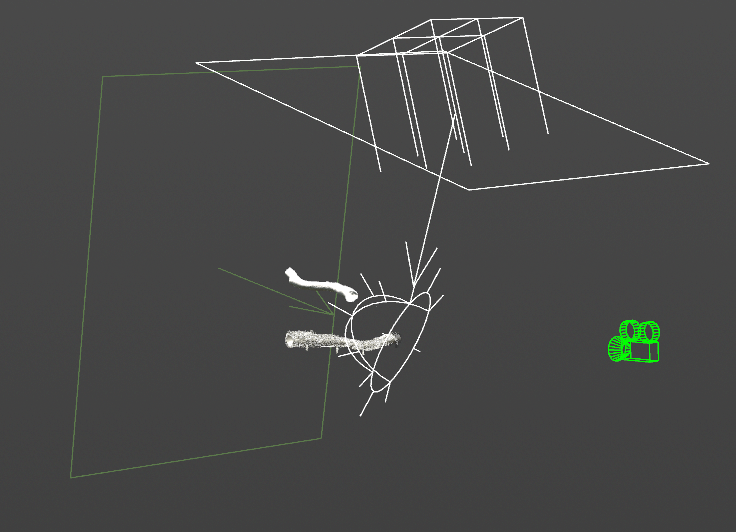
Now I need to prepare the scattering points. To optimize the scene, I decided to cut the cliff geometry by the visible camera region. For that, I imported the camera as a vdb, and activated and expanded the frame a little to cover a bigger chunk of the cliff. After converting to polygons and using it as a bounding object in a group selection. Now as I got the point group, I used a group by expression node to select specifically green points (the cliff geo comes with a Cd attribute). I selected green points because trees usually don’t grow out of rocks :
Now that we got points and cards, it was time to instance one to the other in Solaris.
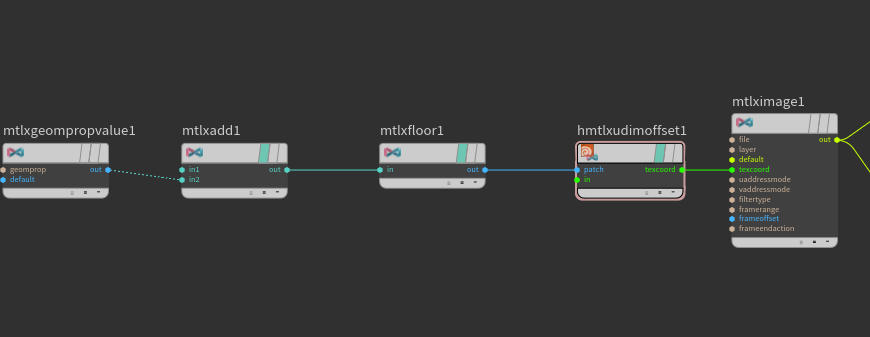
The vegetation textures were exported as it was a UDIM map. So their name started with 1001. To assign a specific texture number to a specific card, I used MtlX Geometry Property Value to get an index attribute information. After that, I added 1000 to it to make it equal to a UDIM-spaced naming. After that, I plugged it into the MtlX UDIM Offset node to shuffle between textures in my MtlX Image node.

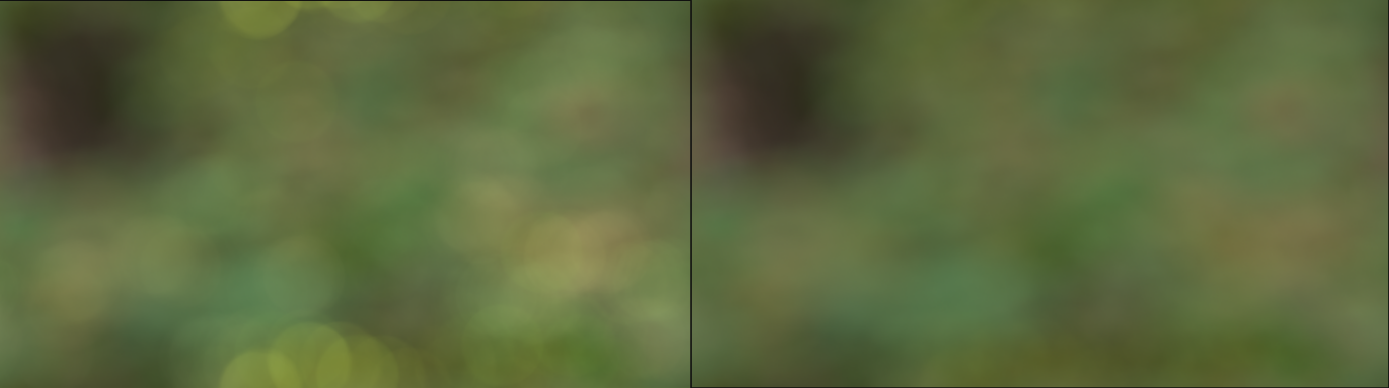
Now that I have fake highlights, I could use a Bokeh node to create nice bokeh flares. They will be more prominent due to the high contrast in pixel values. Here, you can compare applying bokeh on the altered image (the left one)and the original one:
Branch
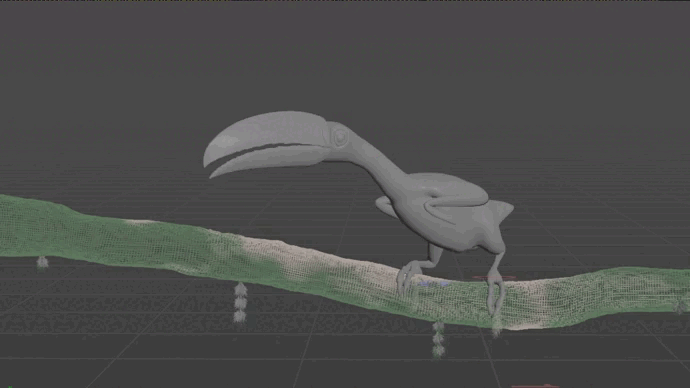
For the realistic branch movement, I tracked actual footage of the branch moving around and exported it back to Houdini. This small effect required adjusting a lot of things, which included considering the movement of the bird’s claws, the movement of all the green stuff on the branch itself, and some sims later on.
Fern
For the fern leaves, I decided to use Lab’s tools. Labs has a versatile toolset for tree generation. I used a tree leaf generator with a tree simple leaf node to create a geometry that looks like a fern leaf. I made it in the loop, which has scattered lines on the branch as an input. I randomized parameters inside the leaf generator node and bend node to have 365 different shapes. Here you can see a composite of all of them:
After that, I scattered some points on the branch and randomized their attributes (like Cd, pscale, etc). And just after that, I was ready to use a copy to points node to slap fern leaves at them. I created a name attribute beforehand in my loop unique for each leaf. And now the final result has a lot of uniquely colored, shaped, and sized fern leaves scattered on the branch geometry:
Moss
For the moss creation, I started by painting a mask attribute on polygons. The featherness and softness of the mask will directly influence our moss size. It’s nice to have a procedural tool like that to easily change the final look of scattered geometry. While working on this project, I changed that mask a dozen times. As you can see, I altered the mask values to be closer to zero if the point is closer to the edge, I also added some random clusters with uniform mask values. They look like a small green island:
I then added new attributes such as Cd, N, and pscale. I randomized them all as well. I also used a clustered idea to make the randomizing even more random!
For the actual moss geo creation, I used Lab’s tools again. I started with a tree trunk node and then I added a tree branch generator. I created three versions with slight bending to different sides. I then added a name attribute to each of them, so I could use it later when copying to points:

The result after adding some textures looked like this:
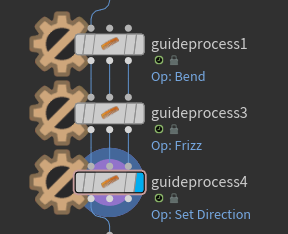
Grass
For the grass, I saturated it with the same procedure of adding a mask attribute to the branch geo and scattering some lines accordingly. After that, I added some attributes for future guide processes like bendir and div. For the last one, I used attribute vop node. I used three different guide process nodes to add some bend, frizz, and direction to the scattered lines.
I added vellum configure hair node to quickly create the right constraints for my sim. I set up the mass to be very small and the thickness to be uniform. After the sim, I swept the curve out to have some actual geo. Although Karma could easily render curves as is, I decided to create some actual polygonal geo so the subsurface scattering would work better. You could always export the curves as it is and import them to Solaris to save on memory and rendering time.
Flies
For the flies, I started with creating a simple fly geo. I colored it and added some very simple animation to the wings. I decided to create a circle and use it as my path for the point to move around it. I added some animated mountain noises and used uv values to run the point in circles. I’m using a loop to have multiple points that are spatially separated from each other.
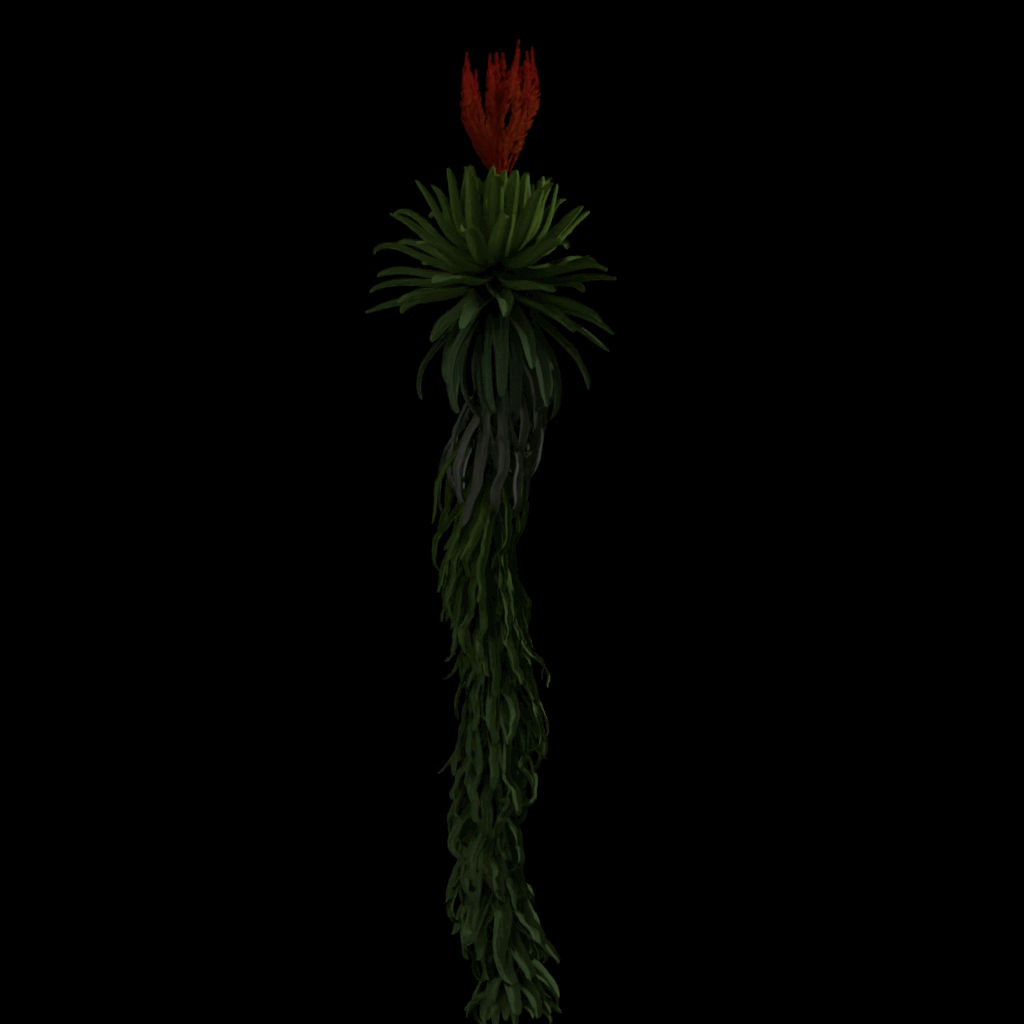
Hanging Plants
For the hanging plants, I'm scattering just a few points on the branch. After that, once again I’m using Labs tree generation tools to create interesting plant-like shapes. I’m doing three variations of one thick plant and a thin plant. The idea is to slap them together.
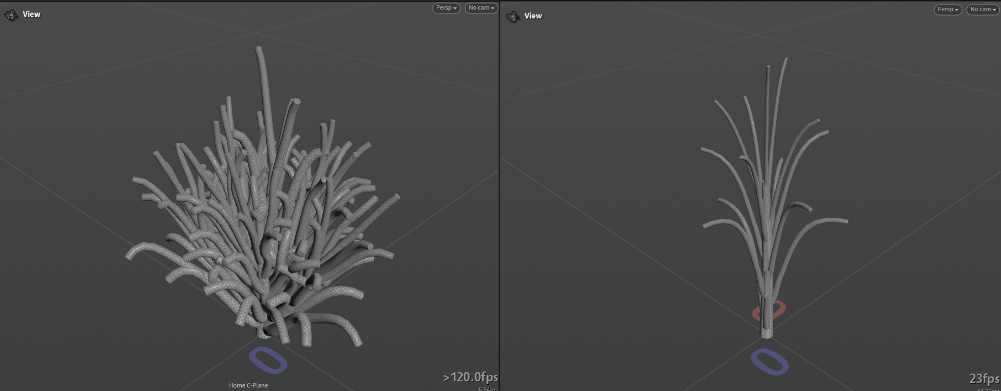
I randomly copy those plants on the given points. The nice node I have liked to use recently for these tasks is a Merge Packed. It will create both class attributes and packed geo. I’m referring to the class attribute in the copy to points node.
For the actual sim I’m using proxy geo. I just ran in a convex hull for each of the objects, I’m using simple for each point loop because I’ve packed geometry beforehand with Merge Packed. After some remeshing on top, it’s time to sim. For the simulation, there is nothing fancy. I used Vellum Hair preset and simply changed Mass and Thickness to Calculate Uniform. After that, I’m running a point deform node that uses the original plant geo and runs its movement by the convexhull simulation. Here is the result:
TIP
TIP: for any (and I mean any) vellum simulation, it’s recommended to increase the global substeps count. For the current project, it’s on 5, and for general clothing simulation, at least 10.
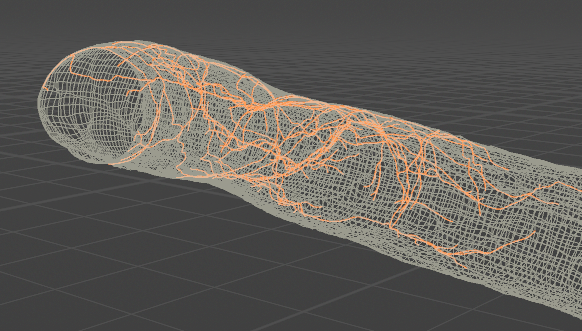
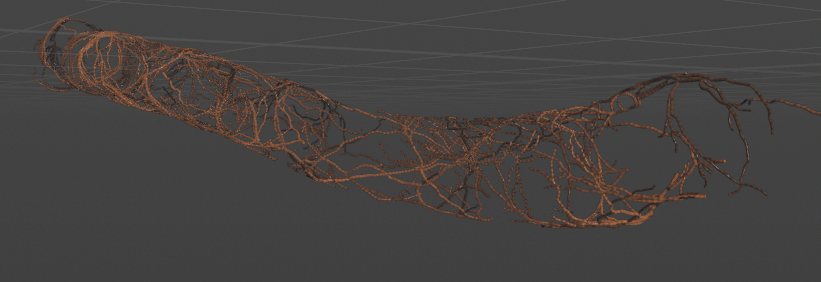
Roots
I started by importing branch geometry and importing mask attributes that I previously used for moss creation. After that, I deleted unnecessary polygons outside the masked group and remeshed the geo. For the actual roots creation, I am importing points from 'tulips' (slender starburst moss) creation that I will discuss later. I used some VEX in the attribute wrangle node to create random points at some distance from each given point. Afterwards, I’m using the same point and jittering them around. I merge all of the points and insert them into the second input to find shortest path node. I have branch geo to the first input.
TIP
For this to work, you should put block end Iteration Method to By Pieces or Points and Gather Method to Merge Each Iteration.
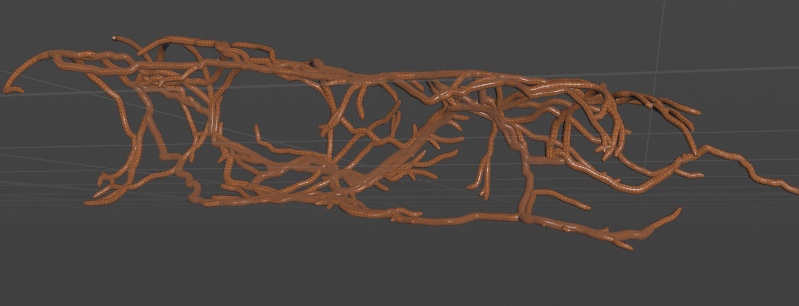
Then I’m doing the same workflow to make smaller roots. That’s about it for the roots creation.
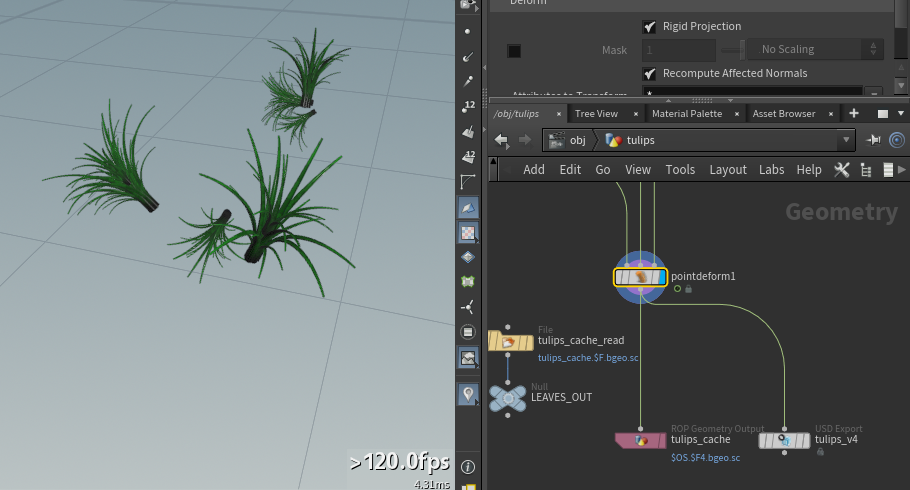
Slender Starburst Moss
To create this type of moss, I’m starting with a low poly spiral which has orientational attributes on it. Then for each point of the curve, I’m creating a tube. I cut it in half, making it thick and adding some color. After that, I’m bending it along length attribute that I created earlier. After repeating it 10 times, our moss is ready:
After that, I use another loop that creates some of the attributes that are used to randomize the moss creation in the first loop, and just after that, I copy to points all of the moss. After the point deform to bring animation from the branch back, the moss is ready!
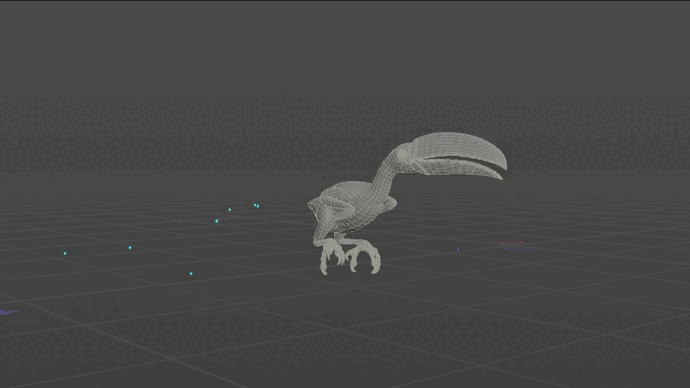
Groom and Skin
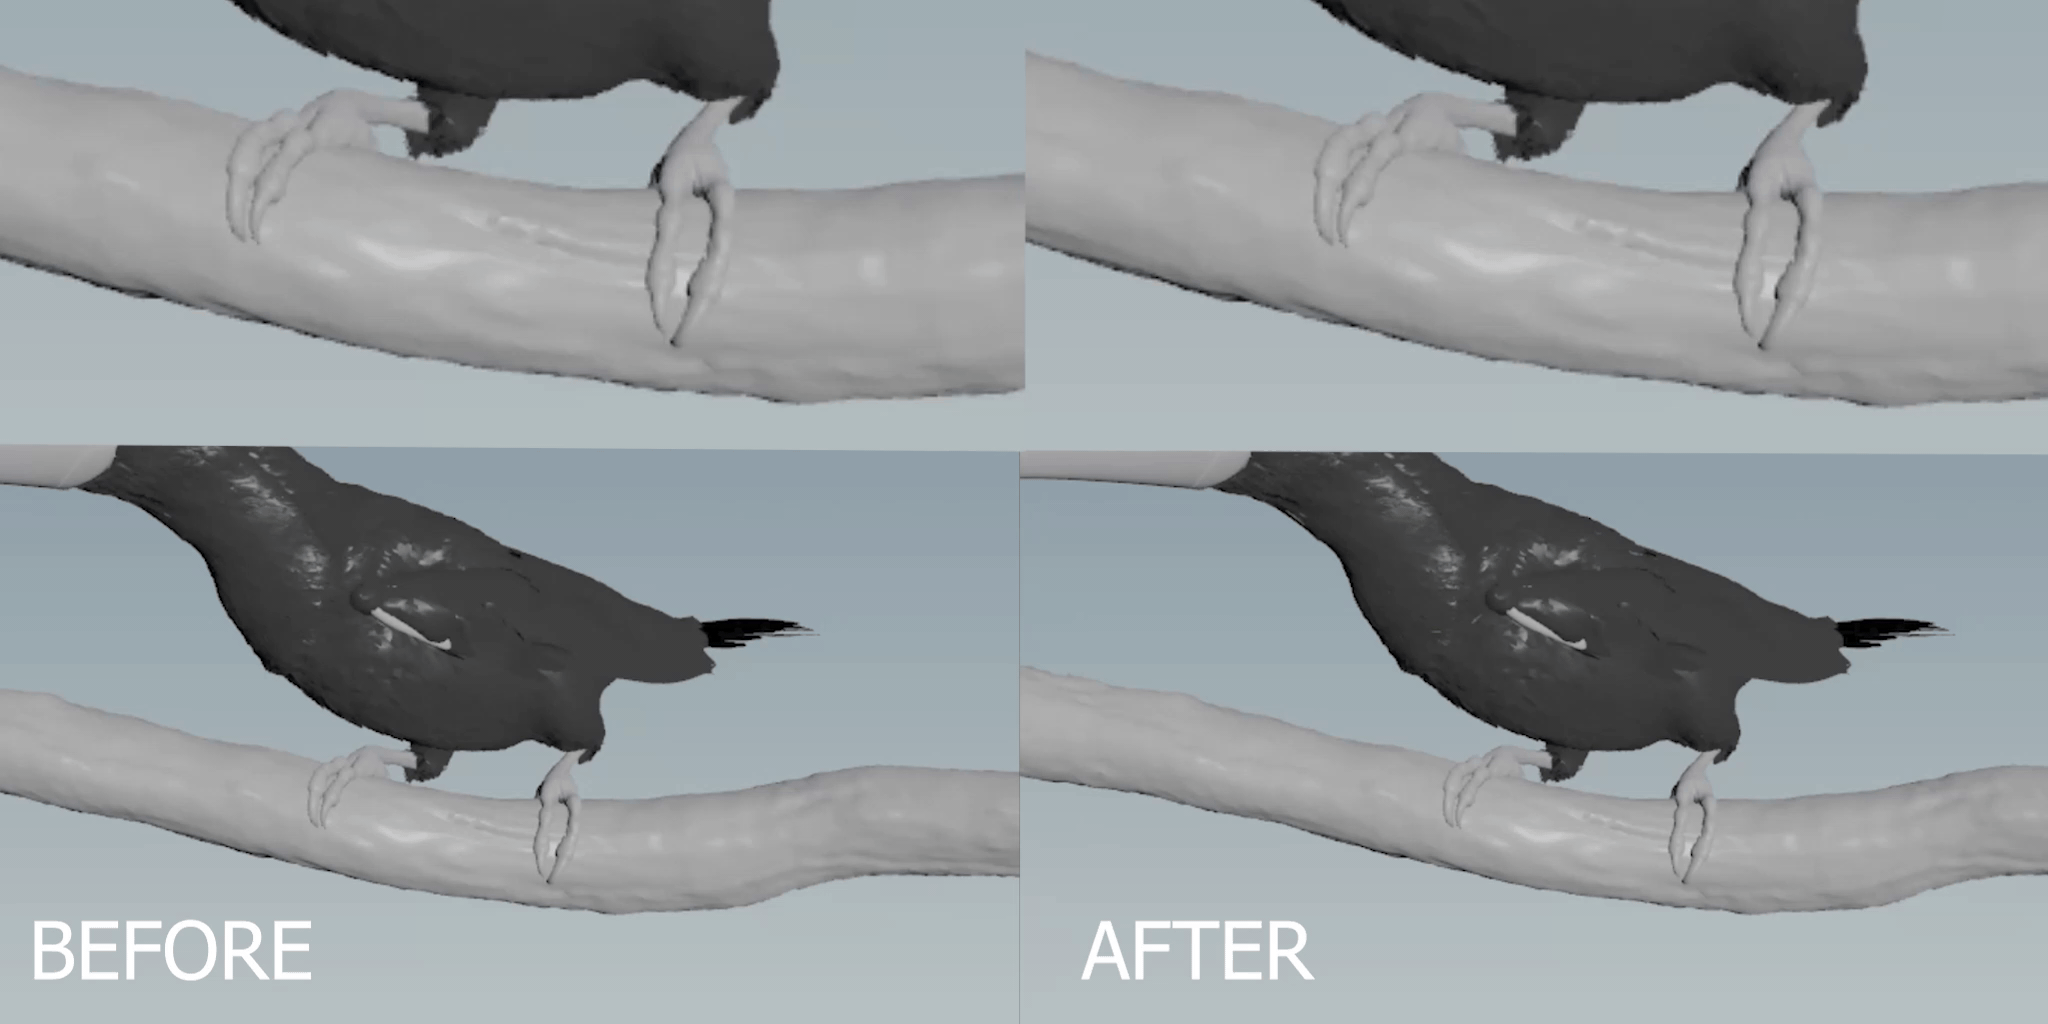
For the groom cache and skin cache, I’m using a blend shape node to drive the lower part of the groom and feet to match the movement of the branch. I just create a mask attribute and copy to points both skin and groom, and then blend shaping in between. Here you can see the difference between adjusted feet and the default cache:
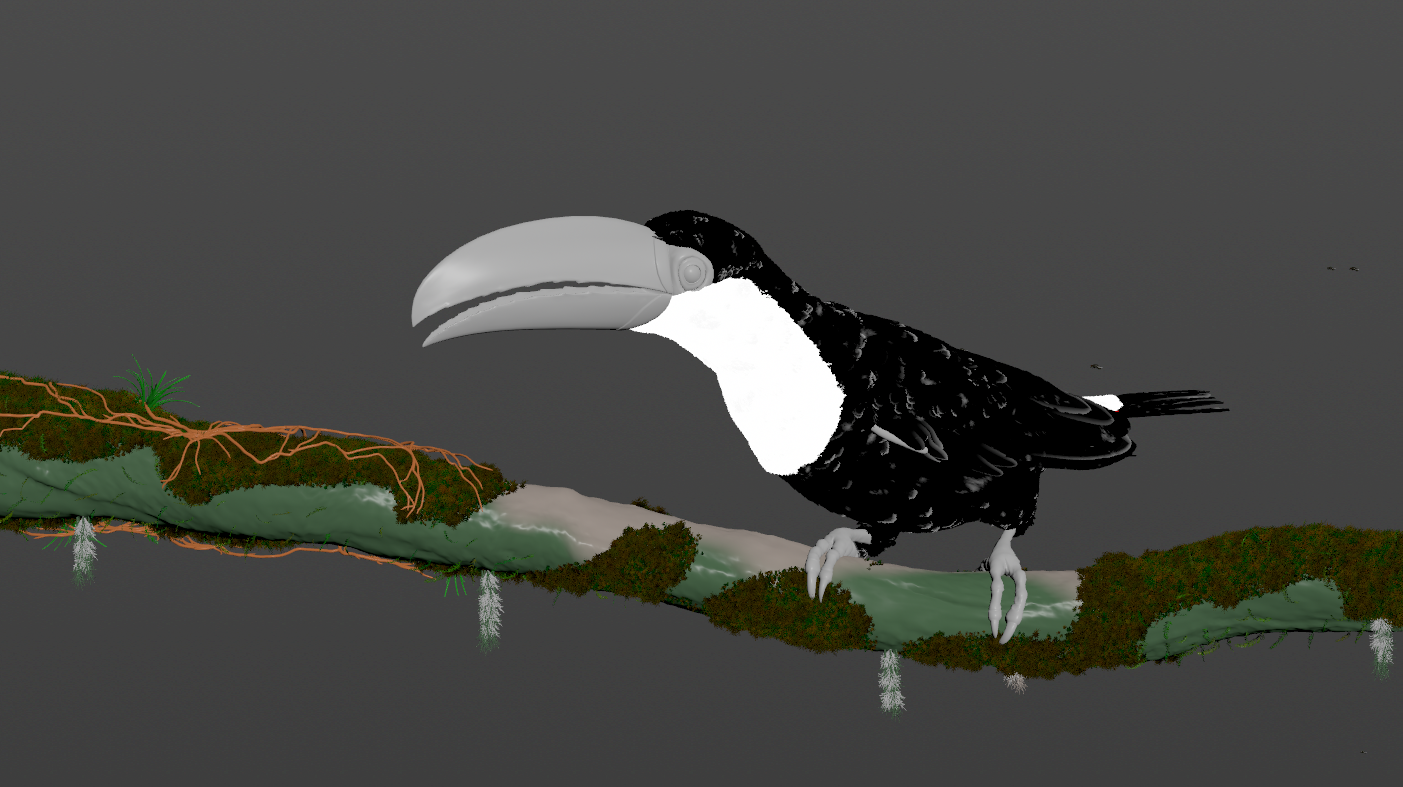
And now just like this, we are ready to begin the rendering task!
Render
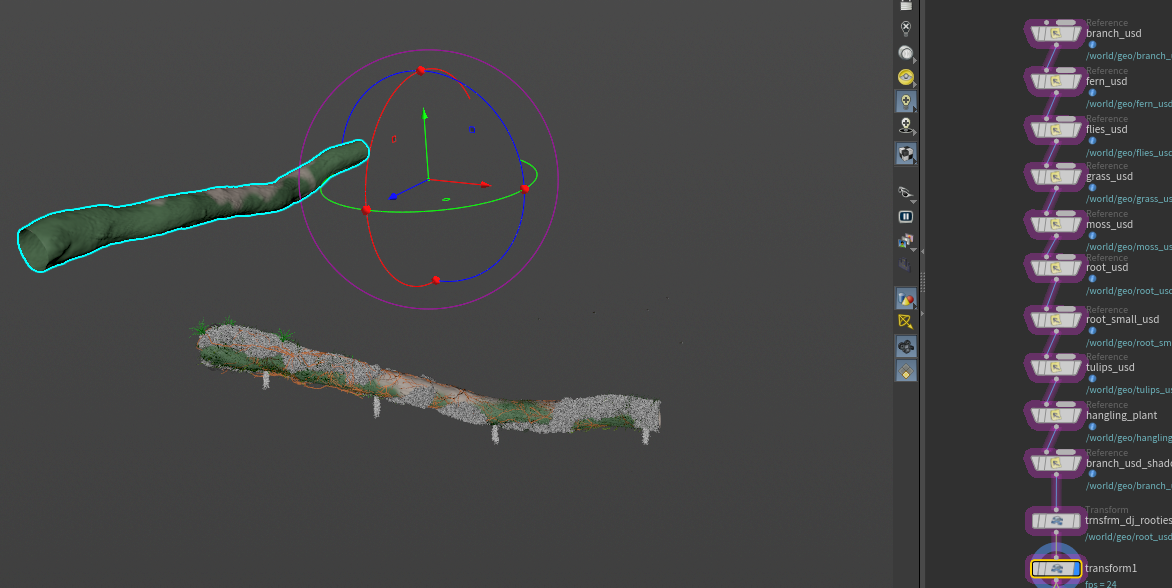
For the rendering, I start with importing all the assets in USD to Solaris. I added two transform nodes to adjust the root's shape and move a copy of a branch for extra shadow. Here is how the setup currently looks:
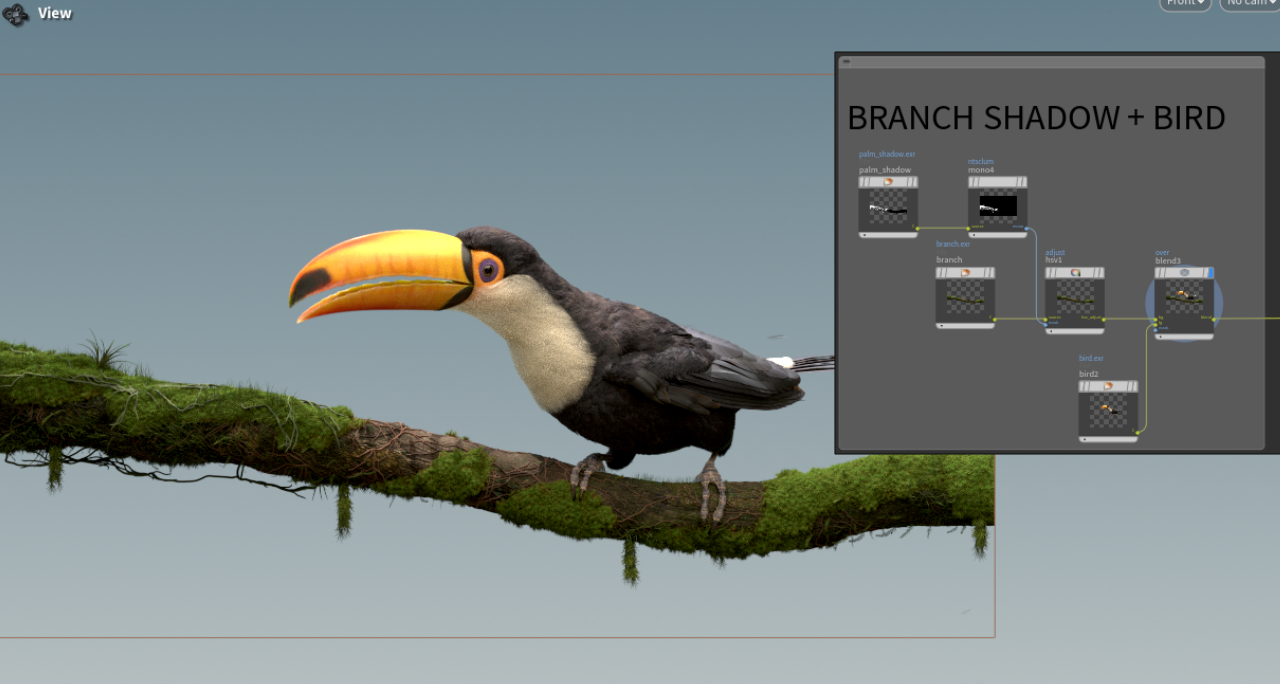
After that, we need to figure out what exactly will be rendered. I need to have a branch pass, a separate bird pass and a gobo light pass to add some intricate details to the branch. So for the branch pass, we need to have a bird to be invisible, but at the same time, cast a shadow. For the bird pass, we need to have a branch invisible but at the same time, cast indirect lighting to the bird's feet. And for the gobo light pass, we need to export it as a simple projected texture map.
For the lighting, I’m using 4 different lights: fill light as a distant light, hdri as a dome light, top light as a light, and rim light as a light. Together they give enough details and shadow, as well as depth and volume to the final render. Note that toucans are usually living in tropical environments, therefore all the light has a warm tint as light travels through the leaves. I cheated a little and rotated HDRI for better colors.
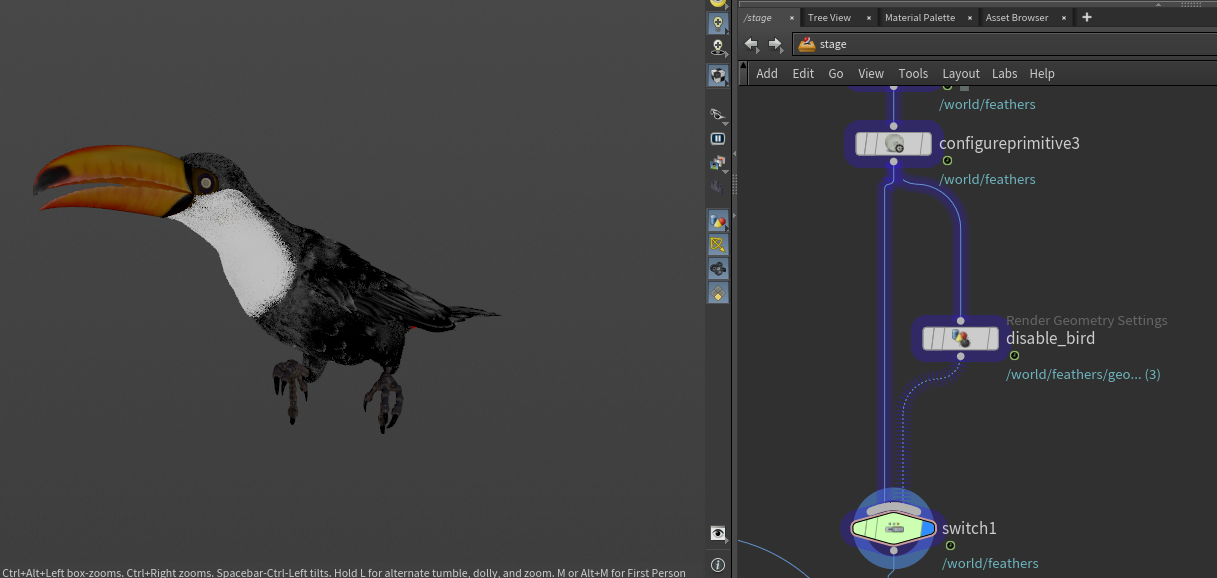
For the toucan, I configured two scenarios; one when the birds just come through to the render node and another in which I disable primary rays for it. It will still create shadows:
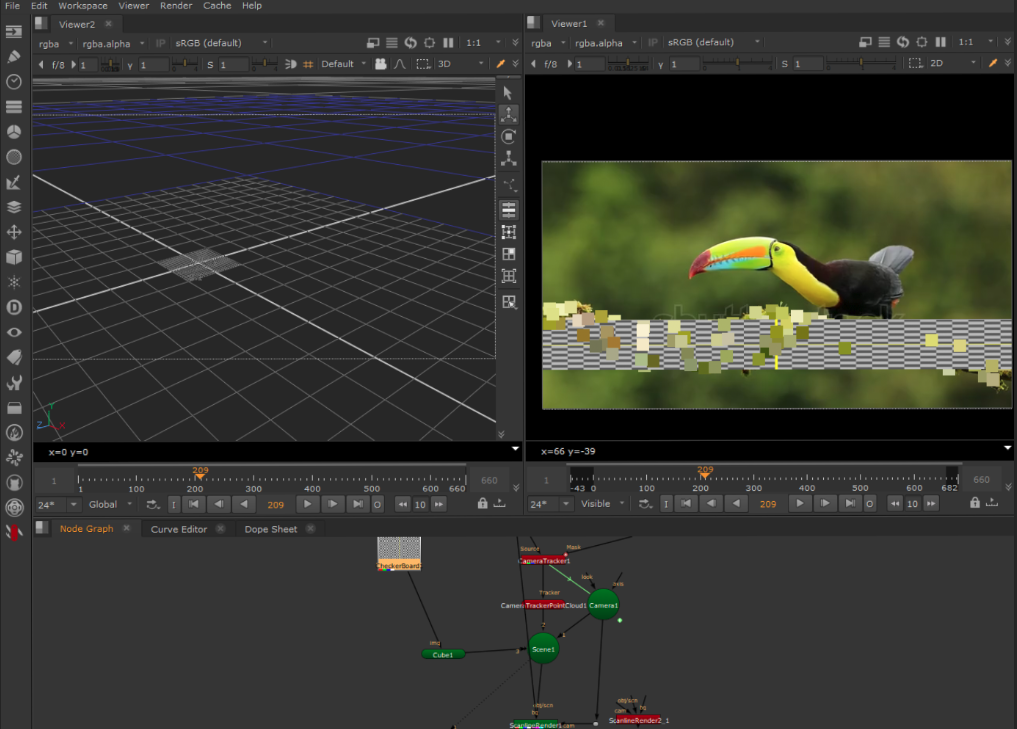
For the GOBO light, I created a new material which is coloring all the upstream objects in white, I will use remapping at comp to bring the render as a mask.

Lorem Ipsum is simply dummy text of the printing and typesetting industry. Lorem Ipsum has been the industry's standard dummy text ever since the 1500s, when an unknown printer took a galley of type and scrambled it to make a type specimen book. Lorem ipsum dolor sit amet, consectetur adipiscing elit. Vivamus leo ante, consectetur sit amet vulputate vel, dapibus sit amet lectus.
Compositing
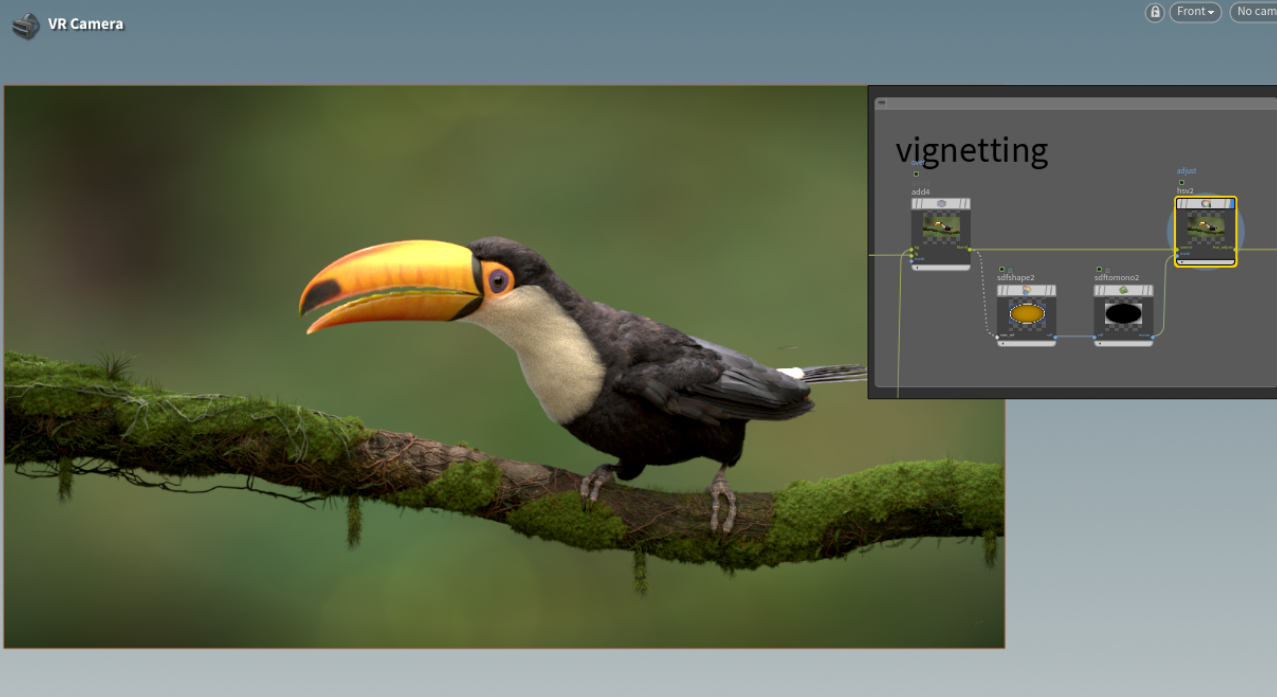
After that, it was time to finish up with some additional elements. I decided to add vignetting. By simply using a distorted circle as an input for the mask in another HSV color correction node to darken areas on the perimeter of the image:
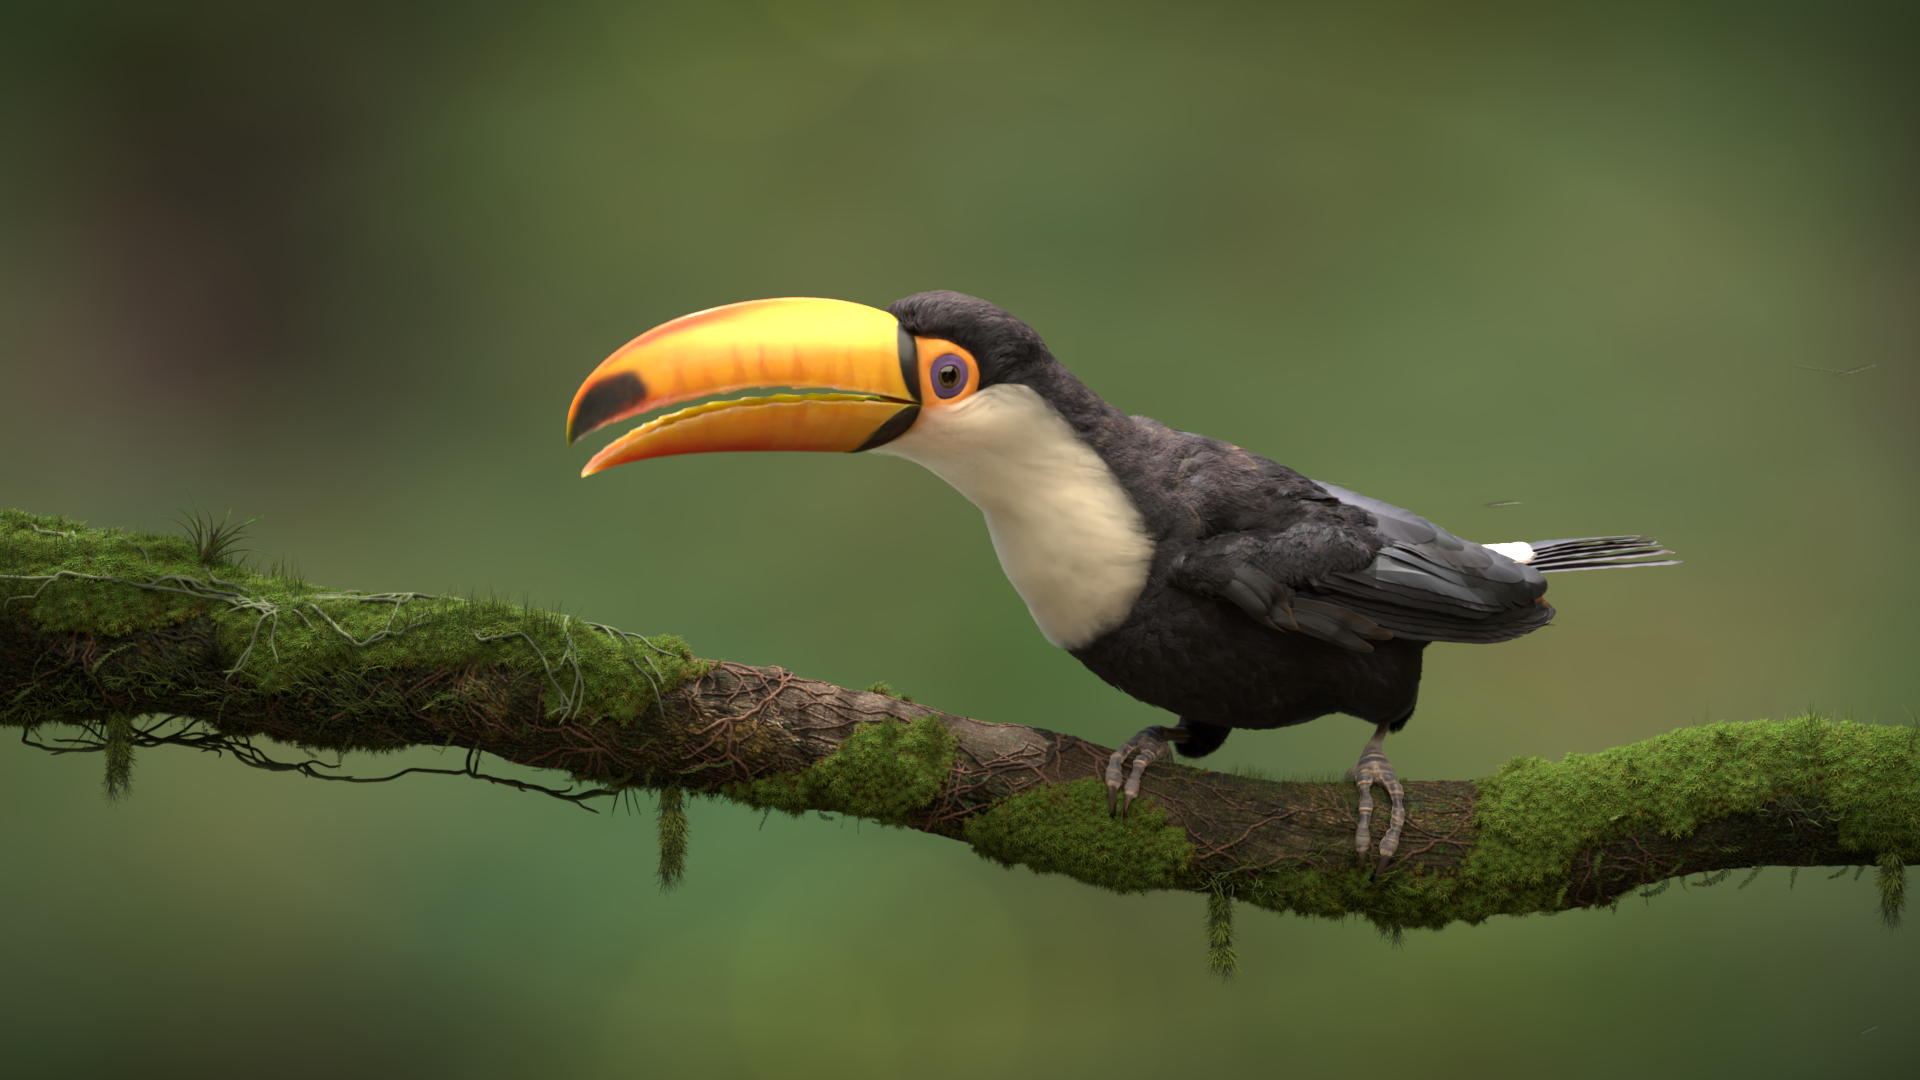
At this point, our render is finished and the final results are achieved:
Quick Tips
Through this project, I discovered how I can utilise some of the USD features in the workflow to ease and speed up the whole process. In this section, I would like to share some findings and dive deeper to explain them.
Texture Referencing from Copernicus in Solaris
One thing I found quite handy and eye opening while working for this project is that you can easily refer to any texture in your COP networks by using op:/path/to/
As you can see here, for my toucan project, I created a very simple wood grain textures for the root geometry, I can easily refer to it inside MTLX image node in my Material Builder.

Now, to dive even further, I’m gonna show you a small scene I did to showcase it in detail. Here you can see I created two textures, one is just a basic texture with nothing special, but for the second one, I added COP layer attribute create node and I populated it with an attribute which I called savepath, and the value for it is my desired save directory. This attribute is called savepath because it's recognizable by USD.


If we go to Solaris, you can see here that referring to the textures through op: works as expected, Karma correctly brings textures up here from COP network.

Now, when you click render, Karma will create these folders for you. In your render folder, you will find your final renders, but there are two more folders. Files - folder which we just assigned earlier, it will save all the geometry as well as all the referenced textures without specific path. So you can see here, my texture which is called no_path.exr is now under files\scene.usd.textures\obj\copnet1. But the one with the existing path attribute got saved to the textures folder, as I created it before.

I found it to be very convenient, as I can easily create some quick dirty textures for my scene and don't even think about saving them out. Karma will do everything for you in the background.
Using Purpose Attributes to hide Geometry

CREATED BY

COMMENTS
Please log in to leave a comment.