GROOMING BARRY BACON: PART 2
Chapter 10: Hair Generation
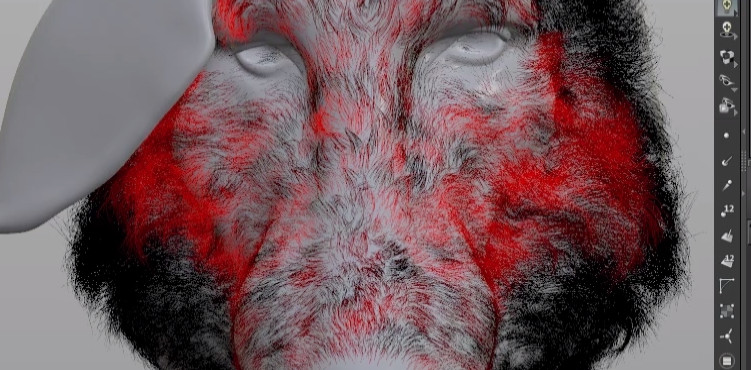
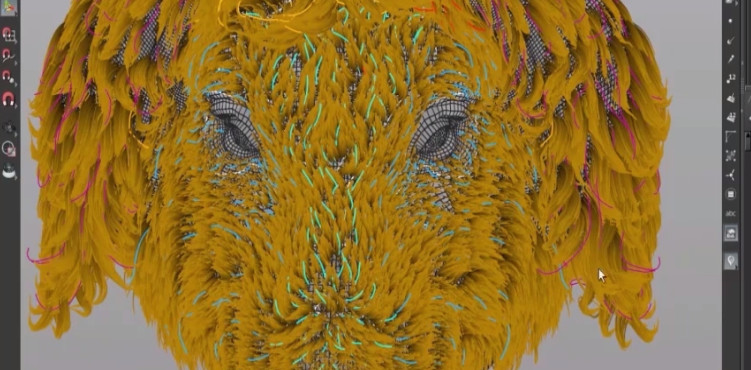 We will begin by painting attributes in order to generate our hair; we will paint density maps. We will use a custom material to better see on the skin, where we will paint the attributes.
 Chapter 11: Extra Combing Tips
 Let's clean up our scene, since we have progressed with our groom results. We also will make some adjustments to the groom on the ear area, to closer match some details in our reference.
Chapter 12: Rendering Set Up
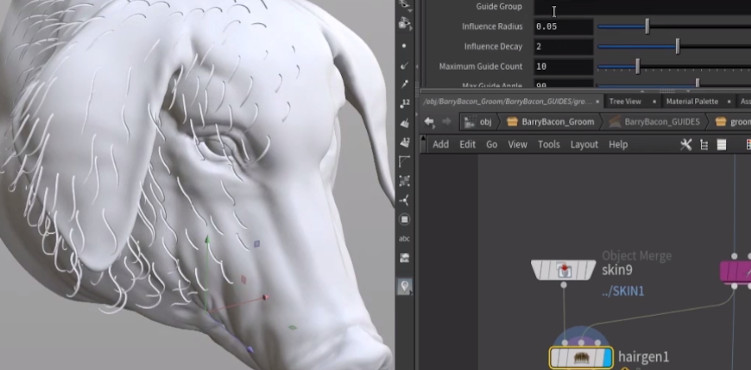
 We did some more groom adjustments to give more guidegrooms to Barry Bacon, so we have enough detail from him to look good. It's done with the same techniques as we have already covered. Barry Bacon is ready to start rendering in Mantra.
 Chapter 13: Model Update
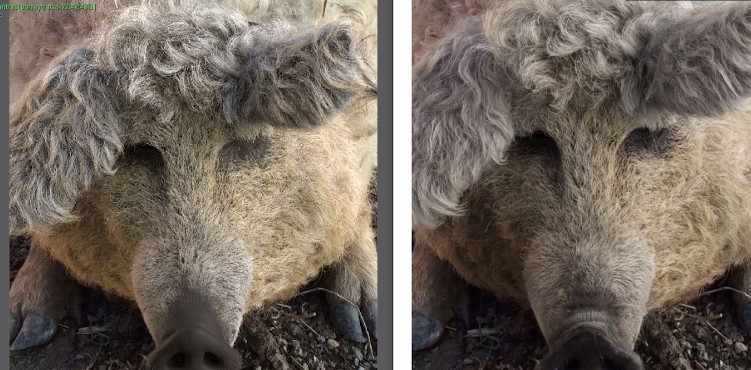
 Our first test render is done, but he looks pretty different from the reference. We also have new geometry to use, so let's see how we can transfer the groom and bring it closer to our reference image.
 Chapter 14: Clumping Structure
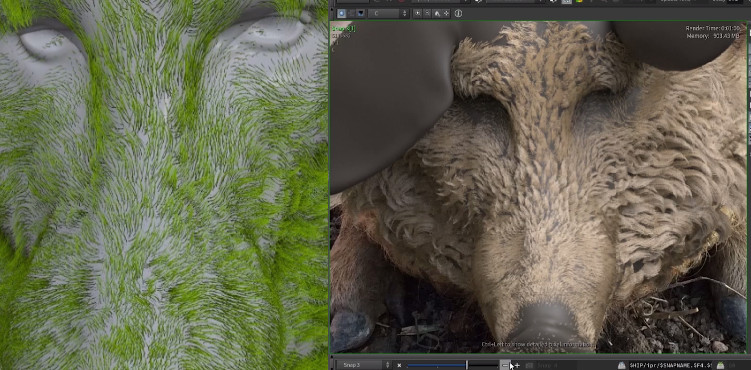 We will see how to refine Barry Bacon by splitting the groom across his face, separate from the top of the head and ears area. We just need to pay attention to not make any obvious seams, to ensure a natural look. We will do so by using masks to help the different areas blend together.
Chapter 15: Adding Variations
 You may have been wondering all this time, where are the noises? Here they will come as a last part, after establishing clump shapes and breaks.
Chapter 16: Ears and Top Head
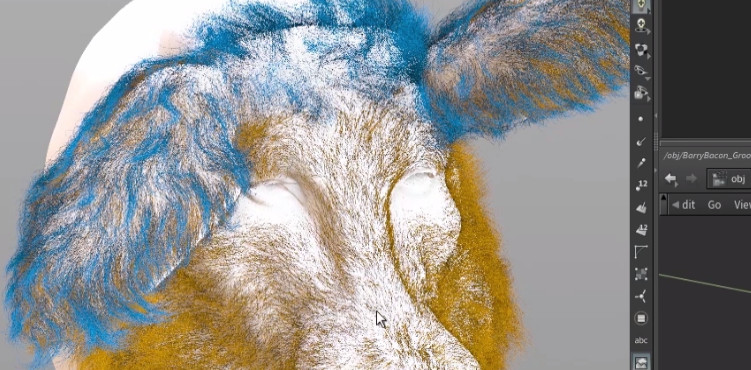 Now we have the groom on Barry Bacon's ears and top of his head, but without shading at this point. Let's have a look at the setups of both - they are rather similar. There are variations in width, parting lines, fly-away hairs, density, clumping, length and a bit of bend.
Chapter 17: Shading
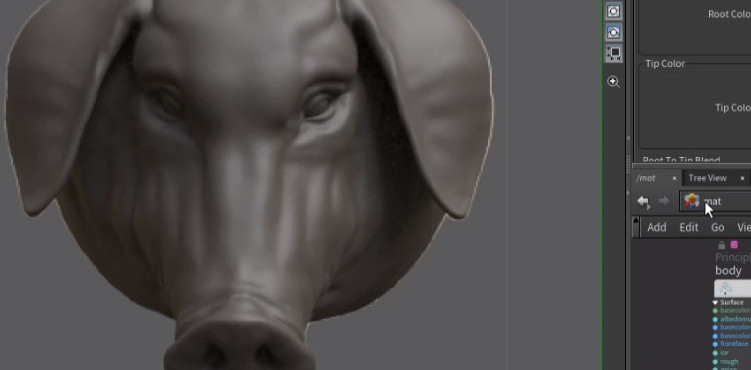
 Let's see how we set it up with the hair shader for Barry Bacon. There are separate hair materials per areas of his face. We will use attributes to bind and control specific things like root colour, specularity, saturation, tip colour, and more.
Workfiles include Barry Bacon geometries, *.hip file and reference image.
CREATED BY

COMMENTS
Harold1007 5 years, 10 months ago |
Thank you for sharing this amazing tutorial!
mushogenshin 5 years, 10 months ago |
These are magnificent! Thanks so much, Gabriela!
Harold1007 5 years, 10 months ago |
Hi, Gabriela. In the Extra Combing Tips video. You introduced two ways to keep the guides with either Null and File cache before refining it. I'm wondering if using Stash is also an option or not? Thank you.
233958041 5 years, 10 months ago |
That's exciting. It's never too late for something good. Thank you
233958041 5 years, 10 months ago |
That's exciting,thank you
ResilientPictureCompany 5 years, 10 months ago |
Awesome stuff, thank you
Reni 5 years, 10 months ago |
These tutorials are really great! Thank you for sharing your knowledge.
Deocliciano Okssipin Viei 4 years, 6 months ago |
Beautiful work, THX!!!
zayfartes 2 years ago |
thank you Gabriela for sharing this high level approach to grooming, but is there a way to get subtitles because most of the explanations are not that clear as your voice gets cut off and I have no idea of what's happening
Please log in to leave a comment.